

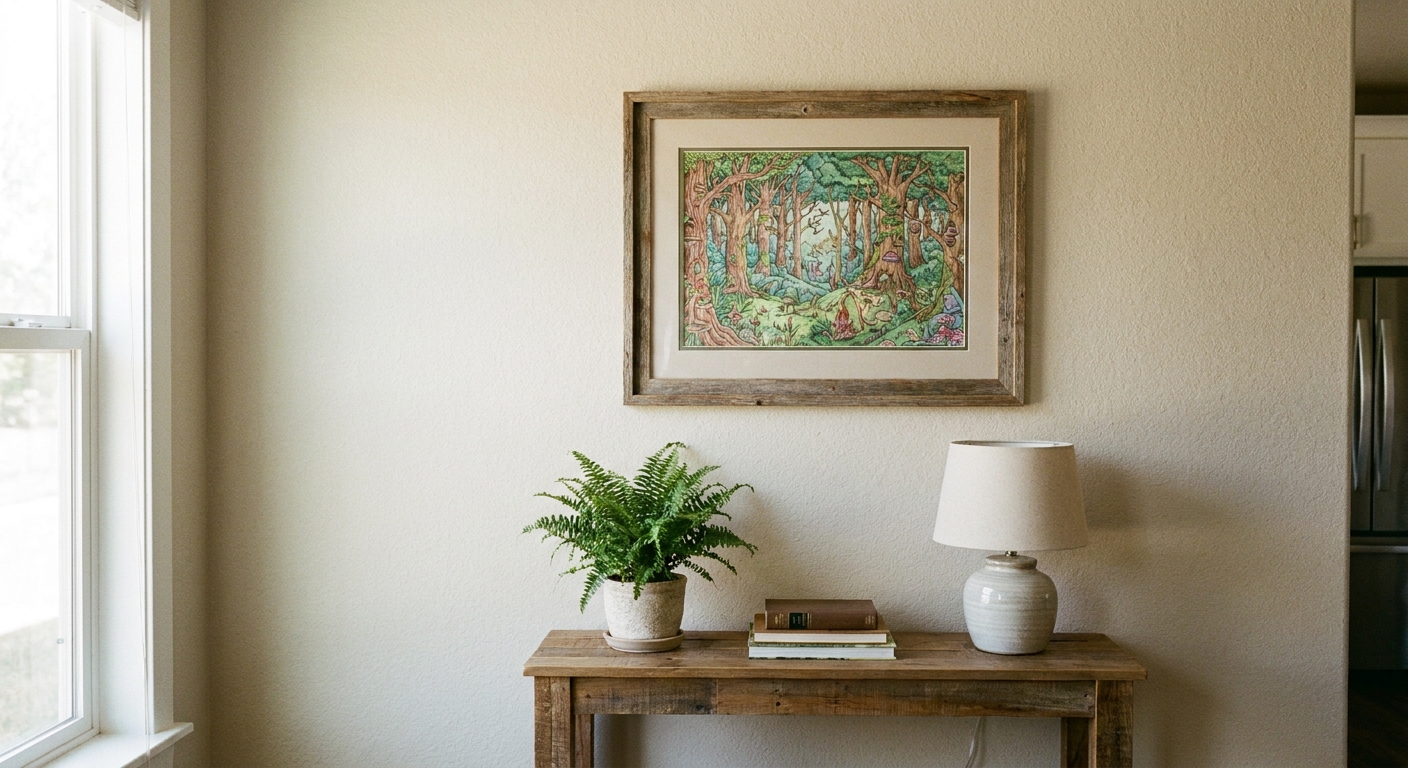
There is a very particular kind of satisfaction in finishing a coloring page, setting your pencils down, and thinking, wait, I actually love this. For years I kept my favorite pages in a folder like secret treasures. Then one day I taped one to the kitchen wall while I cooked, and it instantly made the whole room feel happier. That is when I realized: your coloring pages do not need to “live” in a drawer. They can absolutely be your wall art.
This guide walks you through trimming, mounting, matting, and framing your finished pages so they look intentional and polished, even if you are working with budget supplies and a slightly wobbly kitchen table.
Before you frame: pick the right page
Not every page needs to become wall art. Pick one that makes you smile from across the room.
- High contrast reads best on a wall. Bold outlines, deeper shadows, and a few bright areas help your piece pop.
- Consider the room. Cool blues and greens feel calm in bedrooms. Warm reds, oranges, and yellows feel energetic in kitchens or playrooms.
- Think about viewing distance. Tiny intricate patterns can disappear from far away, unless you frame them larger with a wide mat.
Supplies you will want
You can get a great result without fancy equipment. Here is the short list I reach for most often.
Basics
- Ruler (metal is ideal)
- Sharp craft knife or scissors
- Cutting mat or thick cardboard to protect your table
- Acid-free tape or photo corners
- Backing board (acid-free foam board is wonderful, but not required)
- Frame (new, thrifted, or repurposed)
Nice to have
- Pre-cut mat or an acid-free mat board
- Self-healing cutting mat
- Soft cloth for cleaning glass
What I avoid
- Regular household tape directly on the art. It can yellow and damage paper over time.
- Spray adhesive indoors. It is messy and unforgiving unless you have a well-ventilated workspace and a steady hand.
- Spray fixatives without testing. They can shift colors or change the finish. If you use one, test it on a scrap first and let it dry fully before framing.
If you want a gentle refresher on paper types, printing, and keeping pages crisp, my general tips live in our Coloring Pages guide.
Step 1: flatten and prep
Coloring pages often curl a little, especially after heavy pencil layers or marker work. Flattening first makes everything easier.
- Let it fully dry. If you used markers or gel pens, give it extra time so nothing transfers to the frame glass.
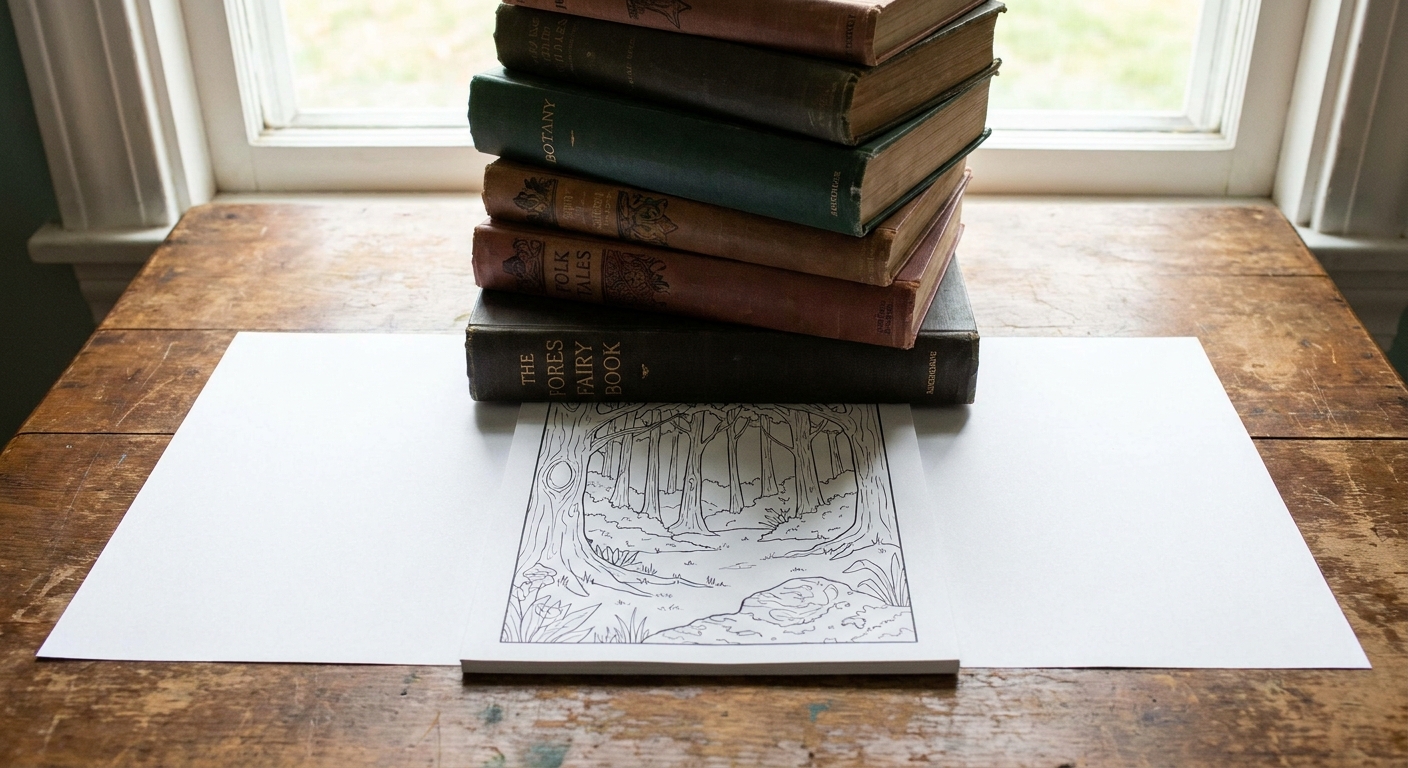
- Press it flat. Place the page between two clean sheets of plain paper, then stack a couple of heavy books on top for a few hours or overnight.
- Check for smudges. If you used soft pencils, gently wipe away any loose pigment with a clean, dry tissue. If your page smears easily, plan to use a mat or spacers so the art does not touch the glazing.
Quick media note: If your markers bled through (or you colored on both sides and you love both), consider adding an extra blank sheet behind the art as a privacy layer, or make a scan and print a fresh copy for framing while you keep the original in a folder.
Step 2: trim the page
Trimming is the part that makes people nervous. Here is my calming truth: you do not need a perfect millimeter-precise cut for it to look good on a wall. You just need it straight and centered.
Option A: keep the full page
If your page already matches your frame size, you can skip trimming and simply mount it on backing. For example, letter-size paper (8.5 x 11) will not fit an 8 x 10 frame, but it will fit an 8.5 x 11 frame.
Option B: trim to fit the opening
- Measure the frame opening (the visible area, not the outer frame size).
- Lightly mark the back of your page with pencil.
- Cut with a ruler and craft knife on a cutting mat, using steady pressure and multiple light passes.
- Test-fit before mounting. Lay it behind the mat or frame opening to check placement.
My little kitchen-table trick: If you only have scissors, cut slightly larger than you need, then do tiny clean-up snips until it fits.
Step 3: mount the artwork
Mounting means attaching the page to a sturdier backing so it lies flat and feels more finished. You have a few friendly options.
Best all-around: hinge-mount
This is what I do most often because it is secure but still gentle on paper.
- Place your backing board on the table.
- Center your coloring page on top.
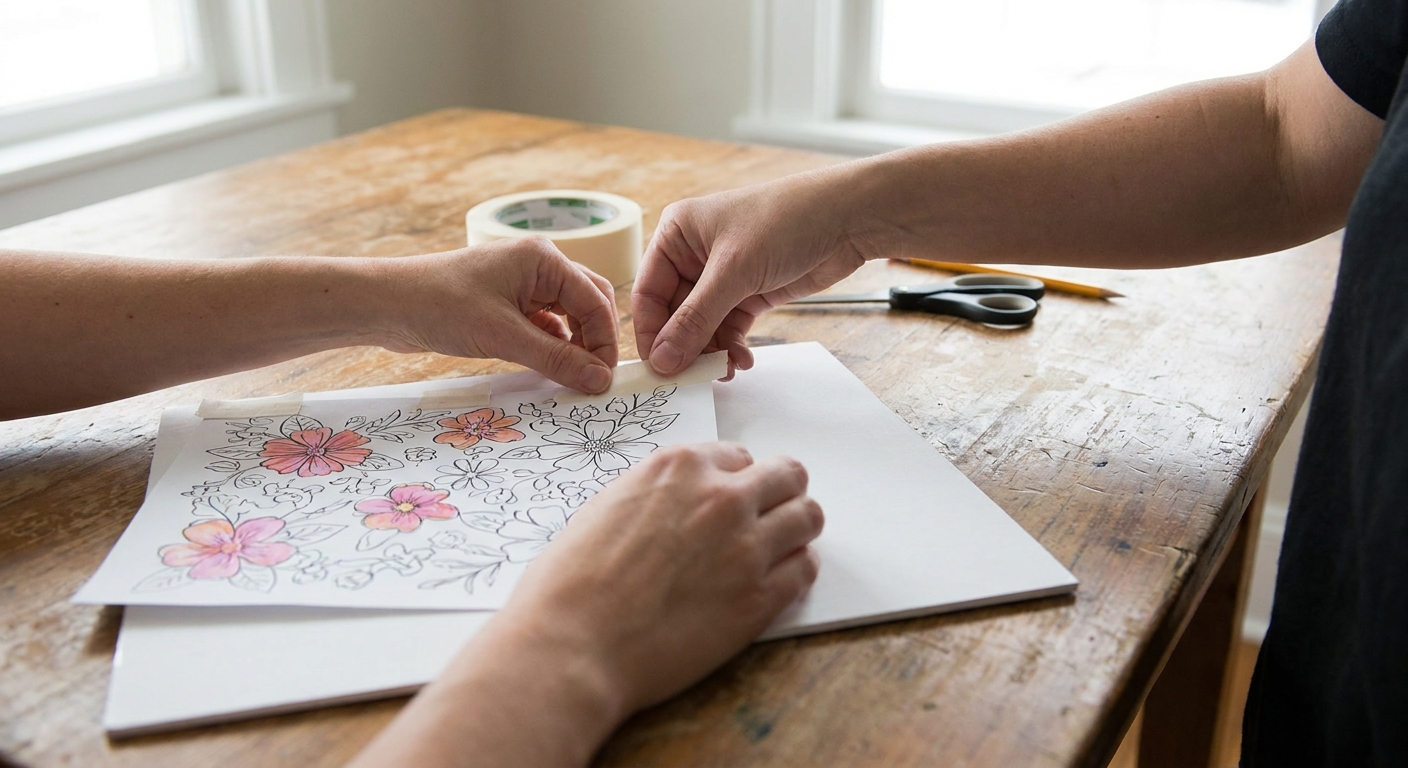
- Use two small pieces of acid-free tape along the top edge only to create hinges.
- Let the rest of the page hang naturally.
Top-only hinges allow the paper to expand and contract a little with humidity, which can help reduce ripples. (Real life caveat: big seasonal humidity swings can still cause a little waviness, especially if the frame package is very tight.)
Super clean: photo corners
Photo corners hold the art without any adhesive touching it. They are wonderful for pages you may want to swap out seasonally.
Quick and budget-friendly: removable mounting squares
Use these only if you are okay with the page being less archival. Some can leave residue or tear paper when removed, so I put them on the backing board, not directly on the art whenever possible.
Step 4: add a mat
A mat is the paper border that sits between your artwork and the frame. It does two magical things: it makes your coloring page look more intentional, and it creates an air gap so the art is less likely to stick to the glass over time.
Easy route: buy a pre-cut mat
Pick a mat that fits your frame size and has an opening close to your artwork size. White, cream, or soft black are reliably beautiful. If your coloring is very bright, a calm neutral mat lets the colors shine.
Mat width
- Small art, bigger mat. If your page is detailed or smaller than the frame, a wider mat makes it feel like a deliberate print.
- Bold art, moderate mat. Big saturated areas often look great with a medium mat that does not compete.
Mat color tips
- Pull a mat color from a quieter shade in your page, not the loudest one.
- If your page has warm tones (reds, oranges, browns), try cream instead of bright white.
- If you used lots of cool colors, a crisp white mat can feel fresh and modern.
Step 5: frame it up
This is where it starts to feel like real home decor. Go slowly, keep everything clean, and you will be amazed how professional it looks.
- Clean the glass with a soft cloth. Make sure there are no lint specks, because they will suddenly become the most noticeable thing on Earth once the frame is closed.
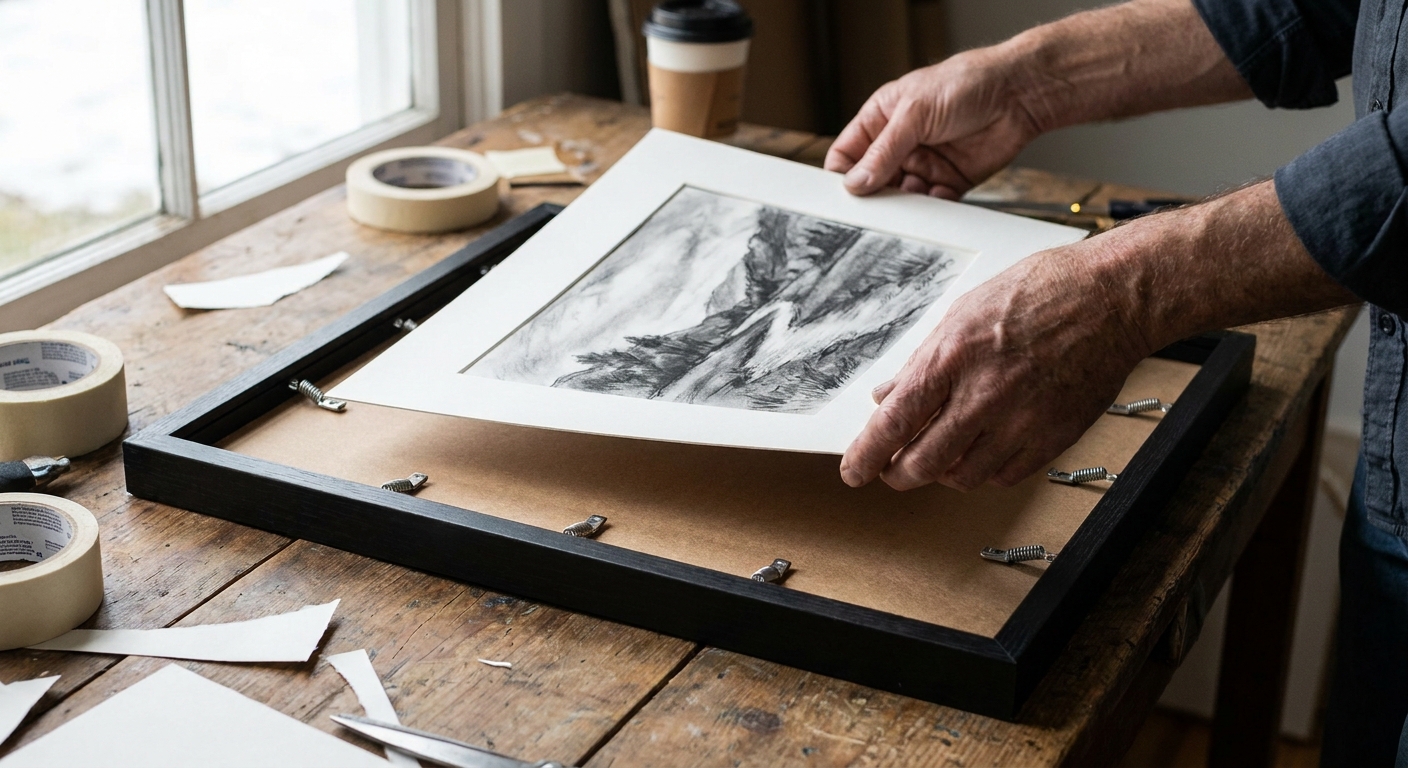
- Layer it up: glass, mat (if using), mounted artwork on backing board.
- Secure the back using the frame tabs or clips. Keep it snug, not crushed.
- Add a hanger if the frame needs one. For lightweight frames, a sawtooth hanger is easy. For larger frames, use wire and two D-rings.
Glass vs acrylic
- Glass is typically heavier and more scratch-resistant, and it often looks very clear.
- Acrylic is lighter and safer for kids rooms, but it scratches more easily and can build static that attracts lightweight paper.
If you have the option, UV-protective glazing can help slow down fading in sunny rooms. If not, just avoid direct sunlight and rotate your art now and then.
Display ideas that feel personal
I love kid art on the fridge as much as anyone, but framed coloring pages can also look truly stylish. A few ideas:
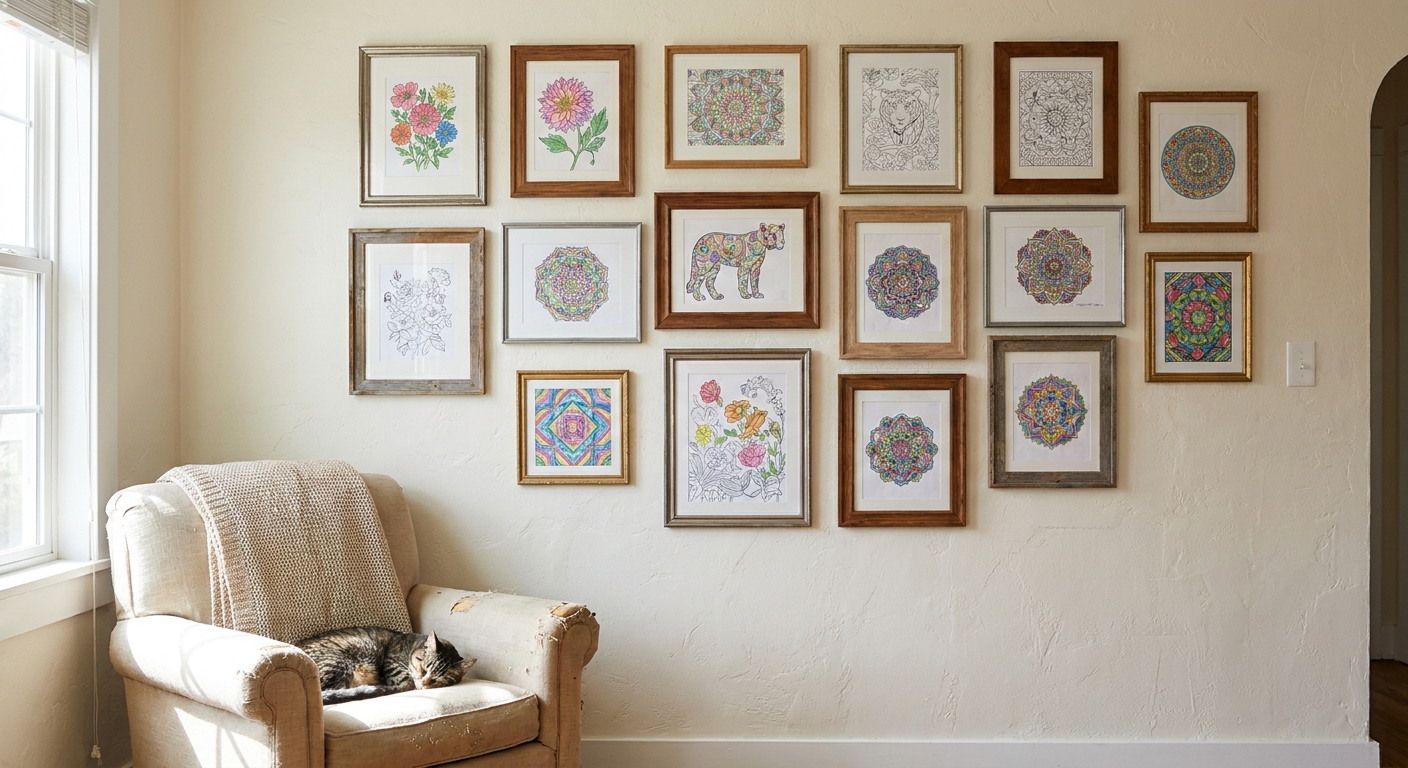
Make a mini gallery wall
- Use matching frames for a cohesive look.
- Or mix frame styles but keep mat color consistent.
- Group by theme: florals together, animals together, mandalas together.
Rotate art seasonally
Keep a few finished pages in a portfolio folder and swap them as your mood changes. Photo corners make rotating especially easy.
Lean frames on a shelf
No nails required. A picture ledge or sturdy bookshelf works beautifully for renters.
Turn pages into folded cards
If you like the idea of a finished piece that can stand on its own, I also love turning pages into folded cards, then propping them on a little easel or shelf. You can follow my step-by-step here: Turn a Coloring Page Into a Folded Card.
Common problems and fixes
My page is buckling
- Try hinge-mounting at the top only, instead of taping all sides down.
- Add a mat or spacers so the art is not pressed against the glass.
- Make sure the paper is fully flattened before framing.
- If your frame is packed very tight, loosen the stack slightly so the paper is not under pressure.
Marker is transferring to the glass
- Let the page dry longer than you think.
- Use a mat or spacers so the artwork does not touch the glazing.
The colors look dull behind glass
- Clean both sides of the glass or acrylic.
- Try a brighter mat (white can really lift colors).
- Hang it where it catches soft daylight, not harsh glare.
My frame is the wrong size
- Use a pre-cut mat to resize the window.
- Mount the page on a larger backing sheet and frame the backing with a wide mat.
A gentle note about kid art
If you are framing a child’s coloring page, treat it like it matters, because it does. A simple mat and a thrifted frame can turn “I colored this” into “I made art.” And that little shift builds confidence in a way that sticks.
One practical safety note: if you are hanging a heavier frame (or hanging in a kids room), use the right wall anchor for your wall type and make sure it is seated firmly.
If you want more simple, table-friendly craft ideas that pair well with coloring time, you might enjoy browsing our Kids Crafts guide and our Craft Projects guide.
Quick checklist
- Flatten page under books
- Trim carefully to fit
- Mount with top hinges or photo corners
- Add a mat (or spacers) for an air gap
- Assemble frame dust-free
- Hang out of direct sun if possible
When you are done, take a step back and admire it from across the room. It is a surprisingly sweet moment to realize your quiet little coloring session turned into something that brightens your home every day.