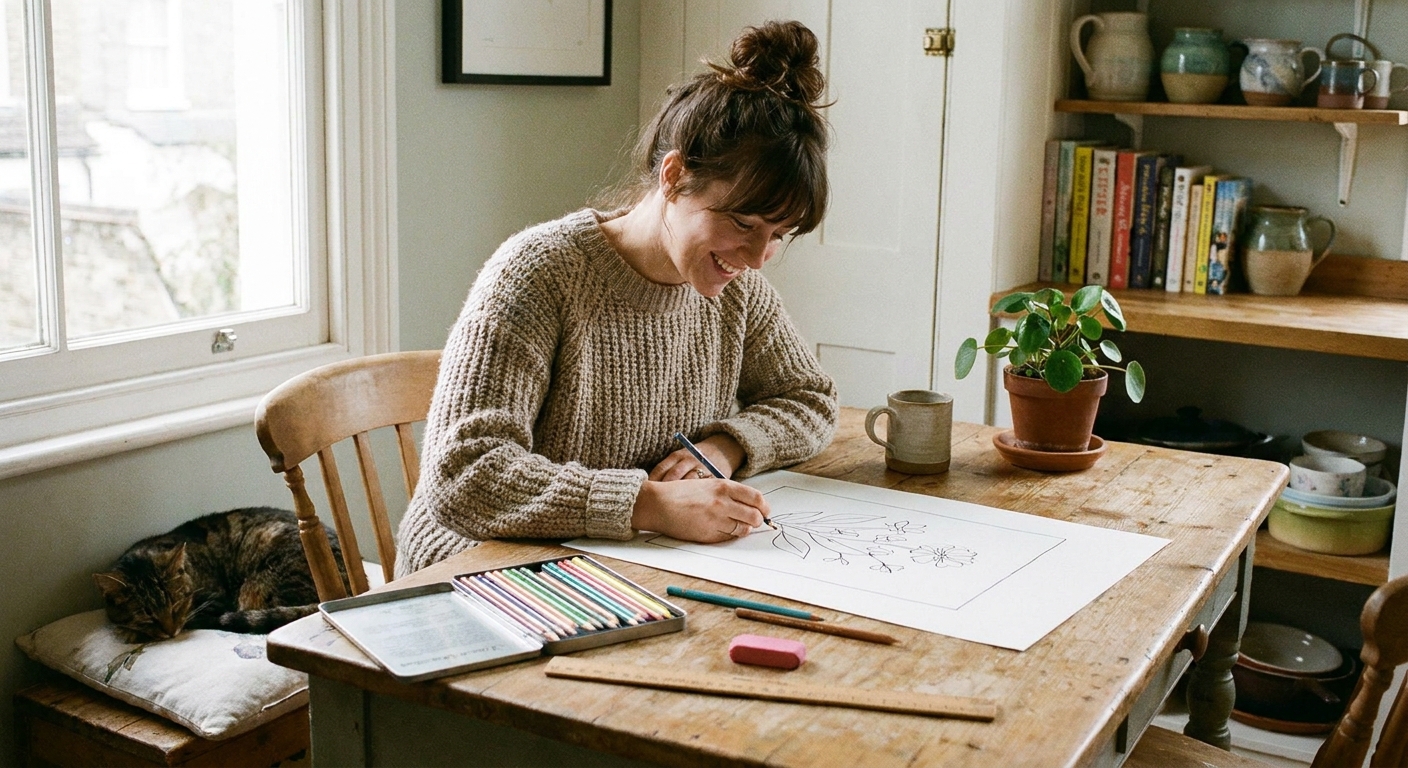
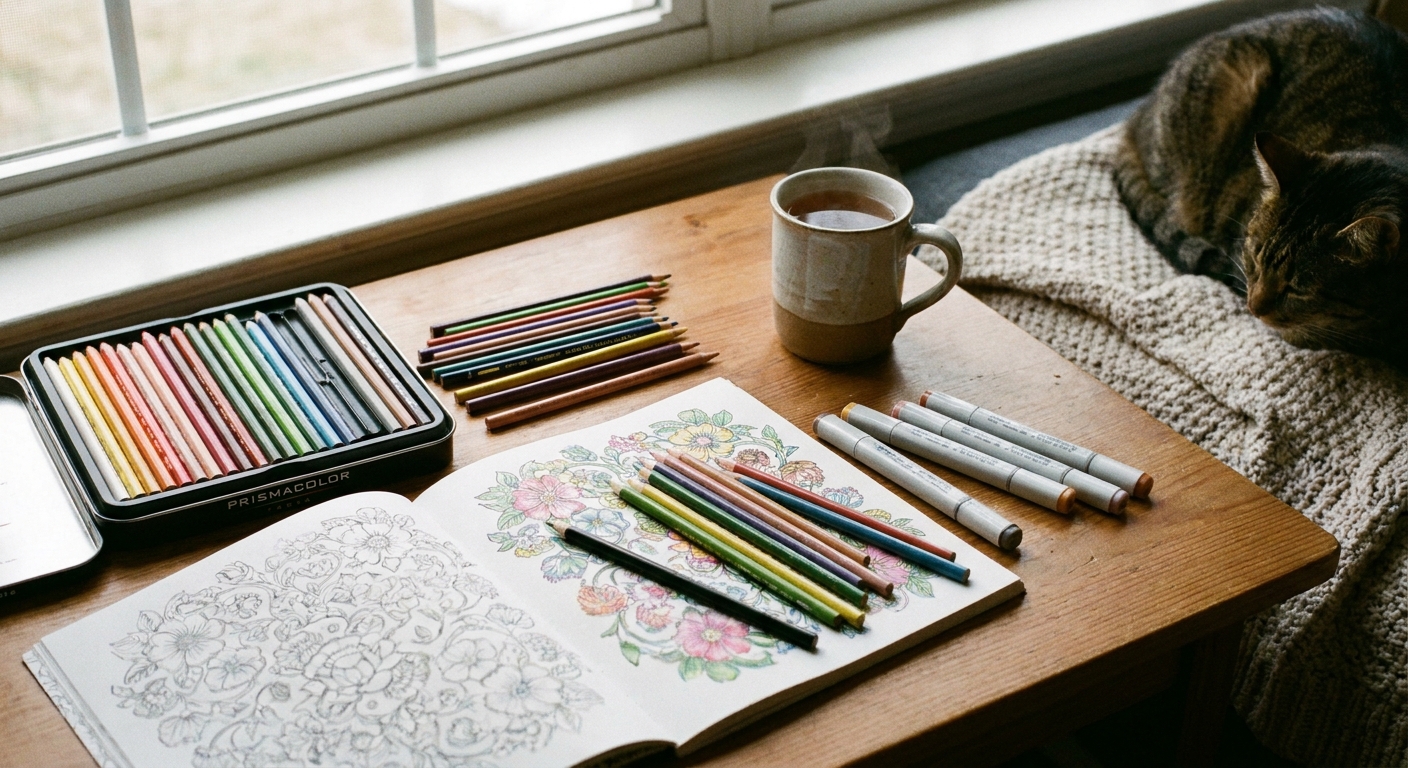
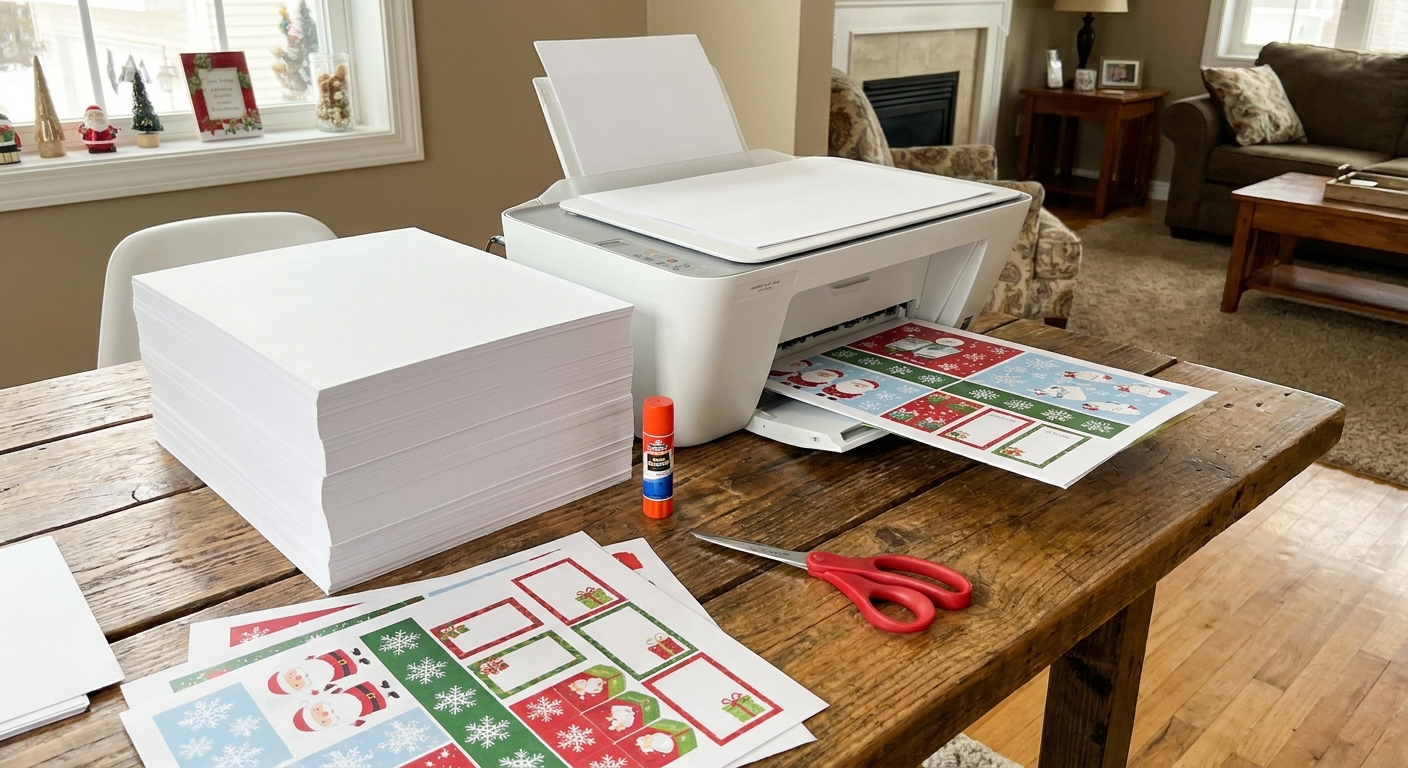
My favorite kind of “coloring page” starts as the scariest thing in the world: a totally blank sheet of paper. I grew up with sketchpads permanently parked on our dining table, and I still remember the tiny thrill of making the first mark. If you have ever wished you could color something that feels more like you, this is your sign to try drawing your own page.
You do not need fancy tools or an art degree. You just need a few simple shapes, a little patience, and permission to make it playful.
What makes a good coloring page?
Coloring pages have a different job than a finished illustration. They need to be easy to follow, satisfying to fill in, and friendly to lots of coloring tools.
- Clear, closed shapes (so color can “live” inside them).
- Line variety (a few thicker outlines can help the design read quickly).
- Comfortable detail (not so tiny that coloring becomes stressful unless that is what you want).
- Breathing room (open areas make the page feel calm and printable).
- Balanced composition (the design feels centered or intentionally placed).
If you want more general coloring-friendly tips, I keep a growing resource here: Coloring Pages Guide.
Supplies you can keep simple
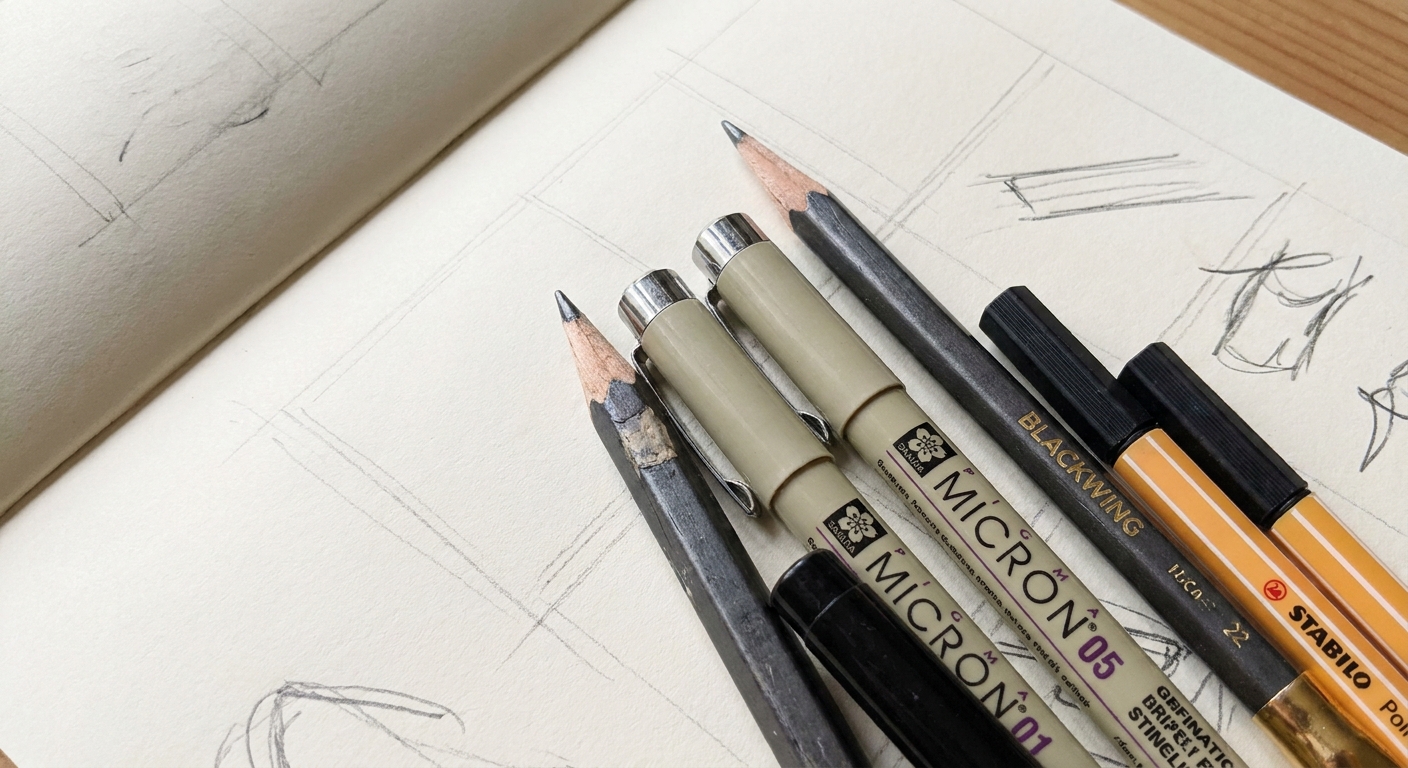
This is a “use what you have” hobby. Here are a few options from basic to fancy.
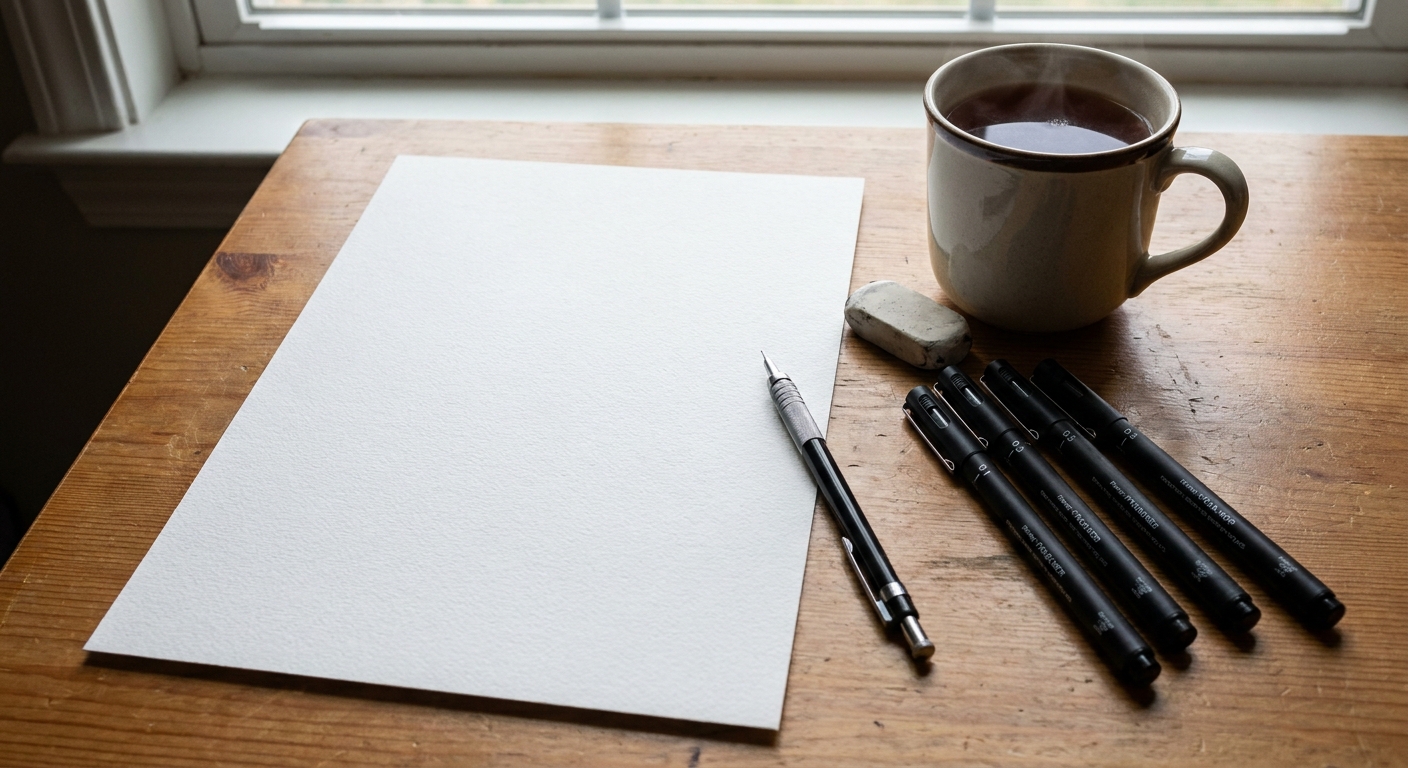
Paper
- Printer paper: perfectly fine for pencil and pen, and easy to scan or copy.
- Mixed media paper: nicer if you like markers, but test for bleed-through.
Drawing tools
- Pencil (HB or 2B): for sketching.
- Eraser: a kneaded eraser is gentle, but any eraser works.
- Black fineliner: waterproof ink often helps if you might color with markers, but it still depends on the pen and paper combo. A quick test swatch saves a lot of disappointment.
Optional helpers
- Ruler (for borders and symmetry lines).
- Compass (for mandalas, but a bowl or mug works too).
- Light source (window, lamp, or light box) for tracing your cleaned sketch.
Step by step
I like to break the process into small stages so it never feels like one big leap.
Step 1: Pick a theme and a main shape
The easiest way to start is to choose one theme and one main shape to build around. A theme is your subject, and the main shape is the container.
- Themes: cozy kitchen, garden, underwater, space, spooky-cute, cats doing human things, enchanted forest.
- Main shapes: circle (mandala), wreath, heart, big central character, border frame, repeating tiles.
If you feel stuck, choose “circle” plus any theme. Circles forgive almost everything.
Step 2: Add light guidelines
With a pencil, lightly map the space. Think of it like setting the table before dinner.
- For a centered design, draw a faint vertical and horizontal line crossing in the middle.
- For a mandala, draw a circle and a few “pie slice” guides.
- For a scene, draw a horizon line and big shape placeholders (a house shape, a tree shape, a character silhouette).
Keep it whisper-light. Your guidelines should almost disappear when you erase later.
Step 3: Block in big shapes
Start with the biggest pieces, then work smaller. This prevents the classic problem of drawing twelve adorable details and then realizing you have nowhere to put the face.
- Place the focal point: the big flower, the main character, the largest emblem.
- Add supporting shapes around it: leaves, stars, clouds, decorative panels.
- Keep checking balance: if one side feels heavier, add a similar visual weight to the other side.
Step 4: Make colorable compartments
This is the moment where your drawing becomes a coloring page. Look at each area and ask, “Can this be colored without confusion?”
- Break large areas into smaller ones with simple interior patterns.
- Close open ends so sections are fully enclosed.
- Avoid super skinny gaps unless you want a very detailed page.
Step 5: Add texture and pattern
Patterns are a gentle cheat code. They add richness without requiring perfect realism.
- Easy fillers: dots, stripes, scallops, tiny leaves, simple petals, brick lines, wood grain.
- Cozy fillers: knit stitches, quilt squares, mug steam swirls.
- Nature fillers: feather lines, shell ridges, bark texture, wave curves.
Step 6: Ink slowly
Once your pencil sketch feels good, ink it. My best tip is boring but true: go slowly and lift your hand often.
- Ink the main outlines first.
- Then ink interior details.
- Finally, add thicker lines where you want emphasis (outer border, main character outline, foreground objects).
If your pen smears, give it a minute before resting your hand on the page. If you are using alcohol markers later, a waterproof, pigment-based fineliner can help reduce smudging, but some inks still feather or bleed on certain papers. Testing your exact tools is the real secret.
Step 7: Erase pencil and clean up
When the ink is fully dry, erase the pencil gently. I like to erase outward from the center so I do not drag graphite through the ink.
- Check for tiny gaps in outlines and close them.
- Fill accidental breaks if you want easier coloring.
- Remove stray marks by carefully re-inking a clean edge.
Step 8: Make it print-friendly
If you want to print your page for yourself or friends, you have a couple options:
- Scan if you have access to a scanner for crisp lines.
- Photograph in bright, indirect daylight. Stand directly above the page to reduce distortion. If your phone has a document scan mode, it can also help straighten edges automatically.
Then increase contrast so the lines look bold and the background looks clean. In many apps, a “levels” or “threshold” adjustment gets you there fast by turning light grays into white and keeping the ink dark.
When you print, choose black-and-white or grayscale, and check your printer settings. If “fit to page” shrinks your margins too much, try printing at 100% instead.
Three easy styles
1) Doodle border
Leave the center blank for a name or message, then build a frame around the edges.
- Draw a rectangle border about 1 inch from the paper edge.
- Add simple motifs: stars, flowers, tiny fruit, geometric shapes.
- Repeat a few elements to make it feel intentional.
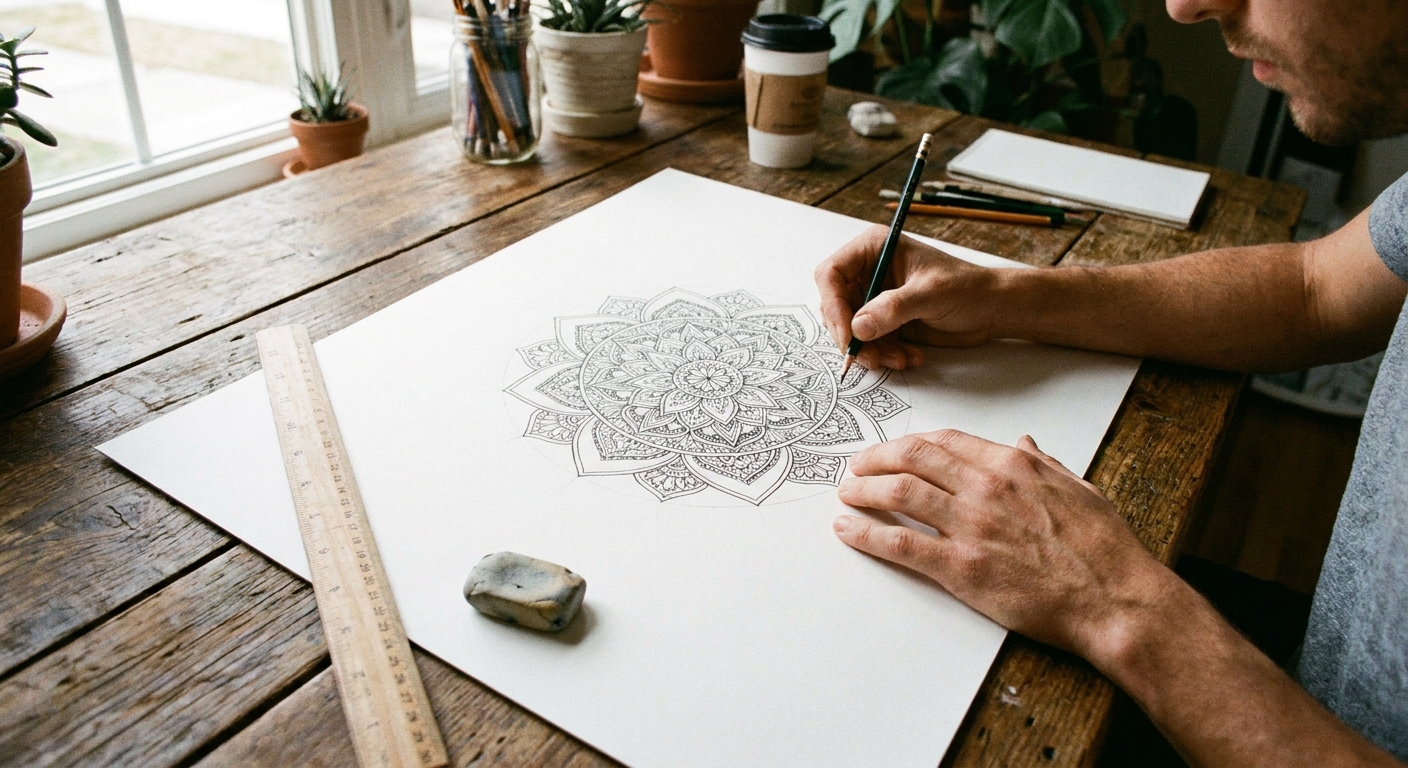
2) Simple mandala
Mandalas look intricate, but they are basically repetition plus patience.
- Draw a circle (trace a plate if you like).
- Divide it into 6 or 8 wedges with light pencil lines.
- Design one wedge, then repeat it around the circle.
- Ink, then erase your guides.
3) Cute character
Characters are easiest when you build them from basic shapes.
- Start with a big head shape (circle or rounded square).
- Add a simple body shape (bean shape is my forever favorite).
- Place facial features low on the face for extra cuteness.
- Add props that create colorable sections: scarf stripes, backpack panels, patterned shirt.
Clean line tricks
- Rotate the paper instead of twisting your wrist. Your lines often improve right away.
- Practice two-pass lines: sketch a line lightly, then ink it slowly right on top.
- Use a border if your composition feels floaty. A simple frame makes everything look finished.
- Fix wobbles with thicker outline. This is not cheating. It is design.
- Leave a few open areas on purpose. They give your eyes a place to rest.
Make it kid-friendly
If you are drawing for younger kids, or for anyone who wants easier coloring (including tired grown-ups on a weeknight), simplify on purpose.
- Use thicker outlines and fewer skinny gaps.
- Choose bigger shapes with obvious boundaries.
- Keep details to the edges and leave a few large, satisfying areas in the center.
- Skip fussy backgrounds unless the person coloring really loves tiny sections.
Turn it into a gift
One of my happiest little rituals is turning a handmade coloring page into a card. It feels personal, but it is still low-pressure because the coloring happens after.
If you want to do that with your custom page, I have a full tutorial here: Turn a Coloring Page Into a Folded Card.
Quick prompts
- A tea cup surrounded by floating citrus slices and leaves
- A cat astronaut with stars and tiny planets as filler shapes
- A mushroom house with a stone path and lots of repeating roof shingles
- A bouquet of five big flowers, each with a different pattern style
- A shelf of quirky jars, each jar label replaced with a simple pattern block
- A wreath made of seashells, coral shapes, and bubbles
FAQ
How detailed should a homemade coloring page be?
As detailed as you enjoy. If you want relaxing coloring, aim for medium and large shapes. If you want a slow, meditative project, add more tiny pattern sections. A good rule is to include a mix so the page works for different moods.
What pen is best for outlining?
A black fineliner is the easiest starting point. If you plan to use markers, look for pigment-based, waterproof ink since it often helps with smudging. Always test on a scrap of paper first because paper type and pen brand matter.
How do I make my design symmetrical?
Use light guidelines: a center cross for mirrored symmetry, or wedge divisions for mandalas. Draw one section, then repeat it around. If you are tracing, a bright window can act like a simple light box.
Can I create coloring pages digitally?
Yes. You can sketch on paper, photograph or scan it, then clean it up in a drawing app. In simple terms: crop it straight, remove shadows, boost contrast so the background turns white, and export at a high enough resolution that your lines stay crisp when printed.
What if I mess up?
Welcome to the club. When I mess up, I either turn it into a bolder line, add a small element to cover it, or declare it “texture.” Coloring pages are wonderfully forgiving.
Next step
Pick one page style from above and set a timer for 15 minutes. You are not trying to create a masterpiece. You are simply making marks and building confidence. The blank page stops being intimidating the moment it has one brave little line on it.
If you want to learn more about the heart behind Free Coloring, you can visit About or read more from me at Penelope Dixon.