

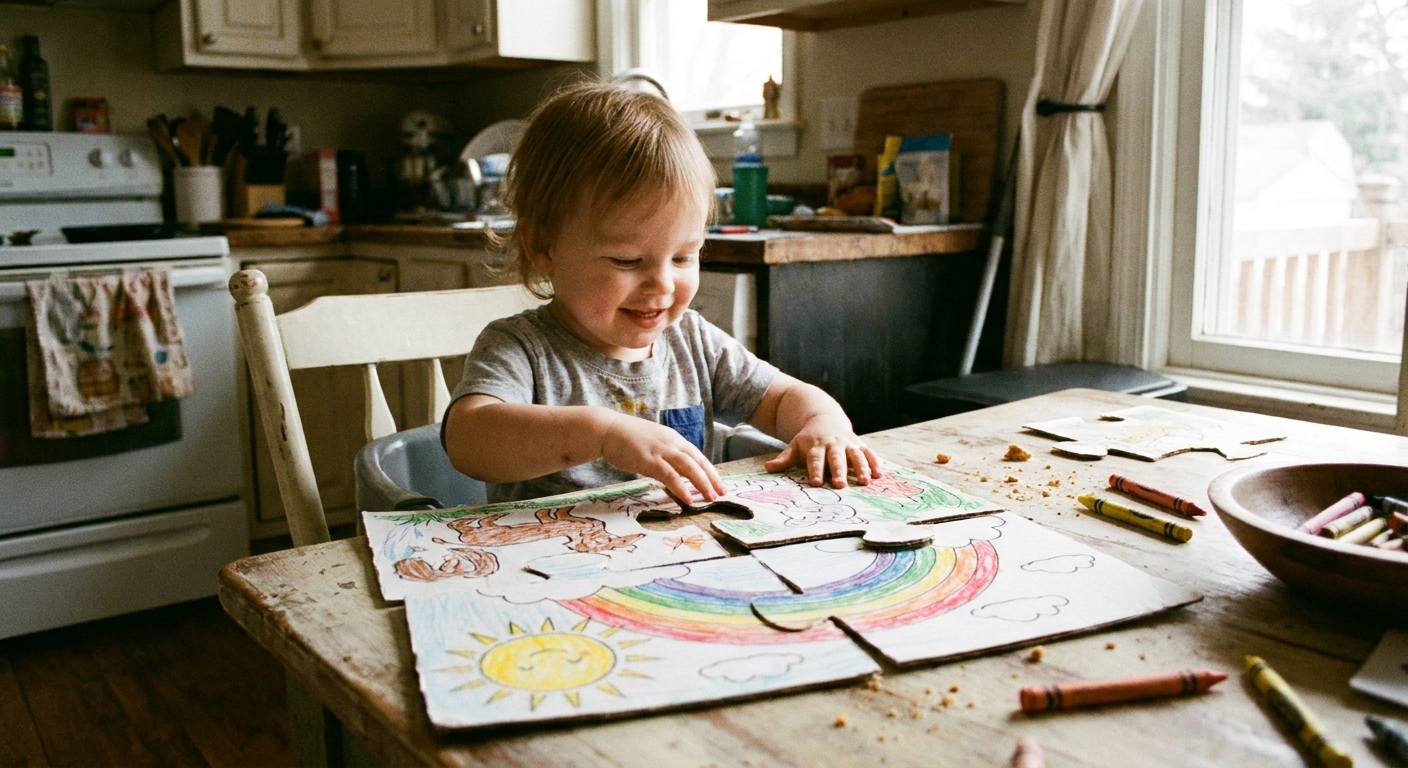
I love keeping finished coloring pages, but I love it even more when they keep getting used. One of my favorite kitchen-table upcycles is turning a completed page into a chunky little jigsaw puzzle for toddlers. It is inexpensive, surprisingly durable, and it turns your child’s own artwork into a toy they actually want to play with.
What works best for toddlers
Toddler puzzles are all about confidence and safety. Before you start cutting, set yourself up for success with these simple choices.
- Big pieces: Many toddlers ages 2 to 3 do best with about 4 to 8 pieces. Ages 3 to 4 often enjoy 8 to 16 pieces, depending on patience and practice.
- Thick backing: Cereal boxes work, but corrugated cardboard or chipboard is sturdier and easier for little fingers to grip.
- Simple shapes: Large tabs and sockets, or even chunky wavy lines, are plenty. Tight, intricate interlocks are frustrating for toddlers.
- Rounded corners: A small detail that makes a big difference for comfort and safety.
Pick the right finished page
Not every coloring page makes a great first puzzle. If you have options, choose one that sets your toddler up to win.
- Bold, simple images: Big shapes, animals, vehicles, and clear outlines are easier to “read” as pieces.
- Not too many tiny details: A busy design can feel like visual noise when it is chopped into chunks.
- Go easy on heavy coverage: Very dark, solid coloring can hide the edges between pieces. If your kid loves super-saturated coloring, that is fine. Just keep your cut lines extra simple.
Supplies (all budget-friendly)
- Finished coloring page (regular printer paper is fine)
- Cardboard backing: cereal box, shipping box cardboard, or chipboard
- Glue stick or white school glue
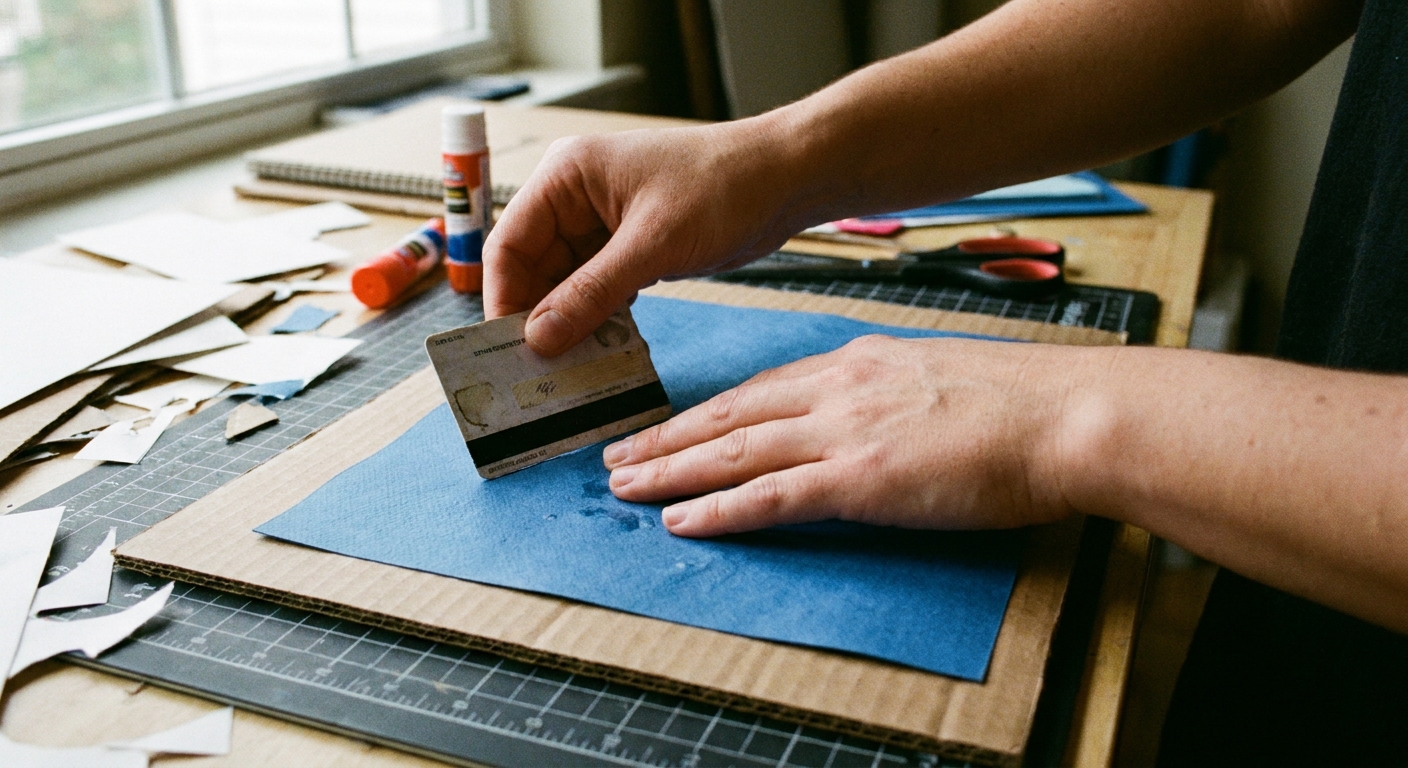
- Optional but helpful: brayer, old gift card, or rolling pin to smooth bubbles
- Clear packing tape, self-adhesive laminate, or Mod Podge (for durability)
- Scissors (kid-safe craft scissors can work for thin cardboard)
- Craft knife and cutting mat (adult-only, best for thicker board)
- Ruler and pencil
- Optional: corner rounder punch or fine sandpaper/emery board
If you want the coloring page to look extra polished before it becomes a puzzle, picking a limited set of colors helps everything feel cohesive. I shared my go-to approach here: Choose a cohesive color palette before you color.
Step 1: Prep and flatten your page
If your page has heavy marker or watercolor, give it time to fully dry. Then flatten it under a book for 20 to 30 minutes, or until it relaxes and lies fairly flat. A flatter page glues down more smoothly and is less likely to wrinkle.
If you painted your page, you already know paper can get a little wavy. This guide can help you avoid surprises next time: Watercolors on printed coloring pages.
Step 2: Mount the page to cardboard
Option A: Glue stick (my favorite for speed)
- Place the coloring page face down.
- Cover the back evenly with glue stick, especially the edges and corners.
- Lay it onto the cardboard and press from the center outward using a brayer, rolling pin, or an old gift card.
- Put a clean sheet of paper on top and weigh it down with a book for 10 to 20 minutes.
Option B: White school glue (strong, but use a light hand)
- If the glue is very thick, add just a few drops of water so it spreads easily. Too much water can warp the paper.
- Brush a thin, even layer onto the cardboard (not the paper).
- Lay the page down and smooth outward.
- Weight it down and let it dry fully before you move on.
Penelope tip: Too much liquid glue is the main cause of wrinkles. Thin layer, patient drying, and you will be golden.
Step 3: Seal it (optional)
Toddlers are enthusiastic. Sealing keeps the surface more wipeable and helps the ink resist scuffs.
- Clear packing tape: Fast and very durable. Overlap strips slightly and smooth as you go. Trim the edges neatly.
- Self-adhesive laminate sheets: Great if you have them. Apply slowly to avoid bubbles.
- Mod Podge: Gives a nice finish, but it needs drying time. Apply thin coats and let it cure fully before cutting.
Quick heads-up: Some markers, especially alcohol-based markers, can smear under brush-on sealers. If you are not sure what you used, test your sealer on a small corner or a scrap first.
If you used colored pencils and want the surface to stay crisp, tape or laminate tends to be less grabby than brush-on sealers.
Step 4: Plan easy puzzle cuts
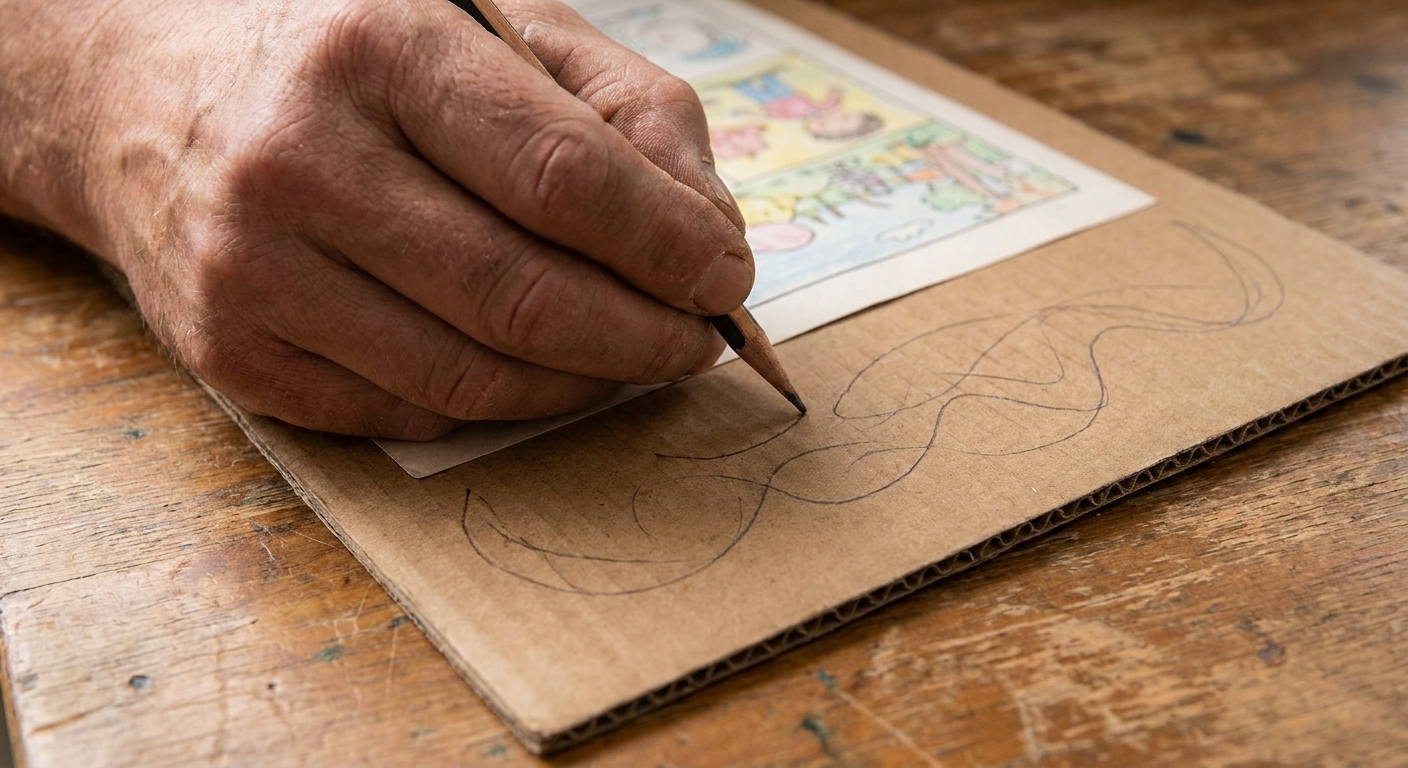
Flip the mounted page over so you are working from the cardboard side. Lightly draw your cut lines in pencil. Here are three easy layouts that work well for little kids.
Beginner: 4-piece grid
Draw one vertical and one horizontal line to make 4 big rectangles or squares. If your toddler is brand new to puzzles, this is a confidence builder.
Classic toddler: 6 to 10 chunky pieces
Start with a simple grid, then add one or two large tabs per piece. Keep the tabs round and generous, like big bumps, not tiny jigsaw knobs.
Wavy lines: easy to draw, easy to assemble
Draw 2 to 4 wavy lines across the page. The pieces will nest together without needing precise tab shapes.
Comfort guide: Try to keep each piece wide enough for a full toddler grip, with no skinny little points. This is about handling and frustration, not a safety standard.
Step 5: Cut the puzzle safely
For thinner cardboard (cereal box)
Sturdy scissors are usually enough. Cut slowly and rotate the puzzle as you cut, instead of twisting your wrist.
For thicker cardboard or chipboard
A craft knife gives cleaner edges. This is adult-only.
- Place the board on a cutting mat.
- Use a ruler for straight sections.
- Make multiple light passes rather than one deep cut.
Important: If any pieces end up with sharp points, trim them into a curve. Smooth is the goal.
Step 6: Smooth edges and toughen it up
This step takes two minutes and makes the puzzle feel like a real toy.
- Round corners: Snip with scissors, use a corner punch, or gently sand.
- Check for lifting paper: If edges start to peel, add a dab of glue and press under a book.
- Optional edge tape: For very enthusiastic kids, run clear tape around the outer edges of each piece. It is not pretty, but it is tough.
Make it extra fun
- Use a photo as a guide: Take a quick picture of the finished puzzle and show it on your phone while they build.
- Add a home base: Trace the completed puzzle onto a sheet of paper or the inside of a shoebox lid so they can match shapes.
- Theme it: Animals, vehicles, big simple characters, and bold shapes are toddler magnets.
If you are in a crafty mood, you can turn the leftovers into other projects too. I love simple repurposes like upcycling coloring pages into gift wrap when we have a pile of finished art.
Storage ideas
- Shoebox with the puzzle picture taped to the lid
- Large zip-top bag inside a bin
- Reusable sandwich container for travel
Little-household reality: If you make more than one puzzle, write the child’s name and the piece count on the back with marker. It saves so much sorting later.
Safety notes
- Supervision matters: This is a play puzzle, not a teether toy. Keep an eye on kids who still mouth toys.
- Choking and chewing risk: Keep pieces large and thick, and store the puzzle out of reach when you are not using it.
- Cardboard does not love saliva: If pieces get soggy, chewed, or start to delaminate, toss them. Wet cardboard can break down into bits fast.
- Choose non-toxic supplies: Stick to school glue and child-safe sealers when possible.
- Inspect wear: If edges start to fray, retire the puzzle or re-seal it with tape.
Troubleshooting
My paper wrinkled when I glued it
Use less liquid glue, smooth from center outward, and press under a heavy book. Glue sticks are the easiest fix if wrinkles keep happening.
The pieces do not lock together
That is okay for toddlers. If you want more interlock next time, add bigger tabs and sockets, or use wavy cuts which naturally nest.
The cardboard is too flimsy
Double it up. Glue the mounted page to a second layer of cardboard, press flat, then cut.
The ink smears under tape or sealer
Give the page more dry time, especially for markers. If you are experimenting with new supplies, a quick test on a scrap can save heartbreak.
A sweet next step
Once your toddler can do their own artwork puzzle, try letting them choose the coloring page and help with the design of the cuts by drawing the wavy lines on the back. You do the cutting, they do the creative directing, and suddenly it becomes a whole little ritual.
And if you are looking for more kid-friendly projects like this, you can browse the roundup in our Kids Crafts guide.