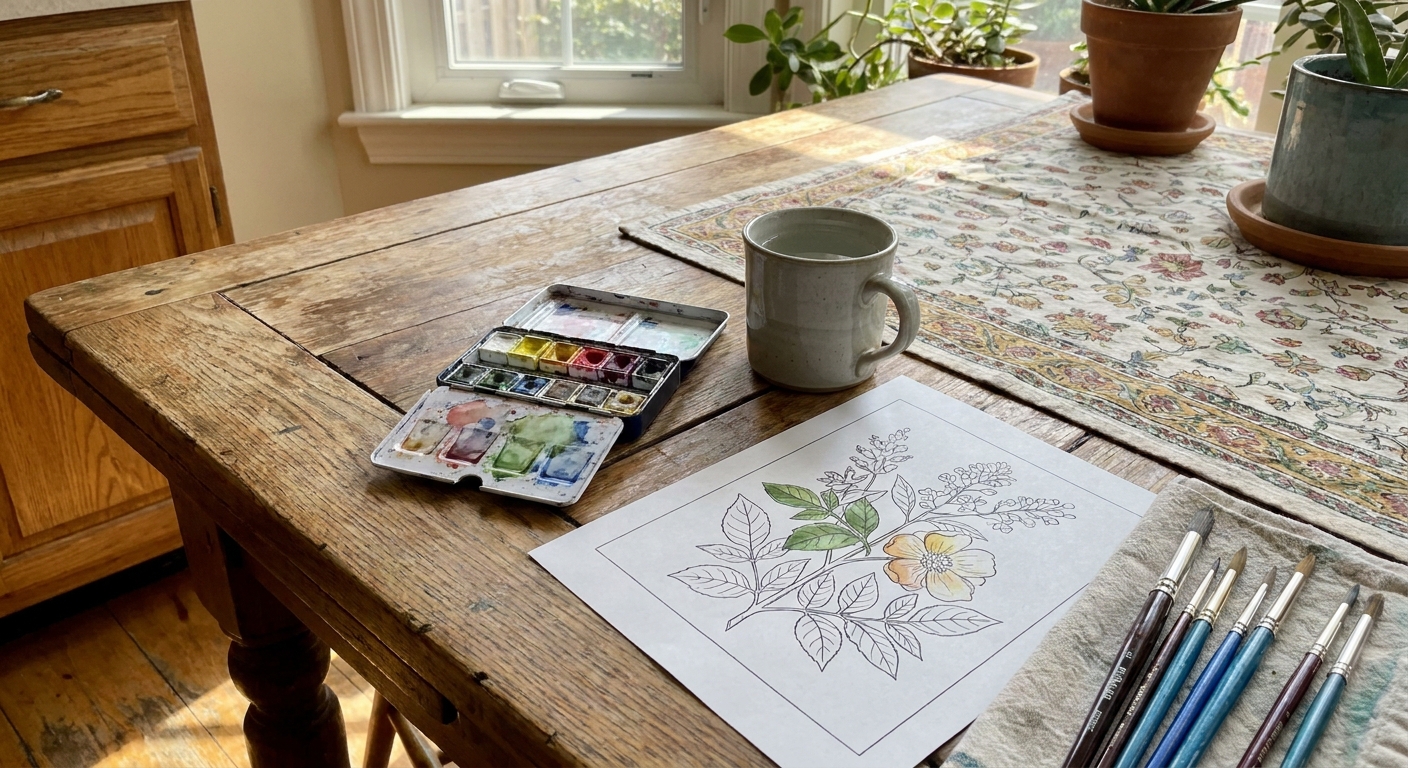
My childhood dining table was always sprinkled with two things: pencil shavings and little rings of dried paint water. So yes, I love watercolor. But the first time I tried it on a basic printed coloring page (hello, standard printer paper), I watched the ink lines get a little fuzzy and the page buckle like a potato chip. Not my proudest moment.
The good news is that you can absolutely enjoy watercolors on standard printed coloring pages. You just have to treat the paper gently, keep the water under control, and lean into techniques that look beautiful even when the page is not “real watercolor paper.” Let’s make it easy and stress-free.
First, know what you are working with
Most coloring pages people paint at home are printed on everyday copy paper, often around 20 lb. Some coloring books and premium printables use heavier paper, but typical home and office prints are not designed for repeated soaking. That means a few things:
- Paper buckles easily when it gets too wet.
- Fibers can pill if you scrub with a brush.
- Water absorbs unevenly and can dry patchy or streaky.
- Bleed-through is possible if you use a lot of water or very juicy paint.
This is not you doing it wrong. It is just paper physics.
Choose the right kind of coloring page print
Inkjet vs laser prints
If you are printing at home, the printer matters more than people think.
- Laser printer (toner) lines tend to be more water-resistant once fused to the paper, so they often smear less when you paint over them.
- Inkjet printer lines can smear if the ink reactivates with water. Dye-based inks are more likely to run, while many pigment-based inks are more water-resistant.
It is not a perfect rule either way. If the page gets very wet, even toner can lift a bit, and some inkjet prints are surprisingly sturdy. A quick test will tell you what your page wants.
A quick test that saves heartbreak
Before you commit to the whole page, do this:
- Print your coloring page.
- In a corner margin or an empty space, paint a tiny stroke across a black line.
- Wait until it looks dry to the touch (often about 30 to 60 seconds), then lightly brush over it again.
If the line smears, switch to lighter water use and avoid brushing back and forth over the outlines.
Two printing tips for cleaner lines
- Skip photo mode. Photo settings can lay down more ink, which can increase smudging on inkjet prints.
- Let inkjet pages rest. If you can, print your page and let it dry for a while before painting, especially if your printer ink tends to feel “fresh” for longer.
Set up your page so it stays flat
A little prep goes a long way on printer paper.
What to put underneath
- A piece of cardboard or a hard clipboard to support the page.
- A “bleed shield” sheet behind the page to protect your table (and the next page in your stack). Wax paper works, but plain scrap paper is fine too.
Optional: tape the edges
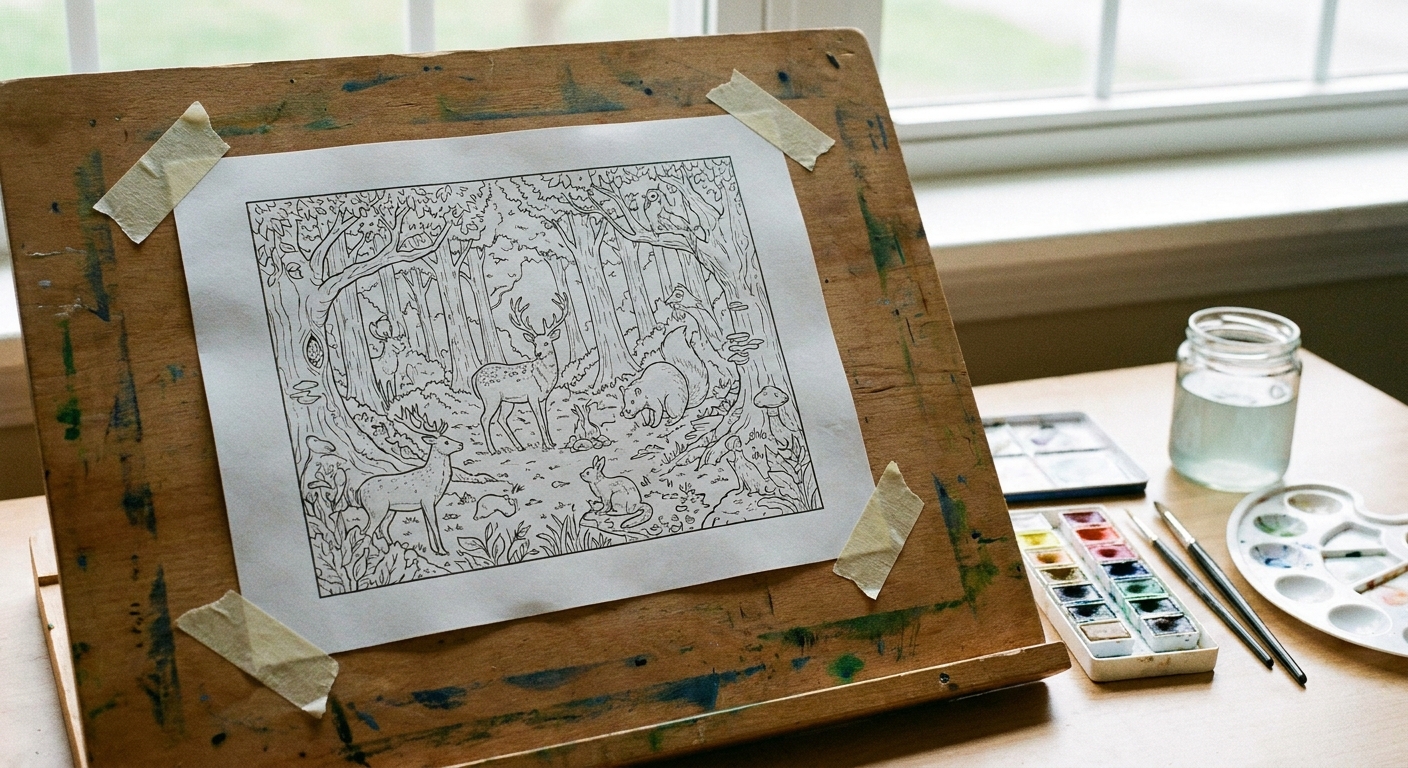
If your page loves to wave and curl, use a low-tack tape around the edges and stick it to a board. On printer paper, I prefer a gentle tape and a gentle peel later. This helps reduce buckling, especially if you do backgrounds.
The most important rule: use less water than you think
If you take only one tip from this guide, make it this: printer paper likes damp, not wet.
What “too wet” looks like
- Puddles that shine on the paper
- Water spreading far beyond where your brush touched
- The page immediately buckling in the first 10 seconds
How to control water like a pro (even as a beginner)
- Blot your brush on a paper towel after rinsing. Your brush should be loaded with paint, not dripping with water.
- Mix thicker paint than you would on watercolor paper. Creamy is safer than watery.
- Paint in small sections and let them dry before going back in.
Easy techniques for printer paper
1) Damp brush coloring (my go-to)
This is the easiest way to get a watercolor look without soaking the page.
- Load your brush with paint.
- Blot once on a paper towel.
- Color the shape with a single smooth layer.
- Leave it alone until it dries.
It feels almost like coloring with a marker, but softer.
2) Glazing (layering) instead of blending while wet
Traditional watercolor loves wet-in-wet blending. Printer paper usually does not. A safer approach is glazing:
- Paint a light layer.
- Let it dry completely.
- Add another layer to deepen shadows or shift the color slightly.
This gives you control and reduces paper damage.
3) Dry brush texture for cute fur, leaves, and wood
Dry brush is perfect on printer paper because it uses very little water.
- Dip brush in paint.
- Blot well.
- Drag lightly across the paper so the texture shows.
It is especially sweet for animal fur, tree bark, and rustic little details.
4) Background shortcuts that do not warp the page
Big backgrounds are where pages most often ripple. Try these alternatives:
- Leave backgrounds white and add a simple shadow under the main subject.
- Do a halo around the character or object instead of a full-page sky.
- Use watercolor pencils for backgrounds, then activate lightly (more on that below).
Paint vs watercolor pencils
You can use either, and I use both depending on what the page needs.
Watercolor paint
- Best for: smooth areas, simple washes, bold color blocks
- Watch out for: too much water, line smearing, buckling
- Beginner tip: mix stronger paint so you do not have to keep brushing over an area
Watercolor pencils
- Best for: detail work, shading, small spaces, controlled color
- Watch out for: scrubbing too hard when activating, which can rough up printer paper
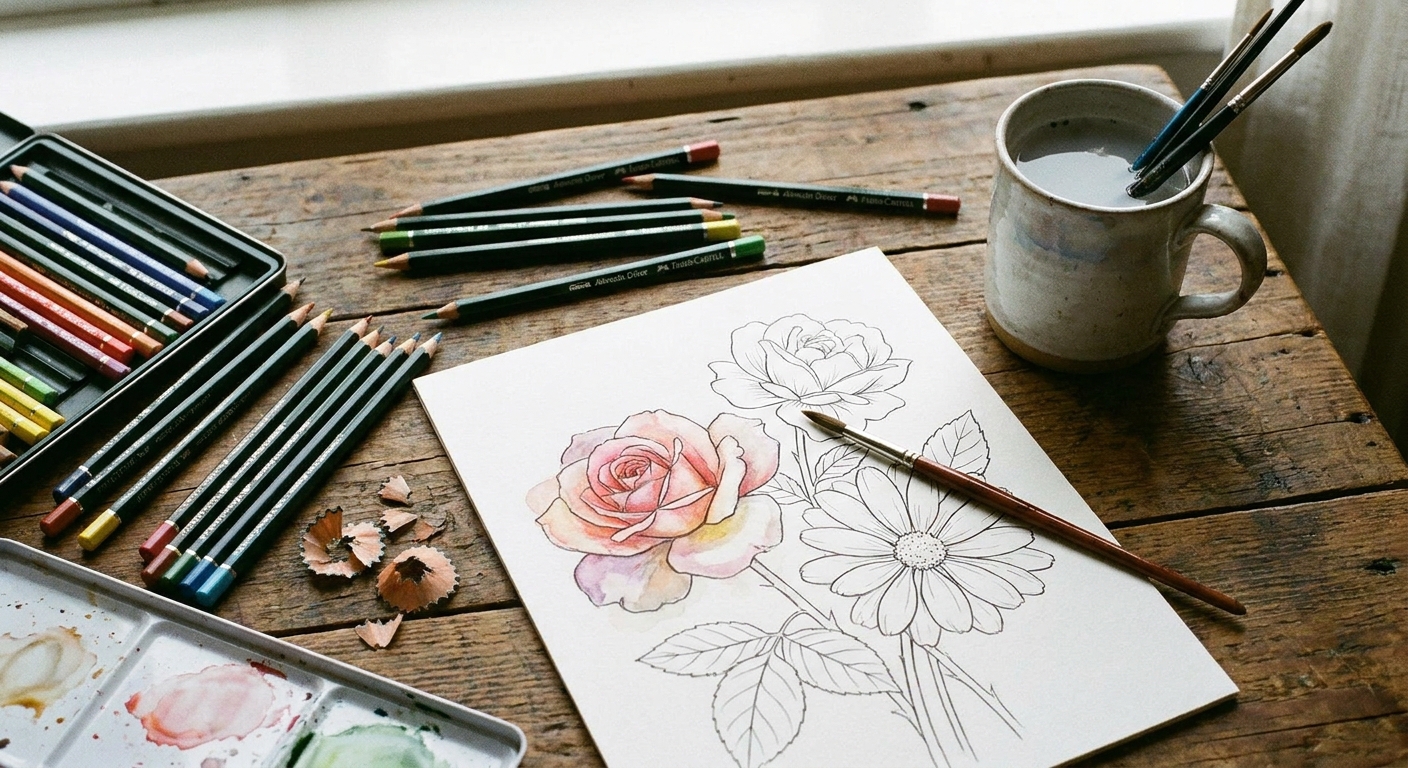
- Beginner tip: think “color first, water second” and activate with a barely damp brush
Use watercolor pencils without tearing the page
Step-by-step: gentle activation
- Color lightly with the pencil. Heavy pressure puts too much pigment and dents the paper.
- Use a small brush (a size 2 to 6 is great for most coloring pages).
- Dampen the brush and blot it. You want it barely wet.
- Pull color in one direction with minimal strokes. Avoid back-and-forth scrubbing.
- Let it dry before adding another layer.
Two easy looks
- Soft gradient: color darker at the edge, lighter toward the center, then activate from light to dark.
- Painterly sketch: color loosely, activate only parts of the area so some pencil texture stays visible.
If you want more general shading help, my colored pencil blending tutorial is still useful for planning lights and darks, even if you finish with water: How to blend colored pencils for smooth shading.
Reduce smears and bleed-through
Most messes happen when the page gets saturated or you keep brushing over the same spot. A few habits keep things tidy:
- Work in thin layers and let them dry.
- Avoid puddles and shiny wet spots.
- Leave a tiny buffer near outlines if your ink is smear-prone, then fill that edge carefully with thicker paint.
- Use smaller brushes for small areas so you do not flood them by accident.
- Place a blotter sheet underneath to catch any seepage.
Can you seal the page first?
Some artists use clear spray sealants or acrylic mediums to prep paper, but for everyday coloring pages I usually skip it. It adds fumes, drying time, and extra supplies. If you are crafting with kids or coloring at the kitchen table, simpler is better.
Fix common problems
My black lines smeared
- Use less water and fewer passes over the line.
- Let the first painted layer dry fully before painting near outlines again.
- If possible, print with a laser printer next time, or give inkjet prints more drying time.
The paper got fuzzy or started pilling
- Switch to a softer brush and stop scrubbing.
- Let the area dry, then continue with glazing instead of blending.
- Try watercolor pencils for that section.
The page buckled
- Use tape on the edges next time.
- Paint smaller sections.
- After it is fully dry, you can flatten it under a heavy book for a few hours.
My colors look streaky
- Mix paint more thoroughly on your palette.
- Use a slightly larger brush for that area so you can fill it faster with fewer strokes.
- Lean into it. Streaks can look charming and storybook on coloring pages.
A simple practice plan
If you want a no-pressure way to start, here is the little routine I use when I am testing a new page or a new set of paints:
- Pick 3 colors only.
- Paint one small object using damp brush coloring.
- Let dry, then add one glaze layer for shadows.
- Add details with watercolor pencils in the smallest spaces.
Keeping it small and simple helps you learn the “just enough water” sweet spot fast.
One more tiny note: on printer paper, very staining pigments can be less forgiving if you try to lift or erase mistakes. If you are practicing, gentler, easy-lifting colors can feel less stressful.
Turn your finished page into a gift
Watercolor on printer paper can look especially lovely as a handmade card because the slight texture and buckling read as cozy and artistic, not flawed. If you want to turn your finished page into a quick project, I wrote a step-by-step here: Turn a coloring page into a folded card.
Quick FAQ
Do I need watercolor paper?
No. Watercolor paper is easier, but this guide is specifically about making standard printed pages work. With less water and gentle layering, you can get beautiful results.
What brush should I use?
A small round brush is the friendliest choice. If you only have one brush, pick a medium-small round that can do both lines and small fills.
Can I use watercolor markers?
You can, but they often lay down a lot of liquid quickly. On printer paper, that can cause rippling and bleed-through fast. If you try them, use very light passes and avoid saturating the page.
Is it okay if the page wrinkles?
Completely okay. I think of it as proof you made something by hand. If you want to flatten it, let it dry fully, then press it under a heavy book.
One last gentle reminder
Watercolor is at its happiest when it is allowed to be a little unpredictable. On printed coloring pages, that “unpredictable” just means you are going to use smaller strokes, lighter water, and more patience between layers. Put on a cozy song, keep a paper towel nearby, and let your page be a place to play.
If you are new around here, you can learn more about me and why I love making art feel approachable on my author page: Penelope Dixon.