My dining table has hosted a lot of “important projects” over the years, but few things beat the moment a kid holds up a freshly colored mask and suddenly becomes a tiger, a superhero, or a mysterious party guest. The best part is that you do not need fancy supplies or a perfect drawing hand. A simple blank coloring template with a clear outline can become a sturdy, wearable paper mask in one cozy craft session.
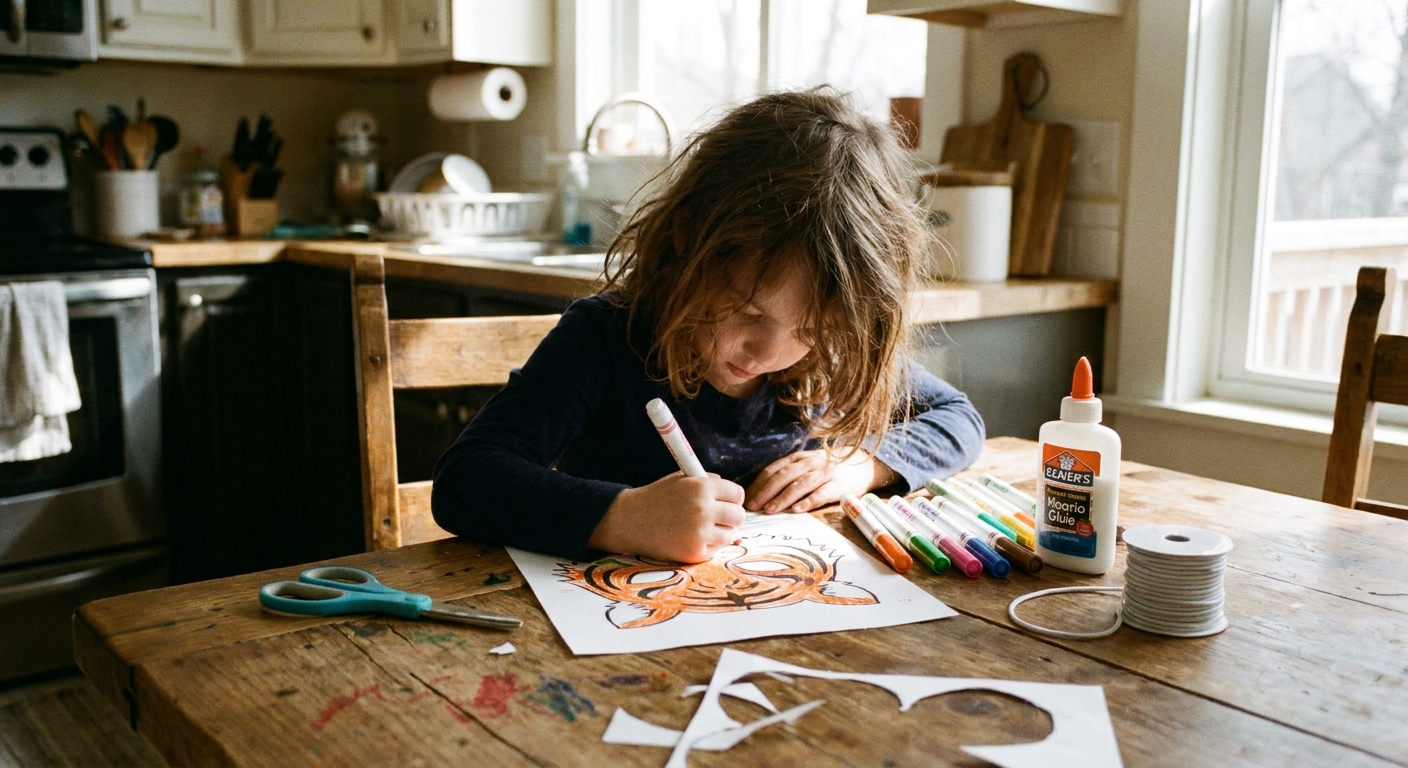
What you need
This craft is flexible. Use what you already have, then upgrade the “extras” only if you want extra durability.
Supplies
- Blank coloring template with a mask or face outline (or any simple character outline you can turn into a mask shape)
- Paper: regular printer paper works, but heavier paper is easier to wear
- Coloring tools: crayons, colored pencils, markers
- Scissors (child-safe scissors for little hands)
- Glue stick or white glue
- Hole punch (single-hole or standard)
- Elastic, thin elastic cord, ribbon, yarn, or string
- Tape (clear tape or masking tape)
Nice-to-have extras
- Cardstock or an empty cereal box to reinforce the mask
- Stapler (adult use)
- Craft foam sheets for soft forehead padding
- Glitter glue or stickers for decorating
If you are choosing between tools, I break down what different supplies do best in Markers vs Colored Pencils.
Pick a template that wears well
Not every coloring page outline makes a comfy mask, so here is what I look for before we start:
- A wide enough face area: you want room for eyes and cheeks without tiny skinny edges.
- Simple outer shape: smooth curves are easier to cut and less likely to tear.
- Big features: large eyes, a bold nose shape, and chunky details are kid friendly.
- A mask edge boundary: if your template is more like a full page character, you can draw a mask border around the face before coloring.
If you want to make your own from scratch, my favorite low-pressure approach is in Draw Your Own Custom Coloring Pages From Scratch.
Step-by-step: how to make a wearable paper mask
Step 1: Print (or trace) your outline
Print your template at 100% scale if possible. For different ages, I do this:
- Toddlers and preschoolers: try 90% to 100% so it does not swallow their whole face.
- Older kids: 100% is usually fine, but 105% to 115% can feel more comfortable if the template runs small.
If you only have thin paper, you can still use it, just plan to reinforce it later.
Quick sizing check: hold the page up to the child’s face. The mask shape should cover from about mid-forehead to chin, and reach cheek-to-cheek without pulling or bending. You also want a little extra on each side for the strap holes.
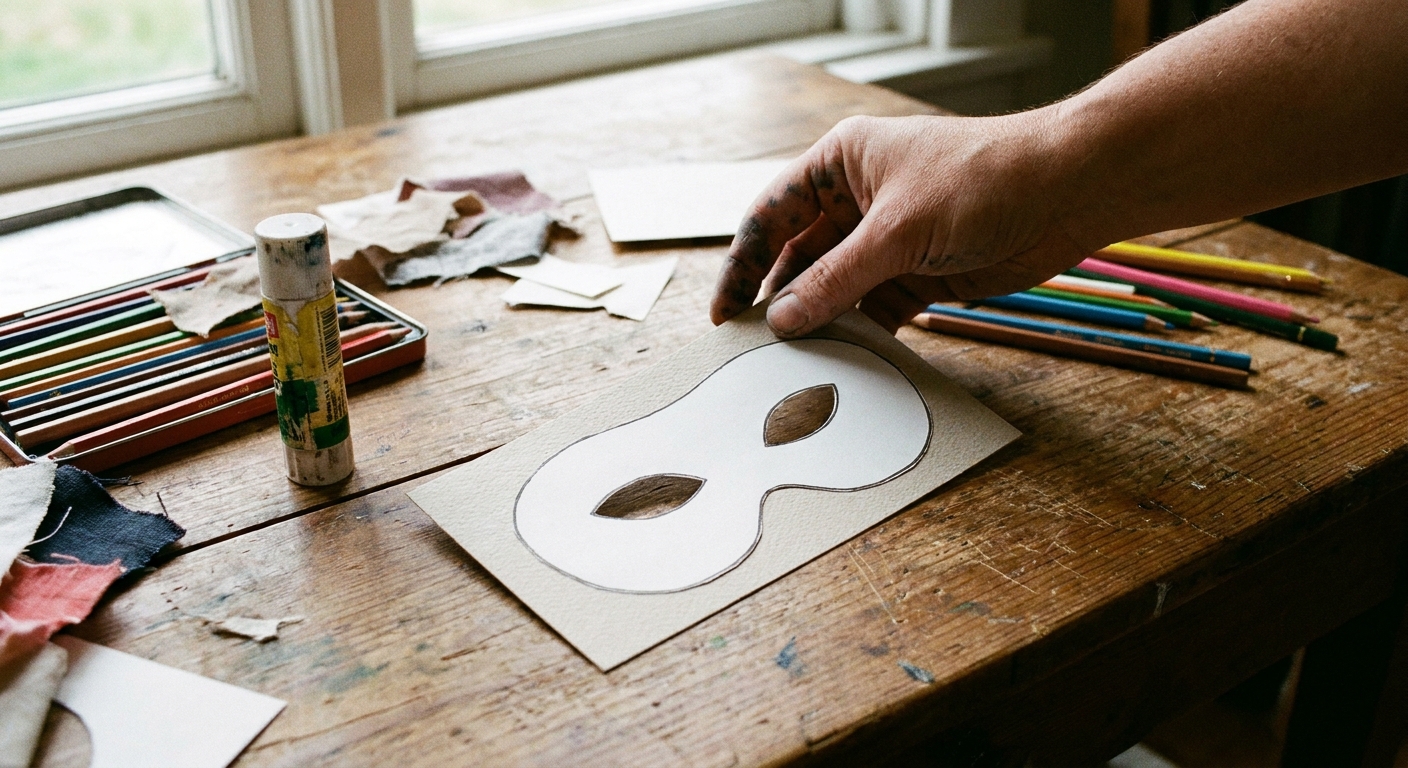
Step 2: Plan the design before coloring
This is the little trick that keeps the mask looking intentional even when kids go wild with color. Decide on:
- 2 to 4 main colors (one can be black or brown for outlining)
- Where the darkest color will go (around eyes, along edges, or in stripes)
- One special detail like spots, lightning bolts, scales, or freckles
If you want a simple way to choose colors without overthinking, see Choose a Cohesive Color Palette Before You Color.
Step 3: Color the mask
Color first, cut second. It is easier to hold the full sheet steady and it helps prevent rips.
- Markers: the biggest culprit for wavy paper is too much ink. Use a light hand, avoid going over the same area again and again, and let sections dry before adding another layer. Always put scrap paper underneath so ink does not bleed onto the table.
- Colored pencils: layer gently for richer color. If you want smoother shading, try How to Blend Colored Pencils for Smooth Shading.
- Crayons: perfect for bold coverage. Add details with a darker crayon or pencil on top.
My favorite mask trick: color a thick border around the outside edge. That frame makes even simple designs look finished.
Quick ventilation note: if your template covers the whole face, keep the nose area clear and do not add heavy decorations around nostrils or the mouth.
Step 4: Reinforce (optional but recommended)
If the mask will be worn longer than a quick photo moment, reinforcement is worth it.
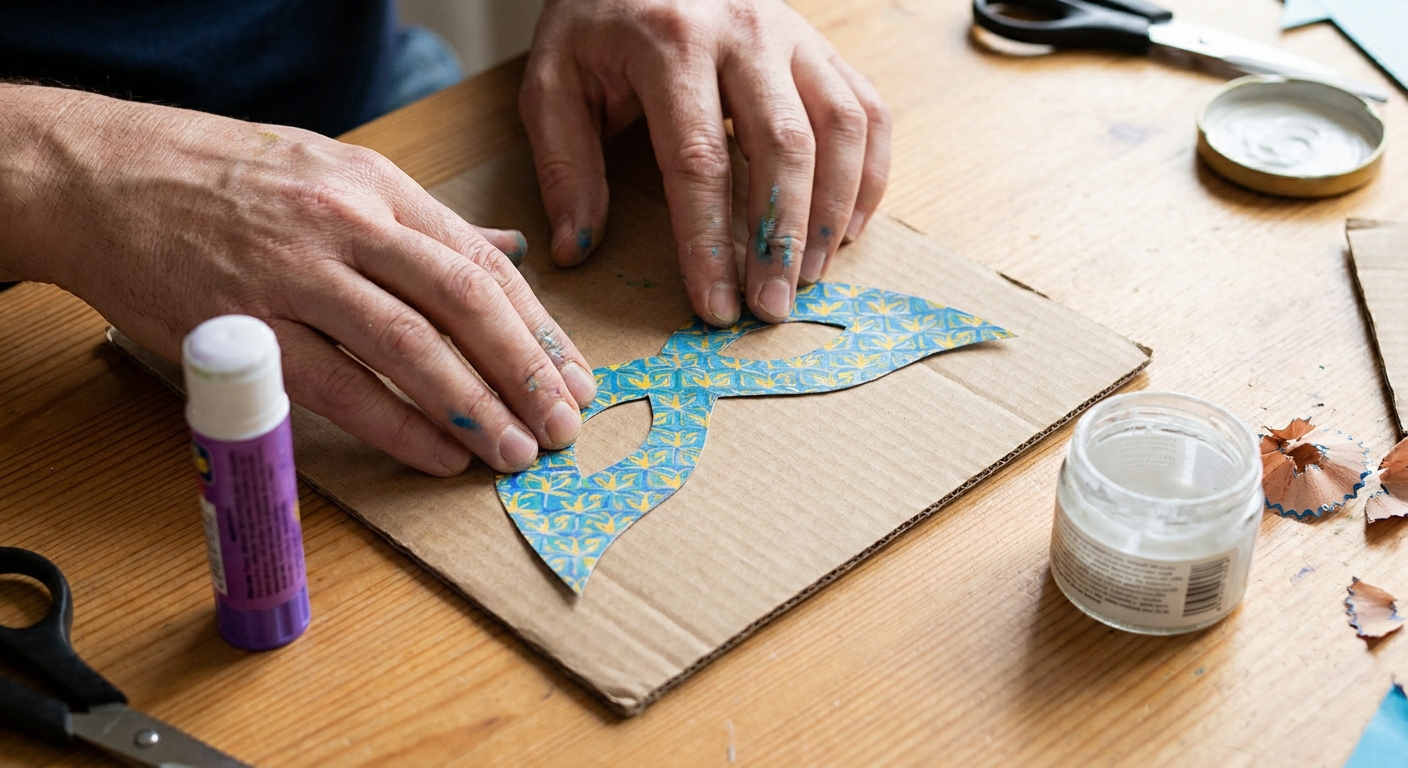
Option A: Glue to cardstock
- Spread glue evenly on the back of the colored page.
- Press it onto cardstock.
- Smooth from the center outward to remove bubbles.
- Let it dry under a book for 10 to 20 minutes, or until it feels fully set and cool to the touch. White glue and thicker cardboard may need longer.
Option B: Glue to a cereal box
Open a clean cereal box, cut a flat panel, and glue the mask page on top. This makes a surprisingly sturdy mask.
Step 5: Cut out the mask
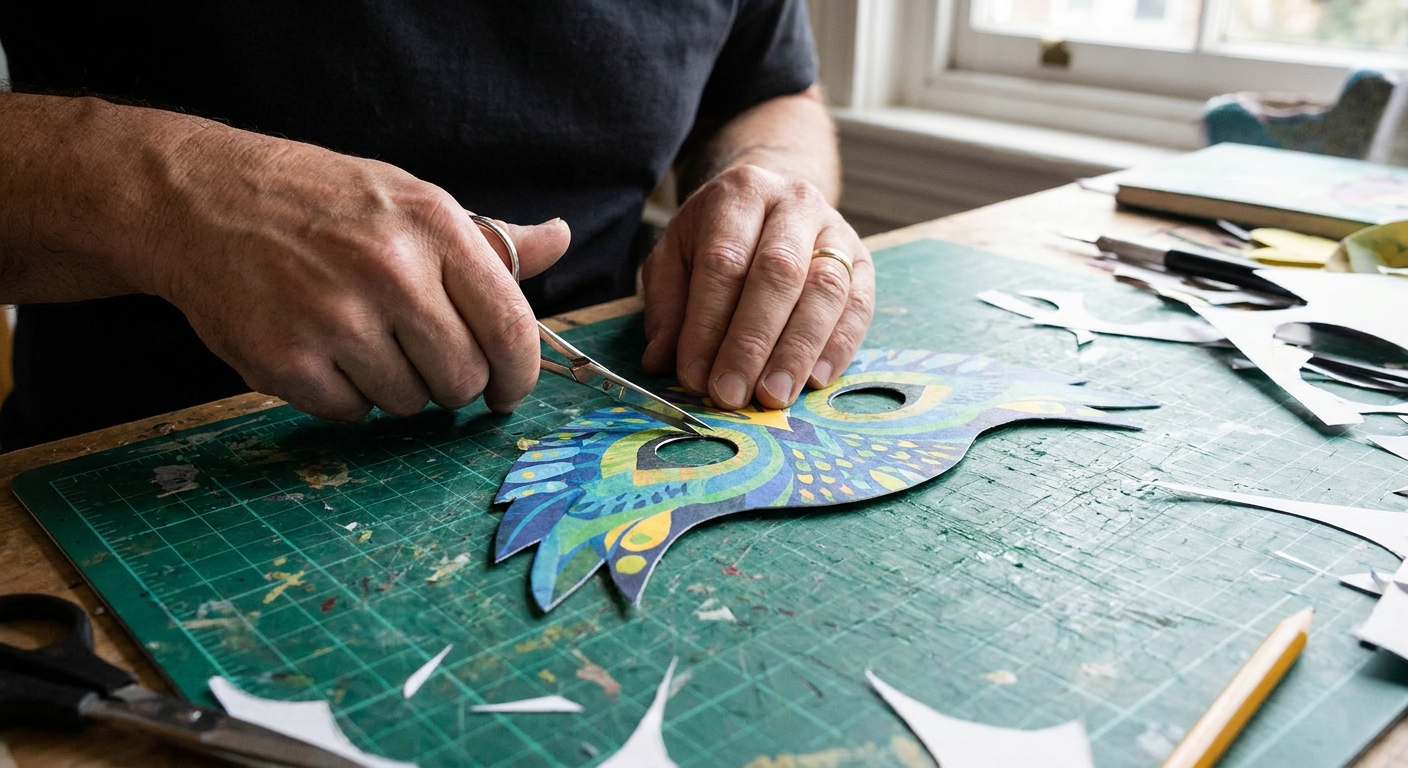
Cut the outside shape first. Go slow, especially around curves. For younger kids, I often do the tricky curves and let them cut straight sections.
Comfort tip: trim any sharp corners into soft curves so nothing pokes cheeks.
Step 6: Add eye holes safely
This part is best for an adult or an older kid with supervision.
- Lightly mark the eye holes by holding the mask up to the child’s face and noting where their eyes land.
- To start the opening, fold just the eye area enough to make a tiny snip point, then unfold. (Do not crease the whole mask.)
- Snip a small starter cut, then carefully cut out the eye shape.
Alternative starter: if you have a hole punch, you can punch one hole inside each eye area as a starter opening, then finish the shape with scissors.
Start small. You can always make the holes bigger, but you cannot make them smaller again.
Step 7: Punch holes for elastic or string
Punch one hole on each side of the mask, about 0.5 to 1 inch from the edge, lined up roughly with the eyes.
Reinforcement trick: place a small piece of tape where each hole will go, then punch through the tape. This helps prevent tearing.
Step 8: Attach elastic (best) or string (easiest)
Elastic method
- Cut elastic to fit: wrap it around the child’s head gently and leave about a finger’s width of slack. You want snug enough to stay up, but never tight.
- Thread each end through a hole.
- Tie a double knot.
- Tape over the knot on the back side so it does not scratch.
String or yarn method
- Cut two equal lengths of string.
- Tie one to each side hole.
- Tie the strings together behind the head when wearing.
Comfort note: elastic is more set-and-forget. String is adjustable, but it can loosen during play.
Step 9: Make it comfy on the face
Paper masks can feel scratchy, so I like to add one small comfort upgrade:
- Forehead pad: glue a small strip of craft foam or folded tissue paper on the inside top edge.
- Nose bridge: fold a tiny tab behind the nose area and tape it so the mask sits slightly away from the face.
- Edge softening: run a strip of tape along the inside perimeter for a smoother edge.
Three fun mask ideas
If you have one good mask template, you can reuse it again and again just by changing the design theme.
1) Animal mask
- Add spots, stripes, whisker dots, or a snout color block.
- Color around the eyes darker to create that animal face look.
- Optional: glue paper ears to the top edge from behind.
2) Superhero mask
- Choose 2 bold colors and keep the pattern symmetrical.
- Add a lightning bolt or star on one side.
- Outline the mask edge in black for comic-book energy.
3) Fantasy party mask
- Blend two colors from the center outward.
- Add glitter glue details around the eyes.
- Use metallic marker accents if you have them.
Common problems and quick fixes
The mask keeps tearing at the holes
- Add tape on both sides where the holes go, then repunch.
- Reinforce by gluing a small cardboard patch on the back at each hole.
- Switch from string to elastic so the pull is more even.
The paper got wavy from markers
- Let it dry completely, then press it under a heavy book.
- Next time, use fewer layers and let sections dry before coloring over them again.
- Reinforce by gluing to cardstock after it dries.
The eye holes do not line up
- Enlarge gradually with small snips.
- Cut the holes into a simple oval shape rather than a detailed shape.
- If the mask is too small overall, reprint slightly larger next time.
The mask slips down
- Tighten the elastic slightly, but keep it comfortable.
- Add a small foam pad at the forehead.
- Punch the holes a little higher on the sides so the strap lifts the mask.
Safety notes for grown-ups
- Supervise cutting, especially eye holes and tight curves.
- Straps should be gentle: avoid elastic cords that are very thin or tight, and always size straps loosely. For very young children, skip long strings and do not leave masks with straps within reach unsupervised.
- Choose play-safe materials and avoid cords that could snag during active play.
- Keep breathing clear by avoiding heavy decorations around the nose and mouth area.
- Skip tiny add-ons like beads for very young children.
Make it a whole afternoon activity
If you want to stretch this into a longer, calmer craft session, pair mask-making with a simple finish activity:
- Photo corner: tape a sheet to the wall as a plain backdrop and let kids pose.
- Mini story time: each child names their character and tells one silly fact about them.
- Display later: once the play is done, you can turn the masks into wall decor using the same framing ideas from Frame Your Coloring Pages as DIY Wall Art.
Quick FAQ
What paper is best for wearable masks?
Cardstock is easiest and most durable. If you only have printer paper, glue it to cardstock or a cereal box panel before cutting.
Elastic or string?
Elastic is more comfortable for most kids and stays in place better. String is fine for quick wear, especially if you want adjustable sizing.
How do I keep the mask from poking cheeks?
Round the edges, tape the inside perimeter, and add a small forehead pad so the mask rests gently instead of digging in.
Can I paint on a printed template?
Yes, but go light with water. If you want to try it, read my tips in Watercolors on Printed Coloring Pages so the paper does not buckle.
Once you have made one mask, you will start seeing mask potential everywhere. A simple outline, a handful of colors, and a little string can turn an ordinary afternoon into a tiny parade around the living room. If you end up with a whole cast of characters, I hope you keep them. Future you will be very glad when the rainy day hits.
If you want more projects like this, browse the ideas in Kids Crafts and Craft Projects.