

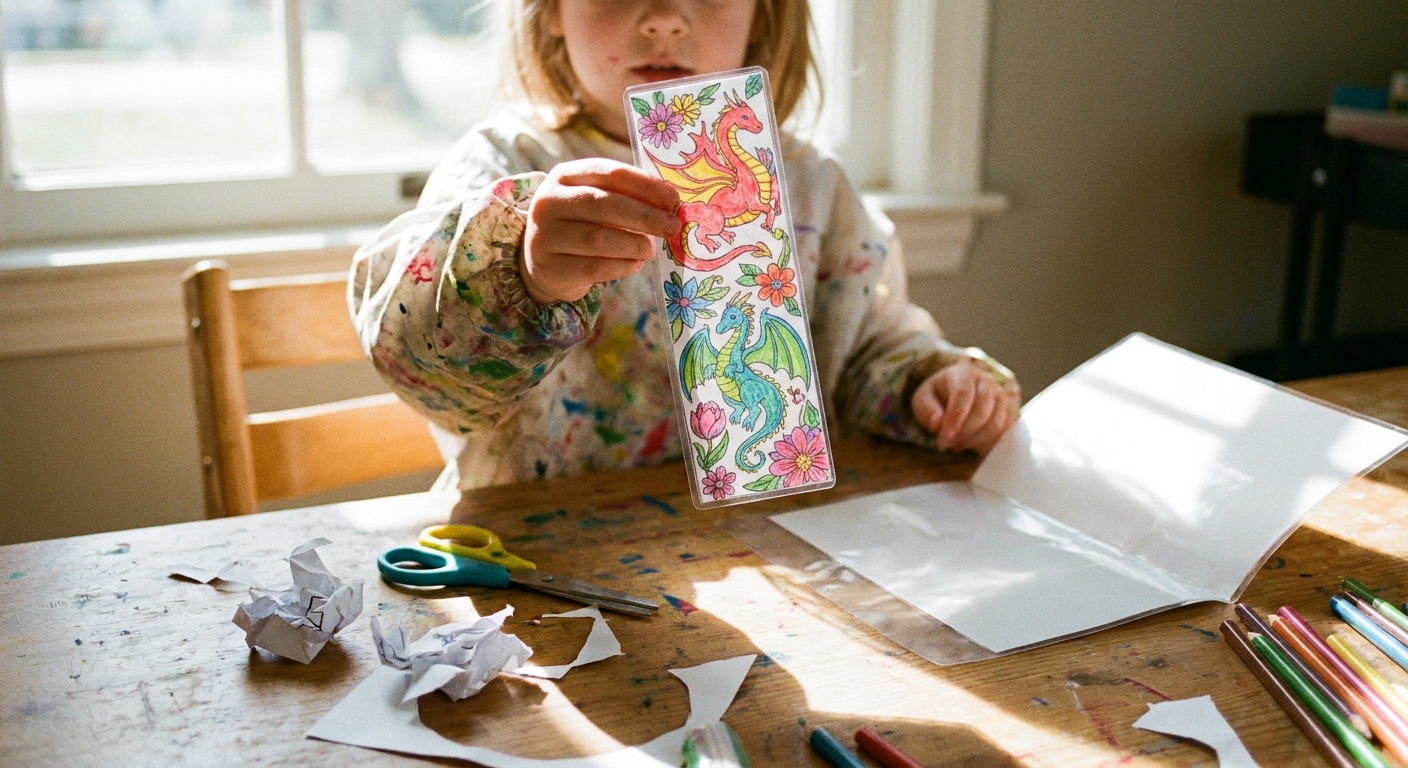
My dining table has always been the kind of place where crayons roll under the salt shaker and someone is always saying, “Wait, don’t throw that away.” Kids’ finished coloring pages are exactly that kind of treasure. If you want a simple way to save the best ones (without starting a towering “art pile”), laminated bookmarks are one of my favorite keep-forever crafts.
They are quick and genuinely useful, and they are sturdy enough to survive backpacks, library books, and the mysterious sticky fingers that appear the second you finish making something.
What you need
You can keep this craft super basic or dress it up with tassels and sparkly ribbon. Here is the core supply list.
- Finished coloring pages (crayon, colored pencil, or marker)
- Scissors or a paper trimmer
- Clear laminating pouches (3 mil is typically a great bookmark thickness, 5 mil is typically extra sturdy)
- Laminator or self-adhesive laminating sheets
- Cardstock for backing (optional but highly recommended)
- Glue stick or double-sided tape (optional, for mounting)
- Hole punch (single hole works best)
- Ribbon, yarn, or embroidery floss for a tassel (optional)
- Corner rounder (optional, but it makes them feel store-bought)
If your kiddo used markers, you might also like my breakdown of markers vs. colored pencils because marker-heavy pages sometimes need a tiny bit of prep before laminating (mainly: let the ink dry fully, and consider a cardstock backing so any bleed-through does not show from the back).
Step 1: Pick the best part
You do not have to use the whole page. In fact, bookmarks often look best when you choose a “hero” section: a character, a big flower, a bold pattern strip, or a name your child wrote at the top.
Quick sizing guide
- Classic bookmark: about 2 inches by 6 inches
- Skinny bookmark: about 1.5 inches by 6 inches (great for chapter books)
- Chunky bookmark: about 2.5 inches by 7 inches (nice for picture books)
I like to cut a rough rectangle first, then refine the edges once I see how the design sits.
Step 2: Flatten and clean up
This tiny step makes a big difference in how smooth your finished bookmark looks.
- Erase crumbs: If there is pencil sketching underneath, gently brush away eraser bits.
- Fix curled paper: Place the page under a heavy book for 10 to 20 minutes.
- Let ink dry: If the coloring was done with juicy markers, give it extra time so it does not smudge inside the pouch.
- Crayon reality check: Heavy crayon can leave a little texture under laminate. It is not a problem, just part of the look.
If your kid used colored pencils and you want the colors to look extra rich, you can try a little gentle blending first. I walk through a simple method in how to blend colored pencils for smooth shading.
Step 3: Add a backing
You can laminate plain paper as-is, but adding a cardstock backing usually makes the bookmark feel sturdier and keeps the art from looking washed out against whatever page it is sitting on.
Two easy options
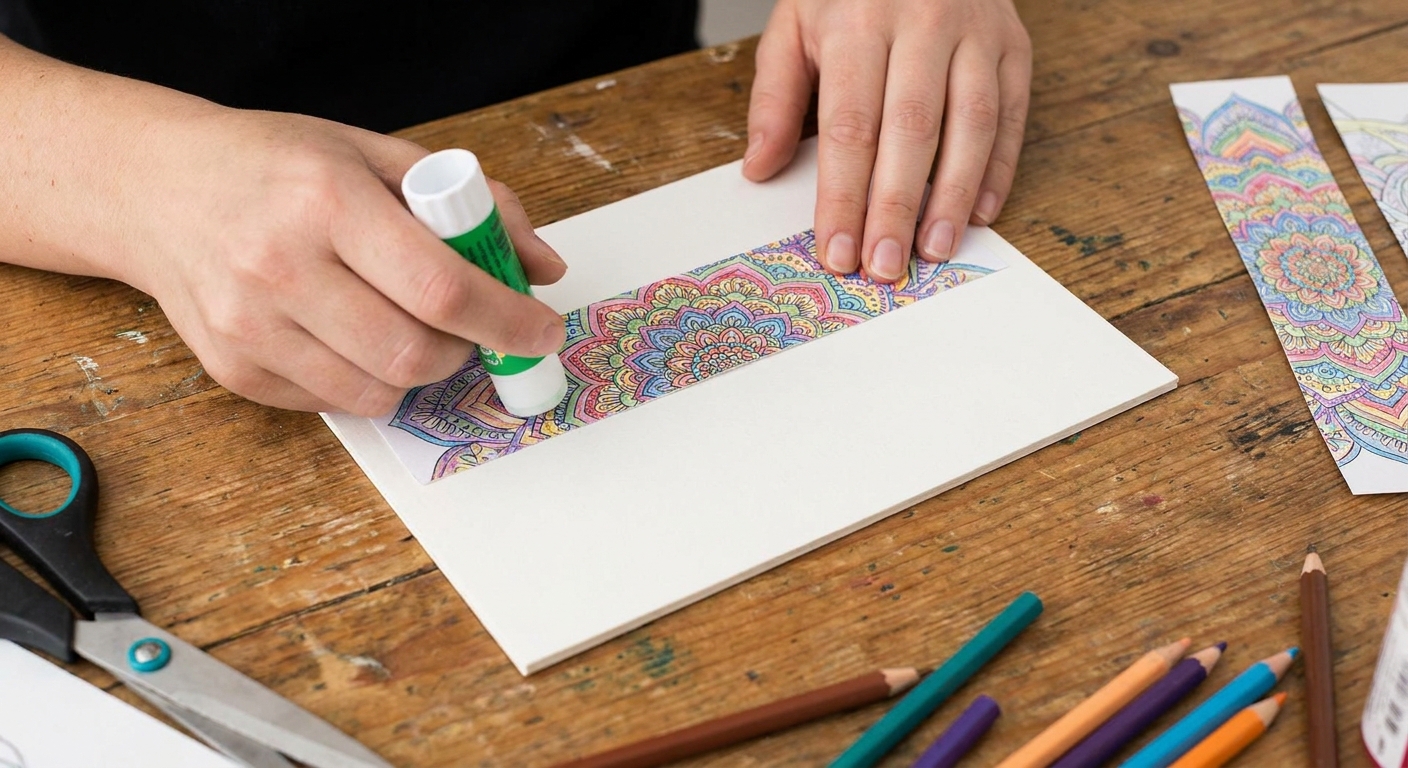
- Full backing: Mount the cut coloring piece onto a cardstock rectangle the same size.
- Framed backing: Cut cardstock slightly larger so it creates a border around the art.
Use a glue stick or double-sided tape and press firmly. If you use liquid glue, keep it very thin so you do not get wrinkles.
Step 4: Cut neatly
Neat edges are what makes these feel like a real finished item instead of a paper strip. A paper trimmer gives the straightest lines, but scissors are totally fine.
- Tip for scissors: Cut slowly and rotate the paper, not your wrist.
- Corner rounding: If you have a corner rounder, use it now. If not, lightly trim each corner into a small curve. Rounded corners snag less in pencil cases and backpack pockets, which helps protect that sealed laminate edge.
Step 5: Laminate it
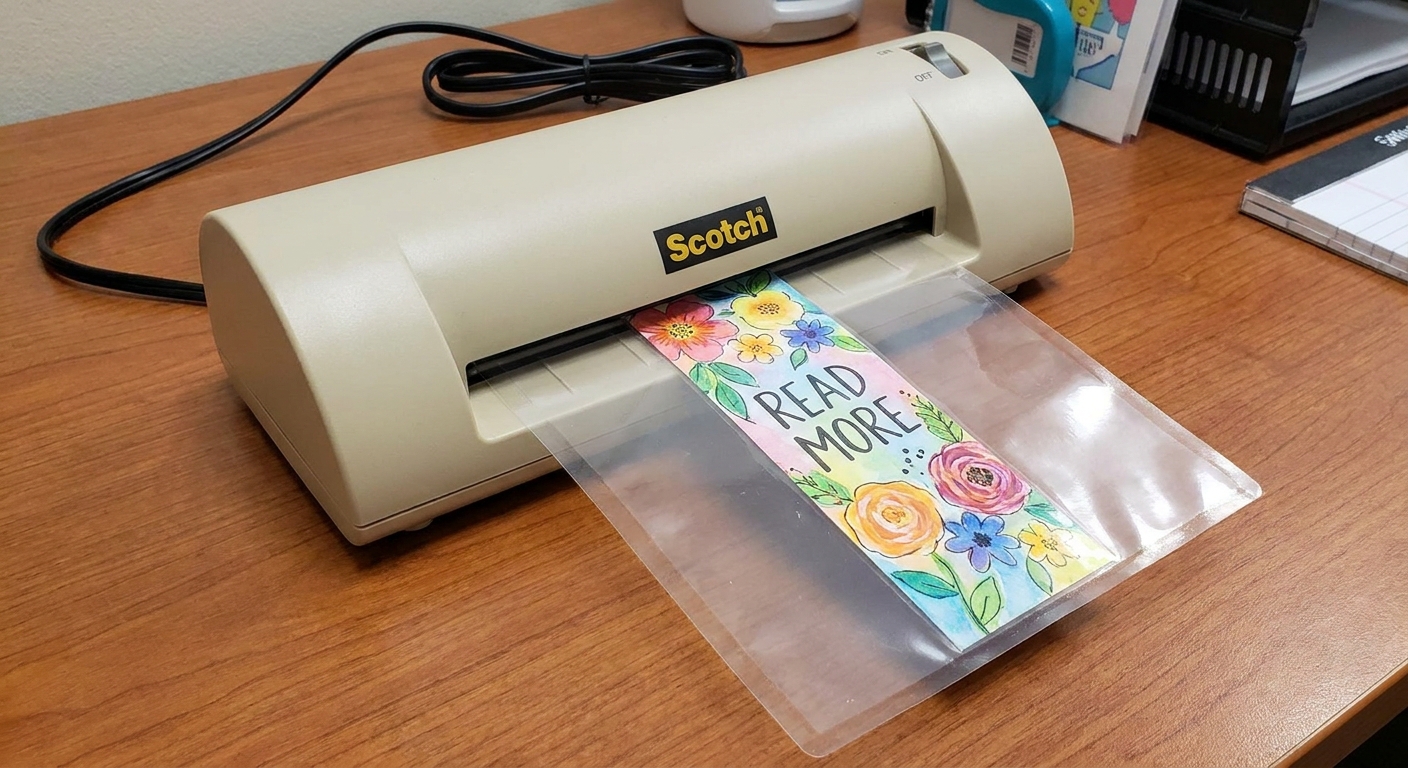
You have two common routes: a heat laminator or self-adhesive sheets. Both work. Heat lamination tends to look clearer and last longer, but sticky sheets are great if you do not want to deal with heat.
Using a heat laminator
- Warm up the laminator fully.
- If your laminator has settings for pouch thickness, match the setting to your pouch (for example, 3 mil vs. 5 mil). This helps avoid cloudy spots, weak seals, or jams.
- Place the bookmark inside the laminating pouch with at least 1/8 inch of clear border on all sides. If the page is thick with crayon, a slightly larger border helps keep the seal strong.
- Feed the pouch sealed edge first.
- Let it cool flat for a minute before trimming.
Using self-adhesive laminating sheets
- Peel back a small portion of the liner and line up the bookmark.
- Press from the center outward to avoid bubbles.
- Lay the top sheet down slowly and smooth as you go.
- Burnish with a ruler edge or an old gift card wrapped in a soft cloth.
Step 6: Trim the border
This is where people accidentally make bookmarks that peel. The laminate needs a margin to stay sealed.
- Trim around the bookmark leaving about 1/8 inch to 1/4 inch of clear laminate all the way around.
- Do not cut right up to the paper edge.
- Round the laminated corners again after trimming if you want an extra polished look.
Step 7: Add a tassel
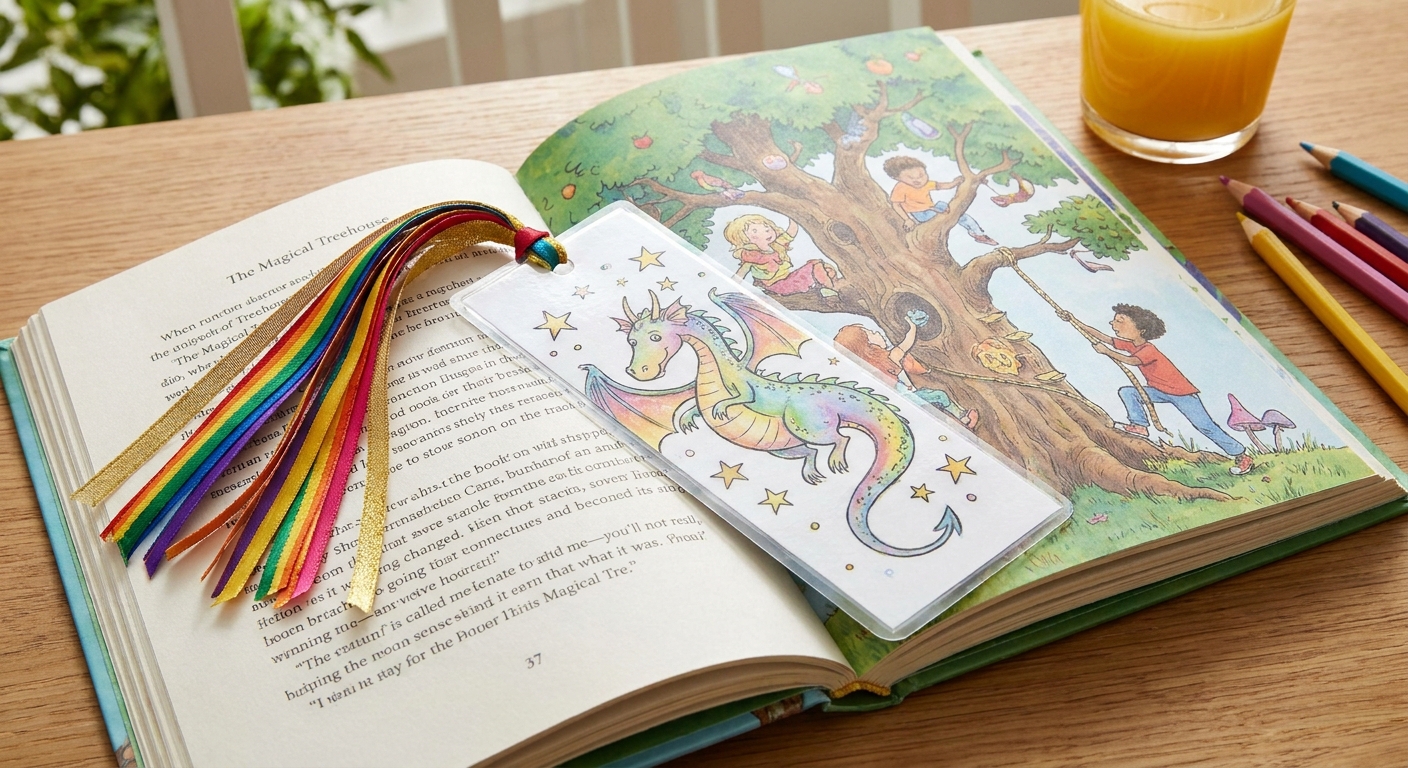
A tassel gives kids something to grab and makes the bookmark easier to spot inside a book.
- Punch a hole centered near the top, about 1/2 inch down.
- Thread ribbon, yarn, or embroidery floss through.
- Tie a knot or add a simple loop bow.
Kid-proof tip: If your tassel keeps getting pulled out, tie a bulkier double knot. If you are making another batch later, you can also trap the knot inside the laminate so it cannot wiggle free.
Make a set
- Rainbow series: One bookmark per color family (great if you want to teach color grouping).
- Character collection: Cut several bookmarks from one page featuring different characters.
- Name bookmarks: Have kids write their name in bubble letters, color it, then laminate.
- Seasonal set: Spring flowers, summer suns, fall leaves, winter snowflakes, all from their finished art.
If your kids are in a “nothing looks right” mood and you need a gentle reset before crafting, my post on coloring your way out of creative block has a few calm, low-pressure prompts.
Common problems
Bubbles in the laminate
- Heat laminator: Make sure it is fully warmed up, and match the pouch thickness setting if your machine has one. Feed slowly, sealed edge first.
- Self-adhesive: Smooth from center outward. Work slowly and press as you go.
Edges peeling
- Leave a bigger clear border when trimming.
- Make sure the laminator is hot enough for the pouch you are using.
- Round corners so they do not catch on things.
Colors look faded
- Add a white or colored cardstock backing to make the art pop.
- If the page is very light, choose the boldest section of the design for the bookmark.
Bookmark feels floppy
- Use cardstock backing.
- Try thicker pouches (like 5 mil) if your laminator supports them.
Safety notes
- Adults should handle the laminator and any cutting tools that feel sharp or awkward.
- Let laminated pieces cool before little hands grab them.
- If you are making classroom sets, pre-cut shapes ahead of time so kids can focus on choosing art and decorating.
Gift ideas
These bookmarks make the loveliest little add-on gift: tuck one into a book for a birthday, make a first day of school bookmark, or send one to grandparents who love to see kids’ artwork in everyday life.
And if you have extra finished pages you want to turn into something functional, you might also enjoy turning a coloring page into a folded card. It has the same cozy, keep-the-art vibe, with a lot less clutter on the fridge.
If you try this craft and run into a snag, you can always reach me through the site contact page. I am endlessly happy to troubleshoot a peeling corner or a rogue bubble.