

I have a little “finished coloring page problem.” You know the one. You color something you love, you’re proud of it, and then it goes straight into a drawer because you do not want to toss it, but you also do not have a gallery wall the size of a gymnasium.
My favorite solution is also the simplest: I turn my large-format finished pages into gift wrapping paper. It is cheerful, personal, and honestly pretty impressive for something made at the same kitchen table where you ate cereal an hour ago.
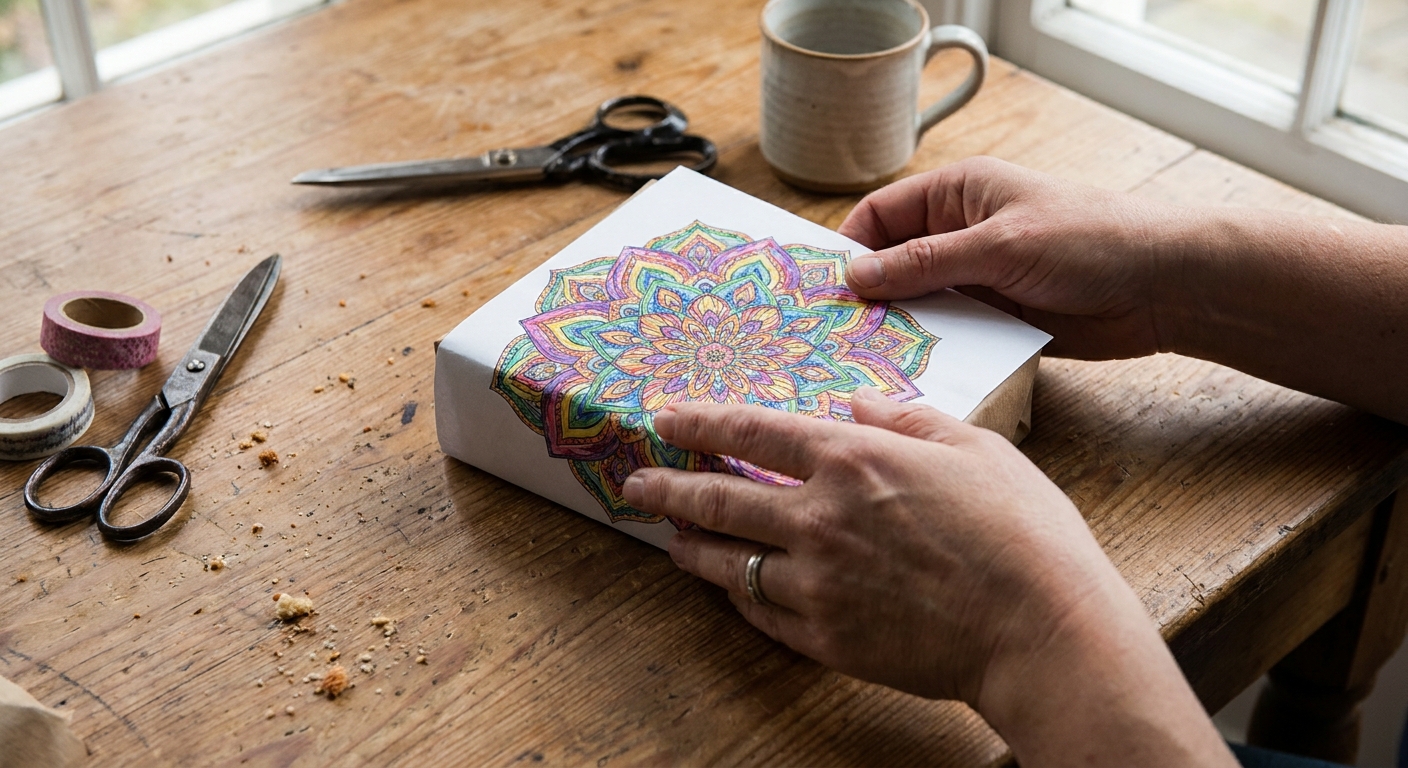
Why coloring pages make great wrapping paper
- Eco-friendly: You’re using paper you already have instead of buying new wrap.
- Totally unique: No two colored pages look the same, even if they started as the same design.
- Perfect for small gifts: A single page can wrap a candle, a book, a mug, a gift card box, or a small toy.
- Extra meaningful: If you colored it with the recipient in mind, it becomes part of the gift.
If you need inspiration for getting back into coloring so you actually have pages to use, I keep a gentle pep talk handy in Coloring Your Way Out of Creative Block.
What you’ll need
- Finished, fully colored pages (letter size, A4, or larger)
- Scissors or a craft knife and cutting mat
- Tape (clear tape is easiest) or a glue stick
- Optional: double-sided tape for crisp seams
- Ribbon, twine, or yarn
- Plain paper for a tag (or a scrap of another coloring page)
- A ruler or straight edge (helpful for clean folds)
Penelope note: If your page was colored with markers, make sure it is completely dry and not tacky before wrapping. If you used heavy marker coverage, you may want a layer of plain tissue paper between the gift and the wrap to prevent any chance of transfer.
Step 1: Pick the right page for the gift
Before you cut anything, set your gift on top of the coloring page and do a quick “coverage check.” You want enough paper to wrap the box with a little overlap for tape.
Quick matching tips
- Busy patterns hide seams best. Mandalas, florals, and repeating designs are very forgiving.
- Large white areas are gorgeous but show tape lines. If your page has big open spaces, plan to place the seam on the bottom.
- Match the mood: Bright and playful for kids, softer palettes for weddings or baby gifts, bold contrast for birthdays.
If you like a coordinated look, choosing colors intentionally helps. My go-to process is in Choose a Cohesive Color Palette Before You Color.
Step 2: Flatten and prep the paper
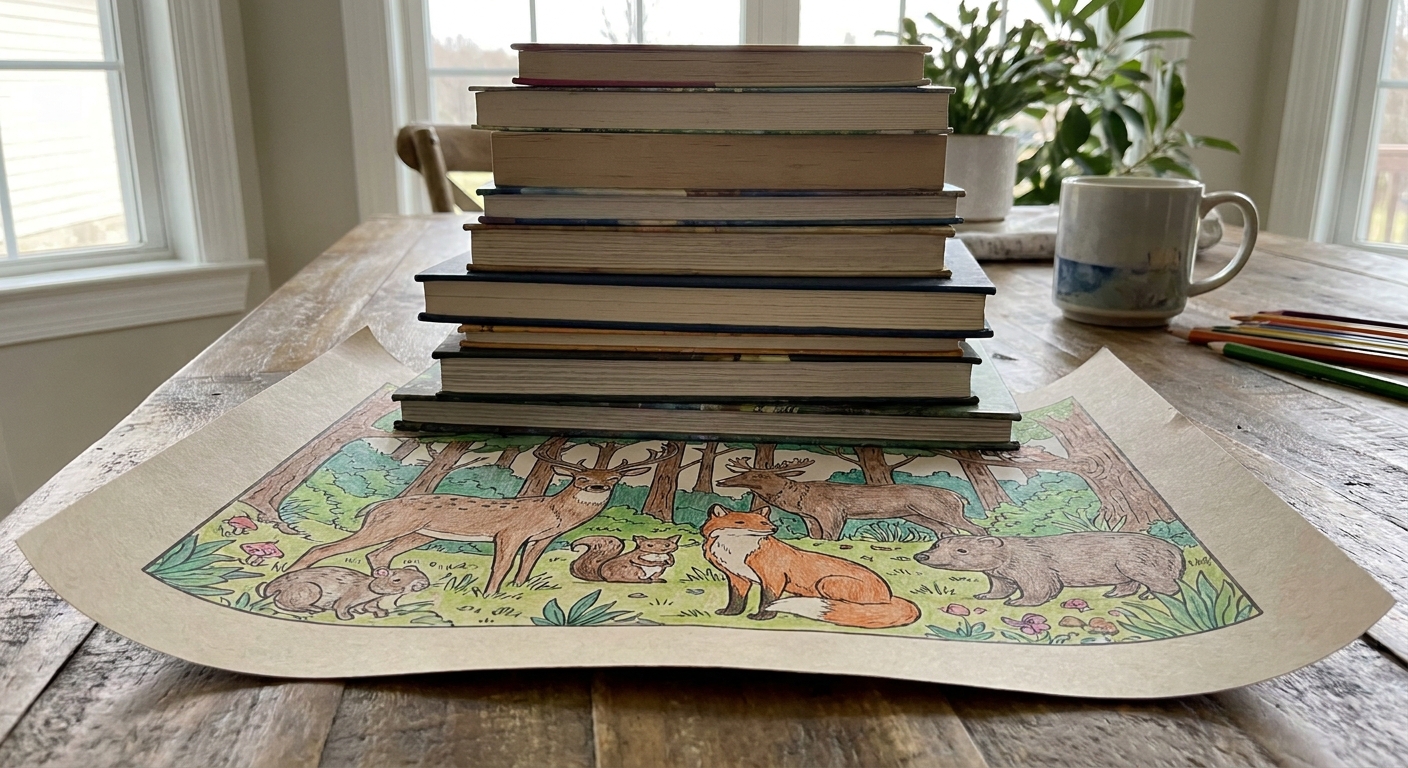
Colored pages sometimes curl, especially if you used markers or layered pencil shading.
- Place the page under a few books for 30 to 60 minutes.
- If it is very wavy, press it overnight between two clean sheets of printer paper under books.
- Trim off any rough printer edges if you want a super polished finish.
Step 3: Wrap it like classic gift paper
This is the same basic wrap you already know, just with prettier paper that you made yourself.
- Measure: Place the gift face down on the back of the coloring page. Pull the paper up and around to see where it overlaps. Mark lightly with a pencil on the back if you want.
- Cut: Cut so you have about 1 to 2 inches of overlap where the seam will be.
- Tape the long seam: Wrap the paper around the box and tape the overlap. For the cleanest look, use double-sided tape on the inside edge.
- Fold the ends: Push the top and bottom flaps in like you are making two little triangles, then fold them down neatly and tape.
- Flip and smooth: Turn the gift over and gently smooth the paper with your palm to crisp up the edges.
Little trick I love: If the paper is slightly stiff from marker ink, score your folds lightly with a ruler edge before folding. It makes corners look sharp instead of lumpy.
Step 4: Deal with seams (without stress)
Sometimes your box is just a smidge too big for a single page, or you want to patchwork different designs together. Both are adorable.
Option A: Add a second strip like a design feature
Cut a 2 to 3 inch strip from another colored page and lay it over the seam like a belly band. Tape it on the underside. It looks intentional, like boutique wrapping.
Option B: Patchwork wrap
- Wrap most of the box with the main page.
- Use a second piece to cover the last exposed area.
- Overlap the join by at least 1 inch and secure with tape from the underside when possible.
Option C: Hide everything under ribbon
If you are not in the mood to fuss, put the seam on the bottom and tie ribbon around the middle. Instant confidence boost.
Make it look extra finished: bows, belly bands, and tags
This is where upcycled wrap becomes a full-on “I cannot believe you made this” moment.
Easy belly band
Cut a strip of plain kraft paper or a leftover uncolored margin, wrap it around the gift, and tape on the underside. It gives your busy coloring design a little breathing room.
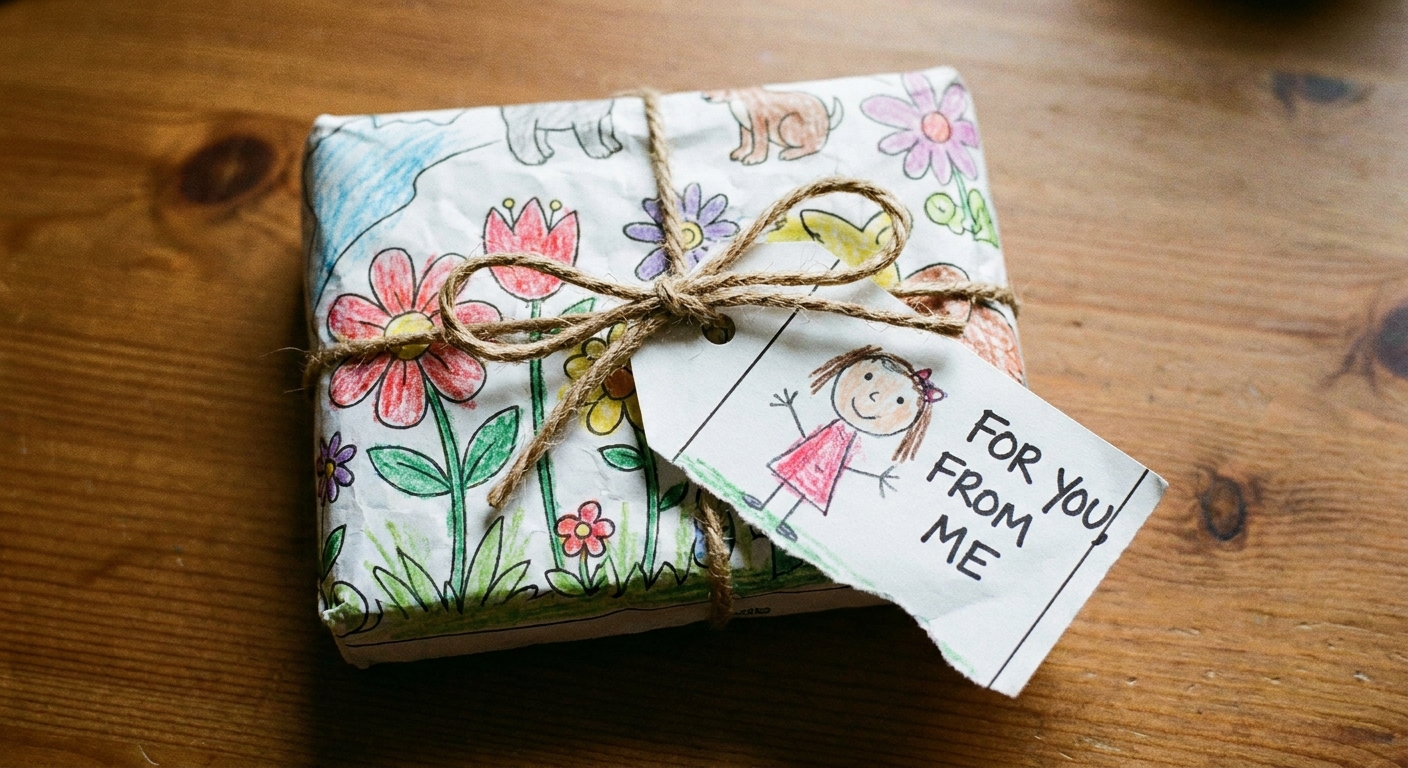
Simple tag from scraps
- Cut a small rectangle or circle from leftover coloring page pieces.
- Punch a hole or snip a tiny hole with scissors.
- Thread twine or ribbon through.
- Write the recipient’s name on the back, or on a small piece of plain paper taped to the front.
Best gift types for coloring-page wrap
- Gift cards in a small box
- Soap, lotion, or bath bombs
- Books (especially paperbacks)
- Candles
- Small toys
- Jewelry boxes
- Cookie tins and tea boxes
If you want another way to turn coloring into a giftable keepsake, my favorite quick project is Turn a Coloring Page Into a Folded Card. Matching wrap and card is ridiculously charming.
Marker and pencil tips so your wrap stays crisp
If you used markers
- Watch for bleed-through: Heavily inked areas can show on the back. That is fine, just keep the “messy” side inside.
- Prevent smudges: Let the page dry fully before folding.
- Choose the right adhesive: Double-sided tape grips well without wrinkling the paper like wet glue can.
If you are still deciding which medium you like best, I wrote a friendly breakdown in Markers vs. Colored Pencils.
If you used colored pencils
- Reduce waxy rub-off: A very light mist of workable fixative can help, but only use it in a well-ventilated area and follow the product directions carefully.
- Keep it simple: Most of the time, pencil pages wrap beautifully as-is, especially if you avoid aggressive burnishing.
Blending can make your finished wrap look extra luxe. If you want smoother shading for future pages, see How to Blend Colored Pencils for Smooth Shading.
Storing finished pages for future wrapping
I keep a shallow “wrapping stash” so my best pages do not get bent or forgotten.
- Slide finished pages into a large envelope or folder.
- Store flat under a sketchbook or in a drawer.
- Sort by vibe: birthdays, winter holidays, florals, cute characters, bold abstracts.
Then, when you need a last-minute gift wrap, you have your own little paper shop ready to go.
FAQ
Will coloring pages tear too easily?
Standard printer paper is a bit thinner than store-bought wrap, so be gentle with sharp corners. For heavier gifts, wrap the item in plain paper first, then add your coloring page as the pretty outer layer.
Can I use glue instead of tape?
Yes. A glue stick works well because it does not wrinkle the paper as much as liquid glue. Double-sided tape is the cleanest option for seams.
What if my gift is bigger than one page?
Patchwork it. Overlapping panels can look intentional, especially if you repeat a color family across the pages. You can also cover joins with a belly band or ribbon.
Is this a good kids craft?
Absolutely. Kids can wrap small boxes with help, and it makes the act of giving feel extra personal. If you want more kid-friendly projects, start with our Kids Crafts guide.
A tiny mindset shift that makes this even sweeter
I used to treat finished pages like something that had to be preserved perfectly. But when you turn a page into gift wrap, your art gets to do what it was always meant to do: bring someone a little joy.
And the best part is that it quietly gives you permission to make more art, because the drawer is no longer overflowing.
If you want more crafty ways to use your pages, peek at our Craft Projects guide.