

Every year, right around the first snowflake ornament and the first “should we do handmade cards this year?” conversation, I end up back at my kitchen table with the same little mystery: why did this printable look so sharp on my screen… and then come out of the printer looking fuzzy, streaky, or weirdly dull?
The good news is that holiday crafts are very forgiving. A smudged mitten can be charming. A slightly crooked star can be adorable. But paper and printer settings are the two quiet heroes that make your seasonal printables look crisp, cut cleanly, and hold up to glue, glitter, and little hands.
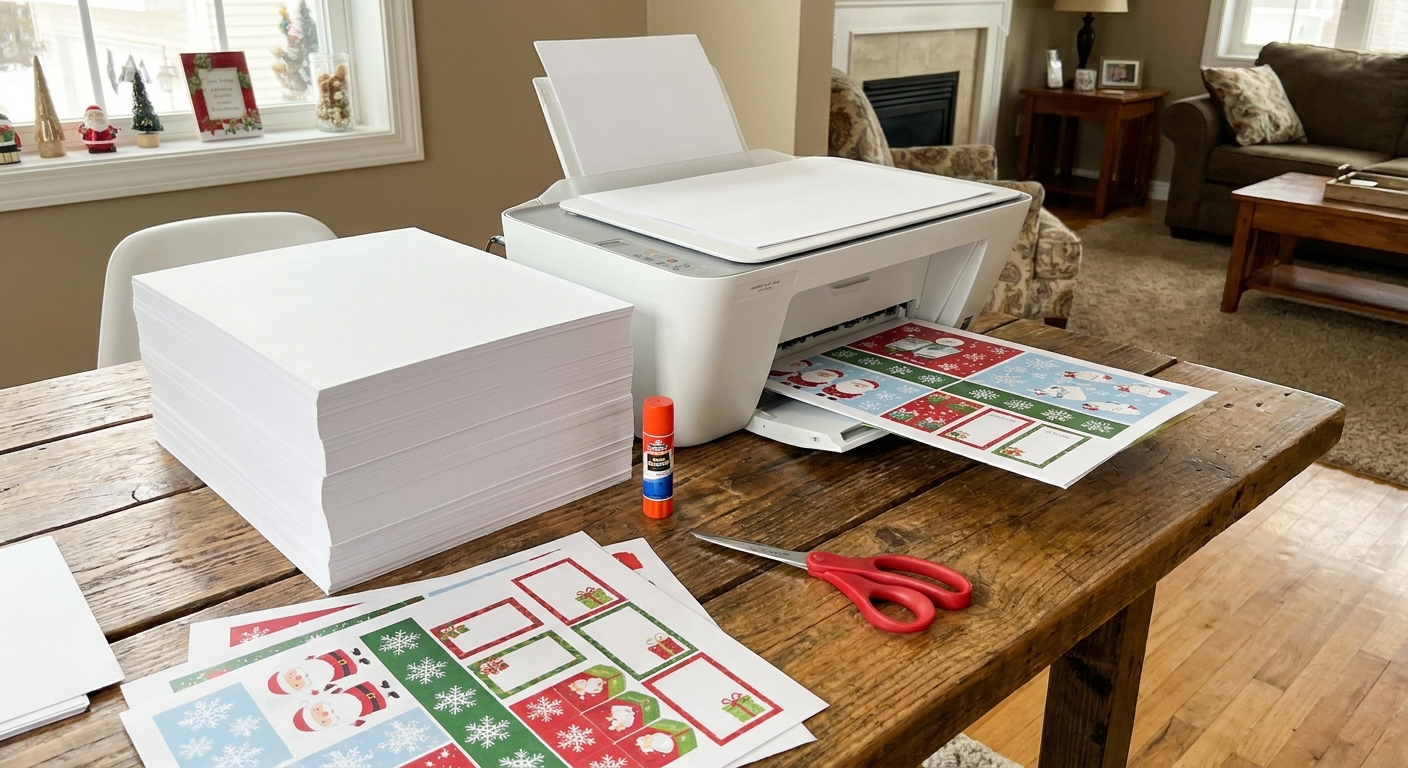
Paper weight basics
Paper “weight” is basically how thick and sturdy the sheet is. For crafts, thickness matters because it affects:
- Color: thicker paper often looks richer and less blotchy
- Durability: tags and ornaments need to survive handling
- Cut quality: flimsy paper can tear or curl
- Printer feeding: very thick paper can jam if the path is tight
Two common systems you will see:
- US “lb” (pounds): common for cardstock, but it is tricky because pounds depends on the paper’s basis (you will see “cover” and “text”). For crafts, cardstock is most often labeled in cover weight (example: 80 lb cover), which is not directly comparable to “text” pounds.
- GSM (grams per square meter): common worldwide, and easier to compare across brands.
If you are trying to translate in your head, treat conversions as approximate. Paper mills and finishes vary, and the same “lb” can land a little higher or lower in GSM.
- Everyday printer paper: 20 lb bond is commonly around 75 gsm (some “premium” copy papers creep closer to 90 gsm)
- Light cardstock: 65 lb cover is often around 175 to 180 gsm
- Heavy cardstock: 100 lb cover is often around 270 gsm, and 110 lb cover often around 300 gsm
Quick picks for holiday crafts
If you just want the “tell me what to buy” answer, this is my cheat sheet.
Gift tags
- Best all-around: 65 lb to 80 lb cover (roughly 175 to 215 gsm, depending on the brand)
- Why: sturdy enough for punch holes and twine, still easy to cut
- Finish: matte for easy writing
Greeting cards (folded)
- Best: 80 lb to 110 lb cover (roughly 215 to 300 gsm)
- Why: stands up on its own and feels “real card” sturdy
- Finish: matte or smooth. Avoid super slick glossy paper unless your printer explicitly supports it.
Paper ornaments and garlands
- Best: 65 lb to 100 lb cover (roughly 175 to 270 gsm)
- Why: holds shape better than plain printer paper
- Tip: for anything hanging, thicker paper reduces curling over time
Advent-style activity cards and kids’ printables
- Best: 28 lb to 32 lb bright white (about 105 to 120 gsm) for easy coloring, or 65 lb cover if you want them more durable
- Why: kids can color without fighting thick cardstock, but you still get nicer print quality than thin copy paper
Pieces that will get glued down
- Best: 28 lb to 32 lb (about 105 to 120 gsm)
- Why: easier to adhere smoothly without bulky edges
For more holiday craft ideas that use printed pages, I keep a growing hub here: Holiday Printables Guide.
Paper finishes
Finish affects both how colors look and how ink behaves.
Matte
- Best for: most holiday crafts, gift tags, coloring pages, anything you want to write on
- Pros: minimal smudging, easy to glue, easy to color on top of
- Cons: colors may look slightly less punchy than glossy
Satin or semi-gloss
- Best for: photo-heavy printables or designs where you want color to pop
- Pros: richer color than matte, usually less fingerprinty than high gloss
- Cons: can take longer to dry on some inkjets
Glossy
- Best for: specific photo papers made for your printer
- Pros: brightest color, high contrast
- Cons: smudges easily, glue can slip, and many glossy papers require specific settings to avoid streaks
A quick note on coated vs uncoated cardstock
This one trips people up: some cardstock looks “matte” but is still lightly coated. Coated inkjet cardstock can make colors look amazing. Uncoated cardstock is often better for writing and gluing. If your prints look smeary or never quite dry, try a different pack labeled for your printer type.
If you are framing a finished page as seasonal decor, matte cardstock is still my favorite because it reads cozy, not shiny. (If you like turning finished pages into decor, this is a fun next step: Frame Your Coloring Pages as DIY Wall Art.)
Inkjet vs laser
Most home crafters I know use inkjet printers, and they are wonderful for colorful holiday printables. Lasers are fast and crisp for text, but behave differently on thick or coated papers.
Inkjet printers
- Strengths: great color gradients, strong photo output on the right paper
- Watch for: smudging on glossy papers, curling on heavier ink coverage
- Craft tip: let sheets dry longer than you think, especially deep reds and dark greens
Laser printers
- Strengths: crisp lines, fast dry time, less smudge risk
- Watch for: some thick cardstocks can struggle with heat and feeding; some coated papers are not laser-safe
- Craft tip: if you plan to fold thick cardstock, score it first to avoid cracked toner along the fold
Either type can work beautifully. The secret is matching your paper type setting to the sheet you are feeding.
Printer settings that matter
Printer dialogs can feel like a tiny cockpit. For crafts, there are a few settings that give you the biggest improvement for the least fuss.
1) Paper size
This one is boring, and it causes the biggest surprises. Make sure the printer and the file agree on Letter vs A4. If those do not match, you can get cropping, unexpected margins, or “mysteriously” scaled tags.
2) Paper type
This is the most important setting. It tells the printer how much ink to lay down and, for many printers, how fast to print and dry.
- Using cardstock: choose “Cardstock” or “Heavyweight” if available
- Using plain paper: choose “Plain Paper”
- Using photo paper: choose the exact photo paper type that matches the finish, like “Glossy Photo Paper”
If your printer does not offer a cardstock option, test first before switching to “Matte Photo Paper.” On many printers, a photo-paper setting on uncoated cardstock can over-ink the sheet and cause curl or smearing. If your printer has “Heavyweight” or “Presentation Matte,” those are often the safer step up.
3) Print quality
- Draft: good for test prints and quick patterns
- Normal: fine for most kids’ crafts
- High / Best: best for cards, gift tags, wall-worthy printables
If you are only upgrading one thing for the holidays, upgrade gift tags and cards to “High” and keep everything else “Normal.”
4) Color mode
- Color: obvious, but also check that the printer is not set to “Grayscale” from the last time you printed a document
- Photo vs Document: “Photo” usually lays down more ink and smooths colors, which can look gorgeous on the right paper and muddy on the wrong one
5) Borderless printing
Borderless is tempting for full-bleed designs, but it can slightly enlarge the design and crop edges.
- Use it for: photo-style prints where trimming is okay
- Avoid it for: precise cut lines, foldable cards, anything with an alignment-sensitive border
6) Scaling
If a printable must be exact size for folding or cutting, make sure scaling is set to “Actual size” or 100%. Avoid “Fit to page” unless the project instructions tell you to use it.
7) Duplex (two-sided) printing
For double-sided gift tags or activity cards, duplex is handy, but it is easy to end up with the back upside down.
- Tip: do a one-page test on plain paper first and hold it up to the light to confirm orientation before you print your good cardstock
8) Feed path
If your printer has a rear feed, use it for cardstock whenever you can. A straighter path means fewer jams and fewer bent corners than a bottom cassette, especially with heavier sheets.
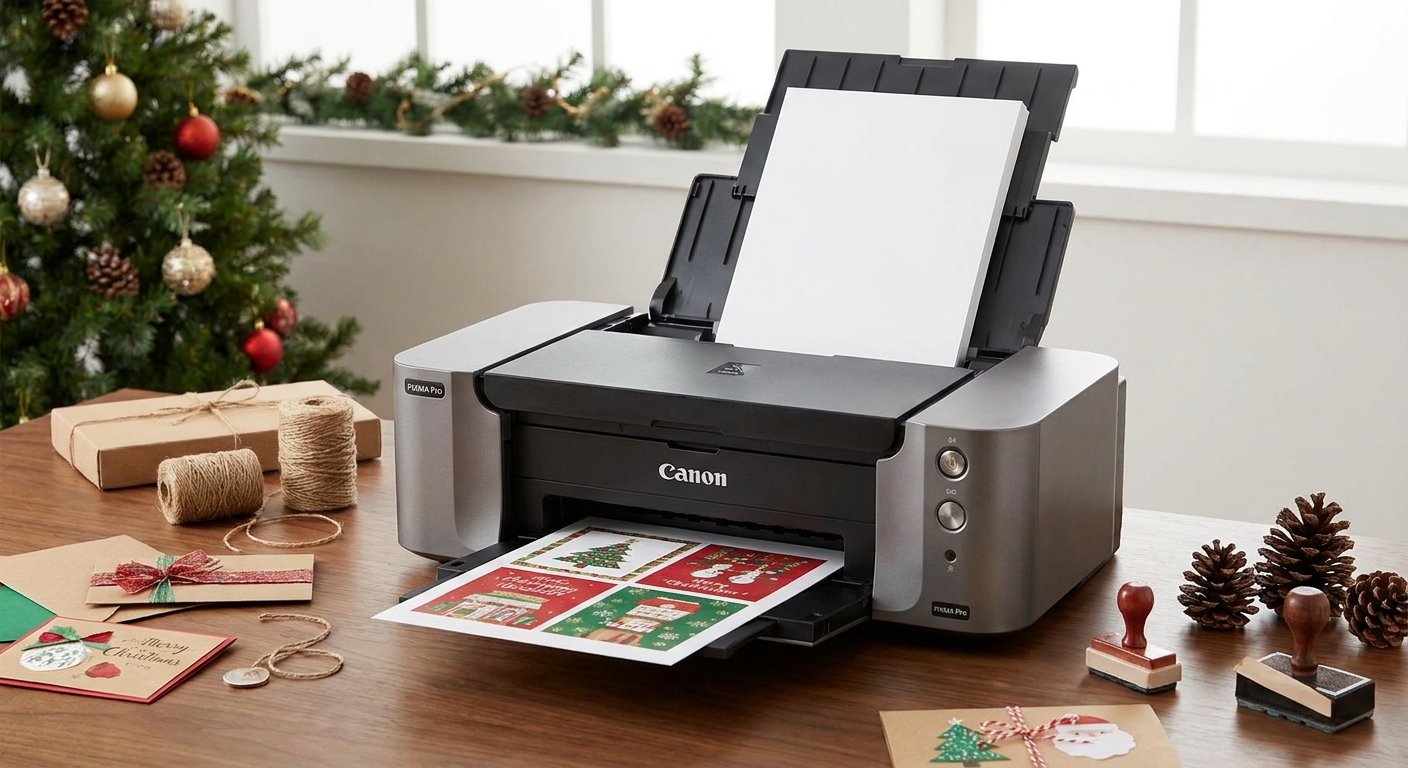
Fix common printable problems
Problem: Colors look dull or gray
- Increase print quality from Normal to High
- Use brighter white paper. Warm cream papers can make cool winter palettes look muted
- If your printer has a “Cardstock” or “Heavyweight” setting, try that before jumping to a photo-paper setting
Problem: Ink smears when you touch it
- Double check you are not using a glossy setting on matte paper or vice versa
- Give it time. Some inks need several minutes, especially on heavier coverage
- Print one side, let it dry fully, then print the other side if duplexing
Problem: Lines look fuzzy
- Make sure you are not in draft or eco mode
- Run a print head cleaning (inkjet)
- For laser printers, check toner and drum condition, and make sure you selected an appropriate paper type
- Try a smoother paper. Some textured stocks can soften fine line art
Problem: Paper jams or misfeeds on cardstock
- Use the rear feed slot if your printer has one. Straighter path equals fewer jams
- Feed one sheet at a time for heavy cardstock
- Check the printer manual for max supported GSM
Problem: Cardstock curls after printing
- Let paper acclimate to the room for a bit if it came from a cold porch or a damp garage. Temperature and humidity swings show up as curl
- Flip the printed sheets and gently bend them the opposite way (slowly) to relax the curl
- Store paper flat in a closed drawer so it does not absorb humidity
- Try “Normal” quality instead of “Best” if the printer is flooding the sheet with ink
My quick test print routine
When I am making a batch of tags or cards, I do this every time:
- Print one test sheet on plain paper to check size, margins, and orientation.
- Hold it up to the light to see where cut lines and folds land.
- Print one sheet on the real paper with your final settings.
- Cut and fold that one before printing the rest. If anything feels off, adjust now.
This sounds slow, but it prevents the dreaded “I printed 30 tags and none of the holes line up” moment.
Choose paper by the next step
This is the part people skip, and it is the part that makes crafts feel effortless.
If you will color the printable
- Colored pencils: 28 lb to 32 lb (105 to 120 gsm) or light cardstock is comfortable and blends nicely
- Markers: thicker paper reduces bleed-through. You can also slip a scrap sheet underneath
- Watercolor: standard printable paper can buckle. If you love watercolor, consider using a method designed for printed line art (I walk through it here: Watercolors on Printed Coloring Pages.)
If you will fold it
- Use cardstock and score the fold with a butter knife or bone folder for a clean crease
- Print on the side that will be the outside front first (often the smoother side)
If you will glue it
- Matte paper grips glue better than glossy
- Use a glue stick for thin paper to prevent wrinkling
- Use tacky glue for heavier elements like twine or buttons
If you will laminate it
- Print on matte paper for the cleanest look under plastic
- Trim after laminating for a sealed edge
- If you love this approach for stocking stuffers or classroom crafts, you might like: Laminated Bookmarks From Kids’ Coloring Pages
FAQ
Is 110 lb cardstock too thick for most home printers?
It depends on the printer. Many can handle it one sheet at a time through a rear feed. If your printer path bends the paper sharply, 110 lb can jam. When in doubt, 80 lb to 100 lb cover is a sweet spot for cards and tags.
Should I use “photo paper” settings on cardstock?
Only if your cardstock is coated and designed for high ink coverage. On typical uncoated matte cardstock, “Cardstock” or “Heavyweight” is usually safer. Photo settings often lay down more ink, so always test one sheet first.
Why do my reds look blotchy?
Deep reds lay down a lot of ink. Try a slightly heavier matte paper, reduce print quality from Best to High, and make sure the paper type matches. Also, let it dry completely before stacking.
Do I need special paper for glitter crafts?
No. I usually choose matte cardstock because glue grabs well. If you are doing lots of glitter, thicker paper helps the piece stay flat once the glue dries.
What is the best paper for cutting tiny shapes like snowflakes?
For very intricate cuts, medium-weight paper often cuts cleaner than very thick cardstock. Try 32 lb (120 gsm) or light cardstock, use a sharp blade or fine scissors, and cut slowly.
A simple holiday paper stash
If you want a simple stash that covers almost all holiday printables, here is what I keep on hand:
- Bright white 28 lb to 32 lb paper for coloring, easy glue crafts, and test prints
- Matte cardstock 65 lb to 80 lb for gift tags, ornaments, garlands
- Matte cardstock 100 lb for greeting cards and anything you want to feel extra special
- A single sheet protector or scrap paper to place under marker projects
And if you find yourself staring at a stack of printables and feeling that familiar “blank page intimidation,” I promise you: the moment you pick a paper and press print, the crafting momentum kicks in. The holidays do not need perfection. They just need a little color on the table.