Every year around New Year’s Eve, I end up at the kitchen table with a mug of something warm, a little pile of paper scraps, and that happy last-minute party energy. Photo booth props are my favorite kind of craft because they look festive fast, they are forgiving, and they give everyone something to do while the snacks mysteriously disappear.
This tutorial shows you how to use blank printable outlines (simple shapes with clean lines) to make sturdy New Year’s Eve props you can hold up for photos. Think party hats, stars, fireworks, champagne glasses, a big “2027,” speech bubbles, and goofy mustaches. You print, color, cut, and tape or glue them to wooden dowels. That’s it. No fancy machines required.
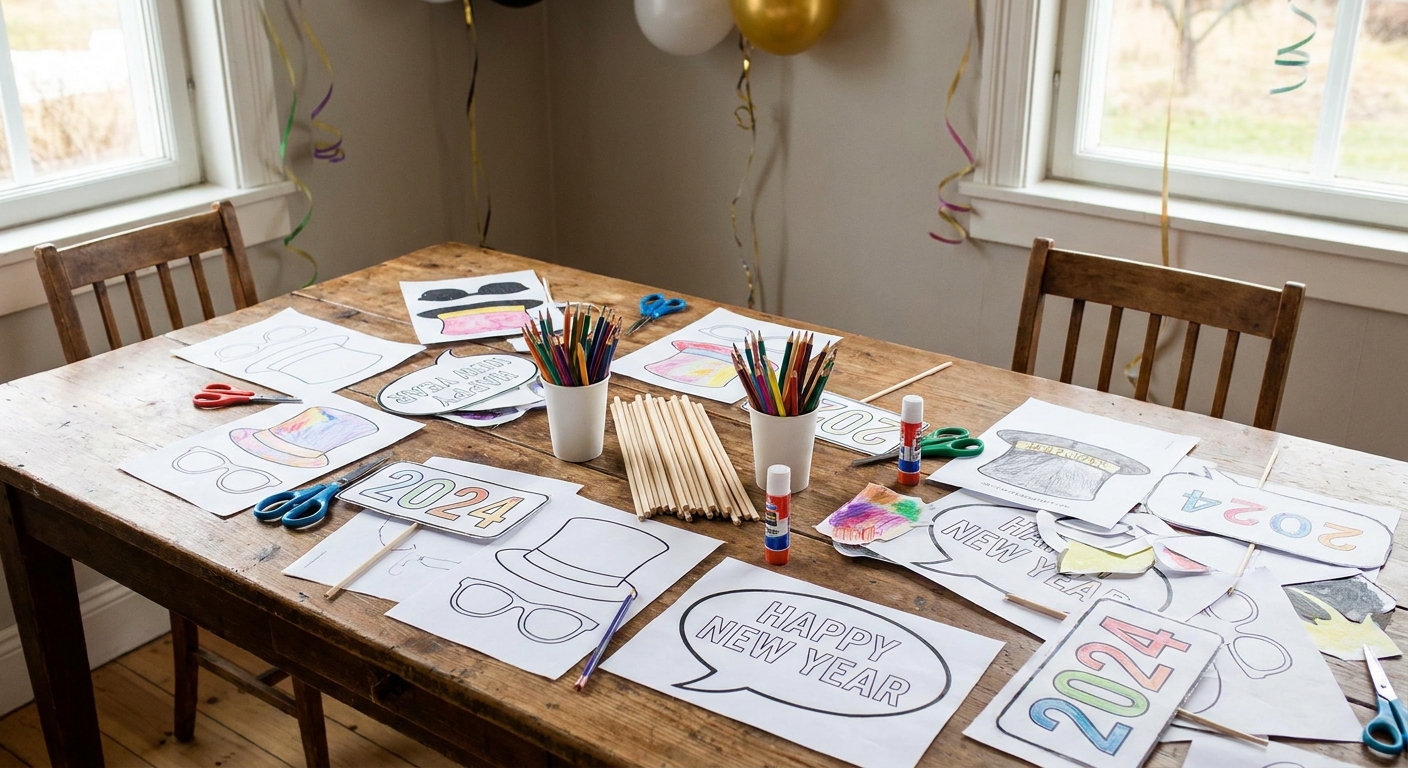
What you will need
I keep this project intentionally low stress. Use what you already have, then upgrade only if you feel like it.
Supplies
- Blank printable outlines (celebration shapes printed on regular printer paper or cardstock)
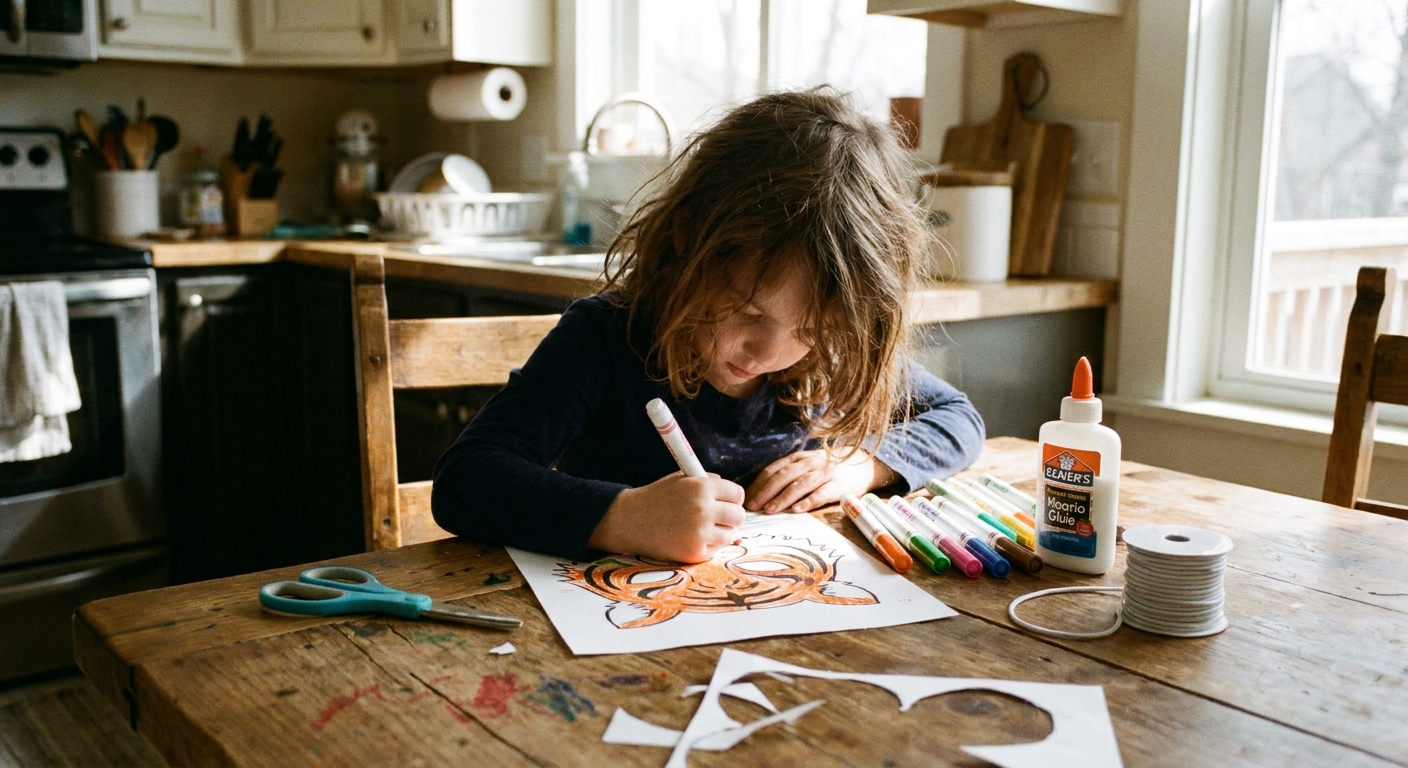
- Coloring tools: crayons, colored pencils, markers, gel pens, or metallic markers
- Scissors (and a craft knife for adults, optional)
- Wooden dowels (or paper straws, chopsticks, paint stir sticks)
- Adhesive: glue stick, tacky glue, or double-sided tape
- Clear tape for quick reinforcement
- Optional backing: thin cardstock, cereal box cardboard, or foam board scraps
Nice extras
- Hole punch and string (to turn props into a banner later)
- Glitter glue or sequins (used sparingly, unless you enjoy finding sparkle until March)
- Laminator or clear packing tape (for more durable, reusable props)
Quick safety note: If you use a craft knife, that’s an adult-only job. And if toddlers are around, skip small add-ons like loose sequins and tiny beads.
If you want a quick refresher on which coloring supplies behave best on printed pages, my more in-depth guide is here: Digital vs Traditional Coloring Pages. And if you are deciding between pencils and markers for bold party colors, this comparison helps: Markers vs Colored Pencils.
Choose your prop shapes
Blank outlines are perfect for photo booth props because the shape does the talking. You do not need detailed art to get a big impact in pictures.
Easy New Year’s Eve outline ideas
- Top hat
- Party hat or crown
- Starburst or fireworks
- Champagne flute
- Clock face (set to midnight)
- Big numbers for the new year
- Speech bubble (leave the inside blank for doodles)
- Hearts, stars, confetti dots
- Mustache, lips, glasses
If you do not have outlines ready, you can draw your own quickly with thick, simple lines. I like sketching one “master set” on plain white paper, then scanning or photographing it to print duplicates. This beginner-friendly walkthrough helps you make clean, printable line art: Draw Your Own Custom Coloring Pages From Scratch.
Print for sturdy props
Here is the little secret that makes these props feel “real” instead of floppy.
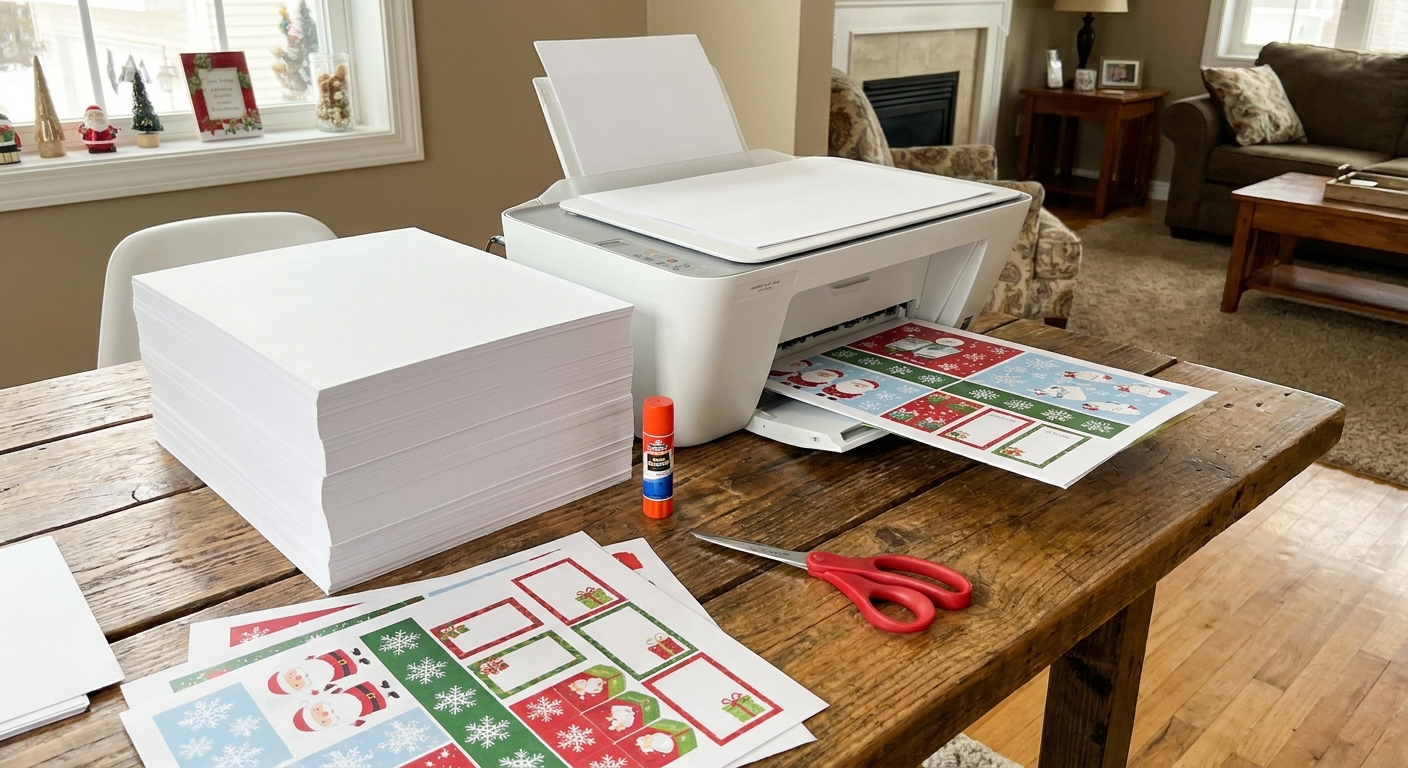
- Best option: print directly on cardstock (about 65 to 110 lb cover, roughly 175 to 300 gsm). It cuts nicely and holds shape well.
- Budget option: print on regular paper, then glue it to recycled cardboard (cereal boxes are perfect) before cutting.
- Ink-saving option: keep outlines bold but simple, and let the coloring do the work.
Penelope tip: Print one test page first. If your outlines look fuzzy, switch your printer to a “normal” or “high quality” setting and make sure the page is set to print at 100% scale.
Color for the camera
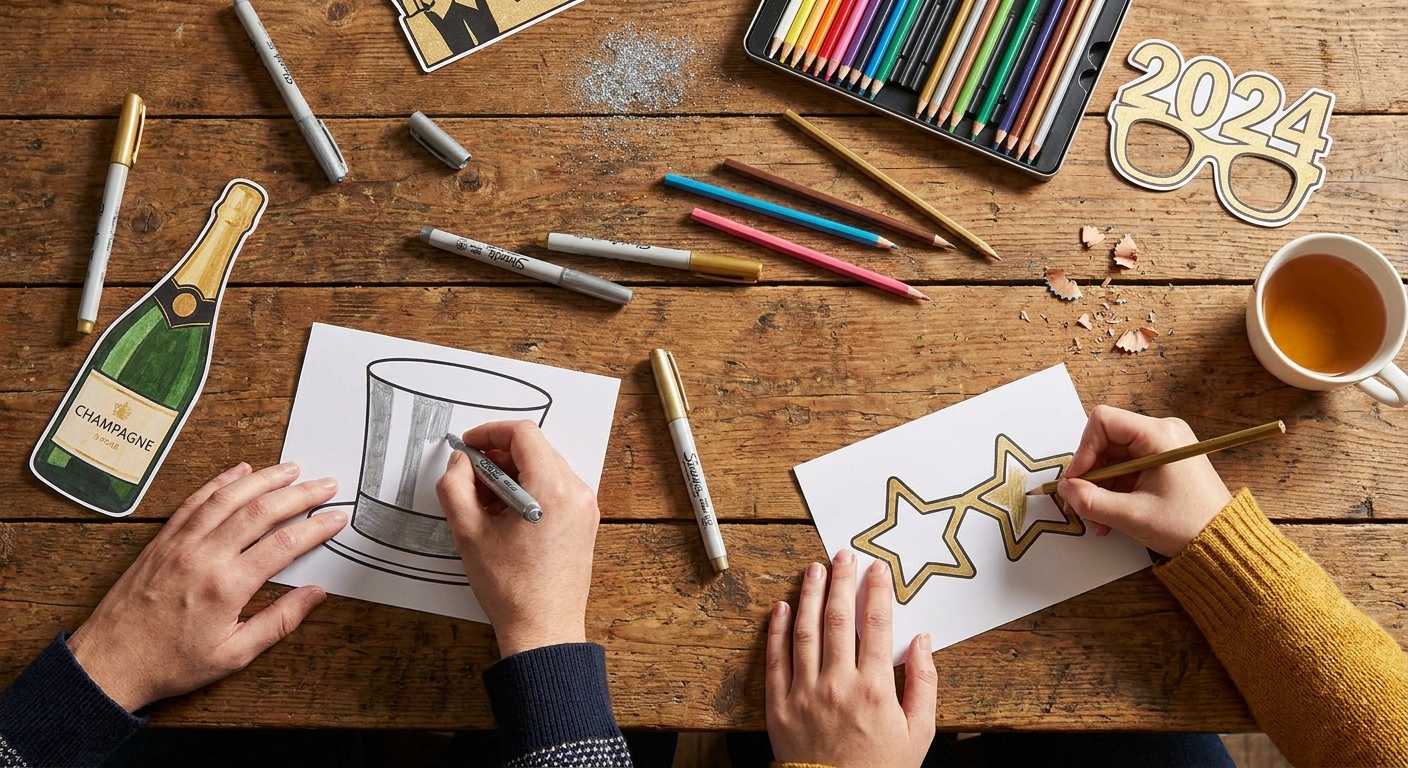
Photo booth props live their best life under indoor lighting, so high contrast wins. I like to pick two main colors plus a metallic accent, then repeat them across every prop so the set looks intentional.
If you want help building a palette that feels festive without becoming a rainbow explosion, I wrote this for exactly that moment: Choose a Cohesive Color Palette Before You Color.
Color combos that photograph well
- Black + gold + white highlights
- Navy + silver + icy blue
- Emerald + gold + cream
- Red + pink + gold (more playful than traditional)
Quick finishing touches
- Outline the edges in a dark marker to sharpen the shape.
- Add tiny “spark” lines around stars and fireworks.
- Use a white gel pen for dots and shine marks on glasses and clocks.
Cut and reinforce
Cutting is where props go from “page” to “party.” Take your time, especially around thin areas like stemmed glasses or speech bubble tails.
How to cut cleanly
- Cut outside the outline by a hair if you want a crisp border.
- For tight corners, rotate the paper instead of the scissors.
- If a shape is delicate, leave a thicker border around it.
Reinforcement options (pick one)
- Cardstock only: great for adults, gentle handling
- Paper on cardboard: best for kids and high-energy parties
- “Tape laminate”: cover the front with clear packing tape before cutting for a shinier, tougher finish (test your markers first, since some inks can smear or stain tape)
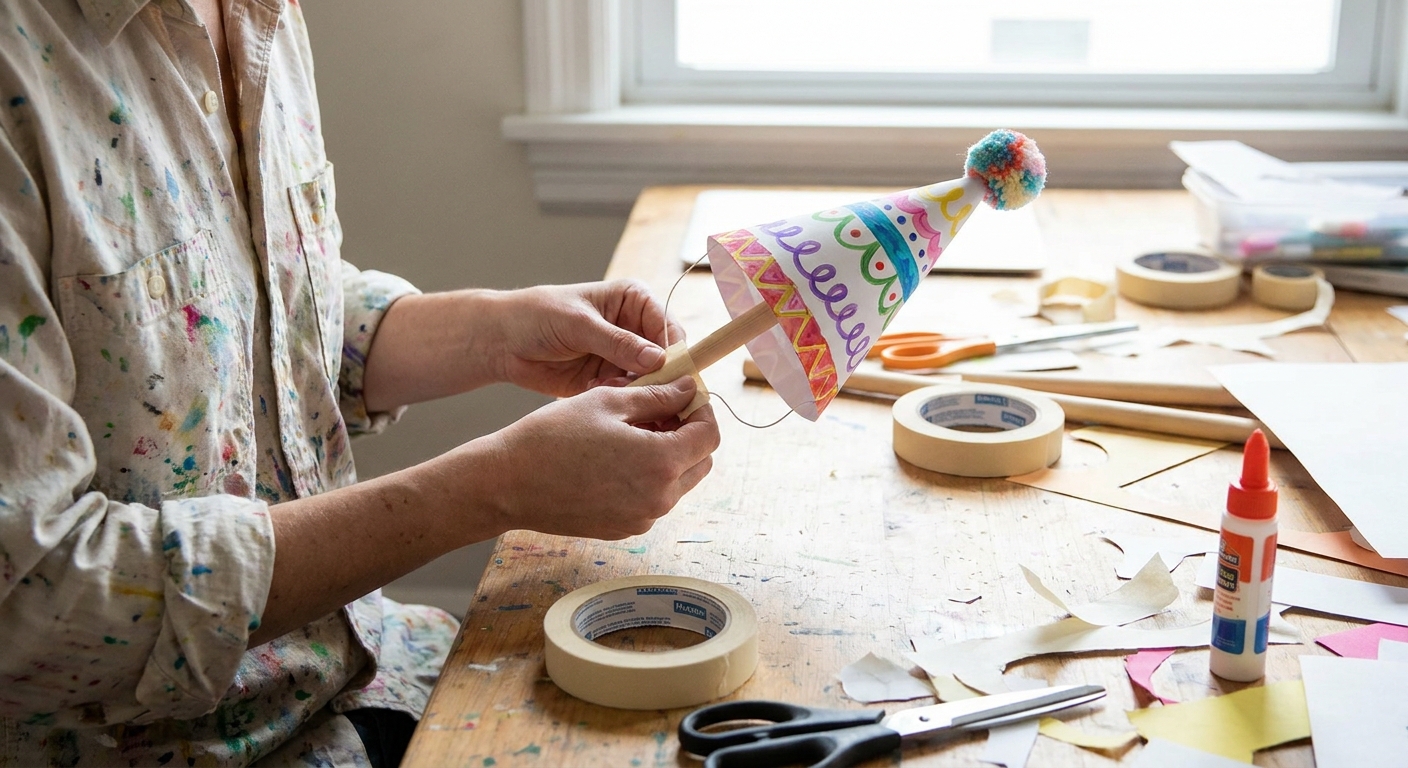
Mount props on wooden dowels
This is the step that makes everything feel like a real photo booth kit.
Method A: Fast tape mount (my go-to for parties)
- Flip the prop over.
- Place a dowel about 1 to 2 inches up from the bottom edge.
- Tape it down with one long strip of clear tape.
- Add a second strip crossing the first in an X for extra hold.
- Press firmly so the tape bonds well to the paper or backing.
Method B: Glue and backer (sturdier and neater)
- Glue the colored prop to thin cardboard or cardstock backer.
- Cut it out again once dry.
- Glue the dowel to the back and hold for 30 to 60 seconds.
- Reinforce with tape over the dowel area if the prop is heavy.
Placement tip: For big props (like large year numbers), mount the dowel slightly off-center where the prop feels balanced in your hand.
Set up a photo booth corner
You do not need a rented backdrop to make this feel special. A little intention goes a long way.
- Backdrop: a plain wall, a bedsheet, wrapping paper, or a curtain
- Make it look crisp: pull fabric tight and clip or tape it so you do not get wrinkly shadows in photos
- Lighting: stand near a lamp, or aim a ring light toward the wall for soft bounce
- Prop basket: a bowl or box labeled in your mind as “please put these back”
- Floor rule: keep drinks away from the prop pile, especially if you used markers
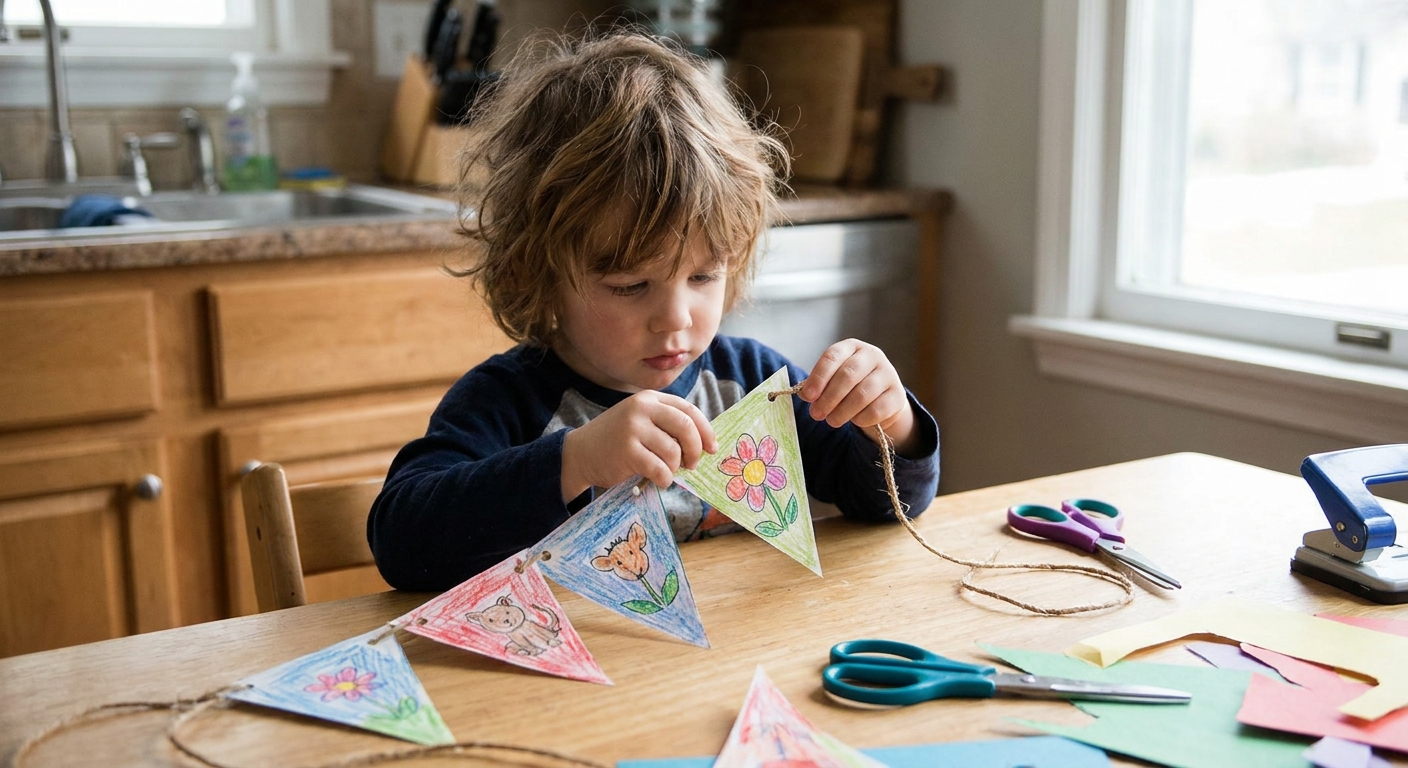
If you want another low-cost decor craft using finished coloring pages, you might also like: Paper Bunting Banner From Kids Coloring Pages.
Make it kid-friendly
If kids are crafting with you, set the project up so they can succeed quickly.
- Pre-cut the trickiest shapes (glasses frames, thin stems).
- Use glue sticks instead of liquid glue for less slipping.
- Offer “easy win” props like stars, hearts, and simple speech bubbles.
- Do an assembly line: one table for coloring, one for cutting, one for mounting.
For more crafty activities that pair nicely with coloring pages, browse: Kids Crafts Guide.
Storage and reuse
If you want to save your props for next year, store them flat. I slide mine into a large envelope or an old gift bag and tape the dowels together in a bundle.
- Keep them dry so the paper stays crisp.
- Separate sticky pieces with a sheet of scrap paper.
- Touch-ups: a quick marker pass fixes most scuffs.
Troubleshooting
My prop keeps spinning on the stick
Add a second dowel, or make a little “sandwich” on the back with two strips of cardboard, then tape across both. Double-sided tape under the dowel also helps.
The paper is curling after I color
Markers can do that. Switch to colored pencils, or tape-laminate the front first. You can also press finished props under a heavy book for 10 minutes before mounting.
The dowel pokes through or dents the paper
Use a backer layer (thin cardboard) and tape over the contact point like a bandage. It spreads the pressure out.
I want props that look fancy without a lot of work
Pick one glam element and repeat it everywhere. Metallic marker edges, a consistent black-and-gold palette, or simple polka-dot confetti makes a set look coordinated fast.
A calm little reminder
New Year’s crafts do not have to be perfect to be memorable. If one mustache is slightly lopsided, congratulations, you have made a photo booth prop with personality. Put on some music, pass the markers around, and let the props do what they are best at: giving everyone a reason to laugh right before midnight.
If you want more ideas that fit this same cozy, low-pressure vibe, you can explore the rest of my holiday projects here: Holiday Printables Guide.