Every Thanksgiving, I end up with the same sweet problem: kids at the table who are done eating in approximately seven minutes, but the grown-ups are still in the “telling stories and passing the gravy” phase. My favorite fix is a turkey-themed activity placemat you can make from a blank template. It feels special, it keeps little hands busy, and if you protect it properly, it survives the whole meal without turning into a wrinkly cranberry stain map.
Below is my kitchen-table method for designing interactive Thanksgiving turkey placemats from blank templates, plus a few tricks for making them durable enough to wipe clean and use again next year.
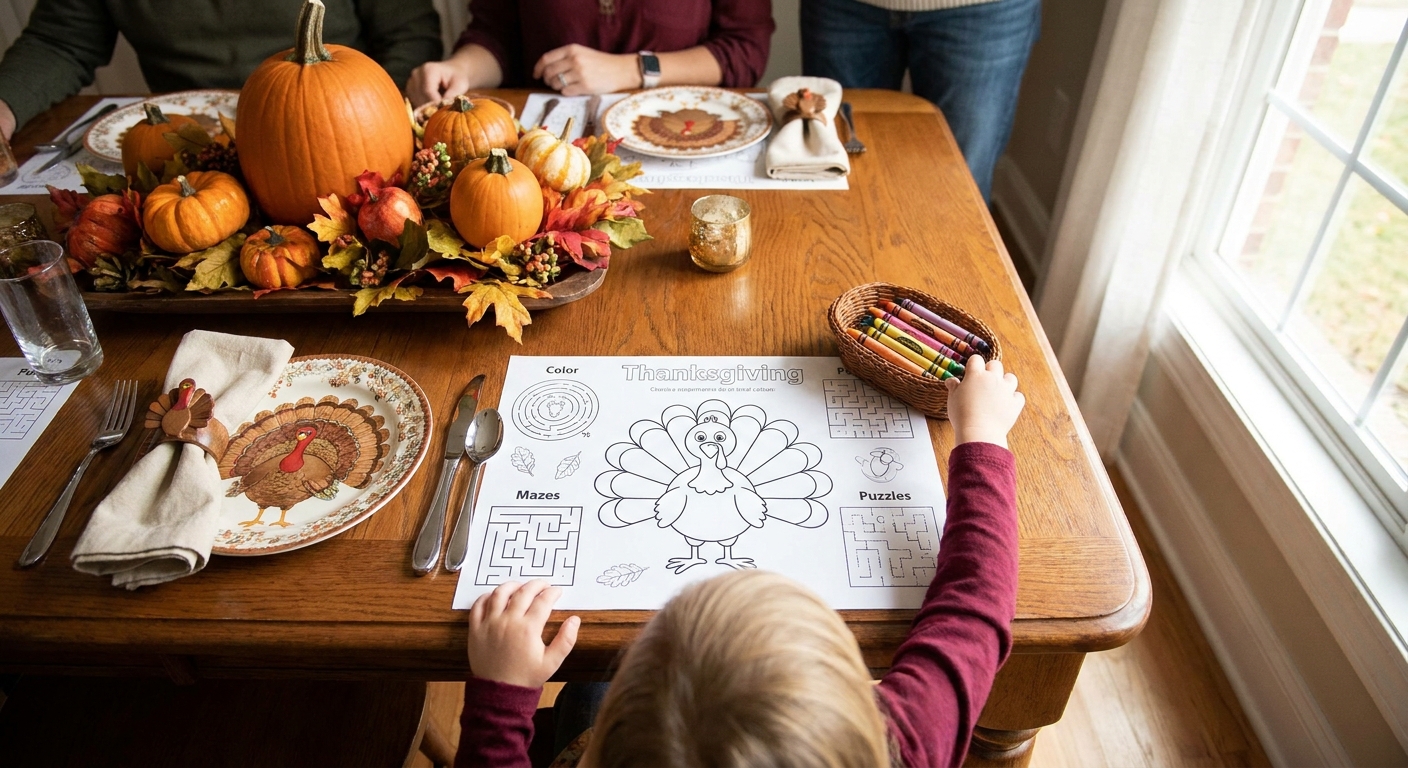
Start with a blank turkey template
A blank template is perfect because you can decide what the placemat does. The best placemat designs have two jobs: they look festive and they give kids something structured to do.
What to include on the base template
- A big turkey body in the center (easy to color, easy to personalize).
- Large feather shapes around it (these are your “activity zones”).
- A wide border around the edge for mini games or prompts.
- Open white space at the bottom for the child’s name and the date.
If you want to design your own from scratch, I walk through a simple approach here: Draw Your Own Custom Coloring Pages from Scratch.
Make it interactive
I like to think of the turkey feathers as little “stations.” Each feather gets a small task so kids can hop around instead of racing through one big activity and declaring boredom.
Feather-by-feather ideas
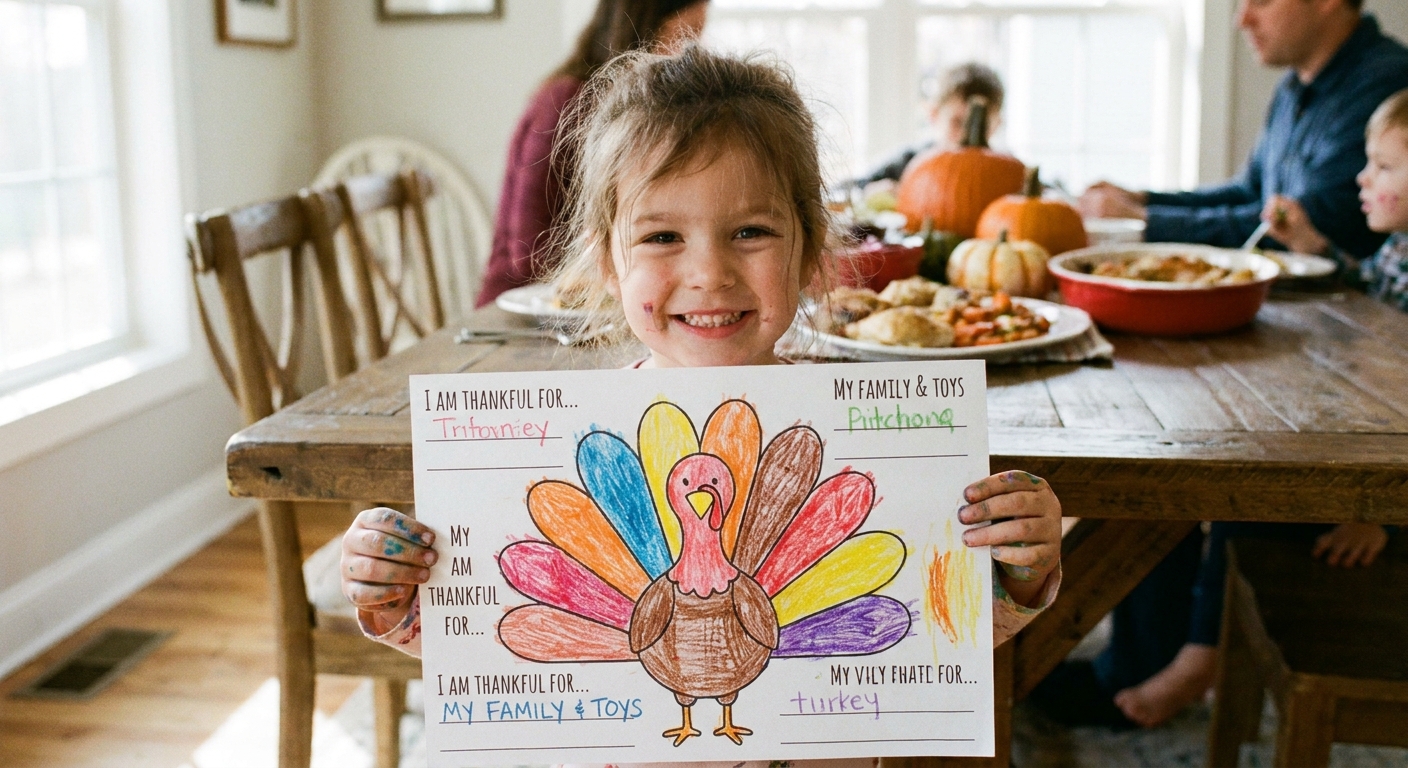
- Gratitude feathers: “Write one thing you are thankful for” (one prompt per feather).
- Color missions: “Use only warm colors on this feather” or “Make a pattern: stripe, dot, stripe, dot.”
- Mini doodle prompts: “Draw a tiny pumpkin,” “Draw a leaf,” “Draw your favorite dessert.”
- Turkey disguise: “Turn this turkey into a superhero,” “Give the turkey a hat,” “Add silly shoes.”
- Table helper feather: “Circle the foods you tried today,” plus 4 to 6 tiny food icons you draw right next to the prompt (peas, roll, turkey leg, potatoes, pie, cranberry).
Border games with no extra pieces
- Thanksgiving I-Spy: draw small simple shapes to find (leaf, acorn, pie slice, star).
- Connect-the-dots in one corner (keep it 10 to 20 dots so it is doable during dinner).
- Big-word find-and-circle: instead of a full grid, add 3 big outlined words (THANKFUL, FAMILY, PIE) and the prompt “Find and circle PIE.”
- Conversation starters: “What was your best day this year?” or “If you could invent a new pie flavor, what would it be?”
If you want a storytelling twist, you can borrow a few kid-friendly prompts from: 7 Ways to Use Coloring Pages to Teach Storytelling.
Adjust for different ages
When cousins of different ages are seated together, one placemat style can accidentally frustrate someone. I like to make the same turkey layout, then adjust the “challenge level” by age.
Preschool (ages 3 to 5)
- Extra thick outlines and fewer prompts.
- Big shapes, simple “circle the pumpkin” tasks.
- One step directions: “Color this feather red.”
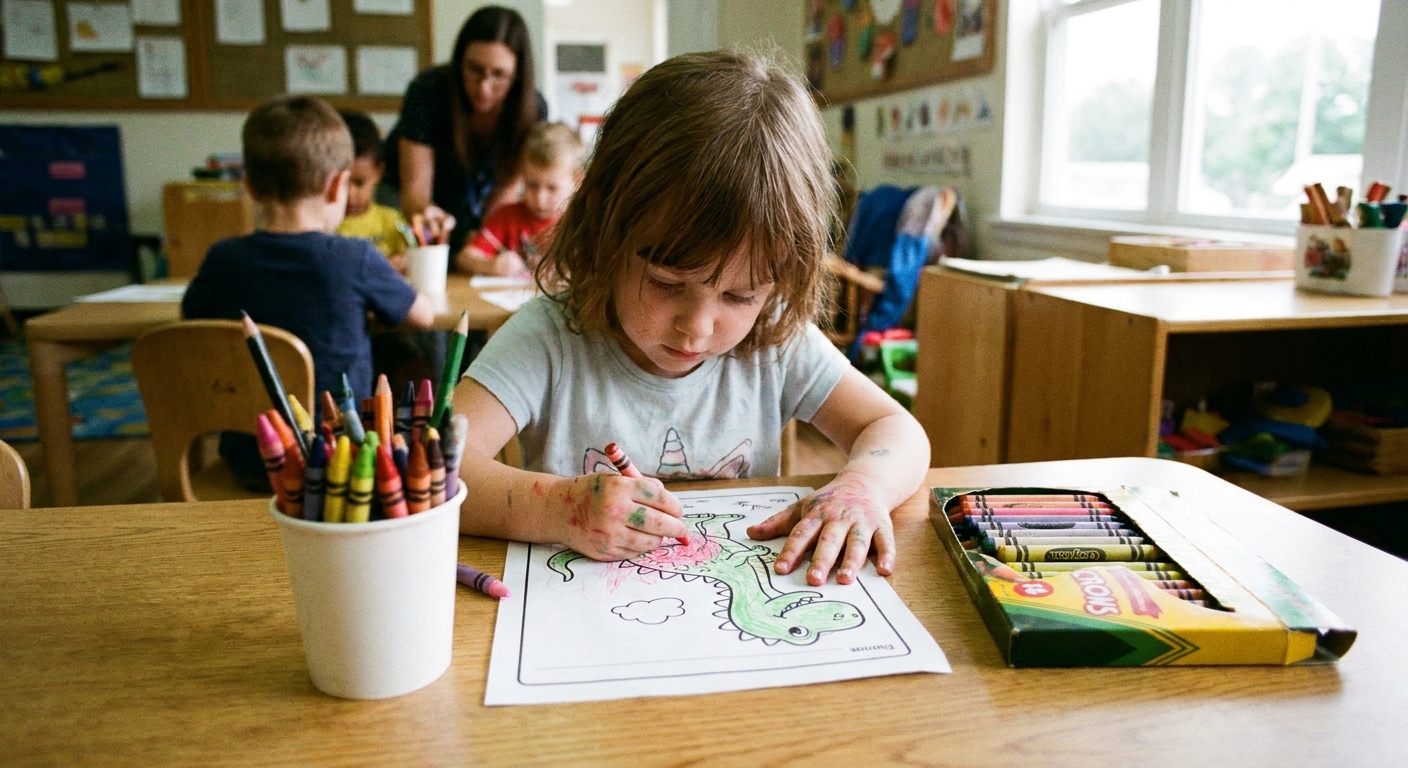
- Stick with non-toxic crayons or chunky colored pencils, and skip dry-erase markers if your kid still mouths supplies.
Early elementary (ages 6 to 8)
- Patterns, easy mazes, simple matching games.
- 3 to 5 gratitude prompts.
- A small “draw your family” box.
Older kids (ages 9 to 12)
- Logic-light challenges: “Design a new Thanksgiving tradition,” “Write a three-sentence turkey story.”
- A tiny “menu review” section with stars for taste, crunch, and yum level.
- A more detailed turkey makeover prompt: “Give your turkey an outfit with at least three patterns.”
If you are trying to avoid decision overload, picking a small set of colors can help kids feel confident and focused. This is one of my go-to calm-down tricks: Choose a Cohesive Color Palette Before You Color.
Print it on sturdier paper
Paper choice matters more than you would think at a busy holiday table. A little upgrade here saves you from ripped corners and marker bleed-through.
My “durable but easy” print setup
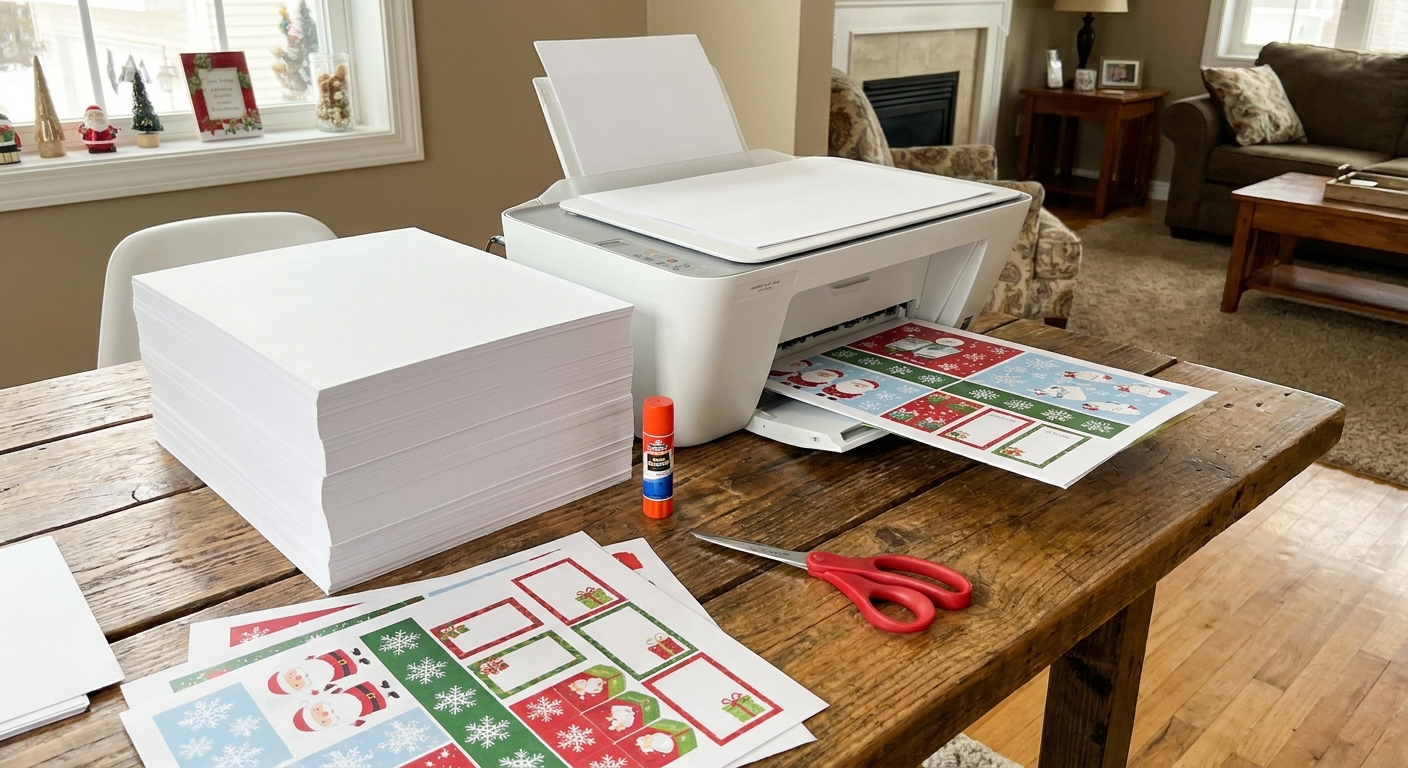
- Paper: 32 lb paper is a sweet spot and works in many home printers. If you are not sure what your printer can handle, do a quick check of your printer’s paper-weight specs (or test one sheet before you print a whole stack).
- Size: US Letter (8.5 x 11) is easiest for home printing. If you want a bigger placemat, tile-printing can work, but it is fussy on a holiday morning.
- Ink: keep outlines medium-weight, not hairline thin. Thin lines disappear once crayons get involved.
Markers or colored pencil?
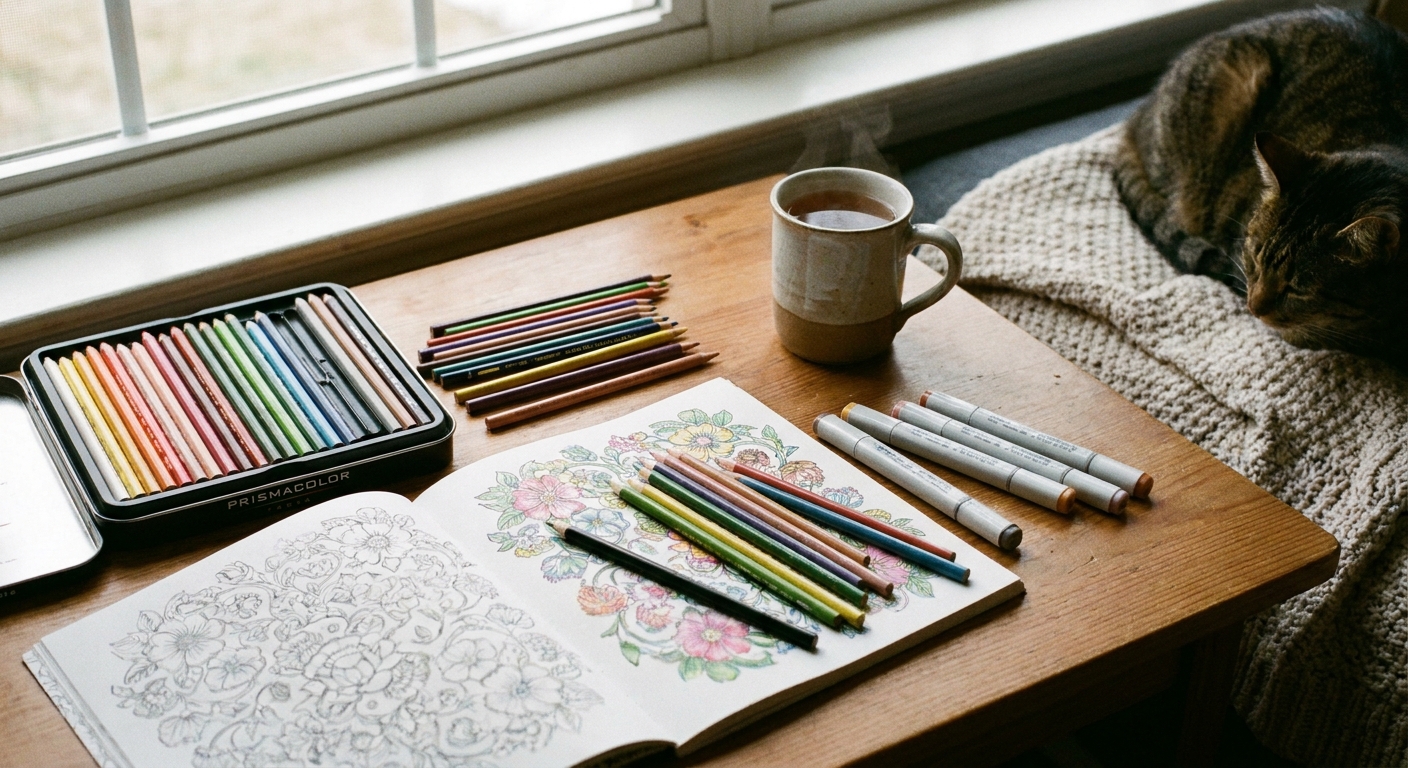
At the table, I lean toward crayons or colored pencils for the actual coloring. Markers are fun but they can transfer to sleeves, tablecloths, and the placemat underside. If you are deciding which to put out, this comparison may help: Markers vs Colored Pencils.
Make it wipeable
This is where the magic happens. Protection turns “cute paper activity” into a true placemat that can handle spills, butter smears, and the occasional enthusiastic elbow.
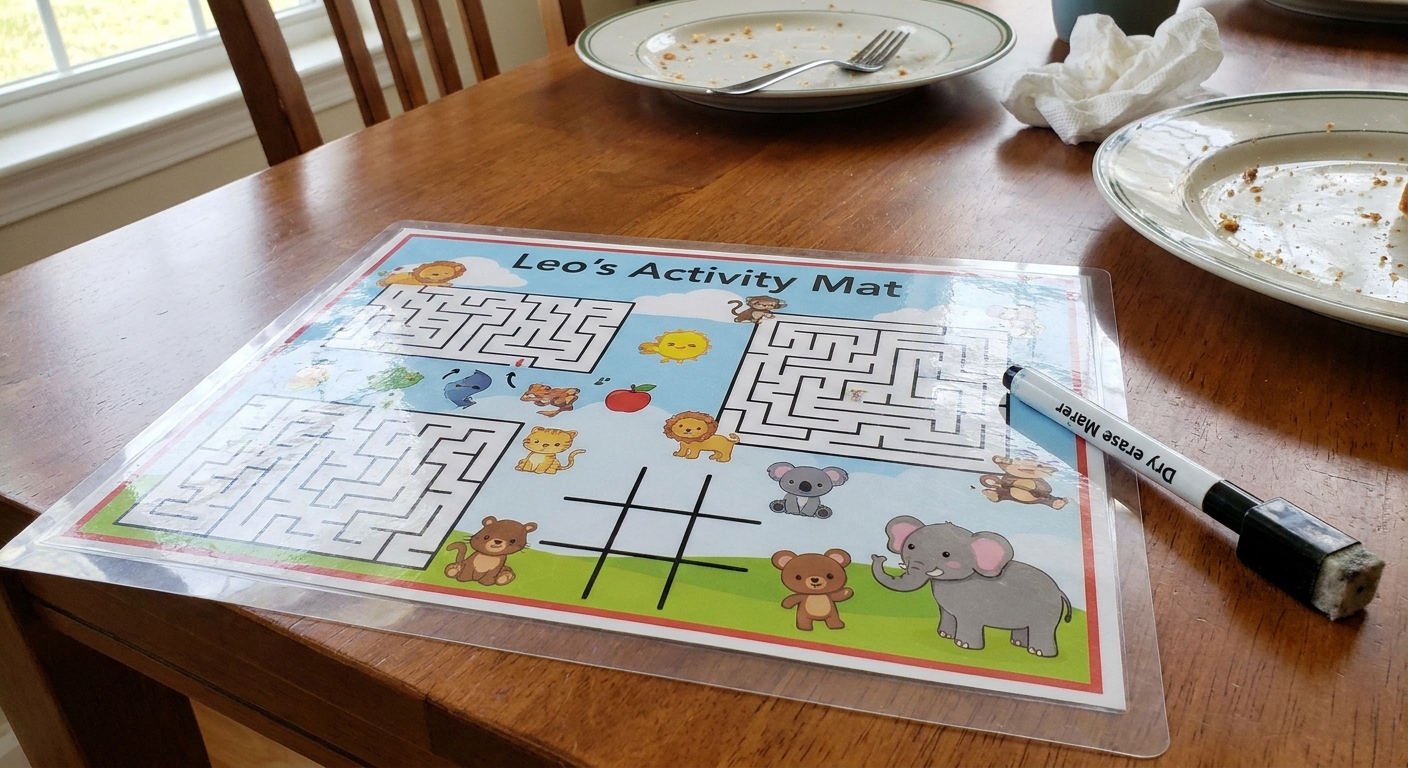
One small note that keeps everything calm: crayons and colored pencils are for the turkey and the big coloring areas. Dry-erase is for the reusable parts like mazes, I-Spy, and find-and-circle words.
Option 1: Laminate
- Print the placemat, let kids color it first.
- Laminate after coloring for a keepsake version.
- Use dry-erase markers on top for reusable games. Wipe with a soft cloth.
If you do not have a laminator, office supply stores often offer lamination services. For home crafters who already laminate kid projects, you might also like this related idea: Laminated Bookmarks from Kids Coloring Pages.
Option 2: Clear contact paper
- Cover the front with clear contact paper before the meal.
- Smooth it with a ruler or an old gift card to reduce bubbles.
- Trim edges so it does not peel at the corners.
This version is not as stiff as lamination, but it is surprisingly wipeable and fast. If you want to use dry-erase on top, test a small corner first since some contact paper finishes can “ghost.” If residue sticks around, a slightly damp cloth usually helps, and a tiny bit of rubbing alcohol on a cloth can lift stubborn marks (away from kids, of course).
Option 3: Sheet protectors
- Slide each placemat into a clear sheet protector.
- Use dry-erase markers on the plastic surface.
- At the end of the meal, pull the paper out and keep it clean for next year.
This is my “company is arriving in 20 minutes” solution.
Design around the plate
A placemat can be adorable and still feel chaotic if everything important is hidden under the dinnerware. I design around the plate, not against it.
- Put the turkey face above the plate zone so it stays visible once the meal starts.
- Keep activities on the sides and along the bottom edge.
- Avoid tiny details in the center because the plate will cover them.
- Leave a clean utensil margin so kids are not coloring right where utensils will slide.
Set the table up right
My goal is calm, not perfection. A few small choices make the whole setup feel smoother.
What I put at each seat
- 3 to 5 crayons or colored pencils (fewer choices, less mess).
- One darker pencil for writing their name and gratitude prompts.
- A single dry-erase marker if using sheet protectors or lamination.
- A napkin under the marker to prevent rolling.
Quick spill plan
- If it is laminated or covered, wipe with a slightly damp cloth, then dry.
- If it is plain paper, slide it out from under the plate, blot, and accept that your turkey now has “weather.”
Quick cleaning boundaries
- Wipe clean, but do not treat these like cutting boards. Keep hot plates and sharp utensils directly off the placemat surface.
- Avoid harsh cleaners and soaking, especially around laminated edges where moisture can creep in.
Save it as a keepsake
I love saving these because they capture a tiny snapshot of the year. If you laminated after coloring, you already have a durable memory. If you used plain paper, you can still store them flat in a folder.
- Write the year on the back and a note about something funny the child said at dinner.
- Bind a few years together into a simple family keepsake book. This idea translates beautifully from coloring pages: Bind Your Child’s Coloring Pages into a Storybook.
- Frame a favorite one as seasonal decor for next November: Frame Your Coloring Pages as DIY Wall Art.
Quick fixes
My printer smears the outline
Let the page sit for a minute before adding contact paper or sliding it into a protector. If your printer has a “plain paper” or “standard” setting, that usually reduces heavy ink saturation.
Markers bleed through
Switch to colored pencils or crayons, or print on heavier paper. If kids love markers, put a scrap sheet underneath.
The placemat curls
Heavier paper helps, but the quickest fix is to place it under a few books for ten minutes before setting the table.
Kids finish too fast
Add an “extras” box: a small maze, a tiny doodle prompt list, or a “design a pie” square. I also like prompts that can be repeated, like “Add five more patterns to any feather.”
A gentle reminder
If you are hosting, you do not need a perfect setup to make something memorable. A blank turkey template, a handful of crayons, and a simple way to protect the page can buy you a surprisingly peaceful stretch of dinner conversation. And when you look back later, it is the wobbly hand lettering and the goofy turkey hats that will make you smile.
For more seasonal ideas, you can browse our holiday projects here: Holiday Printables Guide.