Every October I get the same itch to make the house feel a little magical from the sidewalk. Not store bought magical. More like, “I made this at the kitchen table with a mug of tea and a slightly chaotic pile of paper” magical.
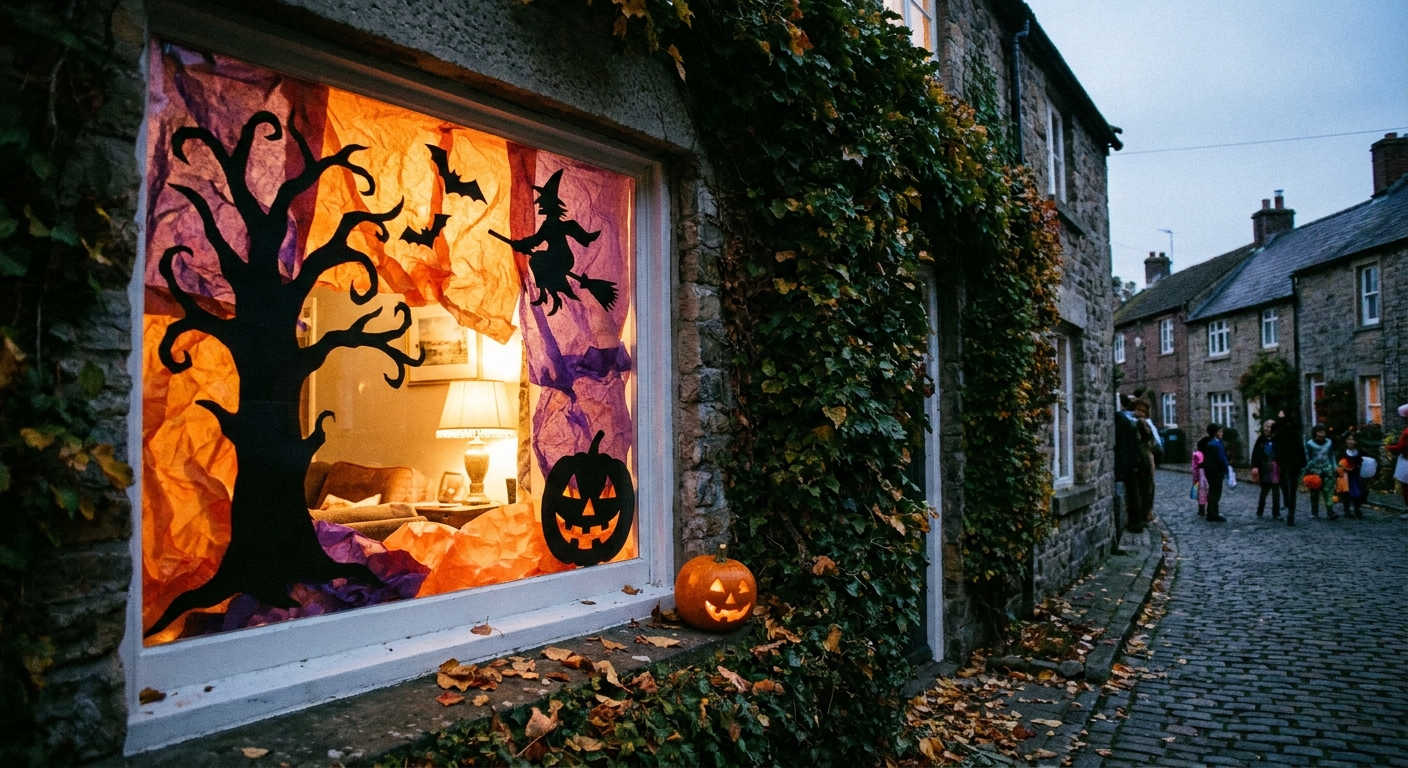
My favorite trick is turning simple Halloween silhouette printables into glowing window displays. You cut the shapes, back them with tissue paper like stained glass, and let a light source do the rest. It is cozy, spooky, and honestly one of the easiest ways to get a big Halloween payoff without needing fancy supplies.
Why silhouettes work in windows
Silhouettes are bold and readable from far away. When you add tissue paper behind cutouts, the whole thing turns into a mini stained glass effect, especially at dusk when indoor lights are on. It is dramatic in a delightfully simple way.
This works beautifully for classic shapes like bats, cats, witches, haunted houses, pumpkins, ghosts, and spiderwebs. If your “printable” is more of an outline drawing, you can still use the same method by thickening the lines with a marker before you cut, or by choosing one big area to cut out and glow.
Materials you probably have
- Printed Halloween silhouette page (on regular printer paper or cardstock)
- Black cardstock or black construction paper (recommended for a crisp silhouette)
- Tissue paper in Halloween colors (orange, purple, green, yellow, or even icy blue)
- Scissors (and a craft knife for details, optional)
- Cutting mat or a thick piece of cardboard (if using a craft knife)
- Glue stick or clear drying liquid glue
- Clear tape (helpful for quick repairs)
- Optional: wax paper, parchment paper, or a laminating sheet to make a “window” layer
- To hang: painter’s tape or removable mounting putty
Quick safety note: If you are using a craft knife, this is an adult step in my house. Little hands can still help with tissue paper and glue while you do the cutting.
Lighting note: You do not need anything complicated. A table lamp near the window works. If you want the glow without relying on a lamp placement, battery LED tea lights or LED candles nearby can add a little extra ambience. I avoid real candles in windows, especially around tissue paper. Also keep paper a few inches away from bulbs that get hot, and never rest paper directly on a lamp shade.
Steps
1) Print and choose your silhouette
If your printable is already a solid black shape, great. If it is a line drawing, decide which areas you want to “glow” and which areas should stay solid.
For the cleanest look, I like printing a template, then using it to trace onto black cardstock. Regular printer paper works too, but cardstock holds up better in a window.
2) Create a sturdy black frame
Think of the black part as the frame of your stained glass. You want enough black border so the piece does not tear and so it reads clearly from outside.
- Trace your silhouette onto black cardstock.
- Cut out the outer edge first.
- Then cut out the inside “window” areas where you want color to shine through.
Tip for tiny details: If the printable has very thin lines, simplify them. A bat looks great with chunky wings. A haunted house looks great with larger window openings. Your future self will thank you while cutting.
3) Add tissue paper backing
Flip your silhouette face down. Tear or cut tissue paper pieces slightly larger than each opening. Overlapping colors look fantastic, so do not be shy about layering.
- Apply glue around the edges of the cutout area (on the backside of the black paper).
- Press tissue paper down gently.
- Layer a second color if you want a richer glow.
Let it dry flat for a few minutes before moving it.
4) Reinforce it (optional but helpful)
If you want your decorations to last longer than one breezy afternoon of window fiddling, add a backing layer.
- Quick method: Tape the edges neatly on the back.
- Neat method: Glue the whole silhouette onto a sheet of wax paper or parchment paper. Trim around the edges once dry. The backing is fairly unobtrusive in the window, and it keeps tissue pieces from snagging.
5) Hang it in the window
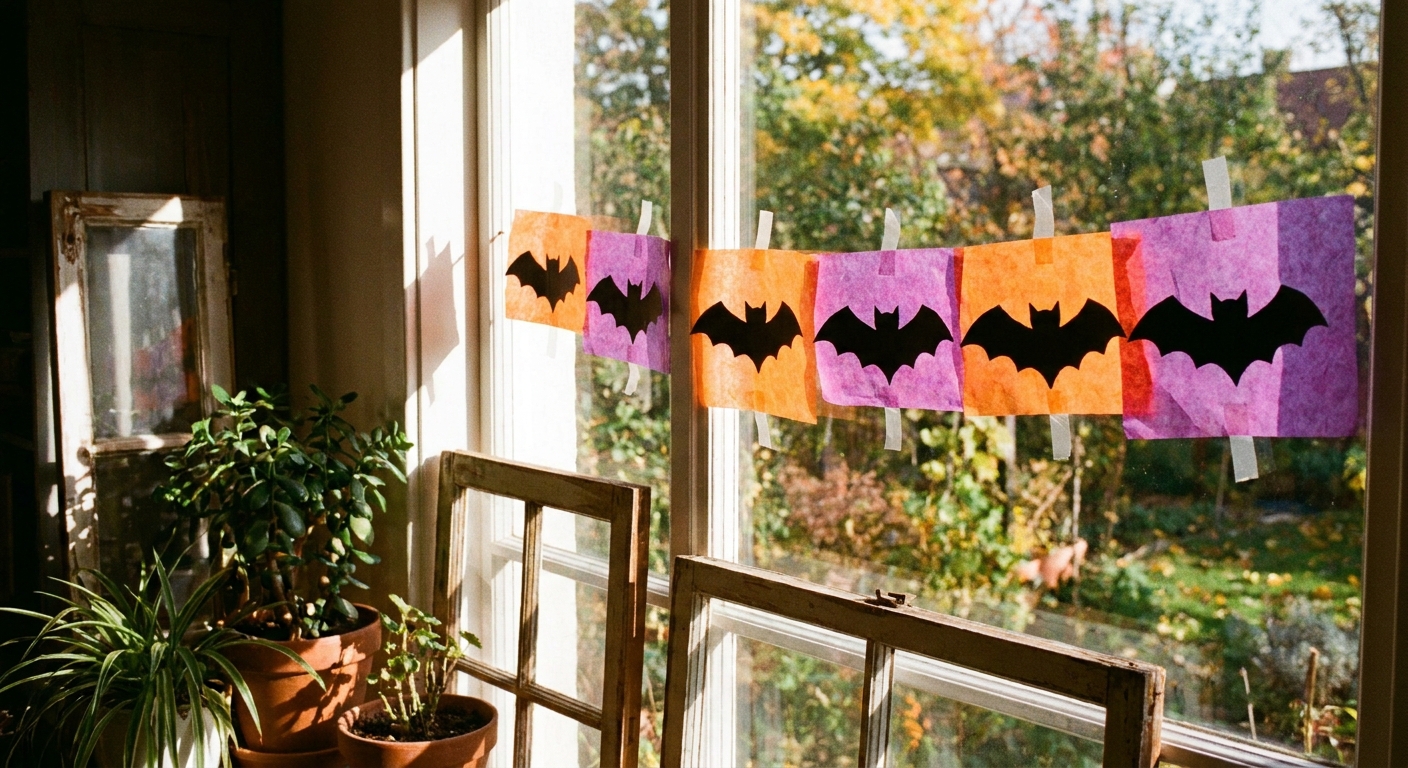
I like painter’s tape because it removes cleanly. Add small loops on the back corners, then press the piece onto the inside of the window glass.
Small but important: Tape and putty can occasionally leave residue or lift paint, depending on the surface. I always test a tiny spot first, especially on older frames.
Place a lamp a few feet behind the display, or angle a nearby light so it shines through. At dusk, the colors start to glow in that “ooh, that is spooky” way.
Paper and printing choices
Printer paper vs cardstock
- Printer paper: Easier to cut, great for quick decorating, but it can wrinkle or curl if the window gets chilly or damp.
- Cardstock: Holds shape better and looks more polished from outside.
Black paper matters
True black cardstock gives the strongest silhouette. If you only have dark gray or dark purple, lean into it. Halloween is forgiving like that.
Keep colors bright
Tissue paper looks most vibrant when it is not glued into a thick, soggy layer. Use a glue stick when you can, and let each layer dry before adding more.
Design ideas
- Haunted house windows: Cut big window rectangles and fill each with a different color, like a patchwork glow.
- Ombre ghost: Layer white tissue with a hint of blue at the bottom for a chilly look.
- Spiderweb gradient: Use pale yellow tissue in the center and deepen to orange at the edges.
- Bat swarm: Make several small bats and back each with a different color, then cluster them across the window.
Safe glow tips
- Skip open flames. Tissue paper and candles are not friends.
- Use what you have. A nearby lamp creates an easy, even glow.
- Try a “light shelf.” If your window has a deep sill, tuck an LED candle or two on the sill behind the silhouettes for extra pop.
- Test at dusk. The effect is strongest when it is dim outside and warm inside light shines through.
- Watch for condensation. If your window gets cold, paper can curl a bit. Keeping everything on the inside helps, and cardstock plus a backing layer helps even more.
Make it a craft night
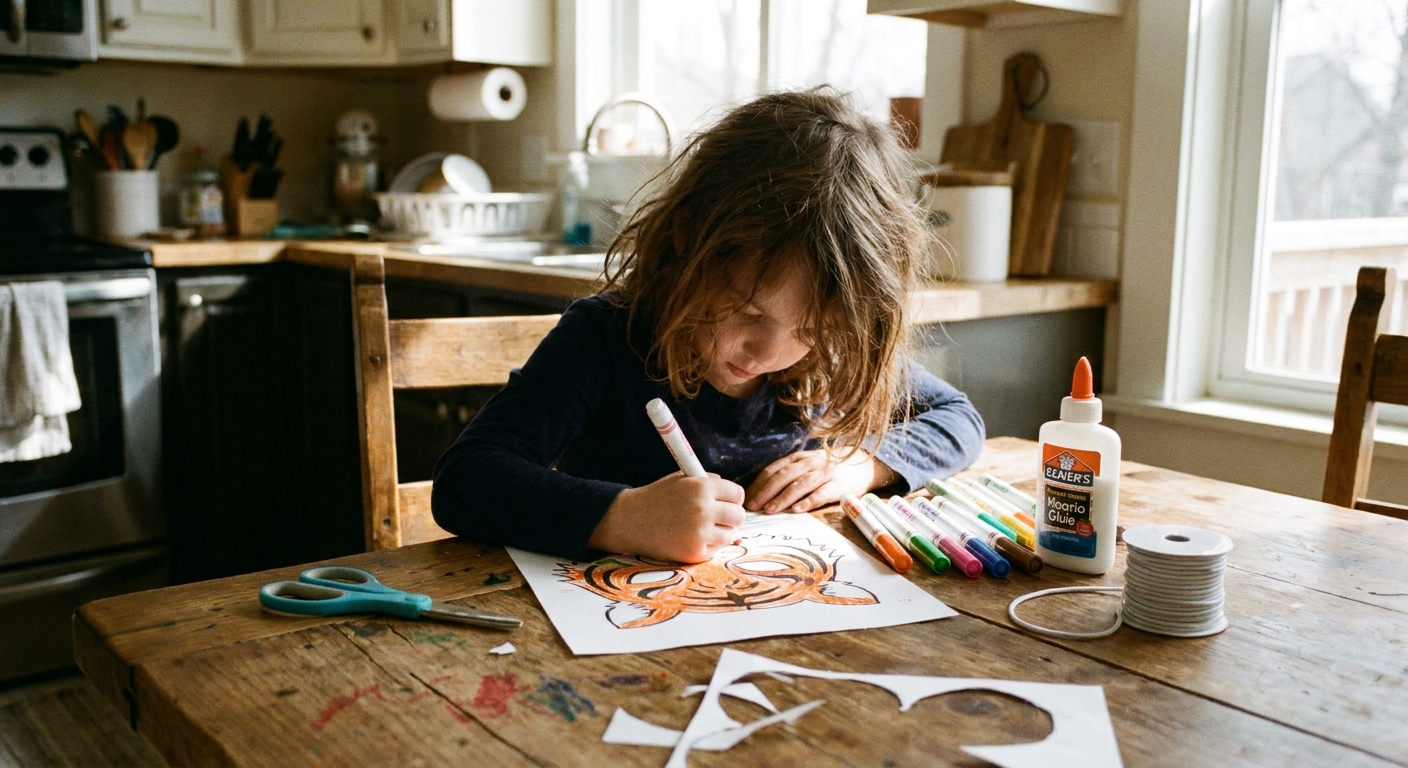
If you are doing this with kids, I like turning it into a two part activity: first, relax and color something seasonal, then make a window display with the finished pages or with simple silhouettes.
If you want more ways to turn paper projects into keepsakes and decor, these are a few favorites from my craft table:
Troubleshooting
My tissue paper wrinkled and looks blotchy
That is usually too much wet glue. Switch to a glue stick, use lighter pressure, and tear smaller pieces so they lay flatter. A little texture still looks charming when it glows.
Thin parts keep tearing while I cut
Thicken narrow bridges in your design. You can also cut fewer interior details and let the tissue paper do the visual work.
It looks dull from outside
Try brighter tissue colors, reduce the number of layers, and move a lamp closer behind the window. Also check from the sidewalk at night. The glow often shows up better than you expect.
It will not stick to the window
Painter’s tape on the corners is the easiest fix. If you want a cleaner look, tape only the very top edge on the back so it hangs like a poster.
A cozy finishing touch
Once your silhouettes are up, turn off the overhead lights, leave a lamp glowing near the window, and just enjoy it for a minute. It is one of those simple seasonal crafts that makes the whole room feel softer and more festive, like Halloween is officially here.
If you try a color combo you love, orange and purple is classic, but green with warm yellow is surprisingly eerie in the best way.