

I grew up in a house where December meant two things: paper snowflakes on the windows and some kind of craft project slowly taking over the dining table. Now that I am the adult, I still love that feeling of a holiday countdown you can actually touch. A 3D advent calendar made from numbered Christmas printables is one of my favorite ways to turn “waiting” into a cozy daily ritual.
This guide walks you through making sturdy little printable advent boxes, setting them up in a display you love, and filling them with tiny surprises that feel meaningful without being expensive.
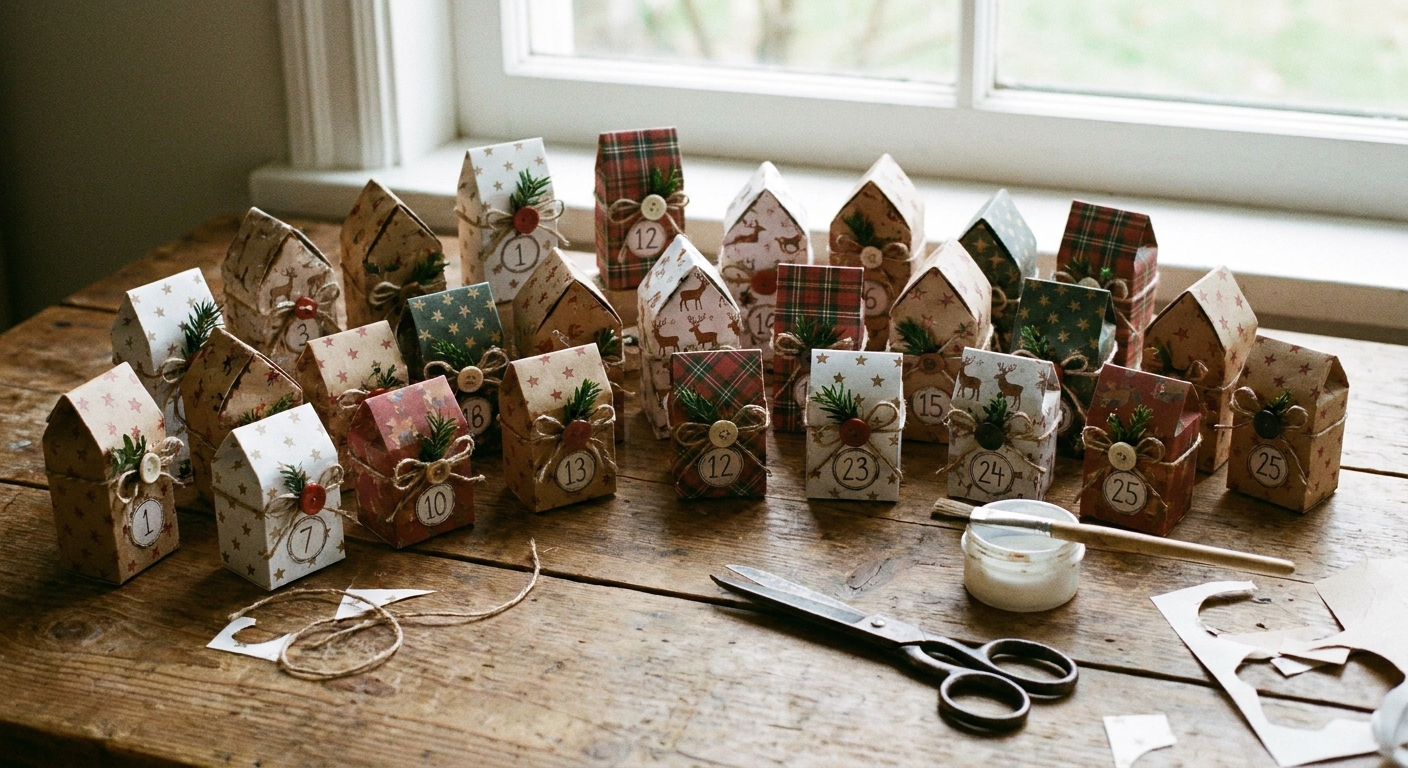
What you are making
You will create 24 (or 25) small paper boxes, each with a number on the outside. You can build them from:
- Pre-made printable box nets (a box template that folds into shape)
- Simple DIY box nets you draw yourself using a ruler
- Upcycled small packaging wrapped in numbered printables
The “3D” part just means the numbers live on actual little boxes or drawers, not a flat sheet.
Supplies (simple, budget friendly)
- Numbered Christmas printables (numbers 1 to 24, or 1 to 25) printed on regular printer paper or cardstock
- Print setting tip: use “Actual size” or 100% scaling so your numbers and box pieces come out the size you expect
- Cardstock recommended: 65 lb to 110 lb cover (often listed around 176 gsm to 300 gsm)
- Scissors or a craft knife plus a cutting mat
- Ruler (for crisp folds and measuring)
- Adhesive: glue stick, tacky glue, or double-sided tape
- Optional: bone folder or an old gift card for scoring folds
- Optional: clear tape for reinforcing the inside corners
- Decor: ribbon, twine, stickers, washi tape, small tags
- Filler surprises (ideas below)
If you are feeling extra crafty, pair this with holiday coloring. I often color small motifs first, then use them as accents. If you need a gentle nudge to get started, my go-to trick is choosing a limited set of colors. It keeps everything cohesive even if each box is a little different. You can read more here: Choose a cohesive color palette before you color.
Step 1: Plan the size
Pick your countdown
- 24 boxes: open one each day from December 1 to 24
- 25 boxes: include Christmas Day
Decide on a display
Choose what sounds fun, not what sounds perfect:
- Tree shape: boxes stacked widest at the bottom and narrower toward the top
- Grid: 4 by 6 is classic for 24 days
- Garland: mini boxes clipped to twine with clothespins
- Basket or tray: toss the boxes in and let the numbers be the star
Easy size guide
Before you print or cut 24 boxes, test one sample box.
- Small: about 2 in to 2.5 in wide, great for notes and tiny candies
- Medium: about 3 in wide, fits small toys, bracelets, or tea packets
- Mixed sizes: make day 24 (and 25) slightly bigger for a grand finale
How long it takes
Plan on an evening or two, depending on how detailed you get. Once you have a rhythm, expect roughly 4 to 8 minutes per box for cutting, scoring, folding, and gluing, plus decorating time.
Step 2: Make the numbers
I am calling them “printables” because you are printing them at home, but you do not need anything fancy. You just need numbers you can cut out and attach to your boxes.
Option A: Number cards
Print a sheet of numbers, cut them into little squares or circles, and glue one number to each box. This works even if your boxes are plain.
Option B: Box nets with numbers
Some templates include the number on the lid panel. If you have those, you will just cut, fold, and glue.
Option C: Make your own
Type the numbers 1 to 24 (or 25) in a font you love, add simple holiday shapes if you want, and print. Keep the design high contrast so the numbers are easy to spot across the room.
If you prefer drawing, you can also hand-letter each number. That imperfect, cozy look is part of the charm.
Step 3: Build the boxes
This is my favorite “it will actually hold together for 24 days” approach: a simple paper box with a separate lid. For this tutorial, the finished box is a 3 in by 3 in box with 1 in tall sides. Technically it is a small tray-style box, not a cube, and that is a good thing for advent calendars because it is easier to open day after day.
Cut list (one box)
- Box base: 1 piece of cardstock cut to 5 in by 5 in
- Lid: 1 piece of cardstock cut to 5 1/8 in by 5 1/8 in
Why these sizes? The base needs a 3 in center panel plus 1 in sides on all four edges (1 + 3 + 1 = 5). The lid is just a hair larger so it can slide on and off without bending your corners (1 + 3 1/8 + 1 = 5 1/8).
Score, fold, and glue the base
- On the 5 in by 5 in piece, measure and lightly score lines 1 in from each edge. You will end up with a 3 in by 3 in center square.
- Cut one straight slit on each corner, from the edge to the score line, so the sides can fold up.
- Fold along all score lines and crease sharply.
- Glue or tape the flaps to form the box base.
Score, fold, and glue the lid
- On the 5 1/8 in by 5 1/8 in piece, score lines 1 in from each edge. This leaves a 3 1/8 in by 3 1/8 in center panel, which gives your lid a little breathing room over the 3 in base.
- Cut corner slits, fold, and glue just like the base.
- Test fit on the base. If it is snug, trim a tiny sliver off two opposite lid sides and try again.
If you want a true 3 in cube (3 in by 3 in by 3 in), you will need much taller side flaps. For most advent treats, the 1 in tall version is the sweet spot.
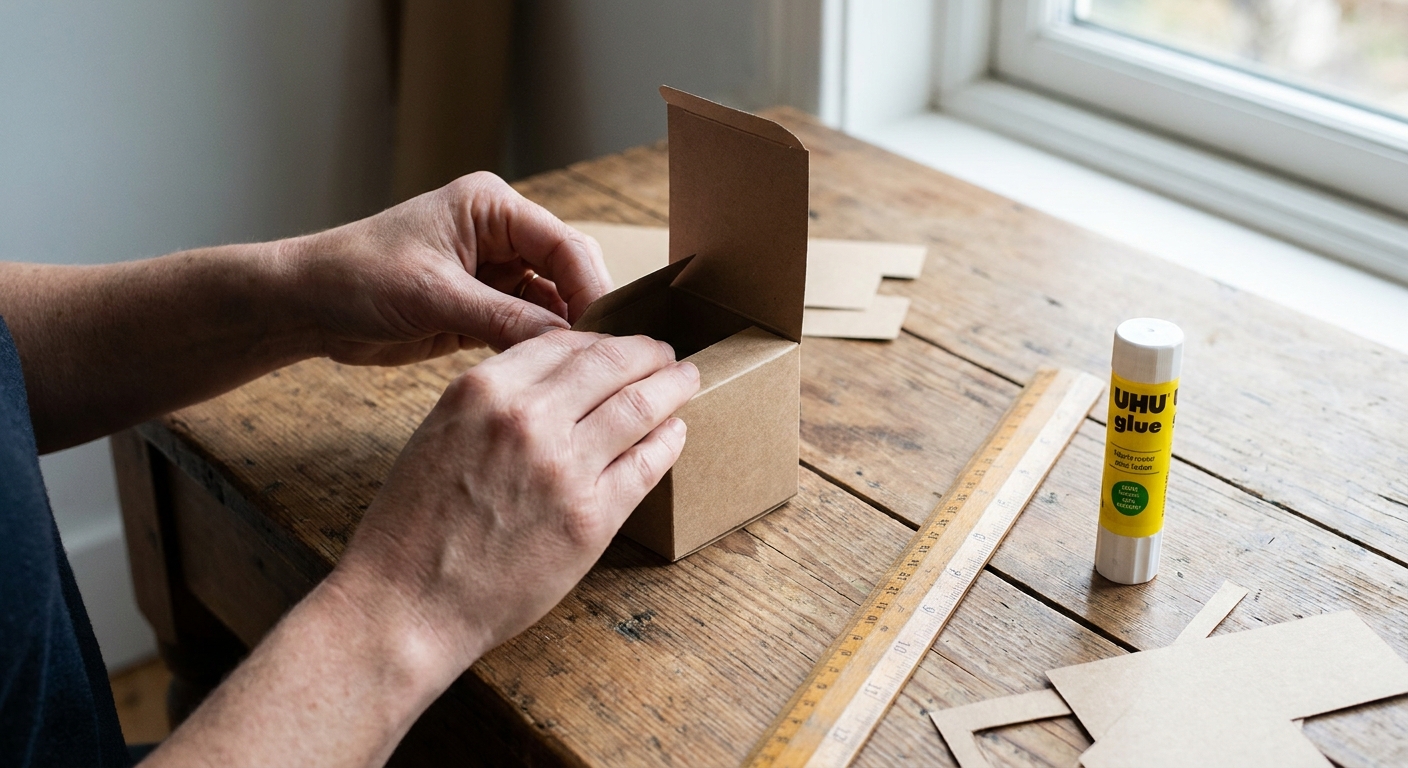
Work assembly-line style
- Cut all squares first
- Score all pieces second
- Cut slits third
- Fold everything fourth
- Glue last
Put on a holiday playlist and treat it like a calm little production line. It goes much faster than doing one complete box at a time.
Step 4: Add the numbers
Once your boxes are assembled, decorate before you fill them. It is easier to press down paper pieces when the box is empty.
Placement tips
- Lids are easiest: the number stays visible even when boxes are stacked.
- Front panels work best for grids: align numbers consistently so it looks tidy.
- Foam dots add dimension: totally optional, but very cute.
One simple rule
Pick one repeating element across all boxes, such as:
- all numbers in the same color
- a thin washi tape border on every lid
- one tiny star sticker on each box
This makes even mismatched patterns feel like a coordinated set.
Step 5: Set up the display
Now the fun part: arranging it somewhere you will actually enjoy seeing it every day.
Display ideas
- On a tray: cluster the boxes, add greenery or ornaments around them.
- In a shallow crate: the sides keep things from toppling when kids get excited.
- On a bookshelf: stagger heights like little holiday buildings.
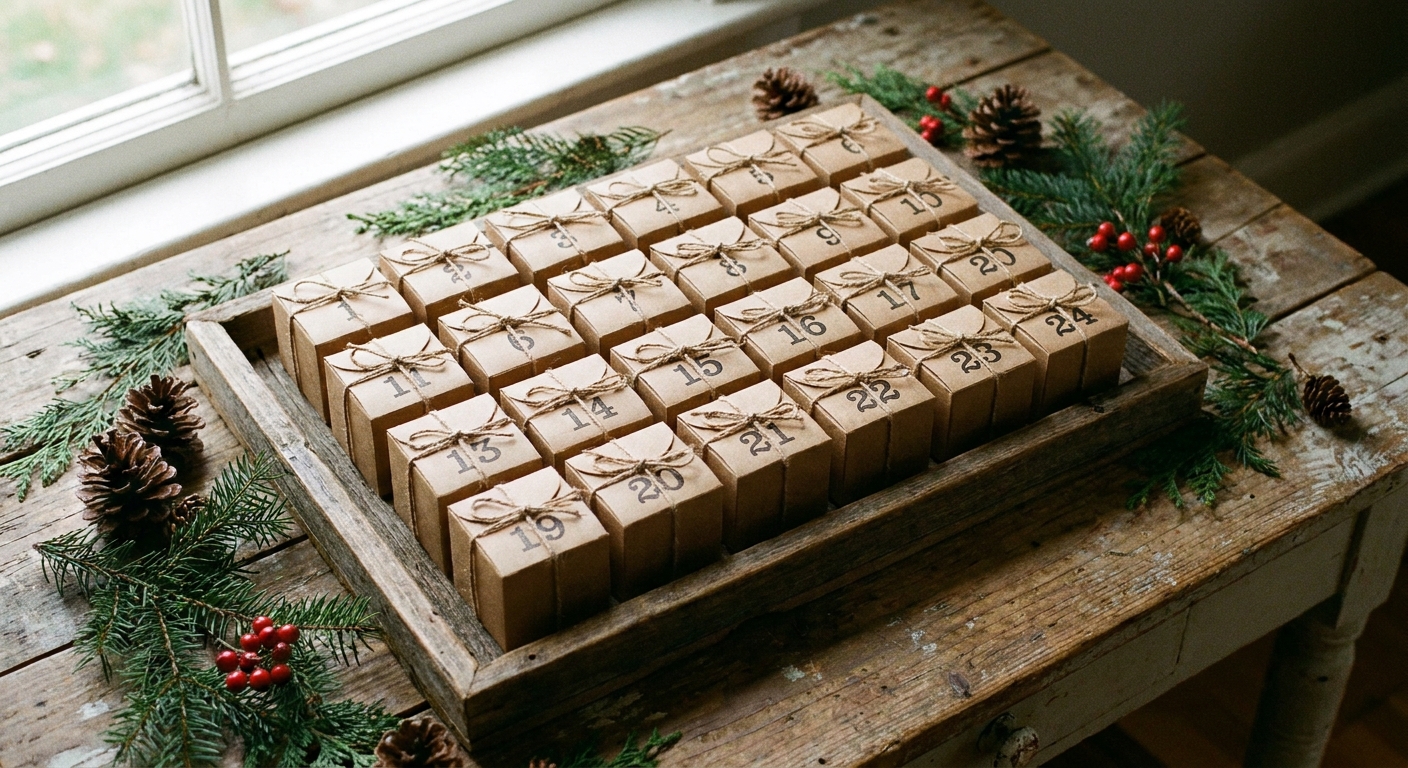
For a tree shape
Build a stable base. Put the largest, heaviest-filled boxes on the bottom row and lighter ones toward the top. If your boxes slide, a tiny rolled piece of tape under each bottom box keeps the structure from drifting.
Step 6: Fill the boxes
I love a chocolate moment as much as anyone, but the most memorable advent calendars I have made include a mix of tiny treats and tiny experiences.
Small items
- Tea bag or a single-serve cocoa packet (folded if needed)
- Mini candy canes, chocolate coins, or a couple of gummies
- Sticker sheet folded small
- Hair clips or a scrunchie
- Glow stick bracelet
- Mini eraser or pencil topper
- A holiday joke or riddle slip
- A few beads and string for one-day jewelry making
Experience coupons
- Pick a holiday movie
- Family board game night
- Make paper snowflakes
- Drive to see neighborhood lights
- Extra bedtime story
- Choose the next coloring page
Want to tie it to coloring time? Slip in a prompt like “color for 10 minutes with only three colors” or “add your own background.” For background ideas, I wrote a whole guide here: Original backgrounds for blank coloring pages.
Make them last
Paper boxes can absolutely survive the full season, especially with a little support.
- Use cardstock: it is the biggest durability upgrade.
- Double up the lid: glue a second square of cardstock inside the lid top.
- Reinforce corners: a small strip of clear tape inside each corner adds strength.
- Keep away from damp spots: avoid direct contact with a humid windowsill or a steamy kitchen corner.
If you love crafts that give your finished pages a second life, you might also enjoy turning holiday coloring into decorations. This one is a classic: DIY paper ornaments from coloring pages.
Troubleshooting
Lid does not fit
- If it is too tight, trim a sliver off two opposite lid sides and test again. If you have not glued the lid yet, you can also score the lid sides a tiny bit wider for more room.
- If it is too loose, wrap a thin paper band around the top edge of the base, then put the lid on.
Folds look puffy
- Score first, fold second. A ruler plus an old gift card works beautifully as a scoring tool.
- Crease firmly along the fold before gluing.
Numbers peel up
- Use a stronger adhesive on glossy paper, like tacky glue or double-sided tape.
- Press the number down under a heavy book for a minute while the glue grabs.
Boxes collapse when filled
- Switch to heavier cardstock, or reduce the size of your filler items.
- Add a small square of thin cardboard to the bottom inside of the box.
Keep it cozy
If your numbers are not perfectly aligned, or a box leans a little to the left, you did it right. The best advent calendars look handmade because they are handmade. They hold tiny surprises, yes, but they also hold time together. One small moment a day, on purpose.
If you want more holiday printable inspiration, browse the hub here: Holiday Printables Guide. And if you ever have a question about adapting a craft for your space or your kids, you can reach me through Contact.