

My childhood dining table was basically an art supply habitat. There were always crayons rolling under napkins, a glue stick with the cap missing, and some mysterious sparkle that followed us around for days. So when I tell you that adding yarn, glitter, and buttons to a plain coloring page can feel like pure magic for kids, I mean it in the most lived-in way.
Sensory coloring crafts take a flat page and turn it into something you can touch, trace, and build. They are wonderful for fine motor skills, calmer focus, and that happy little pride kids get when their artwork is not just colored, but constructed.
Quick safety heads-up: This kind of crafting is hands-on and often involves small parts. I keep scissors and a hole punch as adult tools, and I only use buttons, sequins, and glitter with kids who are past the “everything goes in my mouth” stage. Close supervision matters.
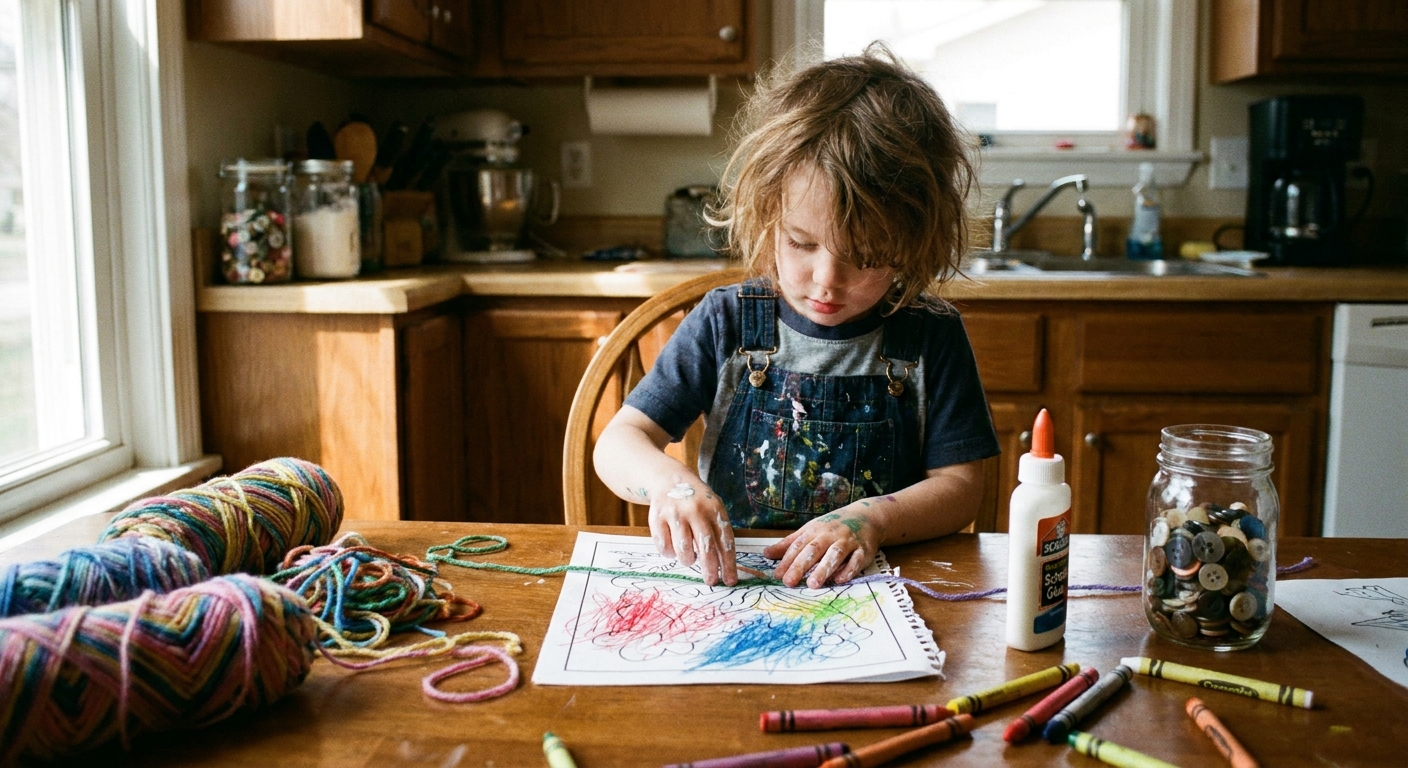
Why tactile add-ons help
Coloring can support hand strength and pencil control, especially when kids have time to practice. When you add materials like yarn and buttons, you invite a different kind of learning. Kids practice pinching, placing, threading, dabbing glue, and planning where things should go. That is a lot of brain and hand teamwork in one cozy activity.
- Fine motor boost: Picking up small buttons, placing sequins, twisting yarn, and using a glue bottle all strengthen finger muscles.
- Sensory input: Soft yarn, bumpy buttons, gritty glitter, and smooth paper create contrast kids love exploring.
- More staying power: Mixed media can help some kids stay engaged longer than coloring alone because there is more variety to do.
- Confidence: The finished piece looks extra special, even if the coloring is wiggly or the gluing is imperfect.
Set up and cleanup
I am firmly in the “more fun, less fuss” camp. A few simple setup choices make these crafts feel relaxed instead of chaotic.
Quick supply list
- Printed coloring pages (thicker paper is helpful, but regular printer paper can work)
- Crayons, colored pencils, or markers
- White school glue and/or a glue stick
- Yarn (multiple colors, cut into manageable lengths)
- Buttons (variety of sizes, but not too tiny for young kids)
- Glitter (chunky glitter is often easier to control than ultra-fine)
- Tray, baking sheet, or shallow box lid to catch stray sparkle
- Optional: double-sided tape, washi tape, hole punch, child-safe scissors
My favorite low-mess tricks
- Use a tray: Do glitter work inside a tray so you can fold and pour extra back into the container.
- Pre-cut yarn: For preschoolers, cut yarn into 3- to 6-inch pieces so it does not tangle into a “yarn spaghetti situation.”
- Make a button bowl: Put buttons in a muffin tin section so kids can pick and choose without dumping everything.
- Work in steps: Color first, then glue yarn, then add buttons, then glitter last.
Yarn techniques kids can do
Yarn is soft, forgiving, and wonderfully sensory. It is also sneaky good for building coordination because it flops around unless you guide it.
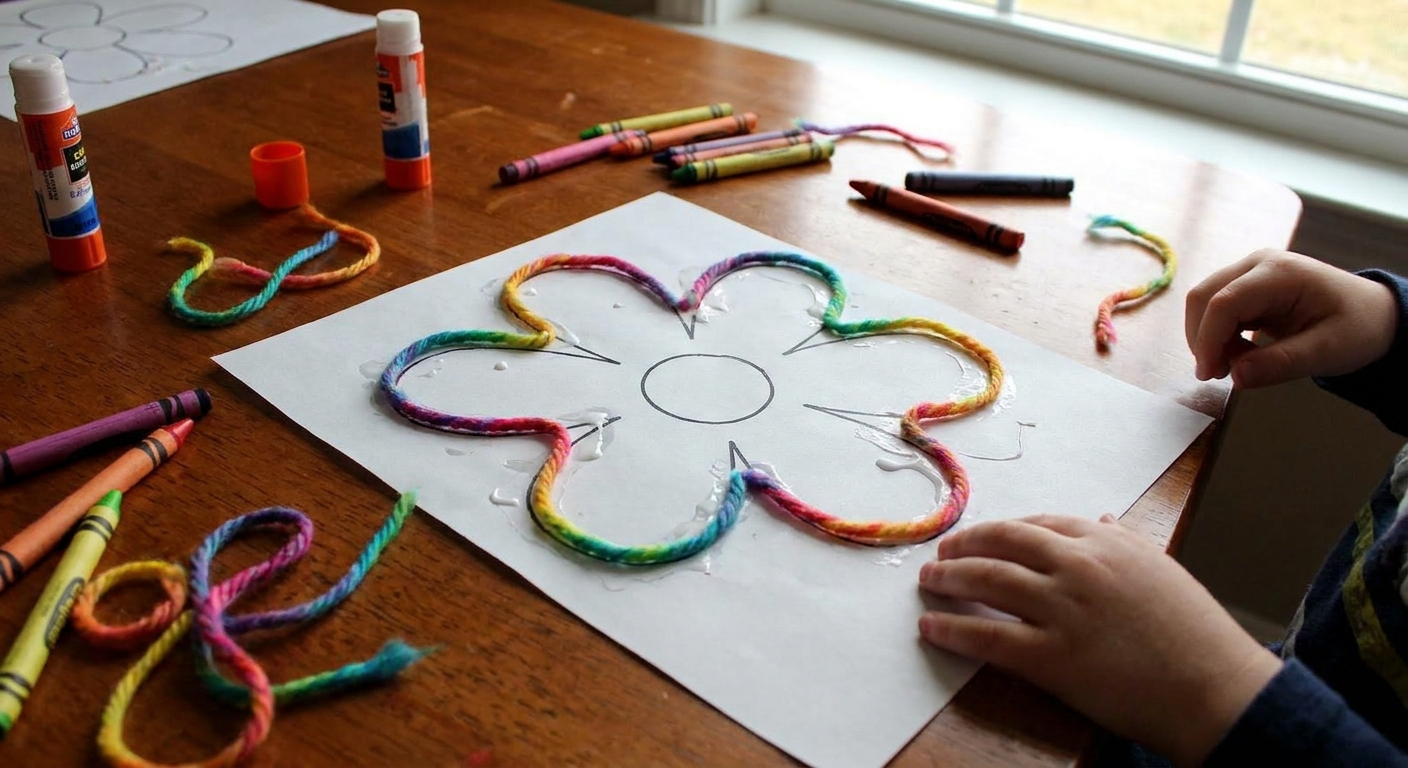
1) Outline with yarn
This is my go-to technique for turning a coloring page into raised line art, kind of like pipe cleaners, but softer.
- Pick a shape with bold outlines like a rainbow, heart, big animal, or simple flower.
- Run a line of white school glue along one section of the outline.
- Press yarn onto the glue, working in short segments.
- Trim the yarn as you go so it fits neatly around curves.
Tip: For tight curves, shorter pieces of yarn are easier than one long strand.
2) Hair and fur textures
Add yarn hair to a character, a mane to a lion, or shaggy fur to a llama.
- Cut yarn into short lengths.
- Glue only the top edge of each piece so the strands stay fluffy and touchable.
- Layer darker and lighter colors for dimension.
3) Weaving through slits (adult help)
If your page has a basket, a sweater, or a big blank area, you can turn it into a simple weave.
- Color the area first.
- An adult cuts evenly spaced short slits in a rectangular area of the paper.
- Kids weave yarn over and under the slits, then tape or glue the ends on the back.
This is fantastic for focus and bilateral coordination, especially for kids who enjoy “fiddly” tasks.
Glitter without the chaos
Glitter is basically joy in a jar, but it needs boundaries. The good news is that kids do not need a lot for it to feel magical.
Safety note: Keep glitter away from toddlers, and remind kids to keep hands away from eyes. If you are crafting with a group, I prefer glitter glue or larger glitter pieces that are easier to see and clean up.
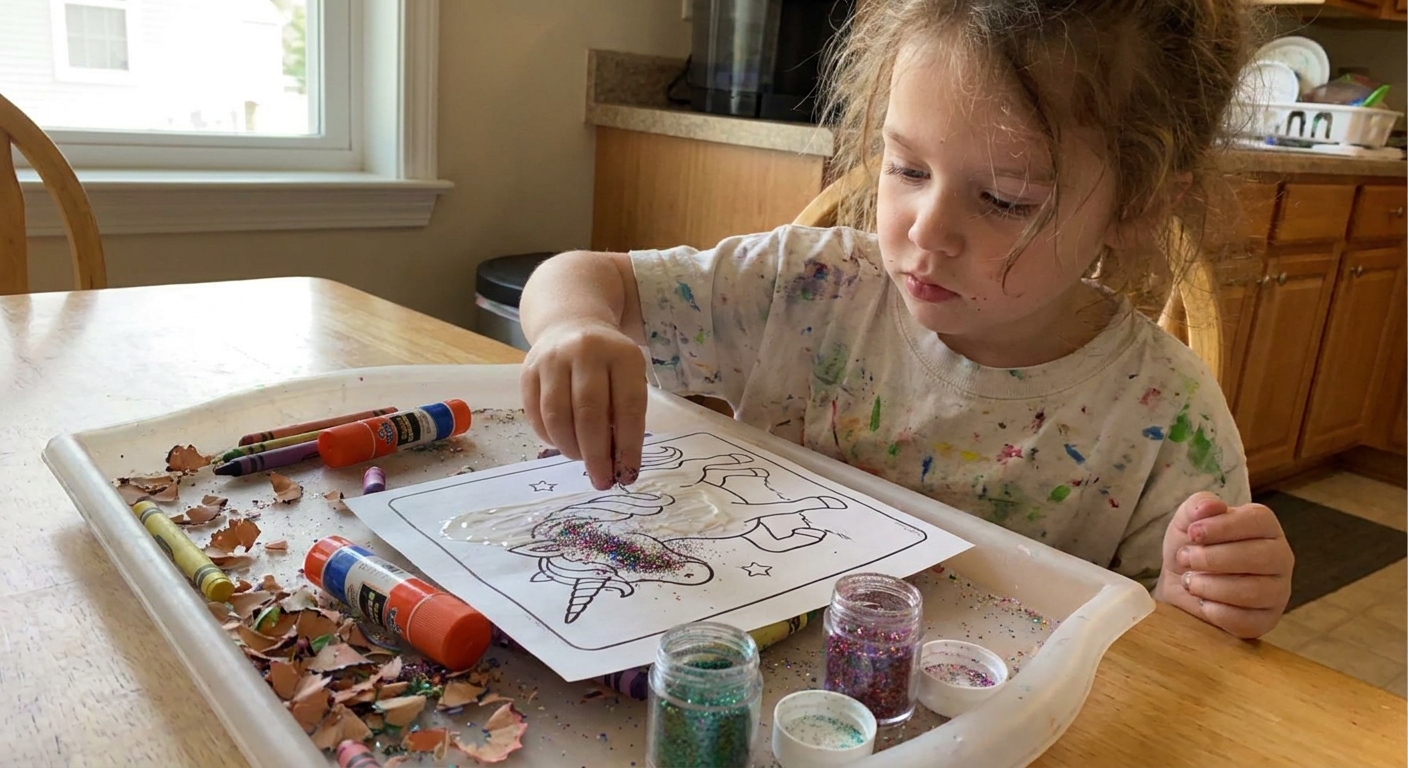
Pick the right adhesive
- White school glue: Great for larger glitter areas and usually dries clear.
- Glue stick: Better for light shimmer and less wet mess, but glitter may shed more later.
- Glitter glue: Convenient and contained, but it can take longer to dry and may wrinkle thin paper.
Easy glitter ideas
- Glitter accents: Add sparkle to stars, crowns, jewelry, snow, fairy wings, or just the centers of flowers.
- Glitter highlight line: Trace one edge of a shape with a thin line of glue, then sprinkle glitter for a shiny outline.
- Resist sparkle: Color an area heavily with crayon, then add glue lines on top for glitter. The crayon makes the color pop underneath.
Seal it (optional)
If you want the finished page to shed less glitter, you can lightly brush a thin layer of diluted school glue over dry glitter. Test on a corner first. It can dull ultra-shiny glitter a bit, but it helps lock things down.
Buttons for instant 3D
Buttons add instant dimension and that satisfying clack when kids sort through them. They are also perfect for building pincer grasp.
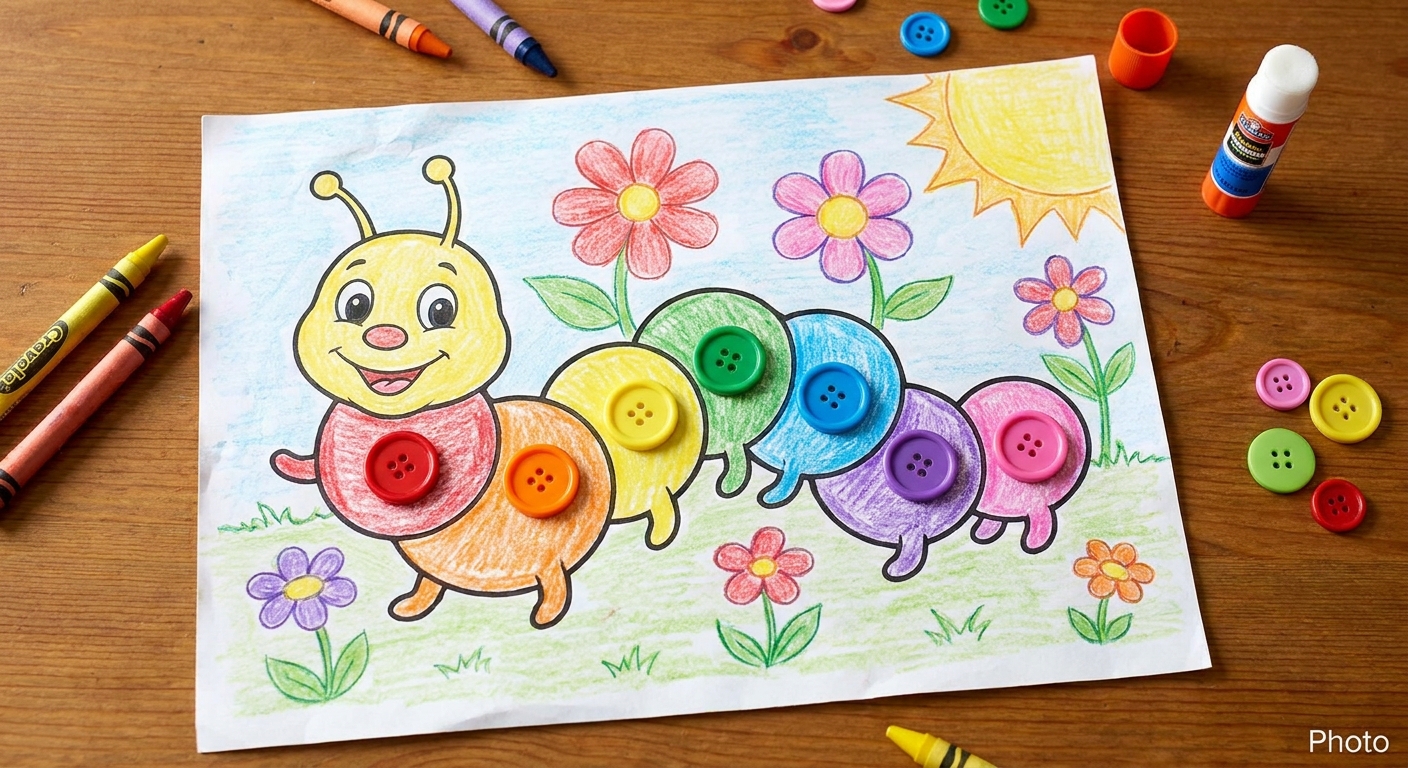
Where buttons work
- Flower centers
- Animal spots (ladybugs, cheetahs, fish scales)
- Balloon clusters
- Holiday ornaments and garlands
- Robot panels and “control buttons”
How to attach buttons
For paper crafts, white school glue is usually enough if you use the right approach.
- Dot a small puddle of glue where the button will sit.
- Press the button down and hold for a slow count of five to ten.
- Let it dry flat and undisturbed until it feels secure. Depending on glue, paper, and humidity, that might be 1 to 2 hours, and thicker spots may do best overnight.
Extra hold: If a page will be handled a lot, glue the coloring page onto cardstock first, then add buttons.
Safety note for little ones
Buttons can be a choking hazard. For toddlers and very young preschoolers, swap buttons for larger items like big foam stickers, pom poms, or torn paper squares. If you do use buttons with young kids, close supervision is non-negotiable.
Three easy projects
1) Texture garden
- Color the stems and leaves.
- Outline petals with yarn.
- Glue a button in the center of each flower.
- Add a tiny glitter highlight to dew drops or a sun.
2) Cozy winter scene
- Color a mitten, hat, or sweater.
- Weave yarn through slits to make a scarf panel, or glue yarn as fringe.
- Add glitter to snowflakes or icicles.
3) Under-the-sea page
- Use yarn as seaweed strands.
- Use buttons as bubbles or fish scales.
- Add a light glitter shimmer to the water area for a sunlit effect.
Make it last
Mixed media pages are thicker and more delicate than standard coloring sheets. If you want them to last, here are my favorite upgrades.
- Mount it: Glue the finished page onto cardstock or a recycled cereal box panel.
- Frame it: Display it as art once it is fully dry. I walk through simple display ideas here: Frame Your Coloring Pages as DIY Wall Art.
- Turn it into a card: A button bouquet on the front of a folded card is ridiculously cute. Try: Turn a Coloring Page Into a Folded Card.
Age tweaks
Ages 3 to 5
- Use larger buttons or alternatives like big pom poms.
- Pre-cut yarn pieces.
- Use glue sticks for quick wins, with glitter only in small areas.
- Focus on the experience, not neatness.
Ages 6 to 8
- Try outlining shapes with one continuous yarn strand.
- Introduce simple weaving with adult-cut slits.
- Let kids plan a “texture map” first: where will it be soft, bumpy, sparkly?
Ages 9 and up
- Challenge them to create patterns with buttons and yarn.
- Try layered effects like yarn outlines plus shaded pencil coloring inside.
- Invite storytelling: name the character, describe the setting, add tactile clues.
If your kids love turning art into stories, you might also enjoy 7 Ways to Use Coloring Pages to Teach Storytelling.
Troubleshooting
My paper is wrinkling
- Use less glue, spread it thinner, and let each layer dry before adding more.
- Mount the page to cardstock first to help it stay flatter.
Yarn keeps popping up
- Work in short segments and press each section down firmly.
- Use slightly thicker glue lines for yarn than you would for glitter.
Glitter is everywhere
- Switch to glitter glue, or use a larger glitter that is easier to see and sweep up.
- Use a tray and a small spoon instead of sprinkling from the container.
- Do glitter last, then move the project to a safe drying spot.
Buttons are sliding around
- Make a small glue puddle, not a thin smear.
- Let the page dry flat and untouched longer than you think you need.
A calm ending
What I love most about sensory coloring crafts is how they invite kids to slow down. They are still playful and colorful, but the hands-on textures naturally encourage patience and careful choices. And honestly, there is something soothing about pressing yarn into glue and watching a flat page become a tiny, touchable world.
If you want more kid-friendly ideas that keep the table time creative (without needing perfect drawing skills), my starting point is always our kids crafts hub: Kids Crafts Guide.