

My kitchen table has always had two constants: a cup of something warm, and a little stack of “finished masterpieces” slowly multiplying near the crayons. If you have a child who colors like it is their job, you know the problem. The pages are precious… and also somehow everywhere.
One of my favorite ways to honor that creative burst is to bind the pages into a real flip-through storybook. Not a “perfect” book. A well-loved one. The kind that gets reread, shown to grandparents, and pulled off the shelf on rainy days.
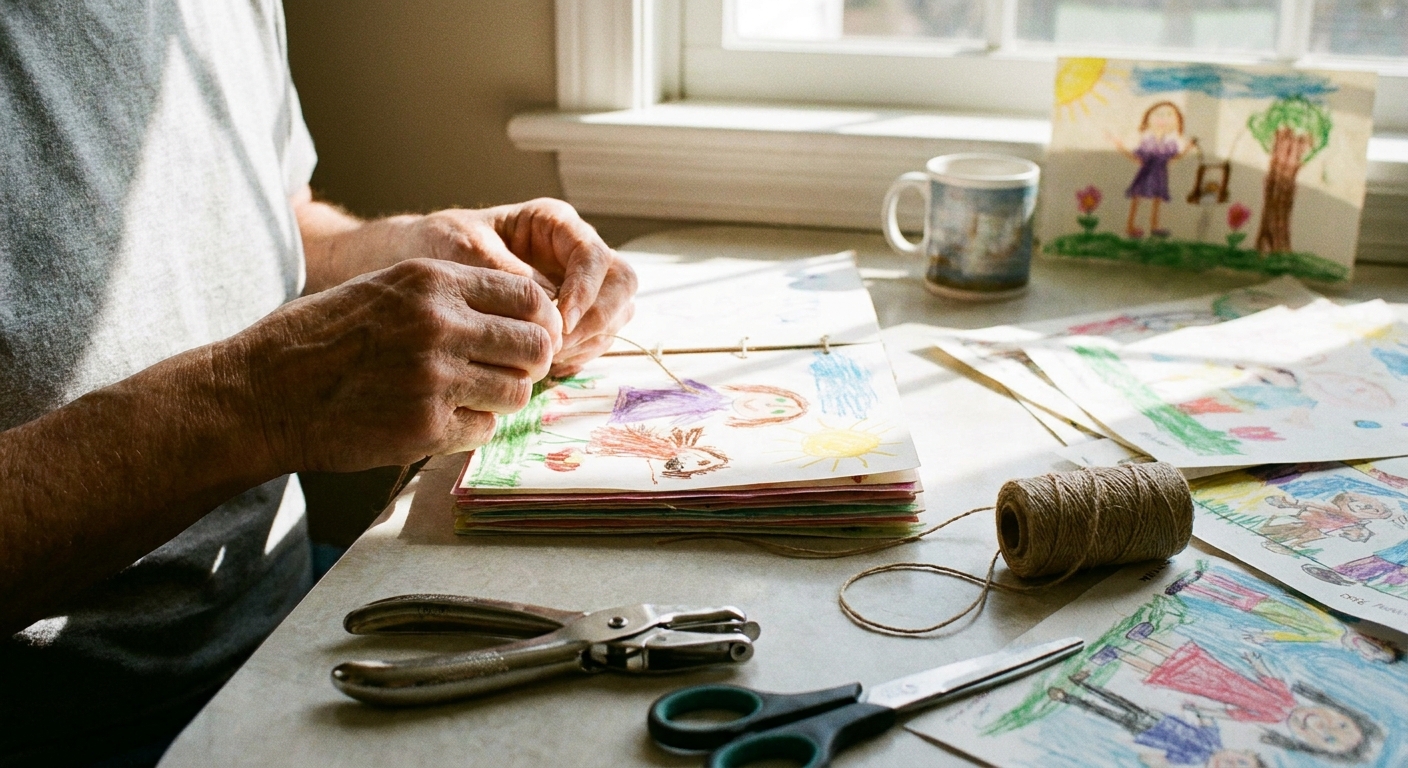
Before you bind: pick pages and plan
A little prep makes the finished book look intentional, even if the binding method is super simple.
Step 1: Gather and sort
- Collect pages from folders, backpacks, the car, and the “safe flat spot” you swear you put them.
- Sort into a rough order: by theme (animals, princesses, trucks), by date, or by a “story arc” (beginning, middle, end).
- Choose 10 to 25 sheets for a first book. You can always make Volume 2 later, and you will.
Quick thickness note: When people say “pages,” they might mean sheets (one piece of paper) or “pages” front and back. A stack of 12 sheets is already a decent little book, especially if you add covers.
Step 2: Decide the book size
Many U.S. printables are letter size (8.5 x 11 inches), and many international printables are A4. You have two easy options either way:
- Full size: easiest, no cutting.
- Half size: fold or cut to a smaller “chapter book” feel.
If you go half-size, decide which you mean:
- Folded half-size: you fold sheets in half and nest them, like a little booklet. This is perfect for sewing.
- Cut half-size: you cut sheets in half and stack them. This works best with staples, holes and ribbon, or binder rings.
Step 3: Protect a clean binding margin
Before you punch, staple, or sew, make sure you are not sacrificing the best part of the art. I try to leave about 1/2 inch of “quiet” margin along the binding edge.
- If the coloring goes right to the edge, you can trim a thin strip from the binding side of each sheet so the holes or staples land in a clean margin.
- If your child is still working on pages, you can gently suggest, “Let’s keep this side a little clearer so we can make it into a book.”
Step 4: Add a title page (fast and adorable)
Use one blank sheet of paper as a title page. I like to ask:
- “What should we call your book?”
- “Who is the author?”
- “Do you want to dedicate it to someone?”
If your child is not in the mood to write, you can write lightly in pencil and let them trace with marker.
Supplies you might already have
You do not need fancy bookbinding tools for a keepsake that holds up to real kid reading.
- Completed coloring pages
- 1 to 2 pieces of thicker paper or light cardstock for covers (cereal boxes work too)
- Ruler
- Pencil
- Scissors or a paper trimmer
- Glue stick (optional)
- Hole punch, stapler, or needle and thread (depending on method)
- Ribbon, yarn, or string (if tying)
- Washi tape or clear tape (optional reinforcement)
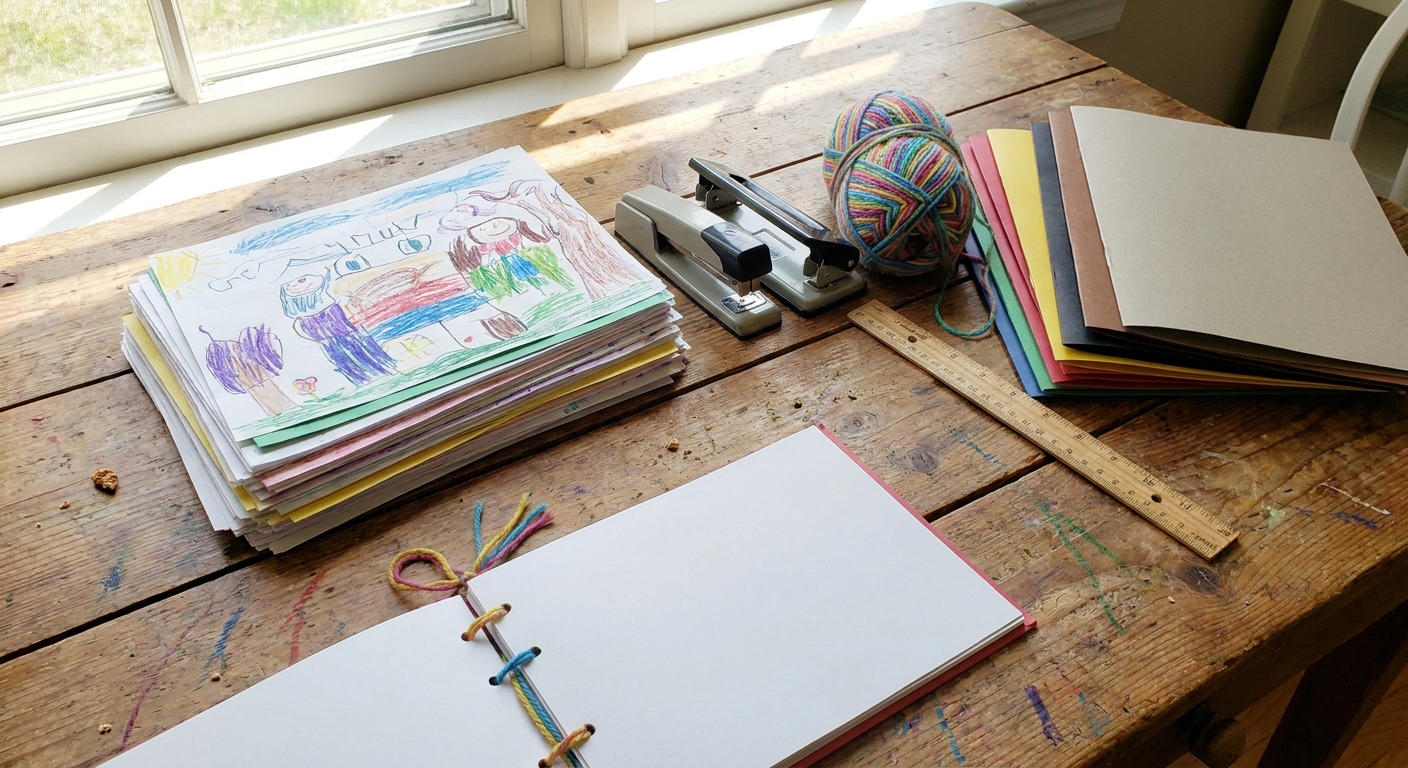
Method 1: Easy staple spine
This is my go-to when I want a sturdy book fast. It is basically a homemade booklet.
Best for
- Up to about 10 to 15 sheets (depending on your stapler strength), plus covers
- Letter or A4 pages kept full size
- Kids who want to read it right now
If you plan to use both sides of the paper, you can often get a satisfying “thicker book” feel without adding more sheets.
How to do it
- Square up the stack. Tap the pages on the table so edges line up.
- Add covers. Put a cardstock cover on top and bottom (same size as pages).
- Clip or hold tight. Binder clips help keep everything aligned.
- Staple along the left edge. Use 2 to 4 staples, evenly spaced. Aim about 3/8 inch to 1/2 inch from the edge.
- Optional reinforcement. Add a strip of washi tape over the staples on the outside spine for a “finished” look and extra strength.
Penelope tip
If your stapler cannot handle the thickness, do not wrestle it. Either remove a few sheets, switch to the ribbon-tie or binder-ring method below, or make two smaller volumes. Tiny series books are a very good kind of problem.
Method 2: Hole punch and ribbon tie
This method feels special because your child can pick the ribbon color and help tie it. It also makes it easy to add pages later.
Best for
- Any page count, especially thicker stacks
- Books you want to expand over time
- Kids who love to help with the finishing steps
How to do it
- Make covers. Cut two pieces of cardstock to match your page size.
- Mark hole placement. Along the left side, mark 2 holes (top and bottom) or 3 holes (top, middle, bottom). Keep marks about 1/2 inch from the edge.
- Punch holes. If the stack is thick, punch in smaller sections and keep them aligned.
- Thread ribbon or yarn. For 2 holes, go down through the top hole and up through the bottom hole so both ribbon tails end up on the same side for tying.
- Double-knot. A firm double-knot holds up better to little hands.
Make it extra sturdy
Reinforce the punched holes by placing a small ring of clear tape on both sides of each hole, then re-punch through the tape.
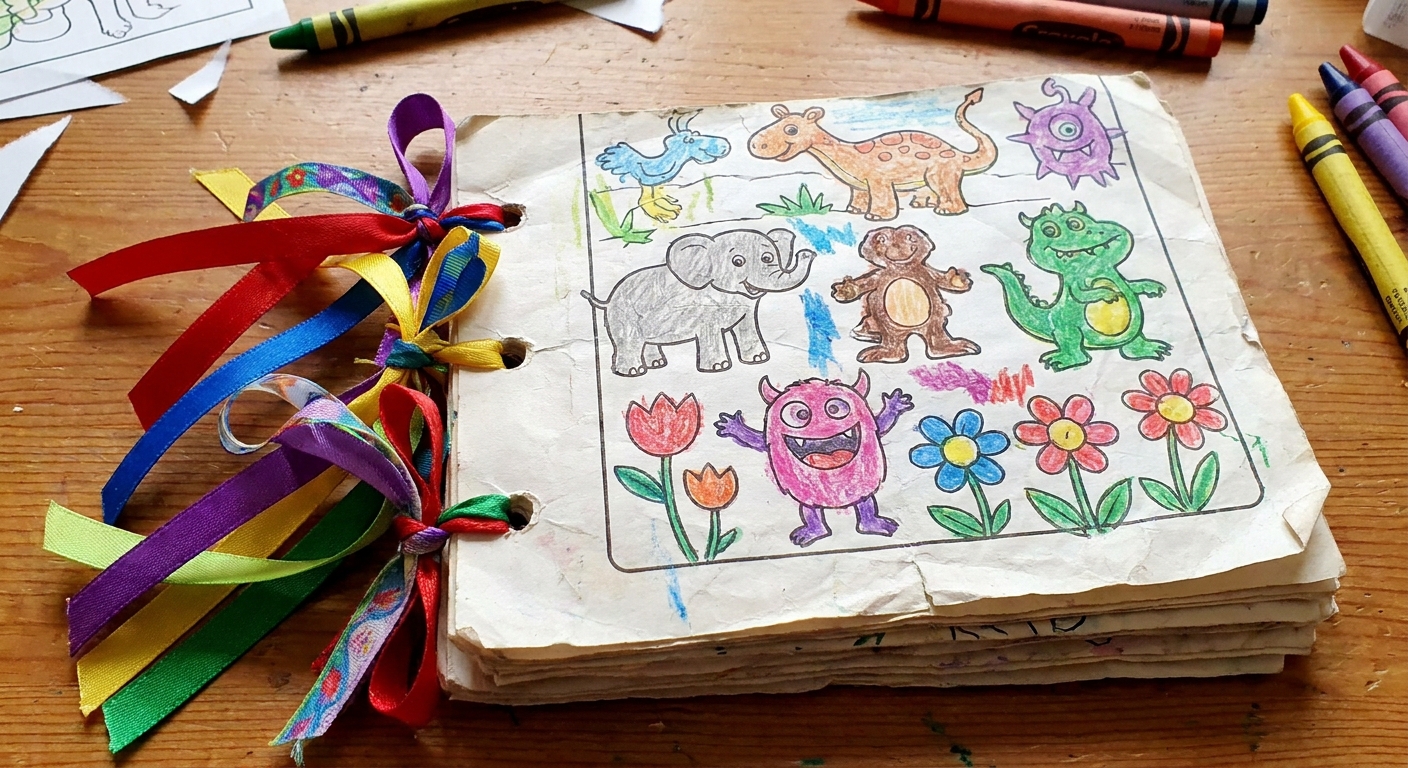
Method 3: Simple sewn binding
If you want the book to feel like a real little library book, a basic hand-sewn binding is wonderful. It is not hard, just slower and calmer. This is a great after-bedtime craft if your child is the kind who will want to tug the needle out of your hand every five seconds.
Best for
- Thinner stacks or folded booklets (the sewing is cleaner and easier)
- Families who want a durable, giftable keepsake
- Half-size folded books or small full-size stacks
What you need
- Needle (a larger-eyed craft needle is easier)
- Thread, embroidery floss, or thin twine
- Push pin or awl substitute (even a thumbtack works carefully)
Safety note
This is an adult step in my house. Work on a protected surface, keep fingers clear, and set the needle or pin down the moment you are interrupted.
How to do it
- Clamp the stack. Use binder clips along the right edge so the left edge stays neat.
- Mark 3 to 5 sewing points. Evenly spaced down the left edge, about 1/2 inch in.
- Poke holes. For best results, poke through a few sheets at a time, then keep the holes aligned as you re-stack. (Trying to force a pin through a thick stack can tear paper and make the holes wander.)
- Sew in and out. Start from the back cover, come out the first hole, go in the next, and continue like you are lacing a shoe. Keep stitches snug, but not so tight that you rip the holes.
- Finish with a knot. Tie off securely on the back. Trim thread ends.
Penelope tip
Embroidery floss is forgiving and strong. If you want it to look extra tidy, choose a color that matches your child’s favorite marker.
Method 4: Binder rings
If you want maximum flexibility with minimum effort, binder rings are magic. You can find them in office aisles or craft sections, and they snap open and closed.
How to do it
- Punch 2 or 3 holes down the left edge of every sheet and cover.
- Open binder rings and thread the pages on.
- Snap rings closed and gently press the stack to align.
This method is also great for kids who like to reorder their pages or edit their book constantly.
Make it feel like a real storybook
Binding is the structure, but a few tiny touches turn it into a treasure.
Add page numbers
Numbering the pages (even messy numbers) is surprisingly delightful. You can do it together, one page at a time.
Write captions like an author
Ask your child one question per page:
- “What is happening here?”
- “Who is this character?”
- “What happens next?”
Then write their words at the bottom in your neatest grown-up handwriting, or let them add speech bubbles.
Create a cover they can spot across the room
- Let them color the cover background
- Add their name as “Author”
- Date it, like a yearbook
If you want more ideas for turning coloring into story, I shared a bunch of playful prompts here: 7 ways to use coloring pages to teach storytelling.
Prevent marker smudges and crayon transfer
This comes up a lot, especially with heavy marker days.
- Let ink fully dry. Markers and gel pens can smudge if you stack too soon.
- Let waxy pages set. Crayon does not “dry,” but it can transfer under pressure or warmth. Give it a little time, and avoid stacking fresh, heavy crayon areas face-to-face.
- Alternate pages so heavily colored areas are not pressed together.
- Slip in plain copier paper between the messiest pages as buffers.
- Avoid lamination for books unless you are okay with a thicker, slippery page feel.
If you are experimenting with wet mediums, it helps to know what paper can handle. My watercolor notes are here: Watercolors on printed coloring pages.
Store and gift your finished books
Once you make one, you will want to protect it like a tiny museum piece.
- Store flat in a shallow box or magazine file so pages do not curl.
- Label the spine with the child’s name and year using a simple strip of tape.
- Gift idea: Wrap it with a ribbon and include a note like “Read to me again.” It gets me every time.
If you want another sweet way to preserve a single favorite page, turning it into wall art is surprisingly easy: Frame your coloring pages as DIY wall art.
Troubleshooting
My book will not close evenly
That usually means the stack is shifting. Trim the outer edge (just a sliver) with a ruler and scissors, or re-align and add another staple or an extra tie point.
The pages keep tearing at the holes
Reinforce holes with clear tape, then re-punch. For very loved books, binder rings are gentler than ribbon because they do not rub the paper as much.
The cover is flopping around
Use thicker cover material. Cereal box cardboard wrapped in plain paper works beautifully and feels surprisingly book-like.
I want it to look nicer without starting over
Add a simple paper spine strip over the binding edge using tape or glue, then decorate that strip with stickers or doodles. Instant upgrade.
A tiny reminder from my table to yours
Your child is not just making pages. They are making evidence of who they are right now. Binding their coloring into a storybook says, “This matters enough to keep.”
And if you end up with a whole bookshelf of wobbly little handmade books, welcome to the club. That is the best kind of clutter.
If you ever want to say hello or share a photo of your finished book, you can reach me here: Contact.