

I grew up with coloring pages and scrap paper permanently living on our dining table, and I still think that is exactly where the best holiday crafts happen. If you have a finished coloring page that is too joyful to recycle but too wrinkly to frame, this is my favorite solution: turn it into a 3D paper ornament. You get color, texture, and that sweet little swaying movement when it hangs.
These ornaments work for any festive occasion. Winter holidays, birthdays, classroom parties, even a “just because” garland across a window. All you need is a few basic supplies and a willingness to let the kids be in charge of the color choices.
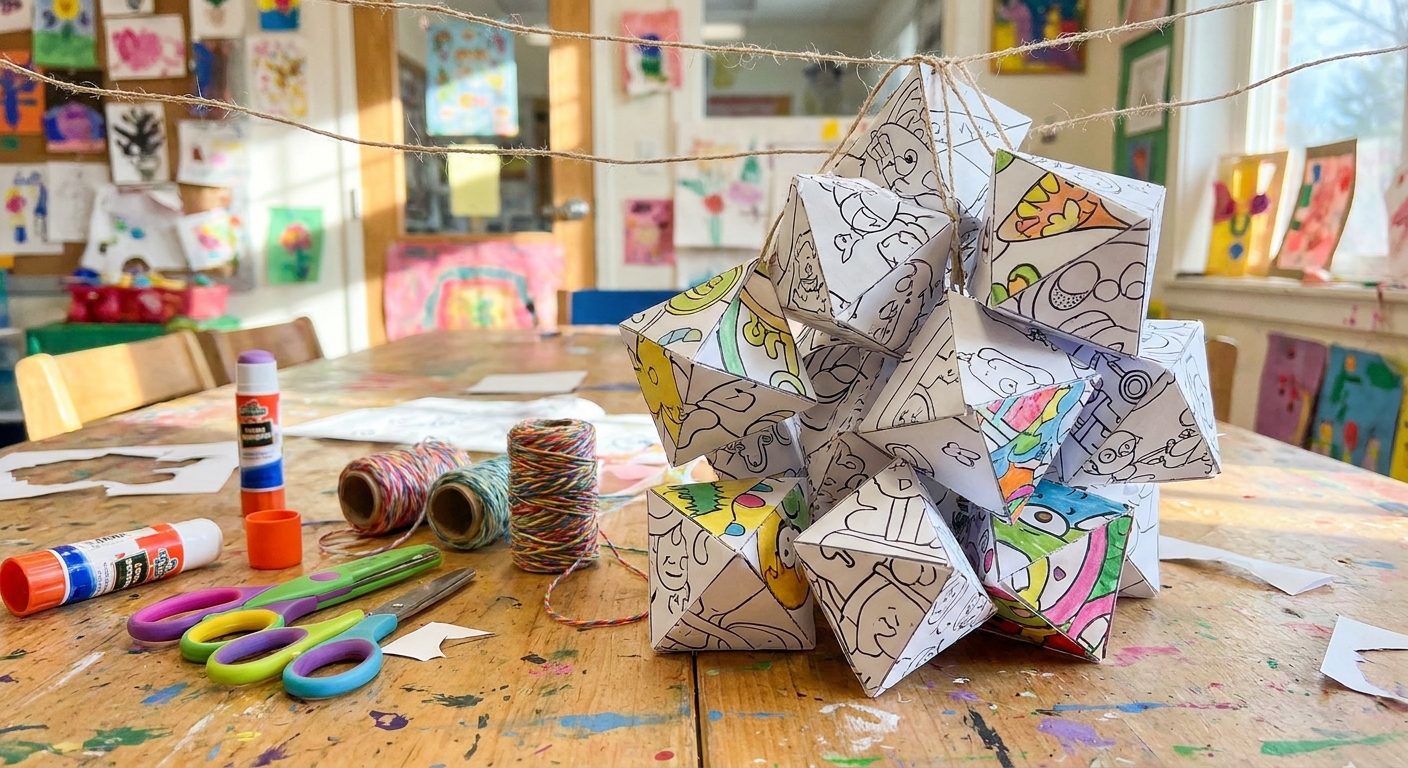
What you need
- Finished coloring pages (printer paper works, cardstock is even sturdier)
- Scissors
- Ruler
- Scoring tool (a bone folder is great, but a capped pen or craft scoring stylus works too)
- Glue stick or white school glue
- String, ribbon, twine, or embroidery floss for hanging
- Hole punch or a pencil to poke a small hole
- Optional: stapler (helpful for quick kid-proof holds), tape, and a little cardstock for backing
If you are choosing a medium specifically for crafts, I usually reach for colored pencils because they do not smear when hands get gluey. If you are in a marker mood, let it dry fully before cutting. My comparison of tools is here: Markers vs. Colored Pencils.
Before you cut
Pick paper thickness
Regular printer paper is totally fine, especially for lightweight ornaments. If you want something sturdier, glue the finished coloring page onto cardstock first, let it dry flat, then cut your shapes.
Keep folds crisp
Heavily colored areas can crackle on sharp folds. Scoring helps because you are telling the paper where to bend so it folds neatly instead of fighting you.
Let ink and paint dry
If you used wet media, give it extra time. For watercolor coloring pages, I share a bunch of paper tips here: Watercolors on Printed Coloring Pages.
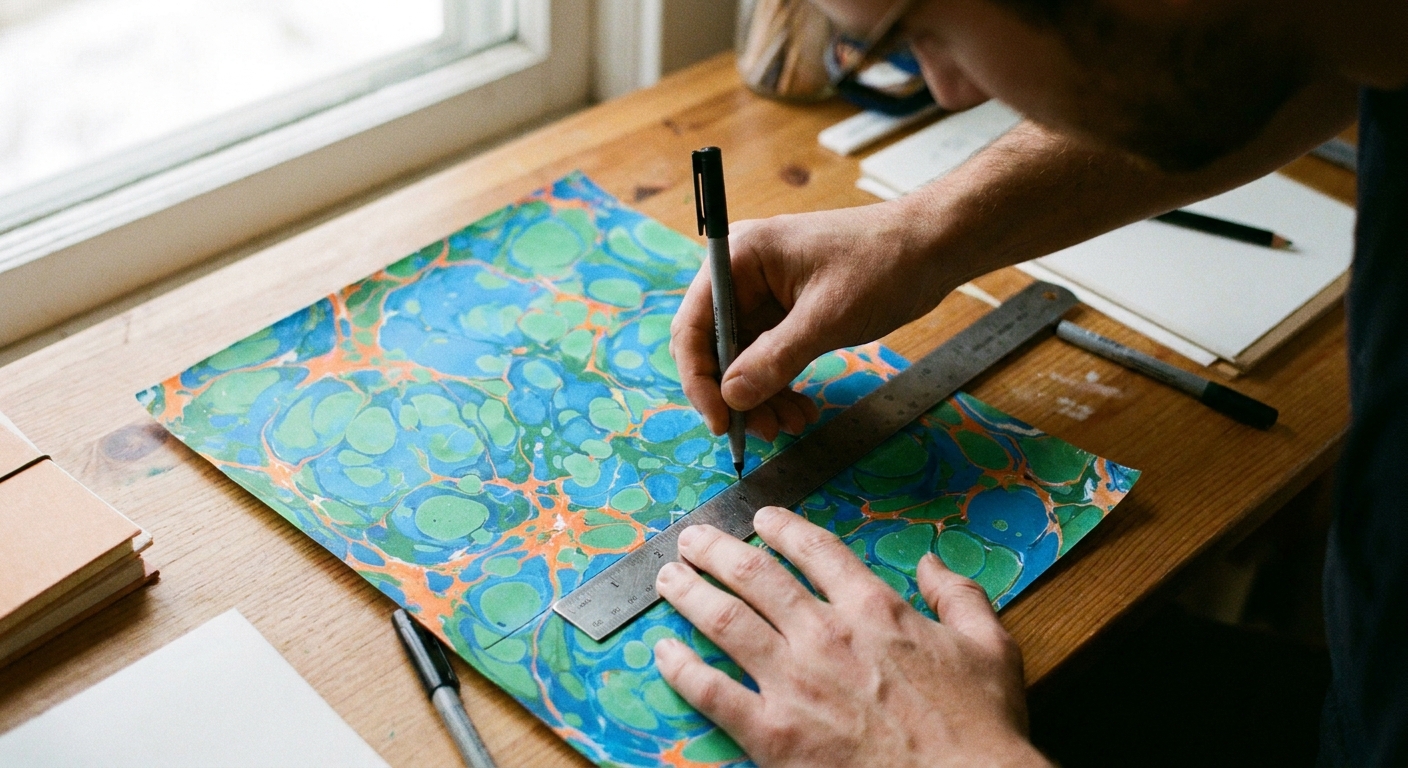
Score, fold, and glue
You will use this same simple process for almost every ornament style in this article.
- Measure and mark. Lightly mark fold lines on the back of your paper with pencil if you need guides.
- Score the fold line. Place a ruler along the line. Run your scoring tool firmly along the ruler edge once or twice.
- Fold along the score. Fold slowly and press the crease down with the side of your hand or the scoring tool.
- Glue with intention. Use a thin, even layer. Too much glue makes paper ripple.
- Press and dry. Pinch glued seams until they feel tacky and hold on their own, usually 10 to 20 seconds, then set aside to dry flat.
Kid-friendly tip: If little hands are frustrated waiting for glue to grab, a single staple hidden on the inside seam can hold things while it dries. Adults can remove it later, or just leave it and call it “engineering.”
Safety note: If you are crafting with kids, keep scoring tools kid-simple (like a capped pen). Avoid anything sharp. Also, scoring with scissors can nick or tear paper, and sharp blades are not a kid job.
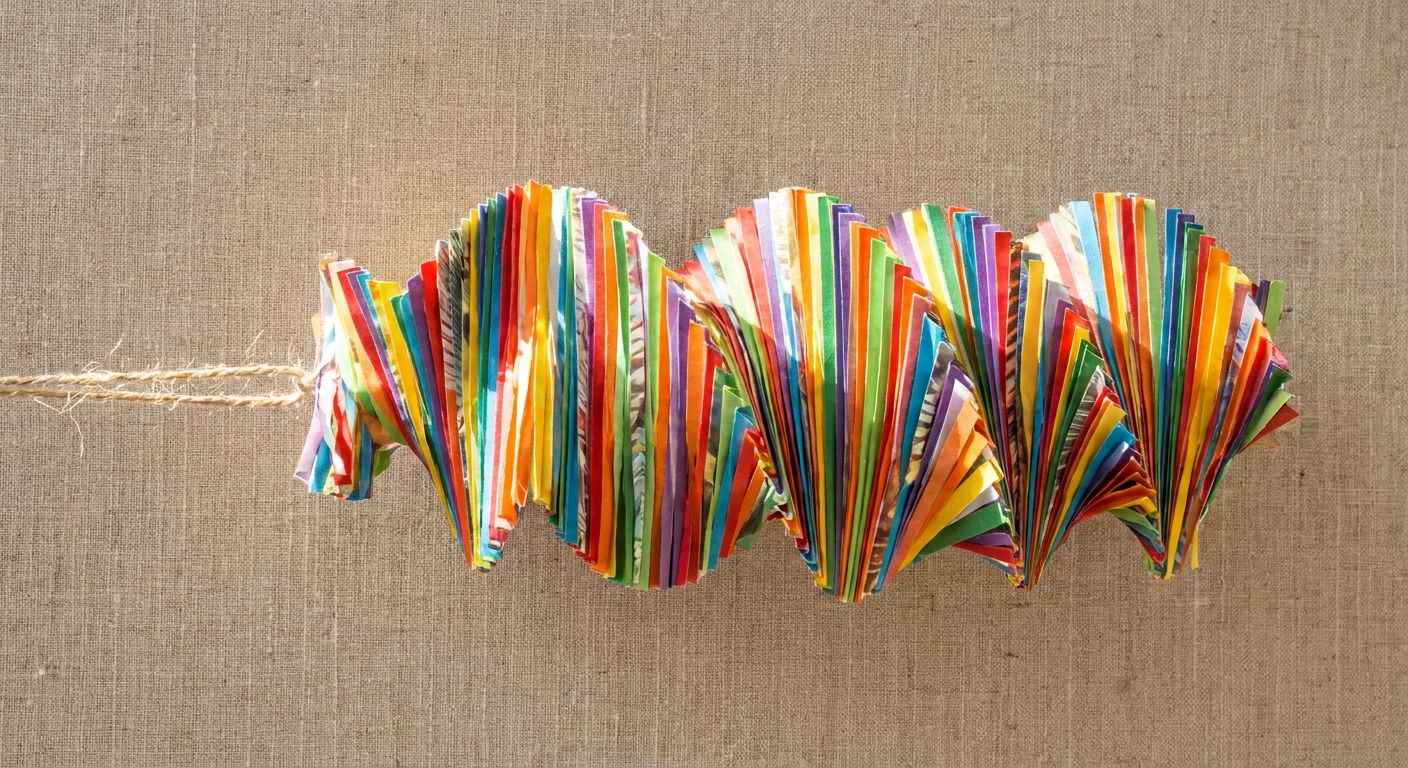
Ornament 1: Strip spiral
This one is perfect for younger kids because it does not require precise shapes. The twist happens as the strips cross, so you get that fun spiral look without complicated folding.
Cut the strips
- Cut 6 to 10 strips from a coloring page.
- A good starter size is 1 inch wide by 8 inches long.
- For a fuller ornament, mix lengths: 8 inches, 7 inches, 6 inches, 5 inches.
Build the spiral
- Reinforce the ends. If you are using thin printer paper, add a small piece of clear tape or a tiny cardstock tab to the back of each end. This helps prevent tearing at the hole points.
- Punch the top. Stack the strips, colorful sides facing outward. Punch a hole through one end of the stack about 1/2 inch from the end.
- Thread the hanger. Thread string through the hole and tie a loop for hanging.
- Punch the bottom. Punch a hole through the other end of the stack.
- Make the twist. Fan the strips out. Bring the loose ends together and rotate slightly so the strips cross as they meet, forming a gentle spiral.
- Secure the bottom. Line up the bottom holes, glue, and press until it holds. If you want extra durability, push a small paper fastener (brad) through the holes instead of glue, but it is optional.
Optional upgrade: Add a small bead above the top hole for extra sparkle, or glue a tiny paper bow on the hanger knot.
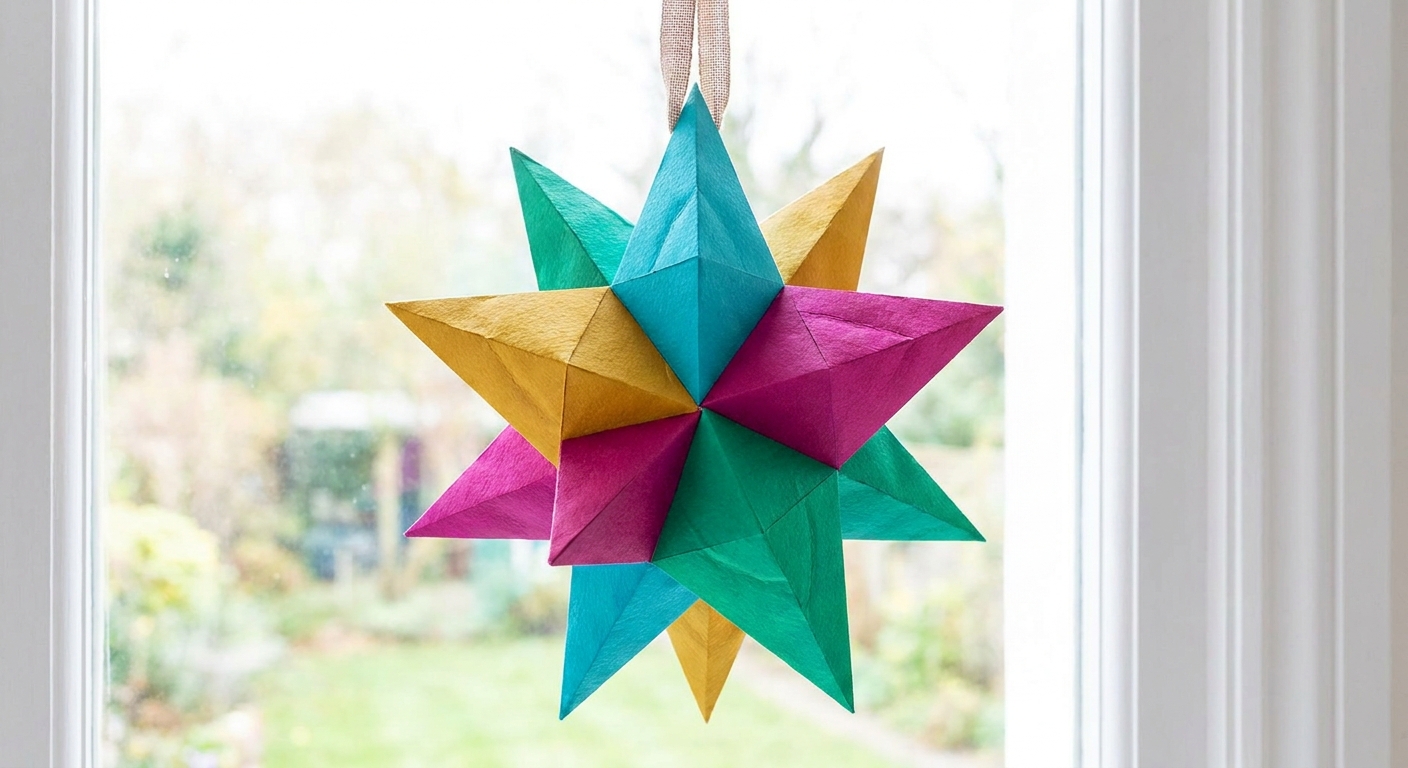
Ornament 2: 3D star
This one looks fancy, but it is really just repeated folds. I love it for snowflake coloring pages, bold geometric pages, or anything with strong blocks of color.
Cut diamonds
- Cut 6 diamonds from coloring pages.
- Each diamond can be about 3 inches tall.
- For clean symmetry, make one diamond template from scrap paper, then trace it 6 times.
Score and fold
- On each diamond, score a line from the top point to the bottom point.
- Fold along the score so the diamond becomes a tent shape, with the colored side on the outside.
Glue into a star
- Glue two folded diamonds together along one outer face, matching edges.
- Keep adding diamonds until all 6 are connected in a ring.
- Choose your “top” point. Pick one point to be the top of the ornament. Before you close the final seam, tuck a loop of string between the two pieces that meet at that top point and glue it in place so the knot will be hidden inside.
- Glue the final seam to close the star.
Little detail that helps: If the points do not meet perfectly, trim them slightly after the star is assembled. Tiny snips make it look intentional and crisp.
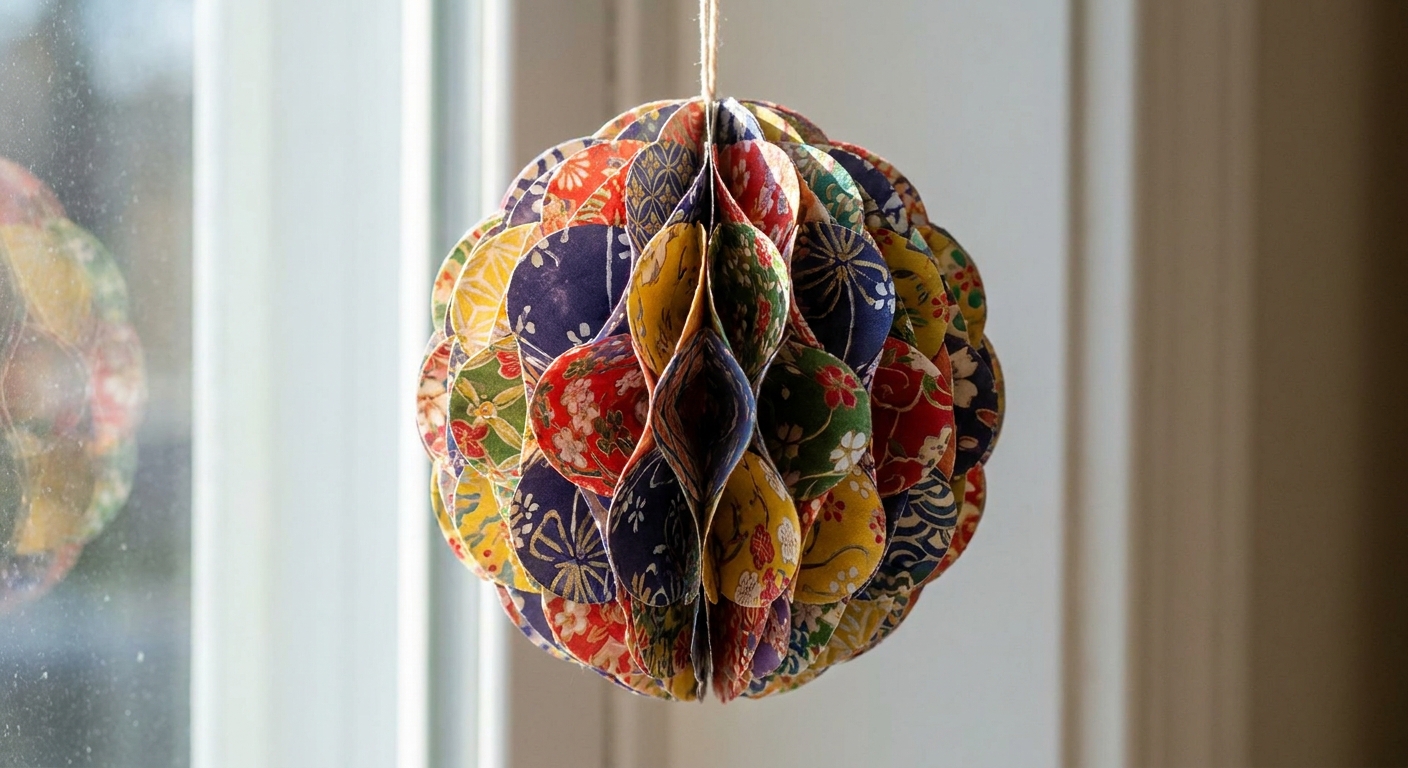
Ornament 3: Honeycomb ball
This is the ornament that makes kids say, “Wait, that is paper?” It is also a wonderful way to use small leftover pieces from other projects.
Cut circles
- Cut 8 to 12 circles (more circles equals a fuller ball).
- A good size is 3 inches across. Trace a cup or jar lid for consistency.
Fold
- Fold each circle in half with the colored side out.
- Press the crease sharply.
Glue the stack
- Glue one half of a circle to one half of the next circle.
- Keep going until all circles are glued into a stack that opens like a book.
- Add the hanger. Tie your string into a loop, then glue the knotted end inside the center crease near the top so the loop sticks out where the “top” of the ball will be when it opens.
- Glue the last seam to form the ball, then gently fan it open into a honeycomb.
Pro tip for neatness: Use a glue stick for less wrinkling, then reinforce the final seam with a thin line of white glue if needed.
Make them last
- Prevent smudges. If you used graphite, a gentle buff with a clean tissue can help. For waxy crayon, it is usually better to avoid heavy rubbing and keep glue and tape off heavily colored areas.
- Strengthen hang points. Add a tiny punched cardstock circle as a reinforcement where the string goes through.
- Dry flat. Place ornaments on a clean book or baking sheet while glue sets, and keep them out of curious pet reach.
- Store like cookies. Layer ornaments in a box with tissue paper between them so they do not crush.
Best pages for 3D
If you are letting kids pick any page, everything is fair game. If you want ornaments that really pop, here are a few patterns that shine once folded:
- Big shapes (less fussy, more readable from across the room)
- High contrast (dark outlines and bright fills)
- Repeating patterns (mandalas, stripes, quilts, snowflakes)
- Simple backgrounds (so the folded edges become the star of the show)
If you want the colors to feel cohesive across multiple ornaments, I have a gentle palette pep talk here: Choose a Cohesive Color Palette Before You Color.
Hang and display
- On a tree: Use ribbon loops for a soft look, or twine for a cozy handmade vibe.
- Window garland: String several ornaments at different lengths across a curtain rod.
- Gift toppers: Tie a mini honeycomb ball to a present instead of a bow.
- Table decor: Hang a few from a simple branch in a jar as a centerpiece.
If you end up with a few “too pretty to put away” pages, you might also like my wall display idea: Frame Your Coloring Pages as DIY Wall Art.
Troubleshooting
My folds look messy
Score first, fold slowly, and crease firmly. If paper is very thin, double it by gluing to cardstock before folding.
My ornament keeps popping open
Use a little less glue but press a bit longer. For stubborn seams, a tiny piece of tape on the inside can act like a hidden helper.
The paper is wrinkling
That usually means too much liquid glue. Switch to a glue stick for big surface areas, and use white glue only for small reinforcement spots.
The hanger tore through the paper
Reinforce the hole with a small cardstock circle or a scrap square glued behind the hole area before you punch. For the strip spiral ornament, tape on the back of each end also helps.
Quick safety note
Scissors and glue are the main event here, which is wonderfully low-stress. If you use a craft knife for cleaner cuts, keep that as an adult-only step. Also, if you are making small ornaments with beads, treat them like any other small craft supply and keep them away from toddlers and pets.