I grew up in a house where the dining table was basically a permanent craft zone. Sketchpads under the placemats, a cup of dull scissors that never cut quite right, and at least one half-finished coloring page drifting around like a paper snowflake.
These days, I still hate throwing away a page that someone colored with real pride. So one of my favorite “save the artwork” projects is a paper bunting banner: little pennants cut from finished coloring pages, strung together, and hung up like instant celebration. It is bright, personal, and wonderfully imperfect in the best kid-made way.
Time and ages: Plan about 20 to 45 minutes depending on how many pennants you make. Little kids can help choose pages, arrange colors, and add tape. An adult should handle sharp scissors, hole punches, and hanging the finished banner.
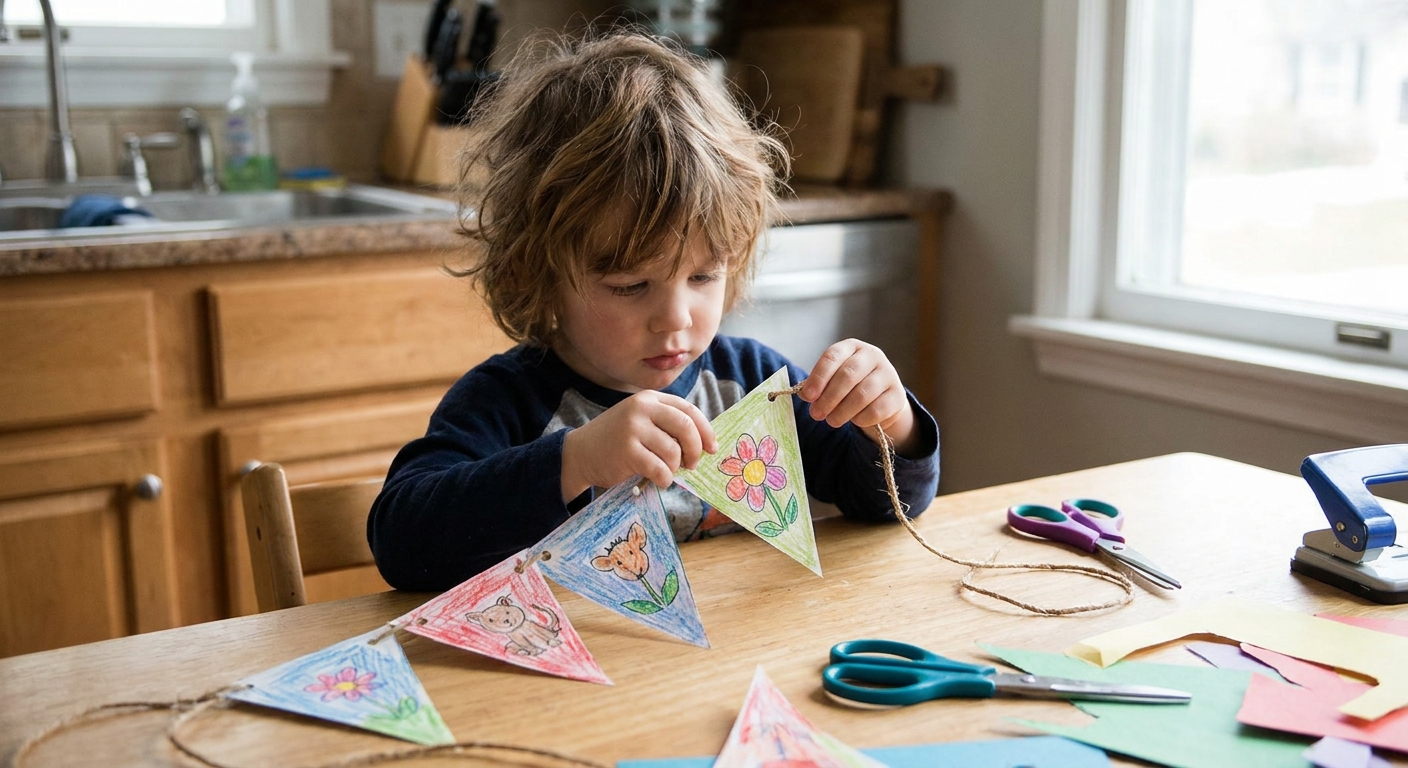
Why bunting works so well
- It uses the whole page, even the “oops” coloring that did not go as planned.
- It is customizable: short banner for a reading nook, long banner for a birthday wall.
- It is forgiving: triangles do not need to match perfectly to look charming.
- It is low-mess: mostly cutting, folding, and taping.
If you are in the mood for more ways to reuse finished pages, I also love turning them into keepsakes like laminated bookmarks or decor you can hang up more permanently by framing your coloring pages as DIY wall art.
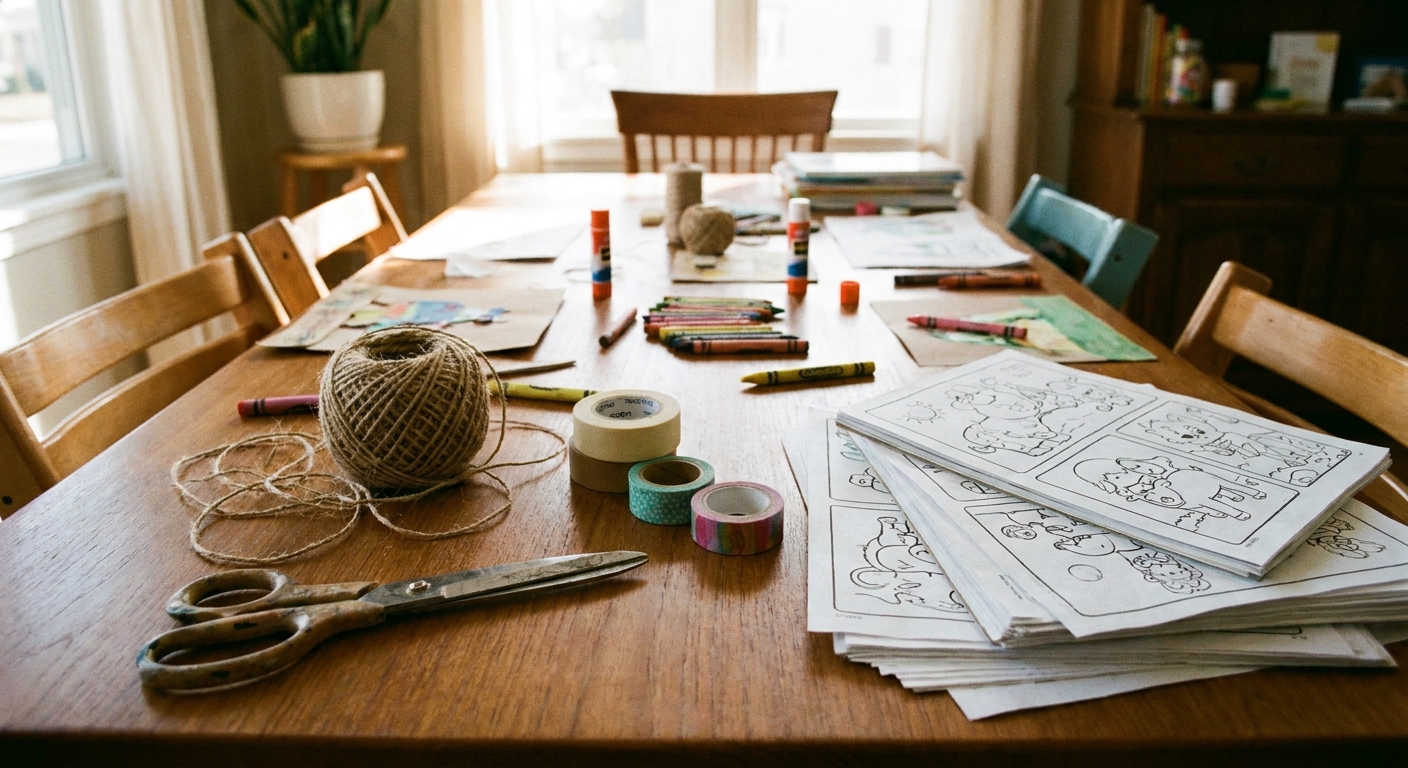
Supplies
You can keep this super simple, or make it sturdier depending on where you want to hang it.
Basic supplies
- Finished coloring pages (printer paper works great; construction paper works too, but it can tear at fold tabs unless you reinforce it)
- Scissors (kid scissors for little hands, sharper scissors for grownups)
- String, twine, yarn, or ribbon
- Tape or glue stick
- Hole punch (optional)
- Ruler (optional)
- Pencil (optional)
Nice-to-have upgrades
- Cardstock (for backing thin pages or reinforcing construction paper)
- Washi tape (for quick, cute hinges)
- Clothespins (if you want the banner reusable and adjustable)
Step 1: Pick your vibe
Before you cut anything, decide what you want your bunting to look like.
- Rainbow mix: use every bright page you have. This is the easiest and most kid-approved.
- Two or three colors: looks surprisingly “decorator-ish” even if the coloring is wild. If you want help choosing, my simple approach is in choose a cohesive color palette before you color.
- Theme wall: ocean pages for a sea bedroom, animals for a playroom corner, flowers for a sunny hallway.
Also decide the size. For a standard doorway banner, I like pennants that are about the length of a grownup hand. For a small shelf or bedpost, go smaller.
Quick sizing helper: One letter-size coloring page usually makes 2 to 4 medium pennants, depending on how wide you cut them.
Step 2: Cut pennants
Fast freehand triangles (my favorite)
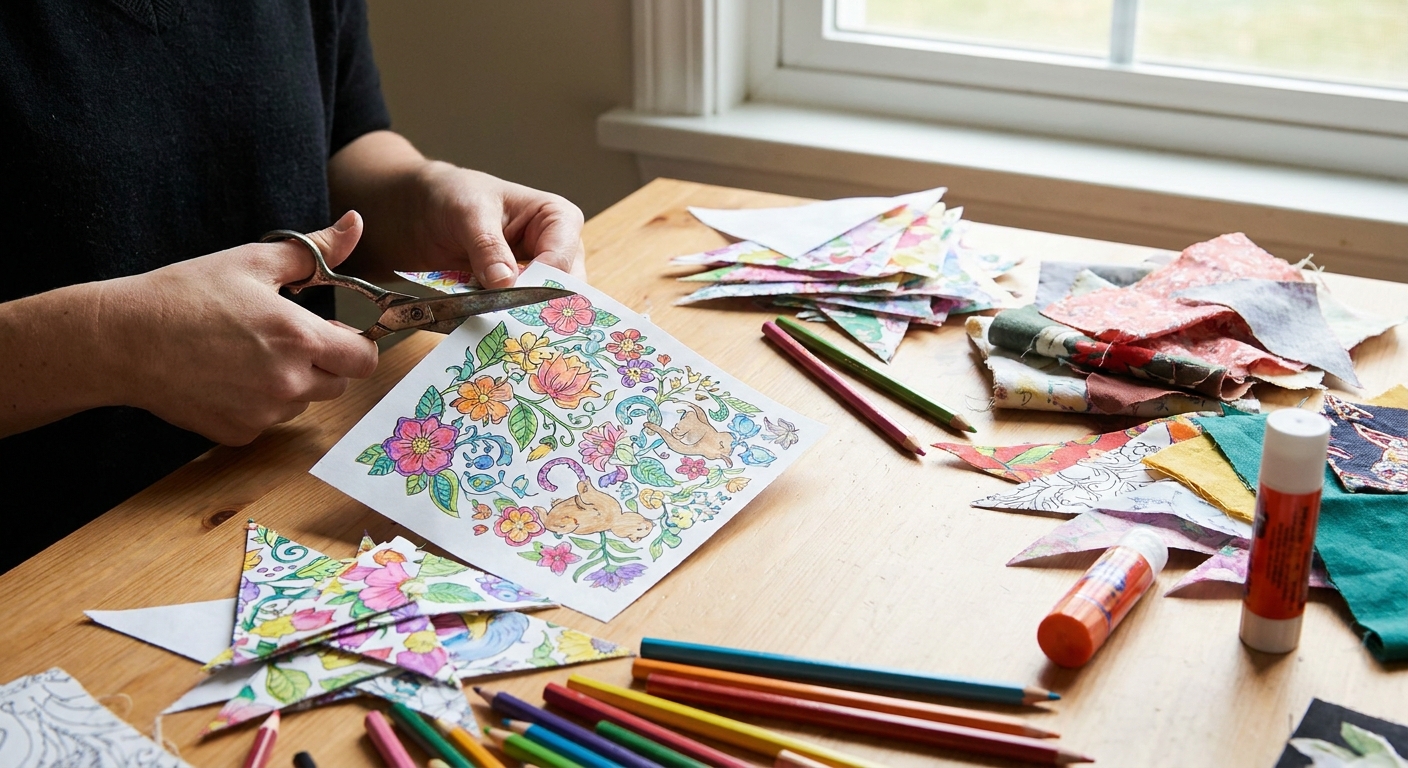
Fold a coloring page in half lengthwise (hot-dog style), crease it well, then fold it lengthwise again in the same direction if you want smaller flags. Cut a triangle through the folded layers. When you unfold, you get matching pennants quickly.
Neat and even triangles (for symmetry lovers)
- Lightly draw a row of triangles on the back of the page using a ruler.
- Cut them out together as a team: kid holds the page steady, grownup does tricky corners if needed.
Alternative shapes
- Swallowtail: cut a small “V” out of the bottom for a flag look.
- Rounded: trim the corners for a softer feel.
- Mini rectangles: easiest for toddlers to cut with assistance.
Little tip: If your pages are on thin printer paper and you want a sturdier banner, glue each pennant onto cardstock first, then trim the edges. If you are using construction paper, consider the hole-punch method (or reinforce the fold with tape) so the top edge does not crack over time.
Step 3: String them up
There are a few good ways to attach pennants to your string. Pick what matches your time, tools, and how long you want it to last.
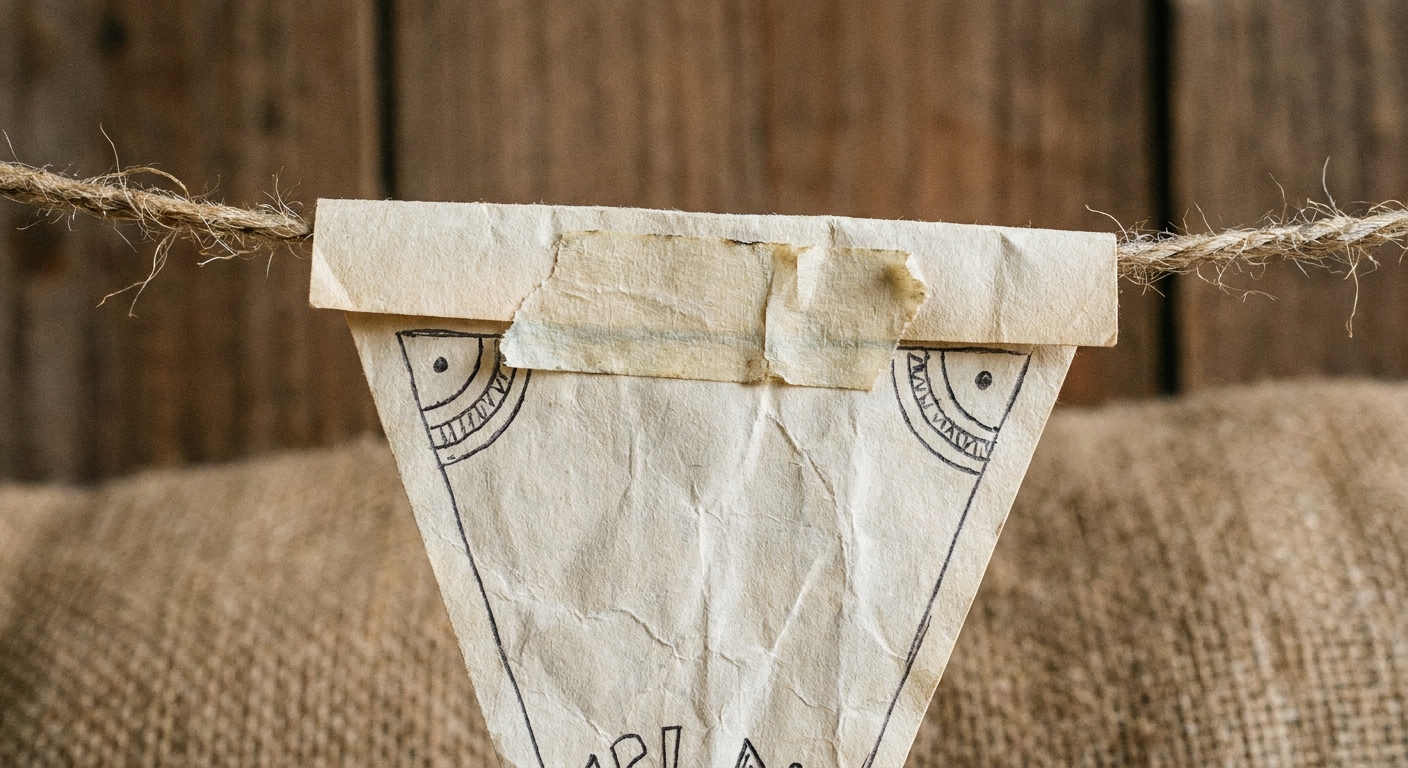
Method A: Fold-over tabs
- At the top of each triangle, fold about 1 inch of paper over to the back to make a tab.
- Run your string under the tab.
- Tape or glue the tab closed.
This makes a clean “channel” that holds up well.
Method B: Hole punch and thread
- Punch two holes near the top corners of each pennant.
- Thread the string through, weaving in and out from flag to flag.
- If you want each pennant to stay perfectly spaced, tie a small knot on both sides of a flag (optional).
This is great if you want the pennants to sit flatter against the wall.
Method C: Clothespins
- Hang a string first.
- Clip each pennant on with mini clothespins.
Perfect for rotating seasonal art or switching out new coloring pages.
Step 4: Arrange the colors
Lay your pennants on the floor or table before attaching them. This is the easiest moment to make the banner feel balanced.
- Alternate light and dark pages so one side does not look heavy.
- Repeat a favorite color every few flags to make it feel intentional.
- Leave a little gap between pennants (about two fingers) so each one can shine.
If your child is proud of certain drawings, give those center stage. I love putting the “best one” right in the middle where everyone’s eye lands first.
Spacing estimate: A 6-foot string looks nice with about 8 to 12 medium pennants, depending on how much gap you leave.
Step 5: Hang it safely
For kids’ rooms, I always aim for cheerful and safe.
- Use painter’s tape for lightweight banners on painted walls.
- Use removable hooks if you want something that stays up longer.
- Keep it well out of reach of babies and toddlers, and away from cribs, beds, or anywhere a child could get tangled in string.
- Remember adhesives can fail: tape and hooks can loosen over time, especially with humidity and temperature changes.
My favorite spots: across a bookshelf, over a desk, along a window frame, or draped above a closet door.
Make it extra special
Add memory flags
On the back of a few pennants, write the date and a tiny note like “rainy day coloring” or “first week of school.” It turns the banner into a mini time capsule.
Mix in blank pennants
Cut a few pennants from plain paper and let your child add names, doodles, or tiny scenes. If making something from scratch sounds fun, you might enjoy drawing your own custom coloring pages from scratch for future craft fodder.
Try different mediums
If your pages were colored with markers and the color is super bold, they pop from across the room. If you used colored pencils, you can get a softer, cozy look. I have a full rundown in markers vs colored pencils.
Troubleshooting
The pennants curl
- Lightly roll each pennant the opposite direction over the edge of a table (gently).
- Use cardstock backing for very thin paper.
- Try the hole-punch method so the top edge stays flatter.
The string sags
- Shorten the banner or use thicker twine.
- Add a third support point in the middle with a removable hook.
Tape keeps falling off the wall
- Switch to removable hooks.
- Make the banner lighter by using fewer pennants or smaller shapes.
- Hang it on furniture instead of a wall (bookcases are wonderful for this).
Cleanup and storage
If you want to reuse the banner, wrap it around a piece of cardboard like a tiny kite spool. Store it flat in a drawer with your coloring supplies. When you pull it out later, it feels like rediscovering a party you already made.
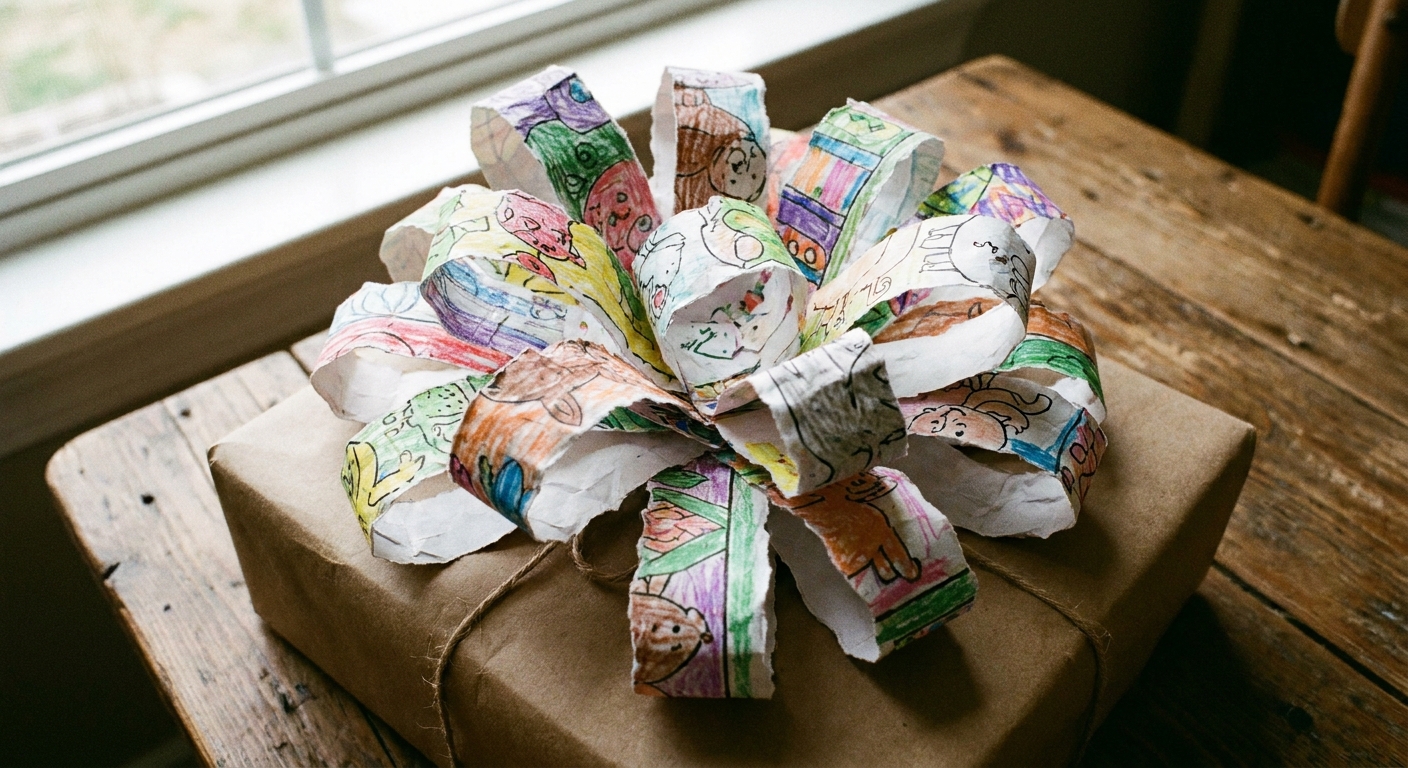
And if you end up with a few extra scraps after cutting pennants, do not toss them immediately. The prettiest bits make adorable gift wrap accents. I share more ideas here: upcycle coloring pages into gift wrap.
A gentle reminder
This is one of those crafts where the charm is in the uneven edges and the wild color choices. Let the triangles be a little wonky. Let the spacing be a little random. If your child made it, it is already perfect.
If you want more projects like this, my hub for kid-friendly ideas is here: Kids Crafts guide.