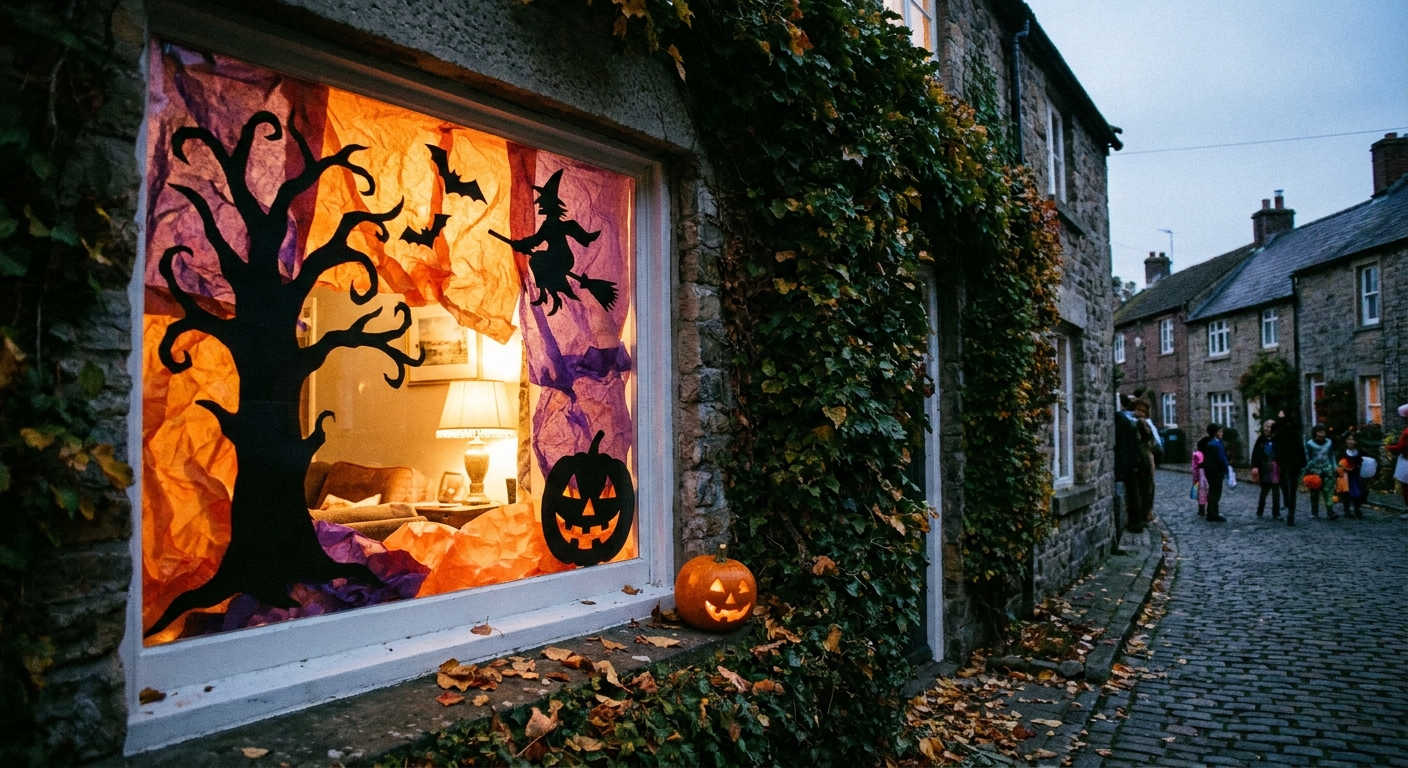
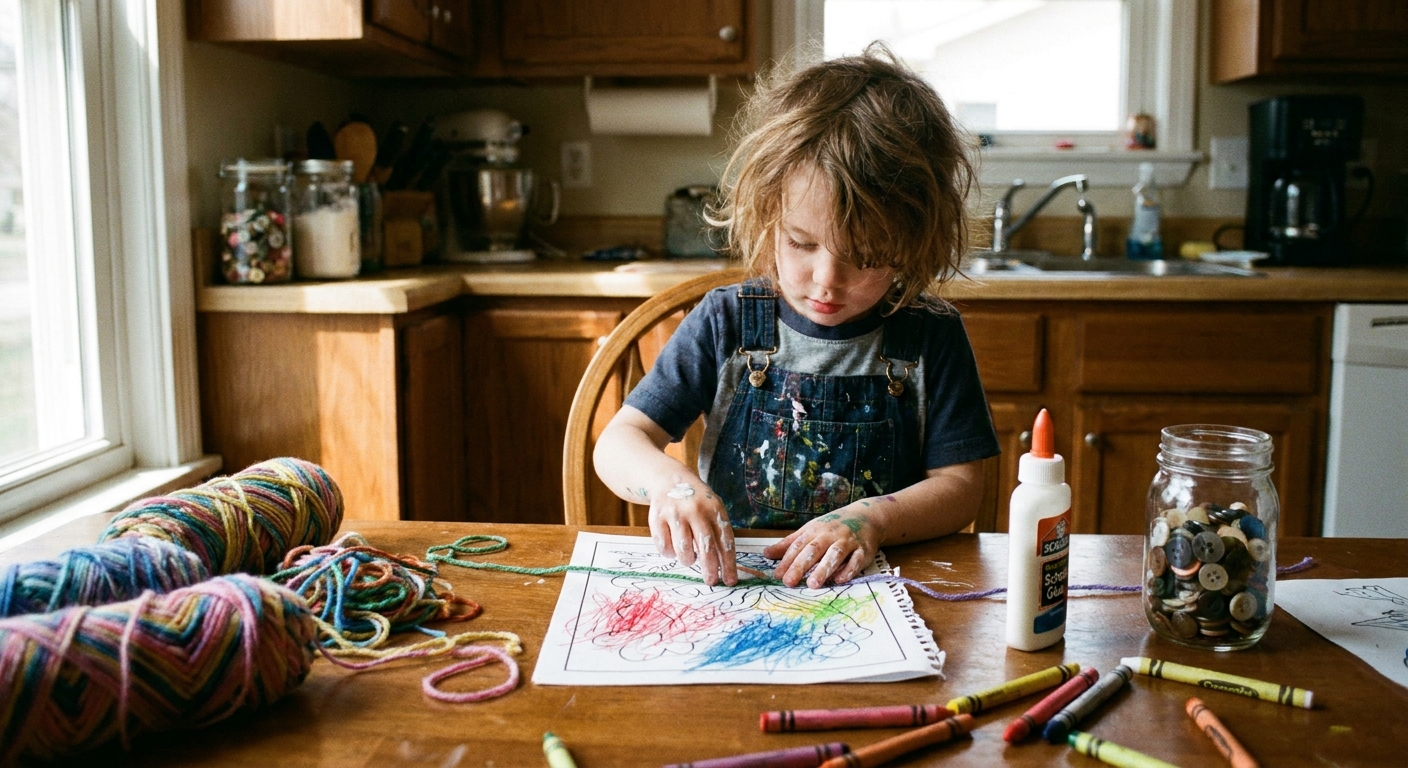
I love crafts that feel a little bit like magic at the kitchen table. This one is exactly that. You take a regular printed coloring page, add a tiny bit of baby oil, and suddenly the paper starts to look translucent, like it wants to be a stained glass window.
It is easy enough for kids, satisfying for grownups, and it sneaks in a sweet little science moment about light, paper, and absorption. When you hang the finished piece in a sunny window, it glows.
What you are making
Printer paper looks opaque because it is full of tiny air pockets and fibers that scatter light in every direction. When you rub baby oil into the paper, the oil seeps into those little spaces and changes how light travels through. Less scattering means more light passes through, so the page looks translucent.
That is the whole faux stained glass trick. You are not actually turning paper into glass. You are simply helping light travel through the fibers more smoothly.
Materials
- A printed coloring page on standard printer paper (simple designs work best)
- Baby oil (a little goes a long way)
- Cotton balls, a soft cloth, or a paper towel
- Crayons, colored pencils, or markers
- Scrap cardboard or a cutting mat to protect your table
- Wax paper, parchment paper, or a disposable tray (optional but helpful)
- Scissors
- Tape (clear tape works well)
- String or ribbon for hanging (optional)
If you are choosing coloring tools, I usually reach for colored pencils or crayons here. Markers can work, but depending on the ink type, they may smudge or bleed once the paper is oiled.
For a quick rundown on tool differences, see Markers vs. Colored Pencils.
Best pages for this
Not every page “glows” the same. Here is what tends to look best in the window:
- Bold outlines with medium to large spaces to color
- Simple shapes like hearts, stars, flowers, rainbows, butterflies, fish, and geometric patterns
- High contrast colors (deep blues, reds, greens, and purples really shine)
Very detailed pages can still work, but the tiny sections may not read as clearly from across the room.
If you feel like making your own design, you can absolutely do that too. I walk through a few easy ways in Draw Your Own Custom Coloring Pages From Scratch.
Steps
1) Color first
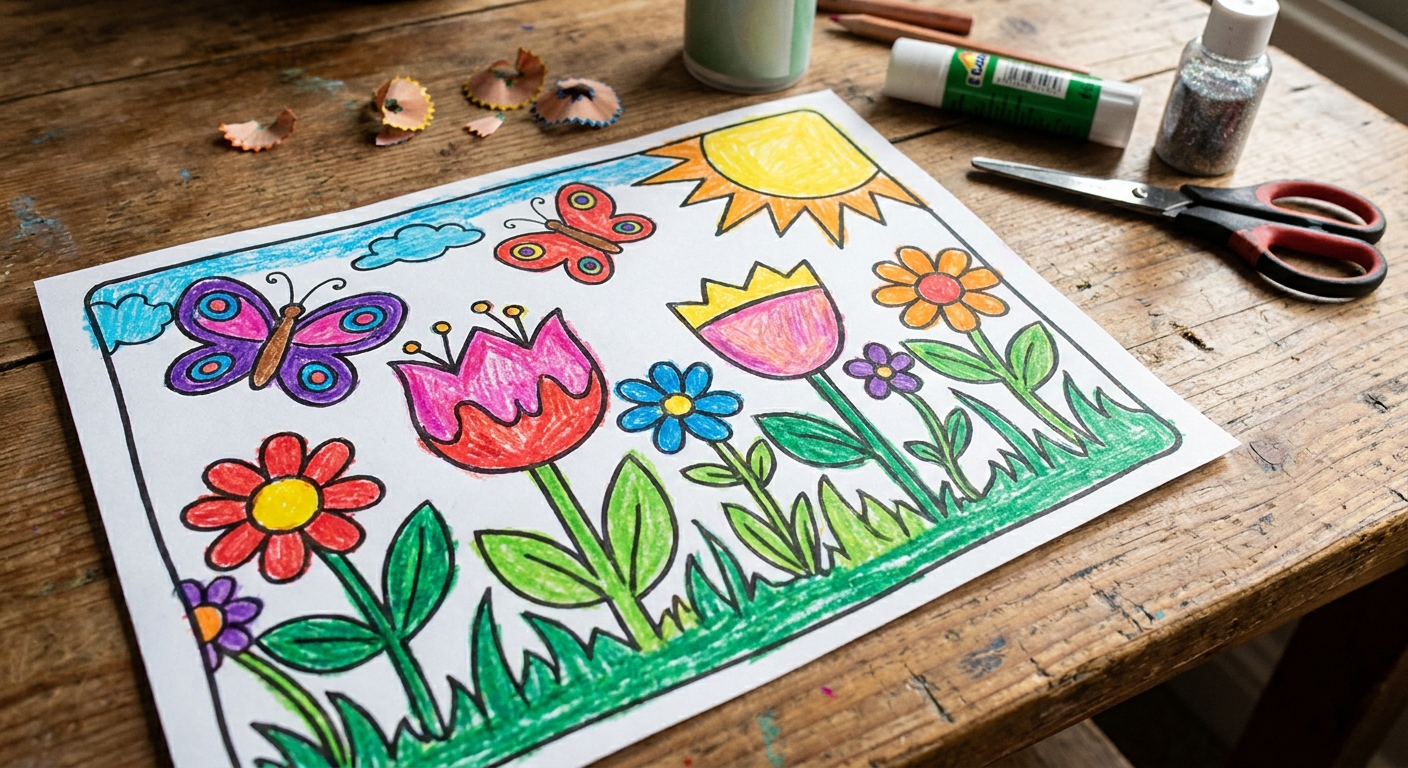
Start by coloring your page the way you want it to look in the sun. Encourage kids to press a little harder than usual with crayons or colored pencils so the color looks rich when light shines through.
Tip from my own messy experiments: if you leave some sections very lightly colored, those areas will look more “pastel window” than “stained glass.” Both are pretty, just different vibes.
2) Protect your surface
Slide scrap cardboard under the page. Baby oil can seep through and leave a spot on the table if you are not careful.
3) Add a little baby oil
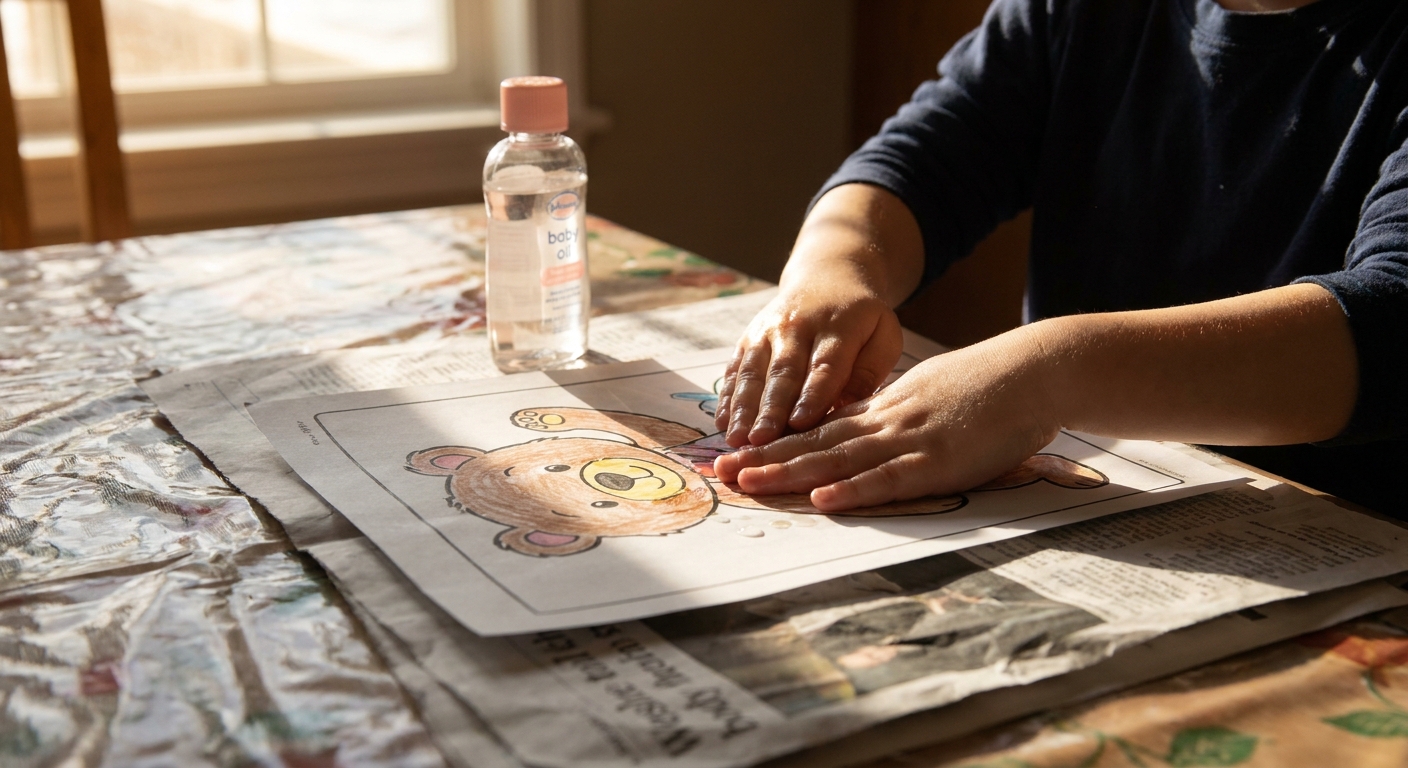
Put a few drops of baby oil on a cotton ball or soft cloth, then rub it onto the back of the page using gentle circles. You will see the paper darken slightly as it becomes translucent.
- Quantity guide: for a full sheet of standard printer paper, I usually start with about 6 to 10 drops total, added gradually. Paper type and how heavy you colored can change what it needs, so treat this as a starting point, not a strict rule.
- Work from the center outward.
- If the page starts to look wet or shiny, stop and blot.
4) Blot the excess
Use a clean paper towel to press and lift extra oil. You want the page translucent, not drippy.
Kid-friendly rule: the page should feel smooth and slightly cool, not greasy enough to leave fingerprints everywhere.
5) Let it rest
Lay the page flat for 10 to 20 minutes. This gives the oil time to spread evenly. You may notice the translucency improve a bit as it rests, and colors can look slightly deeper once the paper is saturated.
6) Cut and hang
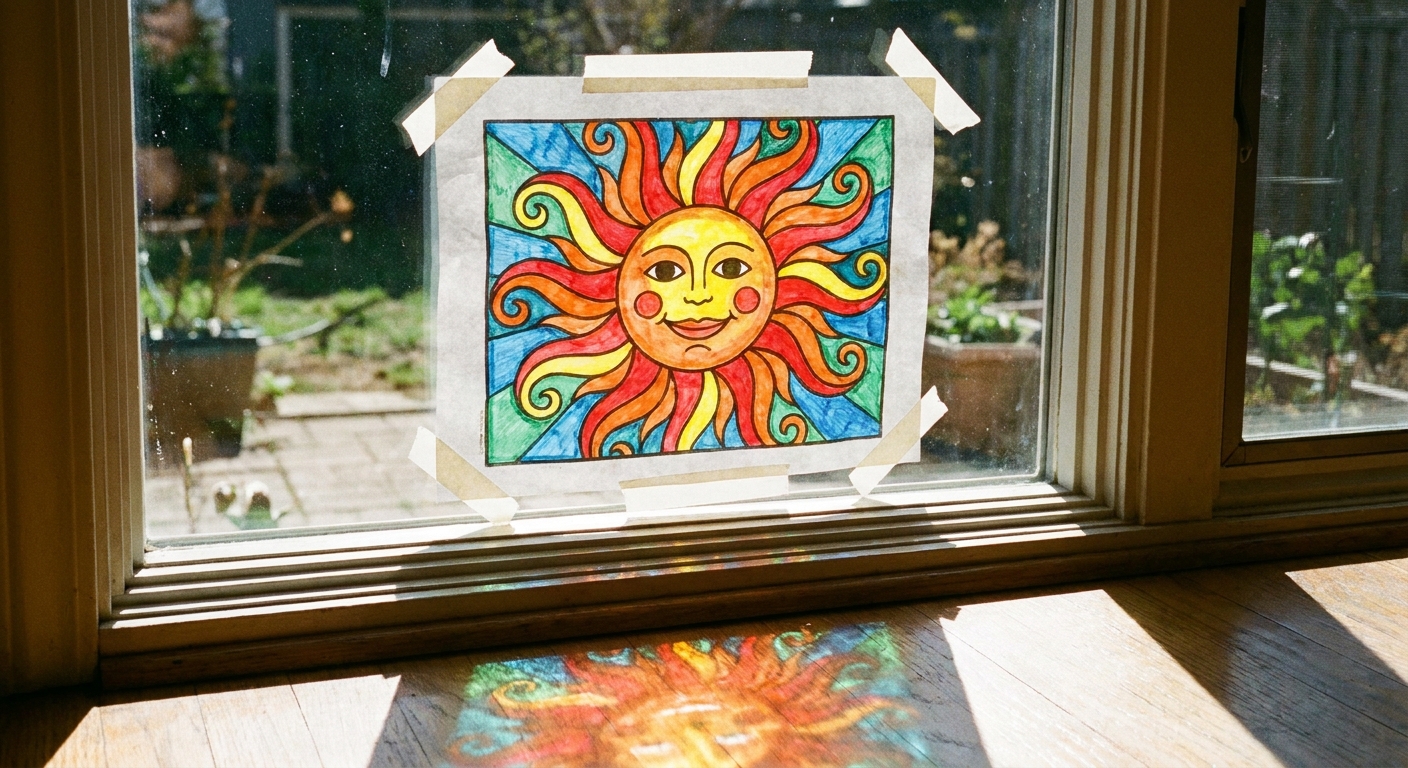
Cut out your design (or just trim the page into a neat rectangle). Then tape it to a window or hang it:
- Tape method: use small pieces of clear tape on the corners.
- String method: punch a hole at the top and tie on a short string, then tape the string to the window frame.
Make it sturdier
Oiled paper is softer than regular paper. If you want your suncatcher to last longer or feel less floppy, try one of these:
- Clear packing tape overlay: cover the front and back with clear tape, smoothing out bubbles as you go. Then trim the edges.
- Page protector: slide it into a clear sheet protector and tape the protector to the window.
I skip heat lamination here because oil and heat are not a great combo for a kid craft. Tape or a protector keeps it simple.
Little science add-on
If you want to turn this into a mini experiment (without making it feel like homework), try this:
- Hold the un-oiled coloring page up to a window. Ask: “Can you see through it?”
- Oil half the page only, then hold it up again.
- Ask: “Which side lets more light through? What changed?”
You can also compare different papers: printer paper vs. cardstock vs. notebook paper. The thinner papers usually turn translucent faster.
Troubleshooting
My page looks blotchy
That usually means the oil did not spread evenly. Let it sit a bit longer, then gently rub with a clean cloth to even things out. Blot again if it feels too wet.
The marker smeared
Some marker inks react badly to oil. Next time, use crayons or colored pencils, or test your markers on a small corner first. If you love marker color, colored pencils on top can help sharpen the look.
The paper is curling
Curling happens when the sheet gets saturated unevenly and the fibers soften and shift a bit. Let it rest flat longer, then tape all four corners when you hang it. The packing tape overlay method also helps.
It feels too greasy
Blot firmly with paper towel and give it more resting time. You only need enough oil to reduce the paper’s cloudiness.
Safety and cleanup
- Use baby oil with supervision, especially with younger kids who still touch their faces often.
- Keep oil away from floors. It can be slippery.
- Keep oily hands and paper away from fabric, carpet, and unfinished wood. Oil can stain.
- Wash hands after crafting.
- Wipe your table with warm soapy water when you are done.
- Oiled paper can leave a faint film on windows. When you take it down, wipe the glass with warm soapy water or glass cleaner.
- Dispose of oily paper towels in the trash, and keep them off countertops and fabrics so the oil does not transfer.
If anyone in your home is sensitive to fragrances, choose an unscented baby oil.
More coloring crafts
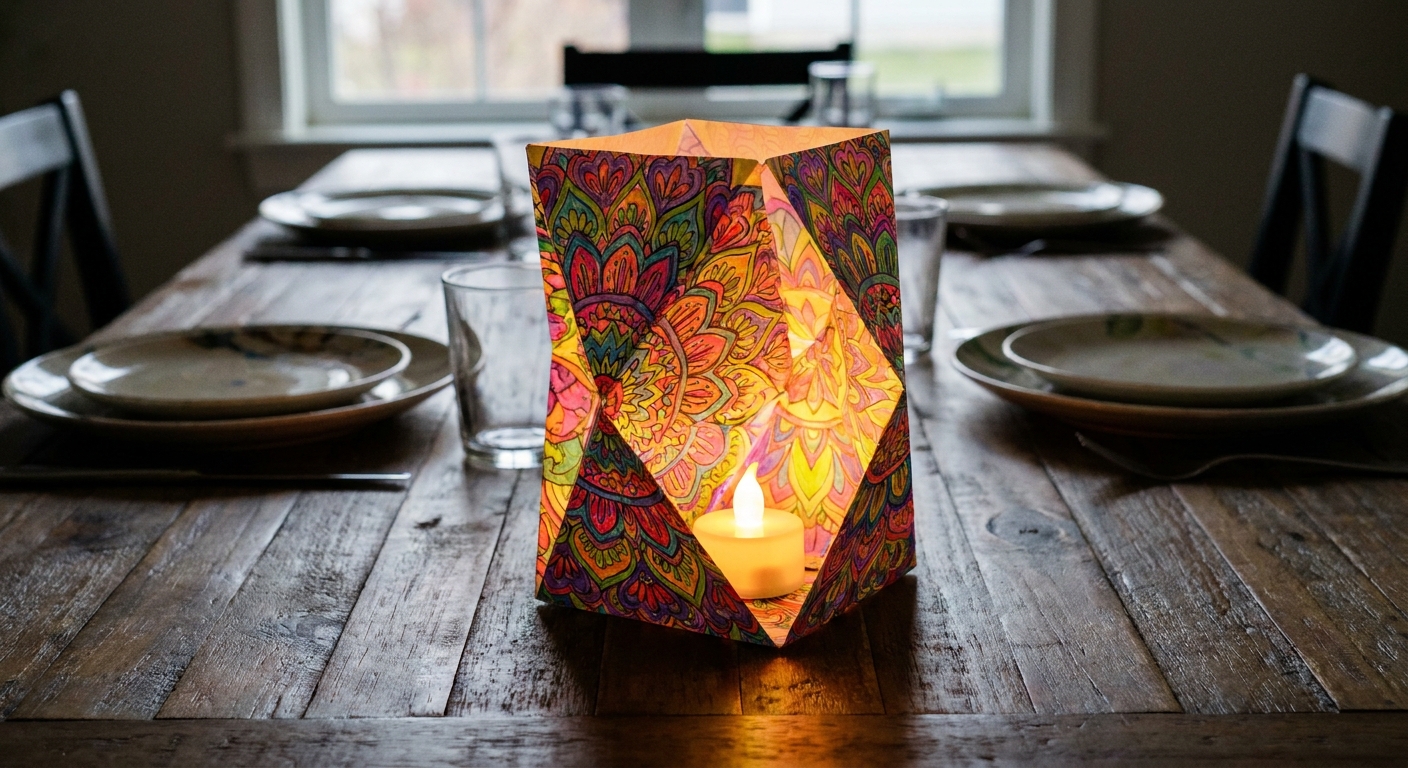
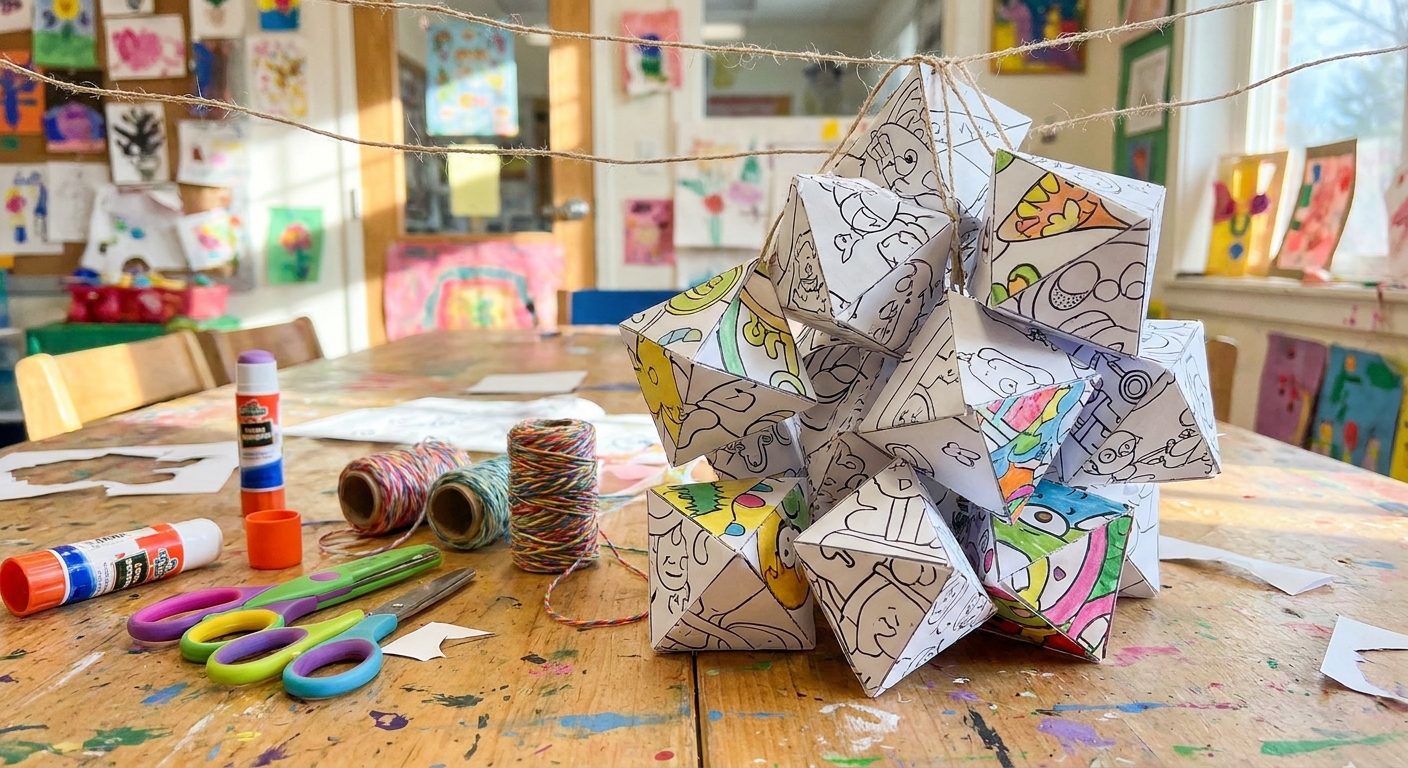
If this project made your table feel extra cheerful, you might also enjoy turning finished pages into something useful. Two favorites:
And if you want more ideas in one place, my craft hub is here: Kids Crafts Guide.