

I grew up in a house where there were always stray markers rolling around the table and at least one half-finished doodle under someone’s plate. So when gift season shows up, my first instinct is always the same: make the tag the fun part. A blank holiday gift tag is basically a tiny canvas, and it takes surprisingly little effort to make it look thoughtful, cozy, and one of a kind.
Below are my favorite ways to customize and print blank tags so they feel intentional, not last-minute. Think: easy color, friendly lettering, and a few simple textures that instantly elevate your wrapping.
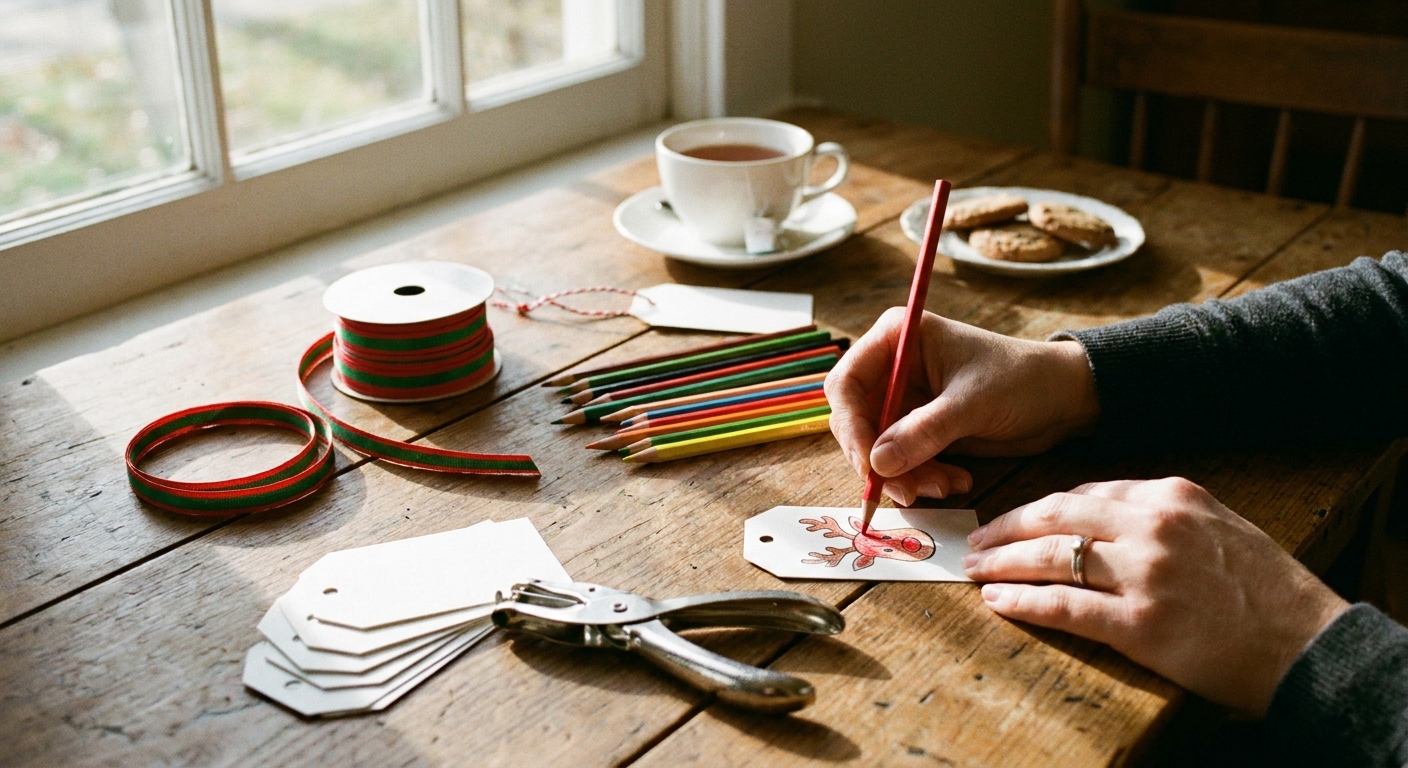
Start with the right blank tag
If you have a basic printable tag shape already (rectangle, circle, scallop, or a little banner), you are set. The magic comes from choosing a tag style that matches the vibe of your wrapping.
- Simple rectangle tags look clean and modern and give you the most room for names.
- Round tags feel playful and are great for big, bold lettering.
- Scalloped edges instantly read as “holiday” even with minimal decoration.
- Long, skinny tags look elegant on bottle gifts and tall packages.
Quick sizing tip: if you are unsure, a tag around 2 x 3.5 inches (about 5 x 9 cm) works for most gifts. Go a little larger if you have long names, multiple recipients, or you want room for a short message.
If you are drawing your own blank tag template (which is genuinely relaxing), keep it easy: a thick outline, a clear hole area at the top, and enough blank space for a name. My step-by-step approach for creating your own pages and templates is over on Draw Your Own Custom Coloring Pages From Scratch.
Printing tips for sturdy tags
The print step matters because gift tags get handled a lot. A few small choices make them sturdier and prettier.
Choose paper that holds up
- Heavy cardstock: best for tags that will be written on and tied to packages. If you like numbers, look for roughly 176 to 300 gsm (often labeled “cover” stock).
- Matte photo paper: can make colors look extra crisp, but it is usually coated. It tends to behave best with water-based markers and colored pencils. Alcohol markers can feather, stay tacky, or smear, so always test first.
- Watercolor paper: only if your printer can handle thicker, textured sheets and you are printing simple outlines. If you try it, feed one sheet at a time (manual tray if you have it) and expect an occasional misfeed on very textured paper.
My standing rule: test your exact printer, paper, and marker or pen on one spare tag before you make a whole stack.
Use a test sheet first
I almost always print one page on regular printer paper first. It lets you check:
- Tag size (will it fit your gift?)
- Line thickness (too light can disappear once you color)
- Spacing for names (especially if you have long names)
Printer settings that help
- Choose Best or High Quality print if your outlines look fuzzy.
- If your lines look too pale, select a darker setting or increase contrast if your printer offers it.
- Let ink dry for a few minutes before coloring, especially if you are using markers.
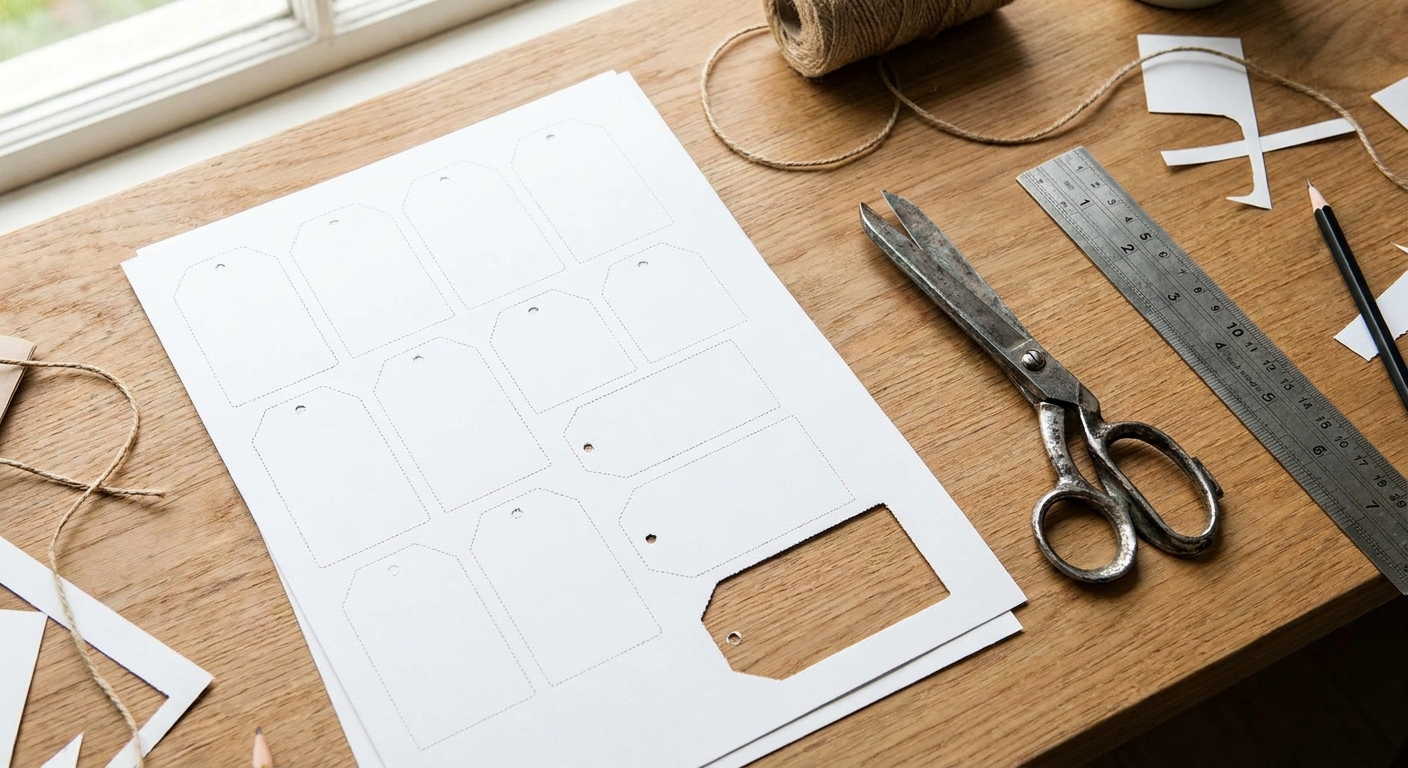
Color with a small holiday palette
When people tell me they “aren’t good with color,” it is usually because they are trying to use every color they own at once. Tags look best when they have a small, cozy palette.
A simple rule that never fails: pick 2 main colors and 1 accent.
- Classic: red + green + gold accent
- Wintery: navy + icy blue + silver accent
- Warm neutral: olive + rust + cream accent
- Playful: pink + teal + glitter accent
If choosing colors makes you freeze up, I wrote a calm, no-pressure guide here: Choose a Cohesive Color Palette Before You Color.
My favorite low-stress coloring techniques
- One-color shading: use one colored pencil and press lightly for highlights, harder for shadows.
- Outline and fade: trace the tag border with a darker pencil, then shade inward about 1 to 2 mm so the edge softly fades toward the center.
- Simple patterns: tiny dots, stripes, or a gingham corner make a blank tag feel designed.
If you want smoother pencil results (especially for darker holiday colors), these blending tips help a lot: How to Blend Colored Pencils for Smooth Shading.
Lettering that feels personal
Hand lettering is one of those things that looks charming precisely because it is human. Your goal is “warm,” not “wedding calligraphy.”
Three easy lettering styles
- Cozy caps: write in all uppercase, then add a tiny shadow to the right side of each letter.
- Bubble letters: round, puffy letters with a simple outline. Great for kids helping.
- Simple script: write normally, then thicken just the downstrokes (the parts where your pen moves downward).
My simple trick for centered names
Lightly draw a pencil guideline across the tag where you want the letters to sit (this keeps your name from drifting up or down). For actual centering, make a tiny pencil mark at the left and right midpoint of the tag, then write the name in pencil first and nudge it until it looks balanced before you ink it.
Pens that behave on cardstock
- Gel pens: gorgeous for metallic accents, but give them time to dry.
- Fineliners: crisp and reliable for outlines and neat names.
- Brush pens: fun for bold names, but test first because some bleed on thinner stock.
Easy mixed-media accents
This is the part that makes people say, “Wait, you made these?” You do not need fancy supplies. You just need one extra texture.
Simple add-ons (choose one)
- Metallic touches: a gold gel pen border, tiny star doodles, or a metallic dot pattern.
- Washi tape strip: one band across the bottom or a little flag in the corner.
- Ribbon or twine layer: tie a small bow through the hole, or add a second knot for a fuller look.
- Stickers: one small sticker plus a simple name looks clean and modern.
- Mini cutouts: punch a small circle or star from leftover paper and glue it near the name.
If you like tactile crafting, you can also add subtle texture with a tiny dab of glue and a sprinkle of glitter. I keep it minimal so it does not shed everywhere.
For more texture-based ideas, you might enjoy Sensory Coloring Crafts With Yarn, Glitter, and Buttons.
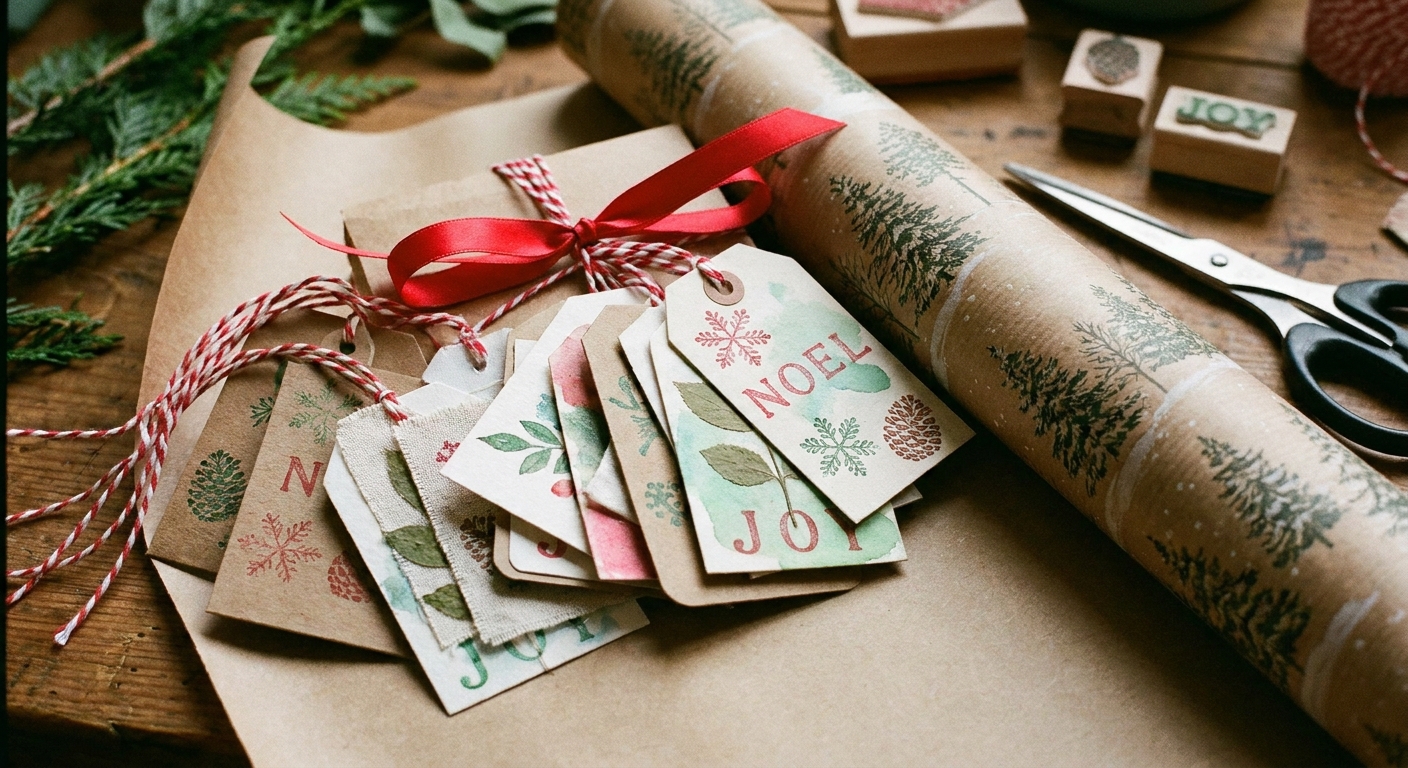
Cut, punch, and reinforce
This is the unglamorous step, but it is what turns a cute tag into a tag that survives being tossed in a gift bag.
Clean cuts
- Use sharp scissors for curved tags.
- Use a craft knife and ruler for rectangles if you want crisp edges.
- If you have a corner rounder punch, it makes even basic rectangles look polished.
Hole punch tips
- Punch the hole before adding chunky embellishments.
- Reinforce the hole with a small paper ring, a sticker dot, or a tiny scrap circle glued on both sides.
Double-layer without warping
If your printed tag feels thin, glue it to a second piece of cardstock. For the flattest finish, I reach for double-sided tape or a glue stick. Liquid glue works too, just use a very thin layer and smooth it out quickly to avoid ripples.
Quick tag ideas
Classic and cozy
- Red border + green name + tiny gold dots
- Evergreen doodle in one corner
- Candy cane stripes on the bottom third
Scandi minimalist
- Black ink lettering
- One simple wreath outline
- Lots of blank space, just one accent color
Kids-can-help version
- Big bubble letters
- Sticker plus crayon coloring
- Fingerprint dots turned into berries (washable paint works well)
Extra sparkly
- Metallic gel pen border
- One glittery star near the name
- Ribbon bow plus a tiny bell if you have one
Pair tags with a wrap upgrade
If you are already making custom tags, you can make the whole gift look intentional with one more tiny touch. I love wrapping with plain kraft paper and letting the tag do the talking. You can also turn leftover colored pages into wrap for a playful look, especially for kids.
If that sounds fun, here is my go-to method: Upcycle Coloring Pages Into Gift Wrap.
Troubleshooting
My printer smears when I color
Let the ink dry longer, and start with colored pencils for the first layer. If you are using markers, test on one tag first and use lighter pressure.
The outlines look gray, not black
Try a higher-quality print setting, or adjust your printer settings for darker output. If it still prints light, trace the outline once with a fineliner after printing.
My handwriting looks wobbly
Write larger. Seriously. Small writing shows every wobble. Bigger letters look confident even when they are simple.
The tag curls after I use markers
Use thicker cardstock and color in lighter layers. You can also press finished tags under a heavy book for a few minutes.
Glitter gets everywhere
Use a tiny amount and stick to small areas. If you want to seal it, a light coat of clear-drying glue can help, but test first because it may dull sparkle or wrinkle thinner paper. When I am feeling lazy, I skip loose glitter and use a glitter gel pen instead.
A gentle reminder from my kitchen table
Your gift tag does not need to be perfect to feel special. A name written by hand and a few minutes of color tells someone, “I thought of you,” and that is the whole point.
If you want more ideas in this corner of the site, the Holiday section is here: Holiday Printables. And if you ever get stuck staring at a blank tag, I keep a pep talk ready on Coloring Your Way Out of Creative Block.