The dining table in my house has always been a little bit of a “creative landing strip.” Pencils roll under placemats, someone is always looking for tape, and there is usually a half-finished coloring page nearby. So when I needed a quiet, screen-free activity that felt like play but secretly exercised little brains, I started making our own Memory Match cards using duplicate printed coloring pages. It is simple, cozy, and surprisingly satisfying.
This version is sturdier than plain paper cards, customizable for any age, and it turns coloring time into a game you can replay for weeks.
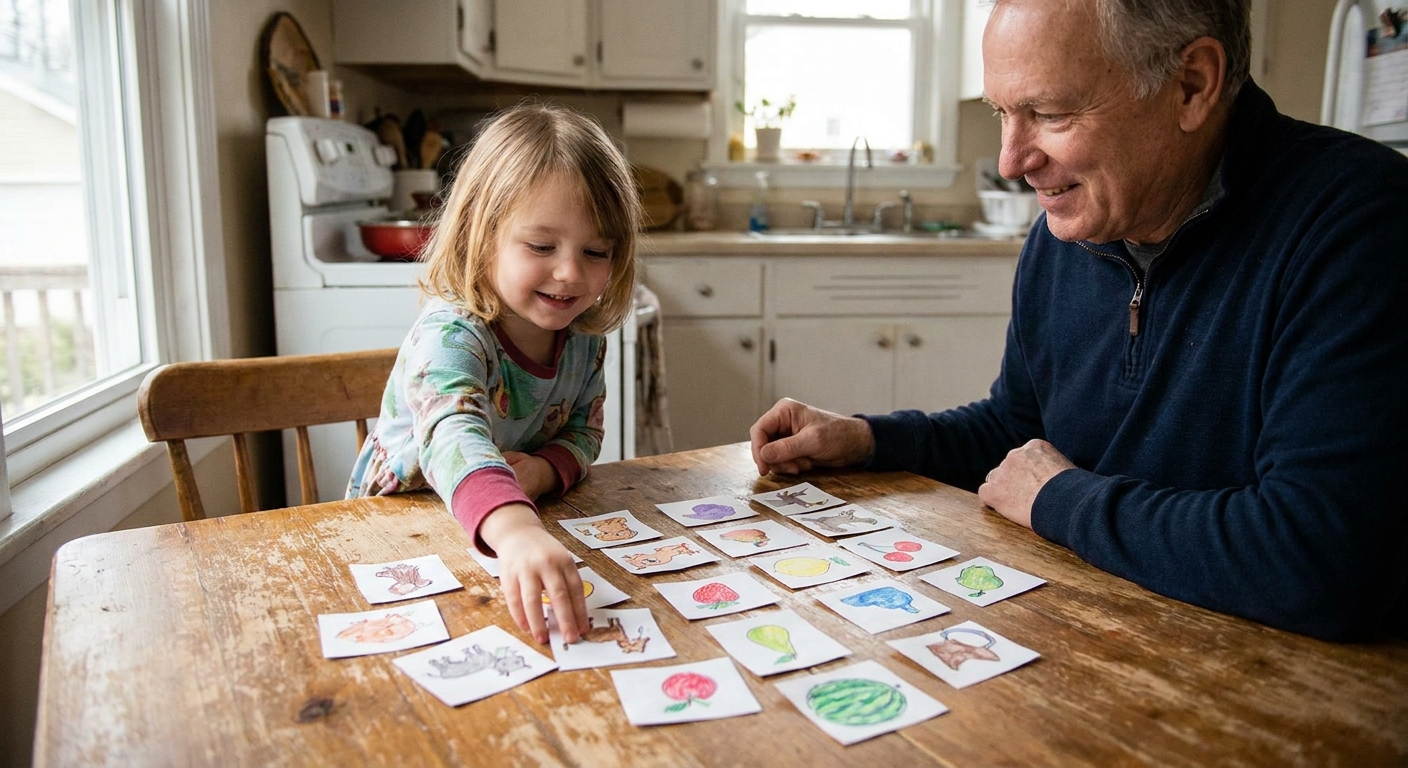
Why coloring pages work for Memory Match
Classic Memory is all about paying attention, holding a picture in your mind for a moment, and spotting small visual differences. A coloring-page version can help build those same skills, with a few extra perks:
- Kids feel ownership because they made the art.
- You control the difficulty by choosing simple shapes for beginners or detailed designs for older kids.
- It encourages focus twice, once while coloring and again while remembering card locations.
- It is budget-friendly and perfect for using up supplies you already have.
If you want more ideas that start with a simple coloring page and turn into a real project, browse the Kids Crafts guide.
Supplies
- Two identical printed coloring pages
- Coloring tools (crayons, markers, colored pencils)
- Scissors (or a paper trimmer for faster, straighter cuts)
- Cardstock or thin cardboard (cereal boxes work wonderfully)
- Glue stick or liquid school glue
- Clear tape or self-adhesive laminate sheets (optional but very helpful)
- Ruler and pencil (optional)
- Small box, envelope, or zip-top bag for storage
Safety note: Scissors are an adult-only tool in our house unless I am right there. And because the finished cards are small (and tape and laminate can peel), I keep this game supervised around kids under 3.
Tip: If you are deciding between markers and colored pencils for this project, I share a gentle breakdown here: Markers vs. Colored Pencils. Either works, but colored pencils usually stay crisp when you cut small cards.
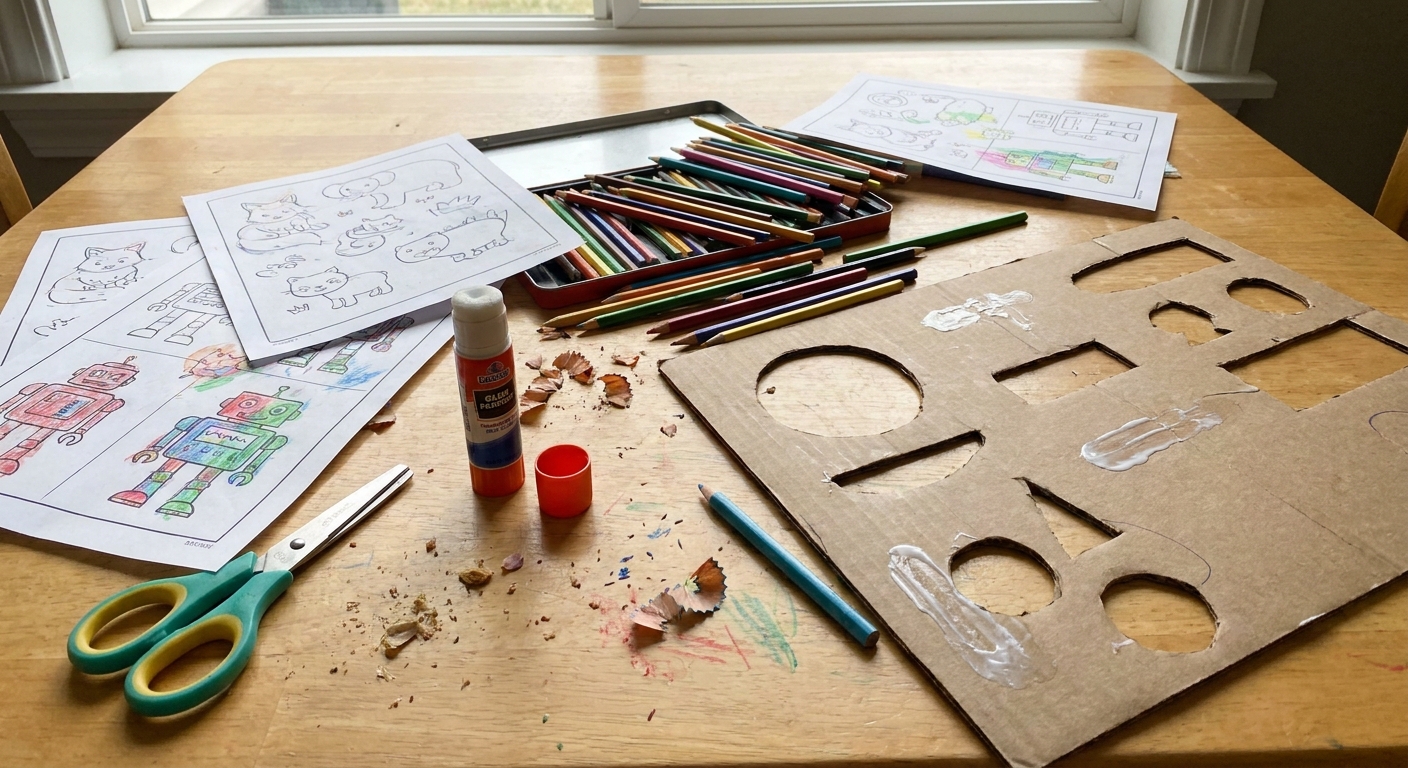
Step 1: Print two matching pages
Choose a coloring page with clear, distinct images. Bold outlines and recognizable shapes are easiest for younger kids. Print it twice.
Quick printing tips
- Use the same printer settings for both copies so the images match in size.
- Standard letter paper is fine, but avoid super thin paper if your printer tends to wrinkle pages.
- If your page has many small elements, consider printing at high quality so outlines stay sharp.
Step 2: Color so pairs truly match
This is the most important part. Each pair must be identical, which means both copies of the same image need the same colors.
Two easy ways to keep pairs consistent
- Assembly line method: Color one specific element on both pages before moving on. For example, color all stars yellow on both pages, then all hearts red, and so on.
- Palette pick method: Pick 5 to 8 colors and stick to them. It reduces “almost the same” pairs. If you like that approach, you might also enjoy Choose a Cohesive Color Palette Before You Color.
Kid-friendly shortcut: For toddlers or preschoolers, you can leave the pages uncolored and just play with black-and-white pairs. The matching is still real, and the project takes half the time.
Step 3: Choose a card size
Before you cut, decide how big you want each card.
- Ages 3 to 5: Larger cards are easier to handle. Aim for about 2.5 to 3 inches square.
- Ages 6+: Smaller cards make the memory challenge stronger. Aim for about 2 inches square.
Take a look at the page and count how many cuttable images you actually want to turn into cards. That number is how many pairs you will end up with once you cut both pages.
My favorite starting set: 8 to 12 pairs. It feels like a real game but does not drag on.
Step 4: Cut out matching cards
Cut the page into cards. A paper trimmer makes this fast, but scissors work perfectly.
If the images are scattered (not laid out in a neat grid), it helps to flip the page over and lightly draw a simple grid in pencil first. You can center the best pictures inside your squares and leave the awkward little partial bits out.
Cutting tips for neat cards
- Cut long strips first, then cut strips into squares.
- Try to keep a small border around each image so the artwork is not sliced off.
- If your cuts are slightly uneven, that is okay. Just do your best to keep both copies of each image close in size.
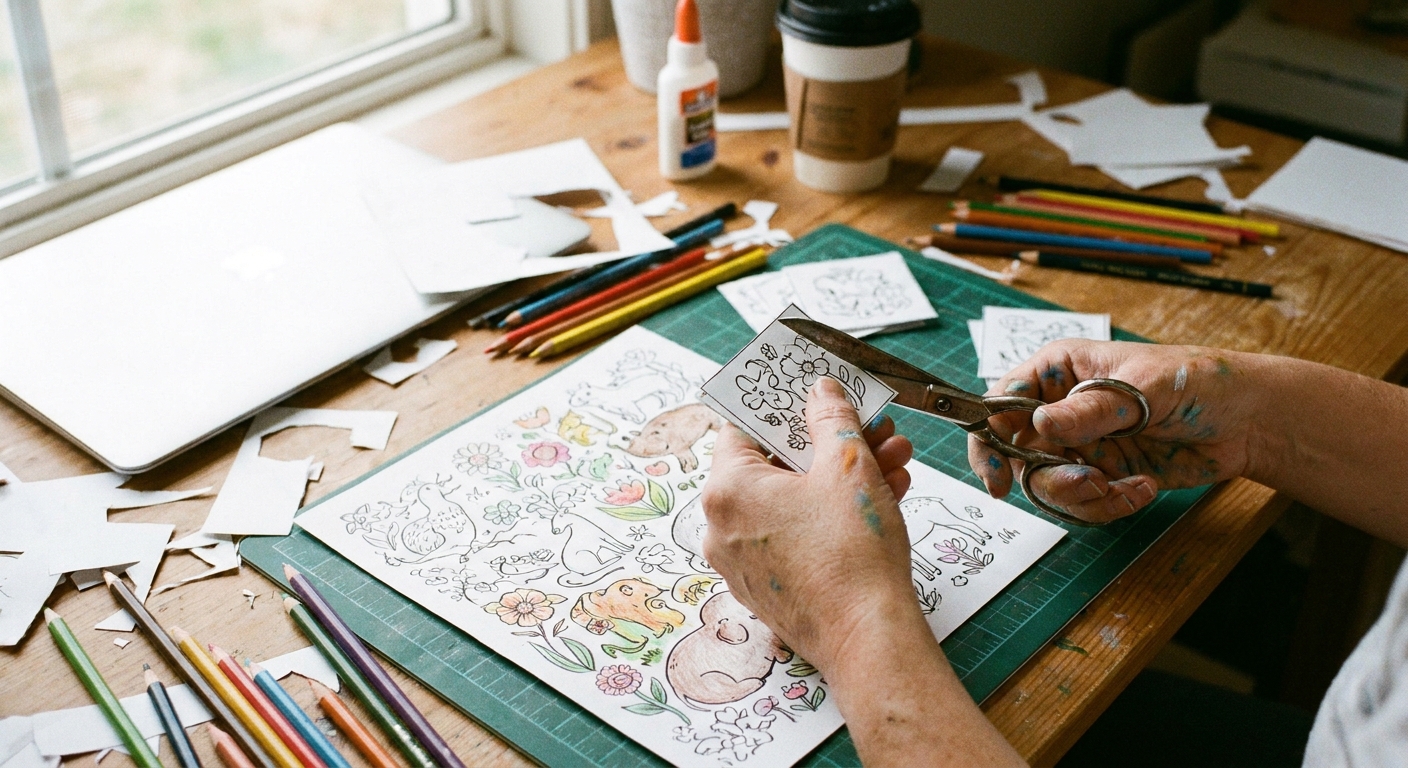
Step 5: Mount on cardboard
This is where the game stops feeling like paper scraps and starts feeling like a real card set.
- Use your cut paper cards as templates to trace matching squares onto cardstock or thin cardboard.
- Cut the cardboard squares.
- Glue each colored paper square onto a cardboard square, smoothing from the center outward.
- Let everything dry under a book for 10 to 15 minutes to reduce curling.
Recycled option: Cereal box cardboard is my go-to. It is free, easy to cut, and sturdier than standard printer paper or lightweight cardstock.
Durability tip: If you have time, round the corners with scissors (or a corner punch). Rounded corners stay nicer, especially if you tape or laminate the fronts.
Step 6: Make the backs identical
For Memory Match to work fairly, you cannot tell cards apart from the back.
Three easy back options
- Plain: Leave cardboard backs as-is if they all look the same.
- Paper backing: Glue the same solid-color paper onto every back.
- Coloring-page backing: Use leftover border pieces from your printed pages only if you can make every back truly uniform (no text, no shifting margins, no random dark spots).
Little fairness check: Fan the cards face down in your hands. If you can spot “the cereal logo card” instantly, cover the backs.
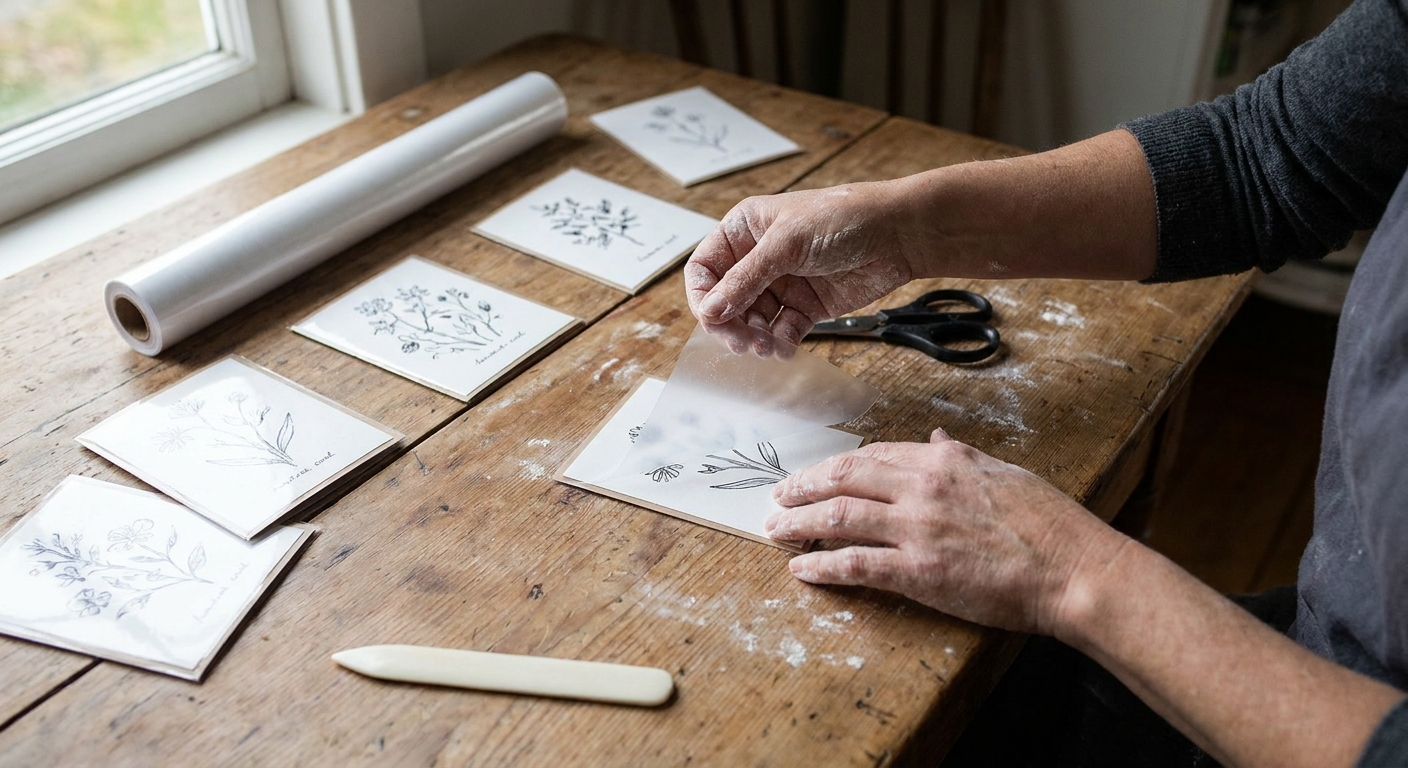
Step 7: Seal the cards (optional)
If you want the set to last, add a protective layer.
- Clear packing tape: Lay tape strips across the front, slightly overlapping, then trim edges.
- Self-adhesive laminate sheets: Smooth carefully to avoid bubbles, then trim.
Marker note: If your cards are colored with marker, let them dry fully before sealing. Some inks can still smear under tape or laminate if they are even a little bit damp, so I like to test one card first and give it a few extra minutes of air time.
How to play Memory Match
- Shuffle the cards and lay them face down in a grid.
- The first player flips two cards over.
- If they match, the player keeps the pair and takes another turn.
- If they do not match, flip them back over in the same spots and the next player goes.
- Game ends when all pairs are found. The player with the most pairs wins.
Variations by age
- Toddlers: Lay cards face up and ask them to find pairs. This builds recognition with zero frustration.
- Preschoolers: Use fewer pairs and a smaller grid.
- Older kids: Add a timer, or require the player to name something about the image before keeping the pair.
- Story twist: When a match is found, the player adds one sentence to a group story inspired by the picture. If your kids love that kind of play, you might enjoy 7 Ways to Use Coloring Pages to Teach Storytelling.
Themed set ideas
Once you have made one set, it becomes addictive in the best way. Theme ideas that work well:
- Feelings faces for social-emotional learning
- Letters or sight words (match upper and lowercase, or word and picture)
- Holiday symbols for seasonal family time
- Animals or dinosaurs for enthusiastic little experts
Storage ideas
- Repurpose a small gift box or recipe card box.
- Use a zip-top bag and label it with a marker.
- Wrap a rubber band around the stack, then store in a drawer.
My favorite: A small box plus a missing-card-check habit. After playtime, we count pairs together like a tiny end-of-game ritual.
Troubleshooting
My cards are curling
Use less glue, smooth firmly, and press under a heavy book while drying. Sealing the front can also help flatten them.
The pairs do not look identical
It happens. If the difference is obvious, you can even it out by adding a small detail to both cards with a pencil, like a tiny dot in the same corner of each matching pair. Just keep it subtle.
The cardboard is hard to cut
Try thinner packaging cardboard, or switch to heavy cardstock. A paper trimmer also helps a lot with straight edges.
Kids keep flipping too fast
Turn it into a calm game rule: hands in lap until your turn, then two flips only. I like to model a slow flip like we are opening a tiny treasure chest.
A sweet finishing touch
If you want your DIY Memory Match set to feel like a gift (even if it is just a gift to your future self on a rainy day), write the theme name on the storage box and tuck in a note that says when you made it. These little handmade games have a funny way of becoming keepsakes.
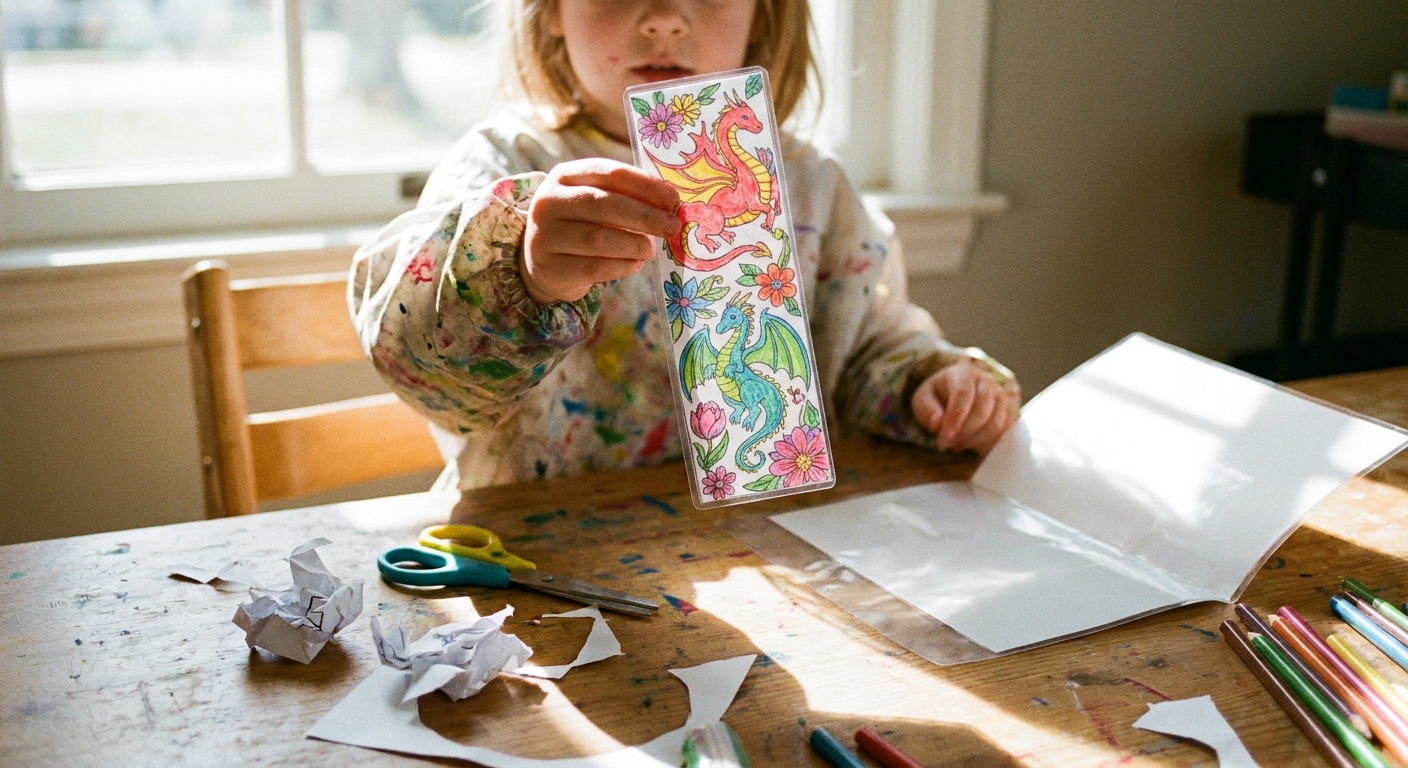
And if you find yourself with leftover colored scraps after making the cards, do not toss them yet. They are perfect for mini crafts like bookmarks. This project pairs nicely with Laminated Bookmarks From Kids Coloring Pages.