

Every winter I end up with a little pile of snowflake printables on my table. You know the ones: crisp outlines, satisfying symmetry, and that quiet promise of an afternoon that does not involve scrolling. This is my favorite way to turn those blank snowflake templates into decor that feels like a tiny snowfall you can hang anywhere.
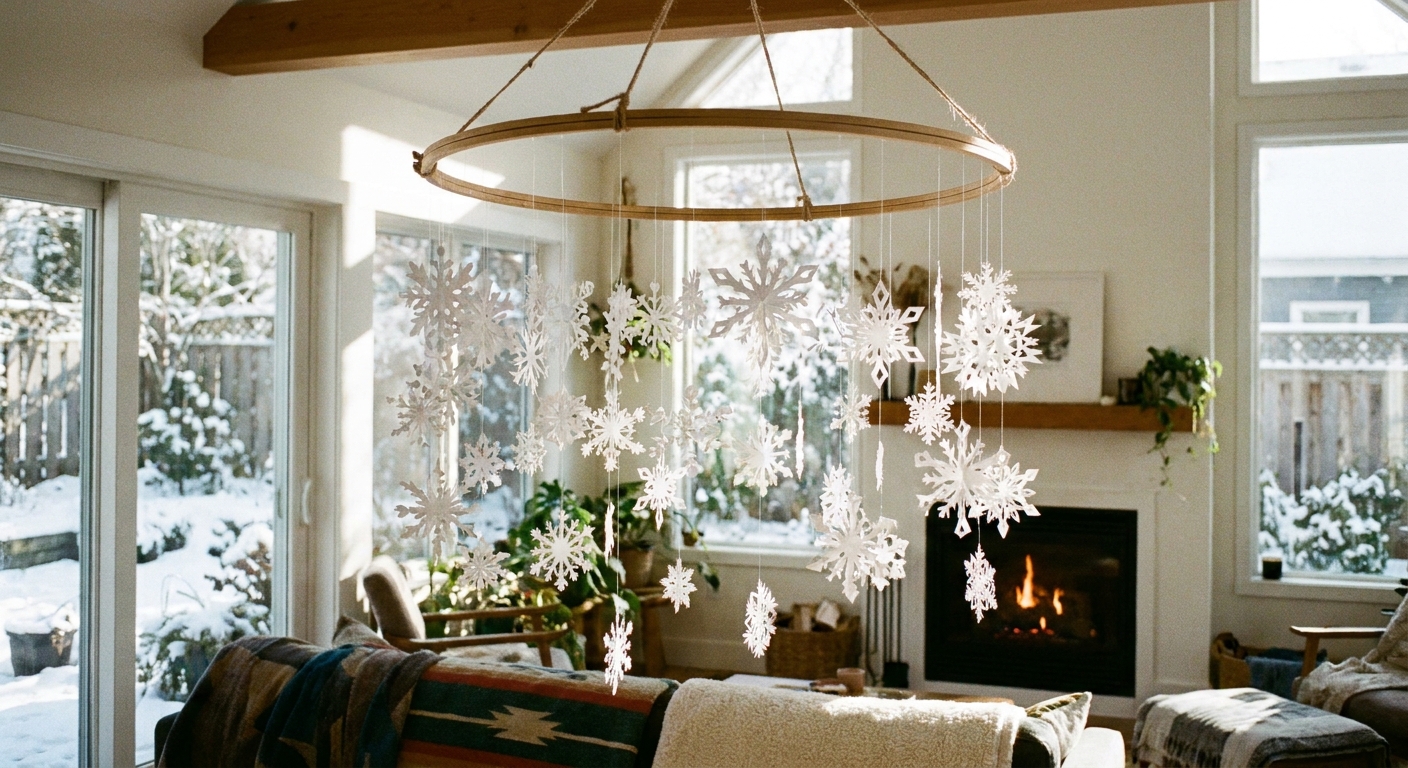
The idea is simple: cut out several paper snowflakes, reinforce them so they stay crisp, then suspend them from an embroidery hoop at different heights. The result is a floating centerpiece that works over a dining table, in a window, above a reading nook, or even in a classroom corner.
What you need
- Blank snowflake templates printed on paper (use any printable outlines you already have)
- Embroidery hoop (6 to 12 inches is a sweet spot)
- Scissors (small detail scissors help a lot)
- Hole punch or a thick needle/awl for tiny holes
- Thread or string (clear beading thread, fishing line, white sewing thread, or thin twine)
- Tape (clear tape or washi tape)
- Glue stick or white school glue
- Cardstock (optional, for backing and reinforcement)
- Clear packing tape (optional, for extra durability)
- Crayons, markers, colored pencils, or watercolor (optional, if you want to color your snowflakes)
Paper choice tip: If you want a delicate, lacy look, use regular printer paper. If you want sturdier snowflakes that hang flatter, print on light cardstock.
Quick safety note: If you are using an awl, needle, or craft knife, this is a grown-up job or a close-supervision moment.
Step 1: Print and prep your snowflakes
Start by printing a variety of snowflake sizes. A mix looks more natural and gives your mobile that drifting, layered feeling.
- Keep it cohesive: choose snowflakes with similar line thickness, or plan to reinforce the thinner ones.
- Keep it balanced: aim for 8 to 14 snowflakes for a standard hoop. Fewer can look sparse, more can start to tangle.
Easy sizing guide: For a 6 inch hoop, 6 to 9 snowflakes is plenty. For an 8 inch hoop, try 8 to 12. For a 10 to 12 inch hoop, 10 to 16 usually looks full without feeling crowded.
If you are in a coloring mood, color them now before cutting. I like a winter palette: icy blues, silvery grays, and one warm accent like gold or cranberry. If you want help picking colors that play nicely together, my gentle go-to is to choose a cohesive color palette before you color.
Step 2: Cut out the snowflakes cleanly
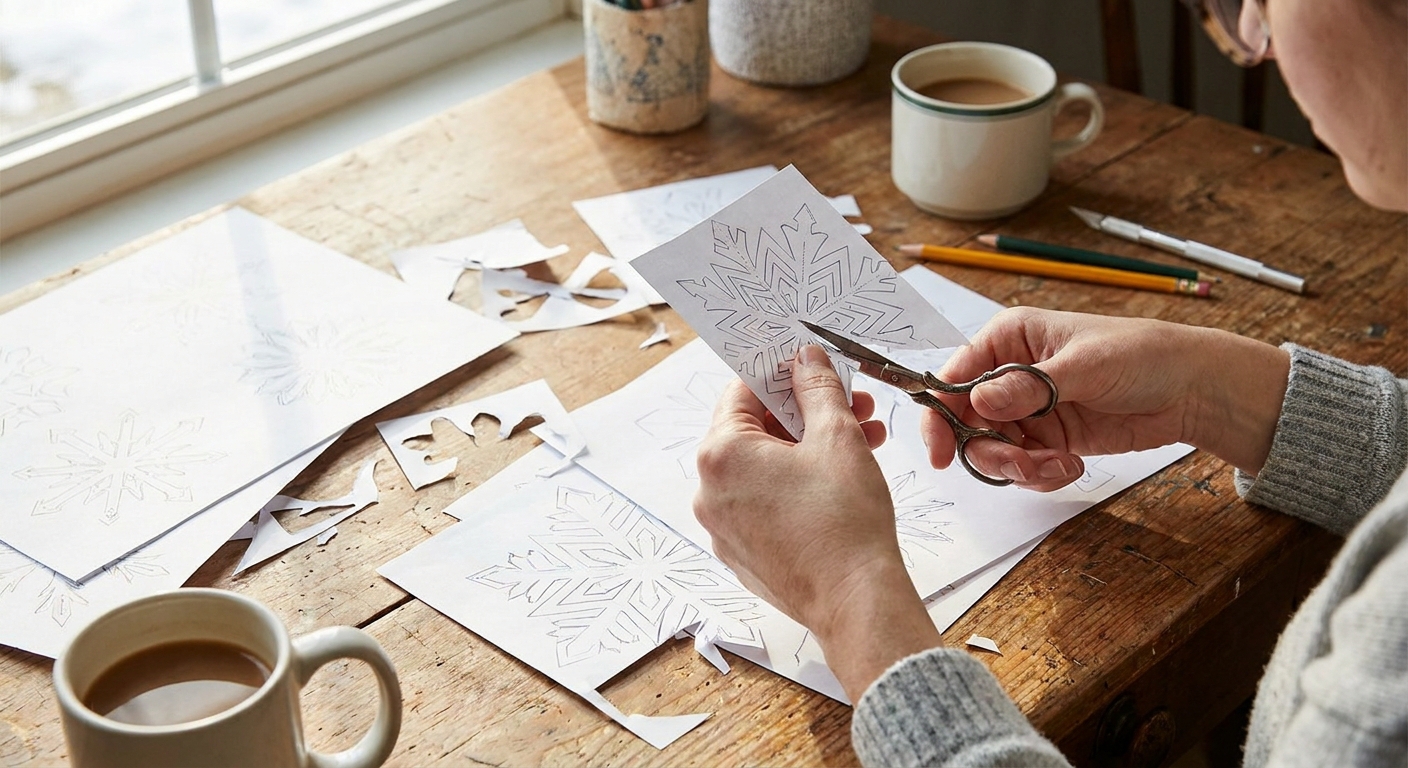
This is the slow, satisfying part. Put on music, take your time, and let the tiny cuts be the whole point.
Cutting tips that make a big difference
- Rough cut first: cut around each snowflake leaving a margin, then do the detailed cutting. It is easier to maneuver.
- Turn the paper, not your wrist: rotate the snowflake as you cut curves and points.
- Use a craft knife only if you are comfortable: if you do, use a cutting mat and keep fingers well away from the blade path.
When you are done, gently press each snowflake under a heavy book for 10 minutes to start. If your paper is a little springy or your room is humid, give it longer.
Step 3: Reinforce so they do not curl or tear
Snowflake templates are often full of thin bridges and tiny points. Reinforcement keeps your mobile from looking droopy after a few days.
Option A: Back with cardstock (my favorite for a crisp look)
Trace each cut snowflake onto cardstock.
Cut the cardstock shape out, staying just inside the traced line so it will not peek out.
Glue the paper snowflake onto the cardstock backing with a glue stick, smoothing from center outward.
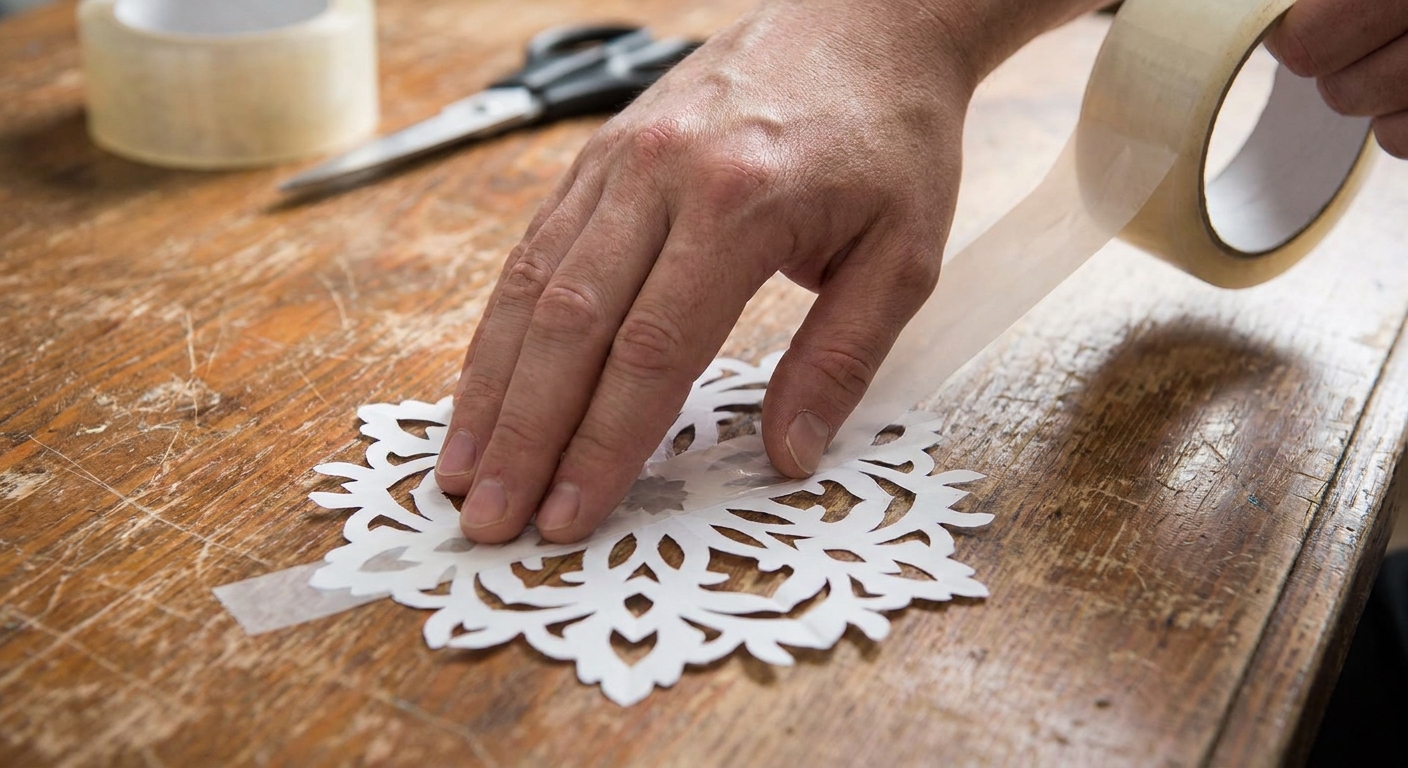
Option B: Tape laminate (fast and kid-friendly)
Lay the snowflake on the table.
Cover the front with clear packing tape, overlapping strips slightly.
Flip and repeat on the back.
Trim the edges neatly.
Little realism note: tape-laminated snowflakes catch light beautifully, but they can look slightly shinier. If you want a soft matte look, cardstock backing is the winner.
Step 4: Prepare your embroidery hoop
Separate the embroidery hoop rings, then re-tighten them together so the hoop is sturdy. Decide now whether you want it bare wood, painted, or wrapped.
Simple hoop finishes
- Natural wood: minimalist and warm, especially nice with white snowflakes.
- Wrapped in ribbon or yarn: cozy, and it gives you extra grip points for tying strings.
- Painted white or pale blue: makes the whole mobile feel extra frosty.
If you wrap the hoop, dab glue at the start and end of your ribbon so it does not unwind later.
Step 5: Punch holes and tie hanging strings
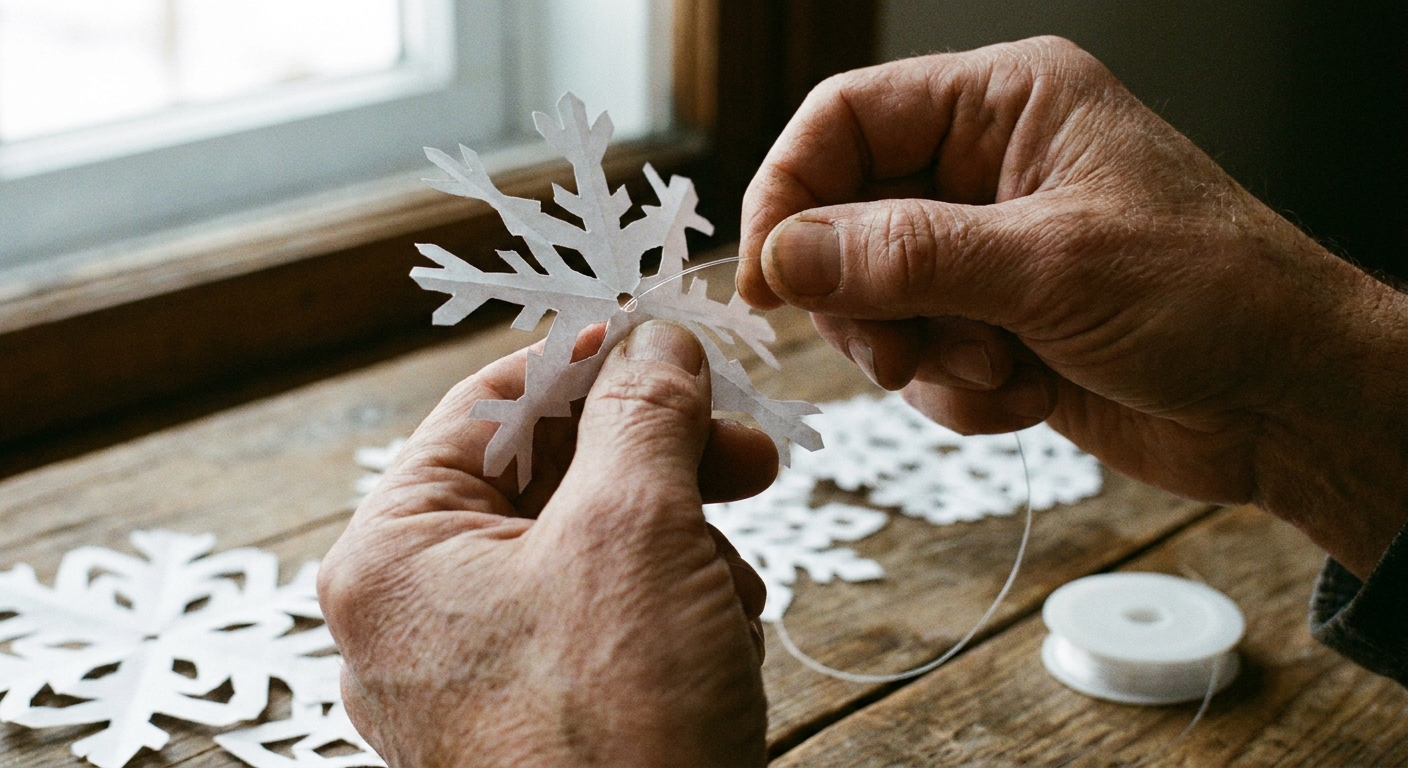
Each snowflake needs at least one hanging point. Two points help reduce flipping and wild spinning, and they keep the snowflake facing forward more often. I usually do:
- Small snowflakes: one hole at the top point
- Medium snowflakes: two holes (one near the top left, one near the top right) for a steadier hang
- Large snowflakes: two holes, about 1 to 2 inches apart
Punch holes about 1/4 inch from the edge so they do not tear out. If a snowflake has very narrow tips, punch through a thicker section near the top instead.
Thread choices (and what they look like)
- Clear thread or fishing line: snowflakes look like they are floating
- White thread: soft and classic, slightly more visible
- Silver cord: sparkly and festive, especially near lights
Cut strings in a range of lengths, for example 6 inches up to 18 inches. Variety is what gives you that drifting effect.
Step 6: Attach snowflakes to the hoop
This is the part where a little sequence saves your sanity.
Lay the hoop flat on the table.
Tie the longest snowflakes first and space them evenly around the hoop.
Add medium lengths next between the long ones.
Finish with short snowflakes to fill gaps and add dimension.
As you tie each string to the hoop, double-knot it. If you are using fishing line, a triple knot (or a surgeon's knot if you know it) holds better. Then add a tiny piece of tape over the knot if you want extra security.
Spacing rule of thumb
Try to keep at least 1 to 2 inches between hanging points on the hoop. If you crowd them, the snowflakes bump and twist together every time the air moves.
Step 7: Add the top hanger and balance it
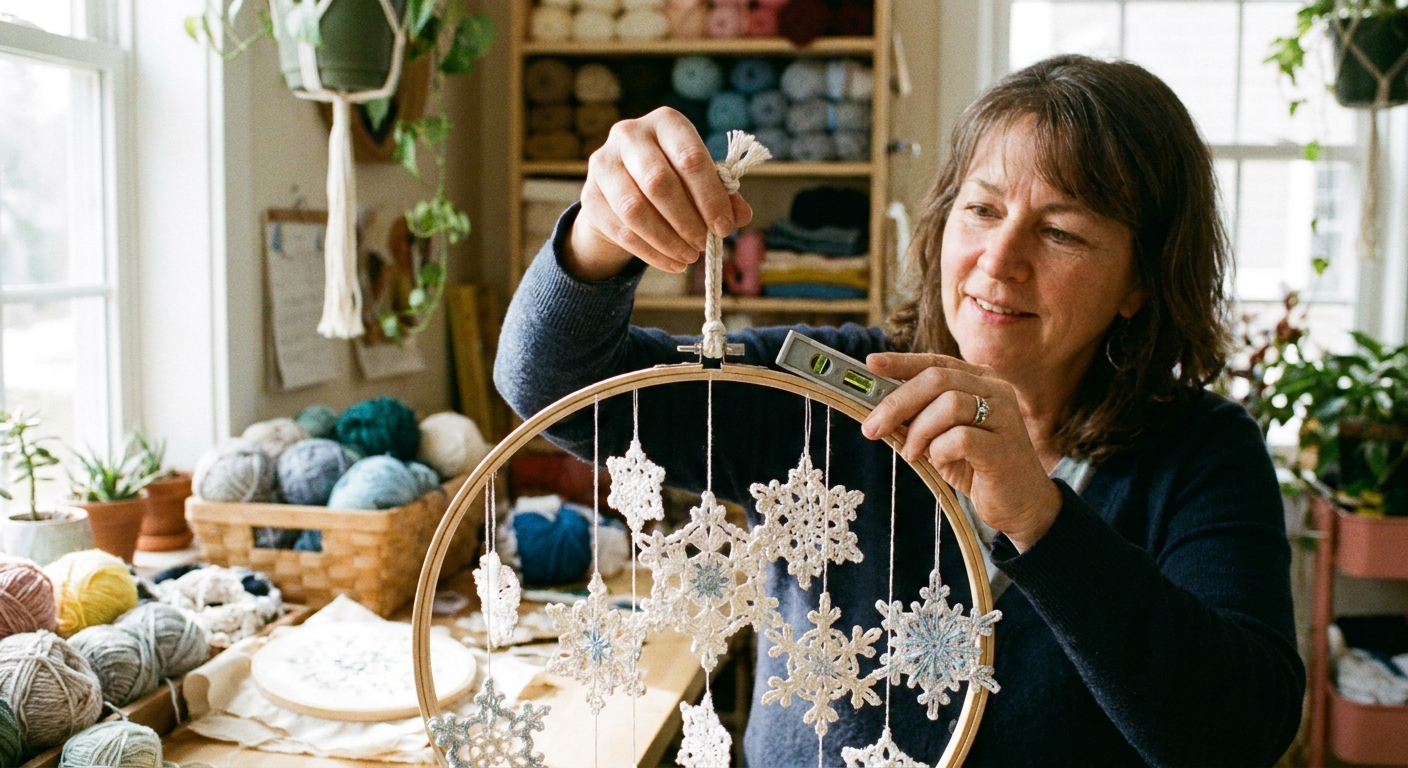
Cut three equal lengths of string and tie them to the hoop at three points spaced evenly apart. Bring them up and knot together at the top to form a triangle-style hanger. This distributes weight and helps the hoop hang level.
Before you hang it, lift it gently from the top knot and watch what happens. If one side dips, slide a knot slightly around the hoop or move one heavy snowflake closer to the center.
Where to hang it
You have a few options depending on whether you want this as true hanging decor or as a table moment.
Over a table
- Keep it higher than head level: you want wow, not duck.
- Use a ceiling hook rated for light decor: follow the manufacturer's instructions, and choose the right hardware for your ceiling type.
- Test it with people sitting down: the snowflakes should hover above sightlines, not block conversation.
No ceiling hook needed
- Hang it from a curtain rod in front of a window for maximum sparkle.
- Use a sturdy branch in a vase as a tabletop stand if you want a centerpiece without drilling anything.
If you love turning paper projects into seasonal decor, you might also enjoy making DIY paper ornaments from coloring pages and a paper bunting banner from kids coloring pages. They have the same cozy made-it-at-the-kitchen-table energy.
Easy upgrades
Add shimmer without mess
- Glue pen on the edges for a frosted look.
- Metallic marker details on a few snowflakes so the sparkle is sprinkled throughout, not everywhere.
- Pearl or iridescent washi tape on the back of a few snowflakes to catch light as they spin.
Try a layered storm effect
Make two hoops. Hang the smaller hoop inside the larger hoop using three short strings, then attach snowflakes to both rings. The depth is gorgeous and still lightweight.
Give it soft color
Instead of coloring every snowflake, color just a few in pale shades so it feels like dawn light on snow. If you want to experiment with paint, watercolors on printed coloring pages has my favorite paper-saving tips.
Troubleshooting
My snowflakes keep spinning and flipping
Use two hanging points for each large snowflake, or add a tiny paperclip to the bottom point on the back as a hidden weight. It will still move in the air, but it should feel calmer and more intentional.
The strings are tangling
Increase spacing on the hoop and shorten the longest strands. Also try stiffer thread like clear beading line instead of soft sewing thread.
The paper is curling
Back the snowflakes with cardstock, or tape-laminate both sides. Curling usually comes from moisture in glue or from marker ink saturating thin paper.
The hoop is tilting
Move your top hanger ties farther apart, and rebalance by shifting the heaviest snowflakes closer to the center of the hoop.
A calm little winter ritual
My favorite thing about this project is that it turns just paper into something you keep noticing all season. It moves when someone walks by. It catches the afternoon light. It makes a room feel quieter.
And if you are making this with kids, let it be imperfect. A slightly wobbly snowflake still feels like winter. It still feels like you made it together.