I grew up in a house where paper was never just paper. A doodle could become a card, a placemat, a tiny flag for a cupcake, or something we’d tape to a shoebox and call it “storage.” That is basically the energy of this craft: you take a finished coloring page you love and give it a second life on a wooden keepsake box. It’s cozy, practical, and surprisingly calming if you go slow.
Below is my go-to method for getting smooth, wrinkle-free decoupage with crisp seams and a seal that can handle real use.
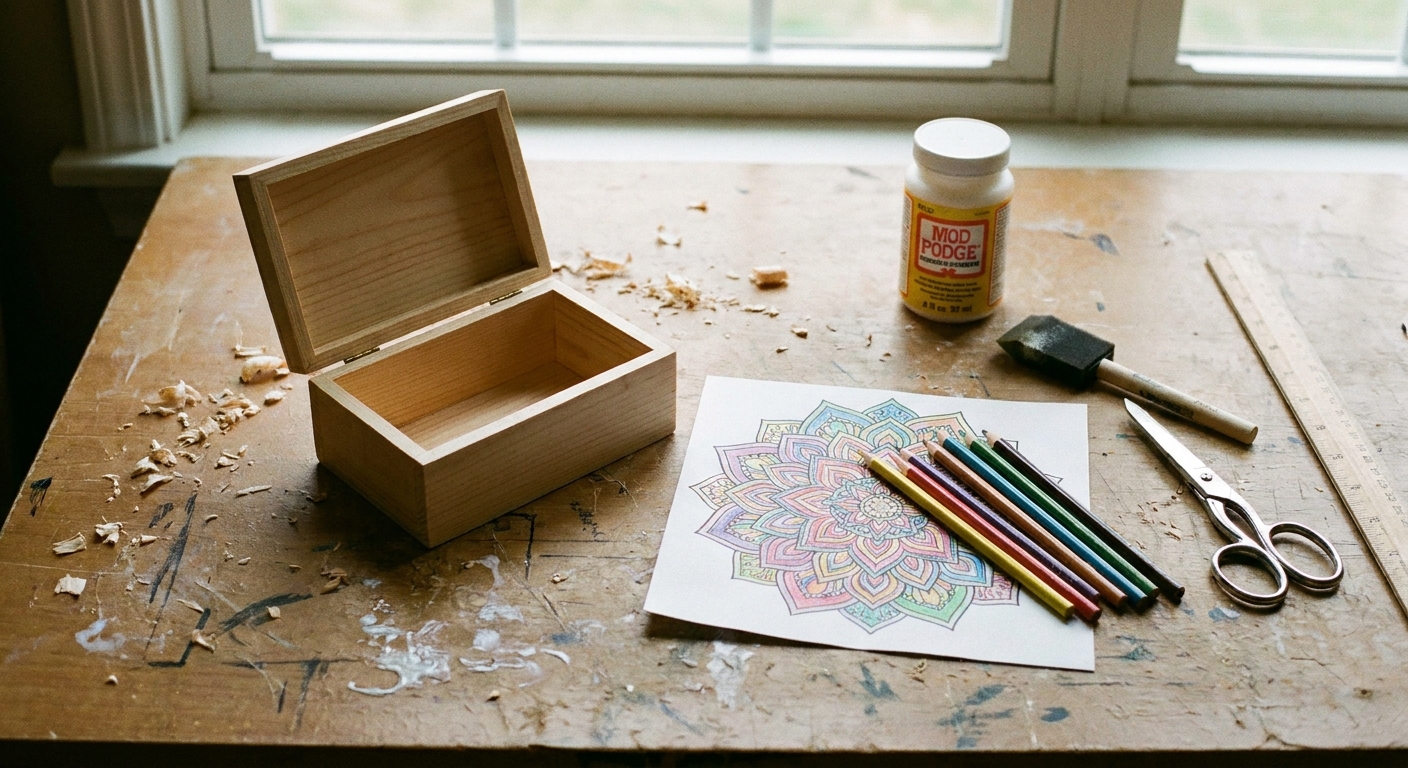
What you’ll need
- Wooden keepsake box (unfinished or pre-finished)
- Finished coloring page (laser print works easiest, inkjet can work with extra sealing)
- Mod Podge (Matte is classic, Gloss is brighter, Satin is a nice in-between)
- Foam brush or soft flat brush
- Soft brayer, old gift card, or silicone scraper for smoothing
- Scissors and a craft knife (helpful for corners)
- Ruler and pencil
- Sandpaper (220 grit and optionally 320 grit)
- Tack cloth or a dry microfiber cloth
- Optional but very helpful: clear acrylic sealer spray, wax paper or parchment, painter’s tape
If you enjoy turning finished pages into keepsakes, you might also like framing your coloring pages as DIY wall art or binding coloring pages into a storybook.
Before you start: pick the right page and finish
Paper matters more than people think
Thicker paper is easier. If your coloring page is on standard printer paper, you can still use it, but you will want to be extra gentle when smoothing.
Laser-printed pages are the least fussy. Laser toner is more resistant to moisture. Inkjet inks can sometimes smear when wet.
Quick test that saves heartbreak
Cut a tiny scrap from the edge of your page, brush a little Mod Podge on it, and see if the color smears or bleeds. If it does, use the sealing step below before you glue anything down.
Step 1: Prep the wooden box
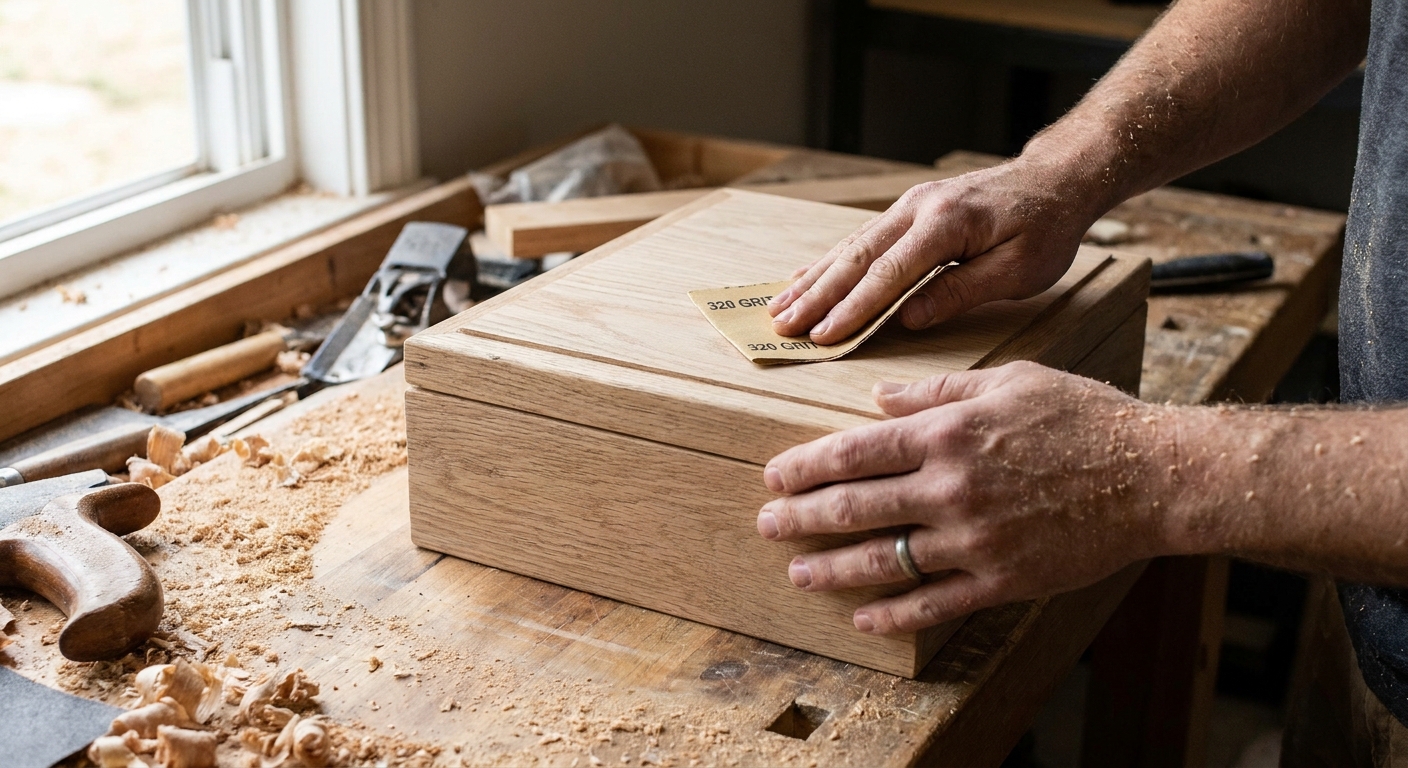
- Lightly sand all surfaces you’ll cover, especially edges and corners. You’re not reshaping the box, just knocking down rough spots so paper can lay flat.
- Remove dust with a tack cloth or a clean dry cloth. Dust is a sneaky cause of bubbles.
- Decide what gets covered: lid only, lid plus sides, or an all-over patchwork.
If the box is glossy or already varnished, sanding is even more important so the decoupage has “tooth” to grip.
Step 2: Measure and plan your seams
This is the part that makes the final result look intentional instead of “stuck-on.”
Option A: One piece per surface (cleanest look)
- Measure the lid top and cut a rectangle slightly larger (about 1/4 inch overhang on all sides) so you can trim flush after it’s glued.
- Measure each side panel separately. Boxes are often not perfectly identical on every side.
Option B: Wrapped lid (fewer seams)
If your paper is sturdy and the lid has fairly square edges, you can wrap one piece from the top down over the edges. You’ll need to cut neat relief slits at the corners, like wrapping a present.
My seam rule
I like seams to land on edges, not the middle of a flat surface. Edges hide overlaps and stay cleaner.
Step 3: Seal the coloring page (wrinkle and smear insurance)
If you have ever decoupaged and watched your paper instantly ripple like a tiny wave pool, this step is for you.
For inkjet prints or very saturated marker work
- Place the finished coloring page on scrap paper in a well-ventilated area.
- Apply 2 to 3 light coats of clear acrylic sealer spray, letting each coat dry fully.
- Once sealed, the surface is far less likely to smear when you brush Mod Podge.
If you do not have spray sealer, you can still proceed, but use a very light touch and consider applying Mod Podge to the wood only (not the paper) for the first pass.
Step 4: Cut your paper pieces neatly
Clean cuts make clean edges. For straight lines, I prefer a ruler and craft knife on a cutting mat. Scissors are fine for simpler shapes.
- Dry fit everything before glue touches wood.
- If you’re doing a wrapped edge, pre-cut tiny corner slits so the paper can fold without bunching.
- Label the back lightly in pencil if you have multiple similar rectangles (like four sides).
Step 5: Apply Mod Podge without wrinkles
The secret is thin, even layers and calm hands. Rushing is what causes wrinkles and torn paper.
- Brush a thin, even layer of Mod Podge onto the wood surface. Aim for “buttered toast,” not “puddle.”
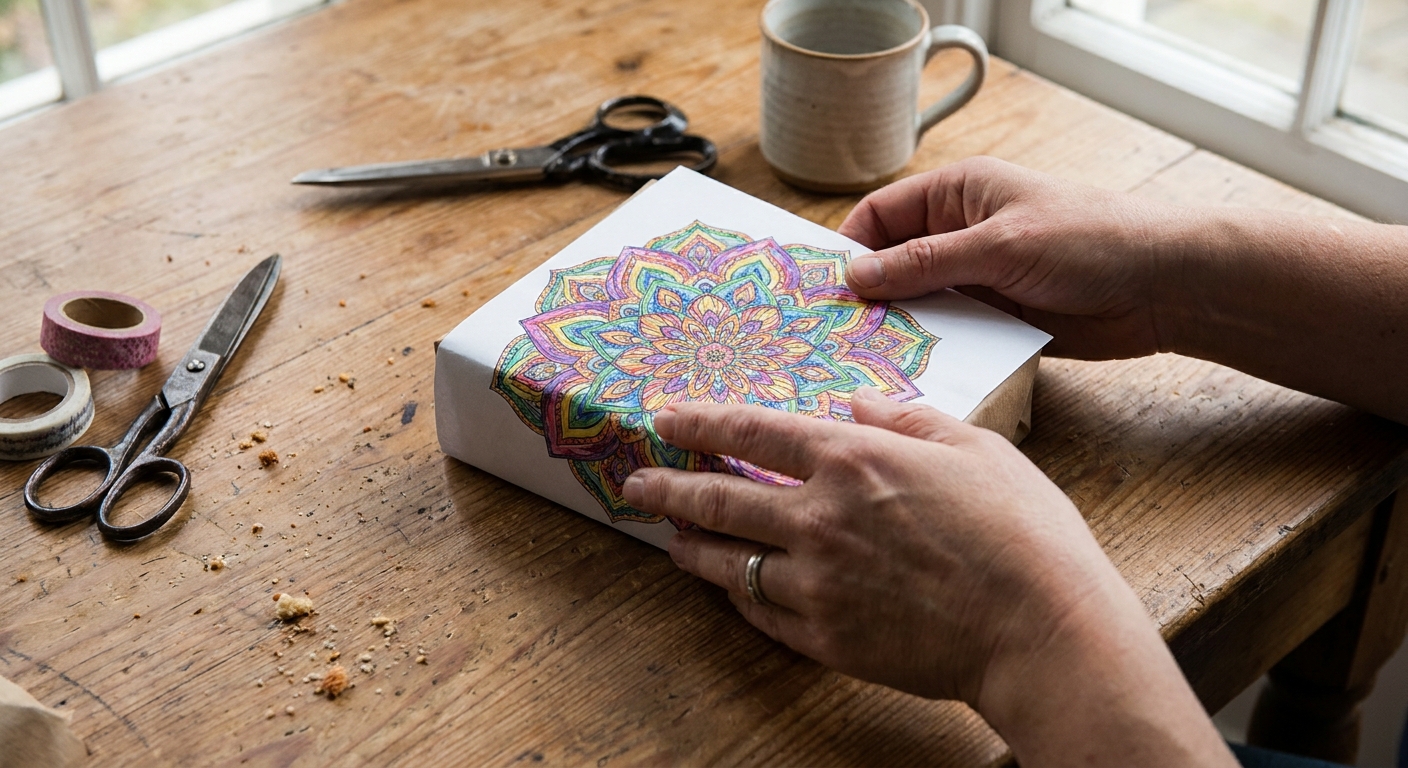
- Place the paper down gently, starting at one edge and lowering it across like you’re closing a book cover.
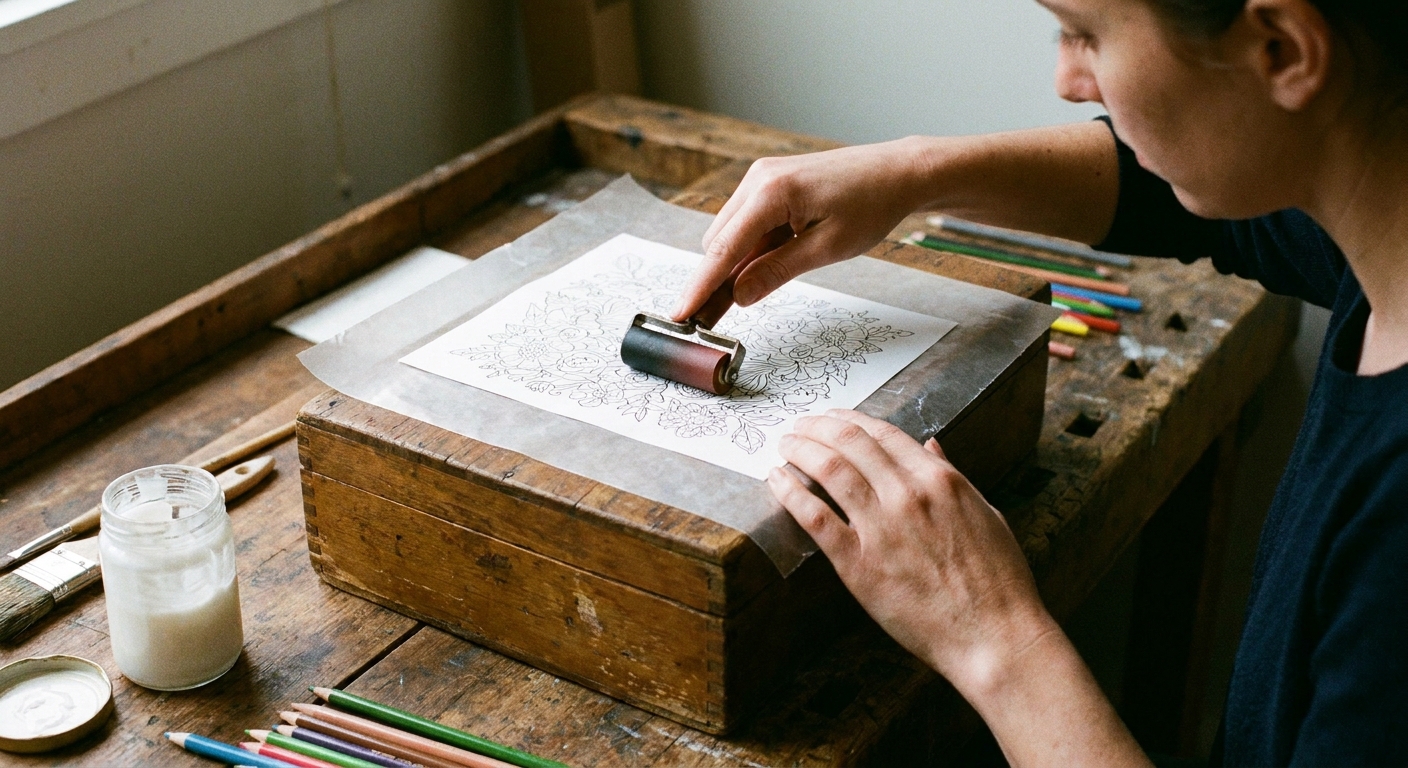
- Cover with wax paper (or parchment) and smooth from the center outward using a brayer or an old gift card. The wax paper keeps your tool from dragging on the print.
- Lift the wax paper and check edges. If you see a bubble, lay the wax paper back down and push it out toward the nearest edge.
- Wipe stray glue immediately with a barely damp cloth, especially along inside corners and hardware areas.
Important: If you press too hard, thin paper can stretch and wrinkle. Think firm and steady, not aggressive.
Step 6: Handle corners and edges like a pro
For overhang you plan to trim
- Let the paper adhere for about 10 to 15 minutes until it’s set but not rock-hard.
- Trim the overhang with a craft knife held flush to the wood edge.
- Lightly sand the edge downward (wood to paper direction) to soften any sharp paper lip.
For wrapped edges
- Brush a tiny bit of Mod Podge onto the edge.
- Fold the paper over slowly, smoothing as you go.
- At corners, overlap one flap neatly, then trim the other flap to fit over it cleanly.
Edges are where wear happens, so clean folds and good sealing matter.
Step 7: Top-coat and seal for durability
Once the paper is down and dry to the touch, it’s time to protect it.
- Brush a thin top coat of Mod Podge over the paper, working in one direction.
- Let it dry fully, then apply a second coat in a perpendicular direction (if your first coat was vertical strokes, do horizontal strokes next).
- For a keepsake box that will be handled often, I like 3 to 5 thin coats, letting each coat dry completely.
Optional: sand between coats for a smooth finish
If you want that silky, store-bought feel, lightly sand with 320 grit after a coat is completely dry, then wipe dust off and apply the next coat. Light pressure only.
Optional: add a final clear sealer
After the final Mod Podge coat cures, you can add a compatible clear spray sealer for extra scratch resistance. I treat this as optional, not mandatory, but it is nice on boxes that will travel or get opened often.
Drying and curing times (so you do not glue your lid shut)
- Dry to touch: often 15 to 30 minutes, depending on humidity and coat thickness
- Handle gently: after a few hours
- Best cure time before heavy use: 24 to 72 hours
Tip: If you are decoupaging the lid and the box rim, keep them separated while drying. You can rest the lid on two cups so air circulates and nothing sticks.
Troubleshooting: common decoupage problems and quick fixes
Wrinkles appeared immediately
- Use less glue next time and smooth through wax paper.
- Try applying Mod Podge to the wood only for the first pass, then top coat once the paper is attached.
- Consider sealing the paper first, especially thin printer paper.
Bubbles that will not smooth out
- While still wet, lift the paper gently and re-smooth.
- If it’s already dry, use a pin to make a tiny hole, then press the air out and add a dab of Mod Podge to re-adhere.
Edges lifting the next day
- Paint a small amount of Mod Podge under the edge with a fine brush, press down, and weight it with wax paper and a book for 20 minutes.
Streaky brush marks on the top coat
- Use thinner coats and a soft brush or foam brush.
- Let it dry fully. Many streaks lessen as the finish cures.
Ink smeared
- Seal the coloring page first with clear acrylic spray before decoupage.
- Switch to a laser-printed page if you are printing designs at home.
Easy upgrades that make it extra special
- Line the inside with a matching piece of coloring page or scrapbook paper (use thinner glue and fewer coats inside).
- Add a name or date on the bottom of the box with a paint pen after everything cures.
- Try a cohesive palette if you’re making a set of boxes, like one for each kid or holiday tradition. My approach is in choose a cohesive color palette before you color.
- Make it a memory box: decoupage the lid with a page colored during a specific trip, birthday, or school year.
Care tips
- Wipe gently with a soft, slightly damp cloth.
- Avoid soaking or leaving it in humid spots like a steamy bathroom.
- If the box will be used a lot, give it extra cure time before packing items inside.
This is one of those crafts that feels like a tiny love letter to your past self. You did the coloring, you enjoyed the quiet time, and now you get to keep it in a way that lives on your shelf instead of in a folder. If you make one, go slowly with the smoothing step. A calm pace is the whole secret.