I love a craft that makes an ordinary Tuesday feel like a tiny celebration, and paper egg wrappers do exactly that. They are cheerful, quick, and the best part is that you can make them from any spring or Easter printable you already have, even ones that were not designed for eggs. If you can print it, trim it, and tape it, you can wrap an egg.
What these wrappers are and why they work
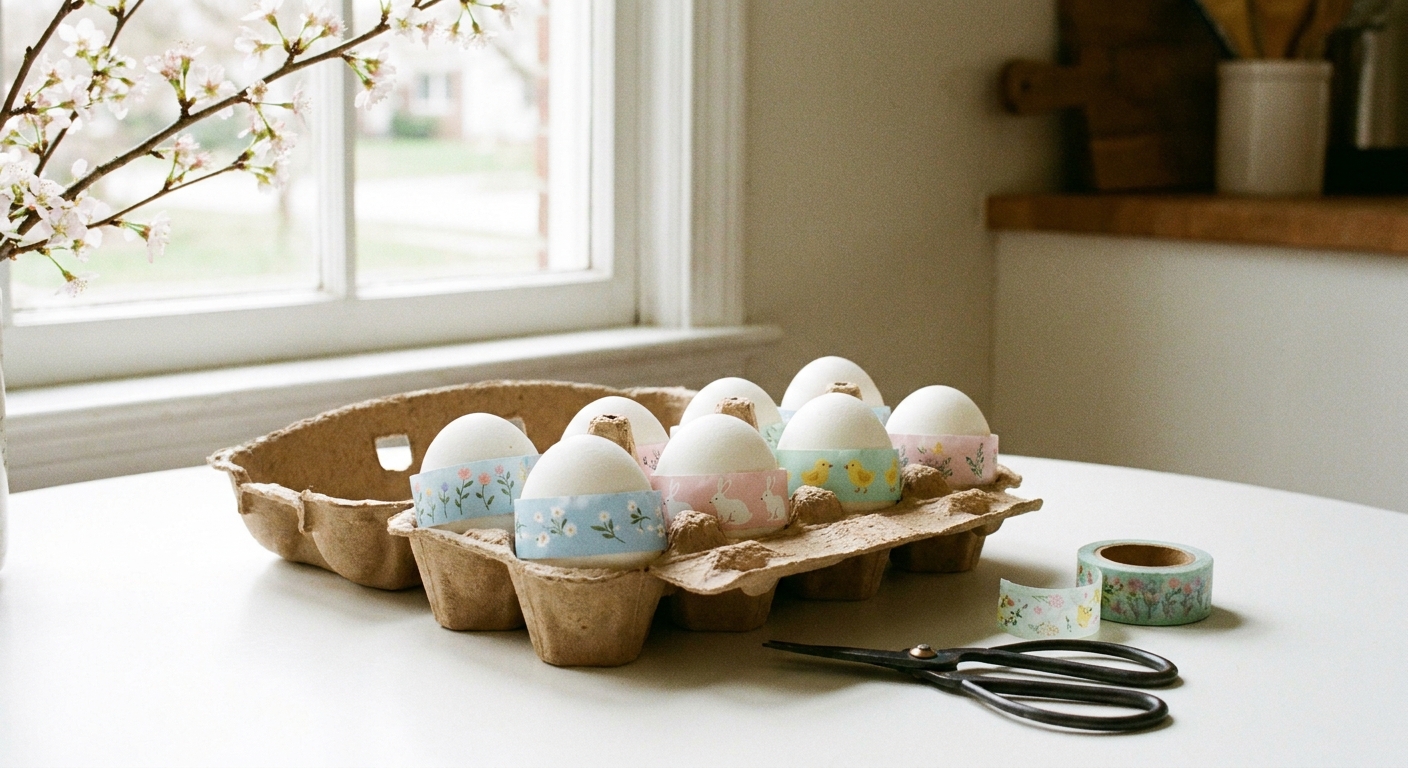
A paper egg wrapper is a simple band of paper that hugs the widest part of a hard-boiled egg. You can decorate it with spring motifs like flowers, bunnies, chicks, carrots, or little polka dots, then secure it with a tiny bit of tape or glue.
They are perfect when you want a festive table but do not want to commit to dye, glitter, or a kitchen that looks like a craft store exploded. They are also great for kids because the “success” moment is fast: color, wrap, done.
Supplies
- Printed spring or Easter designs (on regular printer paper or light cardstock)
- Scissors or a paper trimmer
- Clear tape, double-sided tape, or a glue stick
- Pencil and ruler
- Hard-boiled eggs, cooled and fully dry
- Optional: colored pencils or markers for extra coloring and personalization
If you want a quick refresher on how different print styles behave, I have thoughts here: digital vs traditional coloring pages.
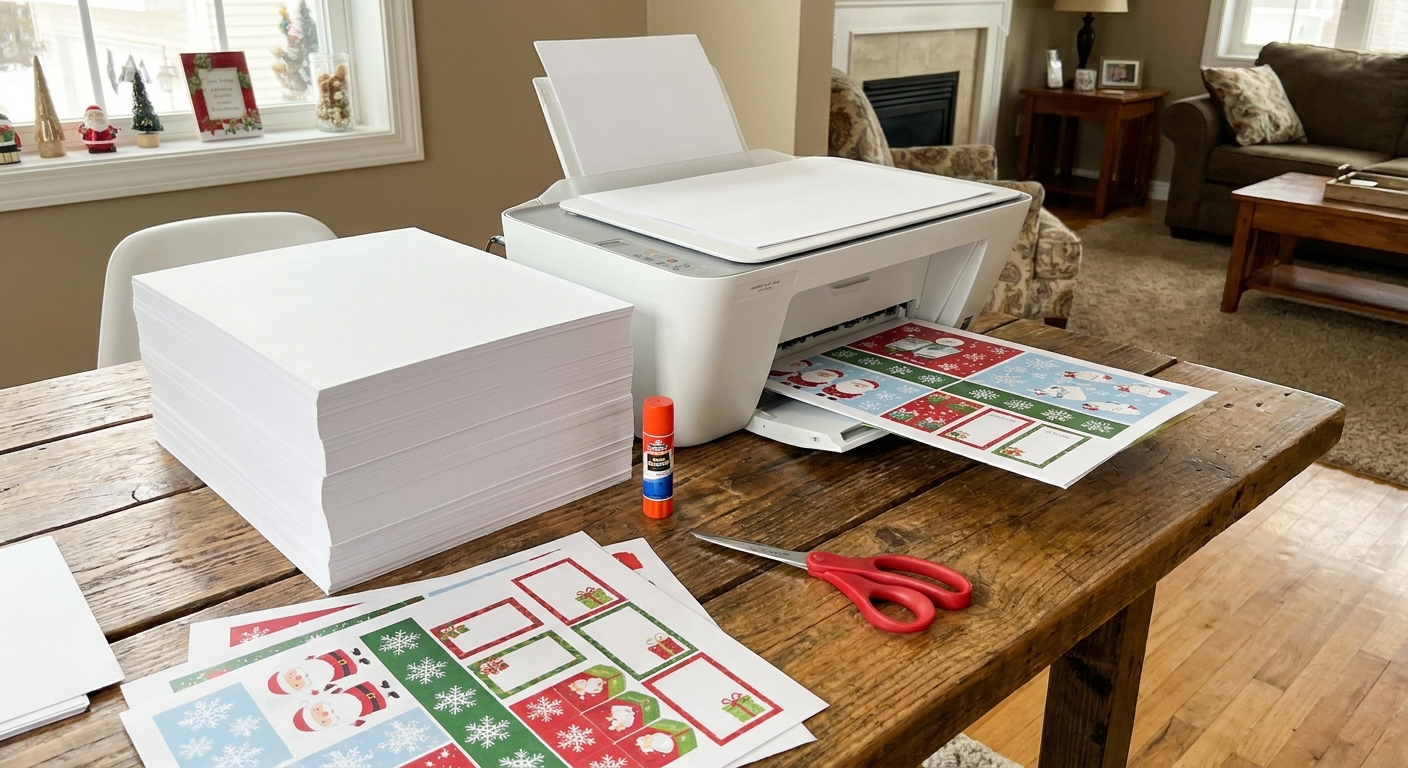
Pick and print your spring designs
You can use almost anything that prints: a coloring page border, a repeating spring pattern, a greeting-card style graphic, or a page of simple doodles. Here is what makes a design wrapper-friendly:
- Small repeats (flowers, dots, gingham, little bunnies) look good even when trimmed into a narrow strip.
- Medium icons (one bunny, one chick) work if you plan the strip so the icon sits centered on the front of the egg.
- Light backgrounds make names and little notes easier to read.
Print setting note: if your printer dialog offers “fit to page,” I usually switch to 100% scale so patterns do not unexpectedly enlarge or shrink. That said, your test strip (below) will keep you on track even if the print size varies.
Paper choice: regular printer paper wraps more smoothly around the curve. Light cardstock looks sturdier but can spring open unless you tape it well.
Ink note: let prints dry for a minute before you start handling them, especially if you plan to color over them with markers.
Measure once, then make a simple wrapper recipe
Egg sizes vary, so I like to make a quick test strip first. This becomes your mini pattern for the batch.
Step 1: Make a test strip
- Cut a plain strip of paper about 1 inch (2.5 cm) tall and 8 inches (20 cm) long.
- Wrap it around the widest part of a dry hard-boiled egg.
- Mark where the paper overlaps comfortably, without squeezing the egg.
- Unwrap and measure from the starting end of the strip to your mark.
- Add 1/4 inch (6 mm) for overlap. That is your wrapper length.
Length tip: I skip “typical” numbers here because eggs are famously unpredictable. Your little test strip is the truth, and it takes about 30 seconds.
Step 2: Choose a wrapper height
You have two cute options:
- Classic band: 3/4 to 1 inch (great for patterns and names)
- Wide belly band: 1 1/4 to 1 1/2 inches (great for bigger icons)
If kids are helping, the wider band is more forgiving and easier to tape.
Cut your printable into wrapper strips
Now that you know your length and height, it is assembly time.
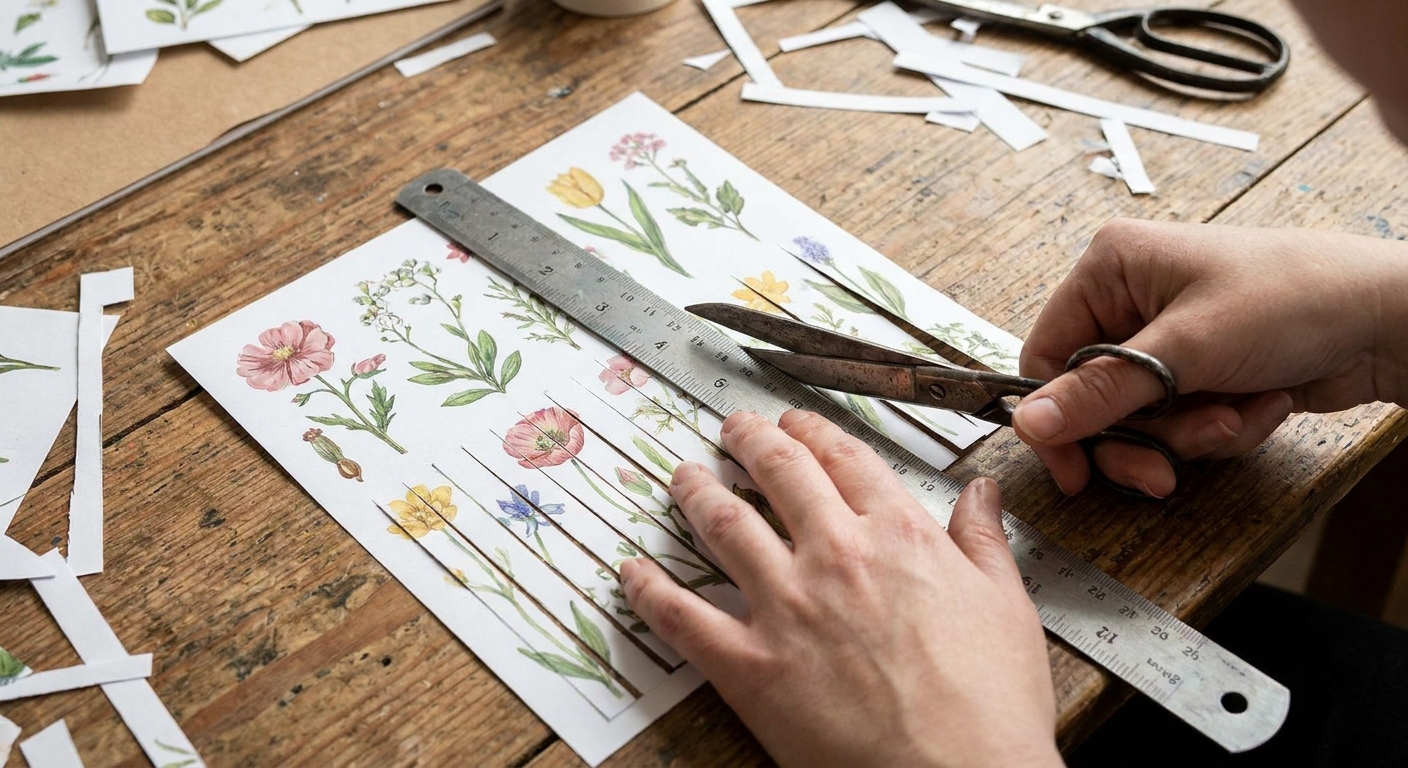
- Lightly pencil cutting lines on the back of your printed sheets using your chosen height.
- Cut long strips first.
- Trim each strip to your wrapper length (including overlap).
Color and personalize before you wrap
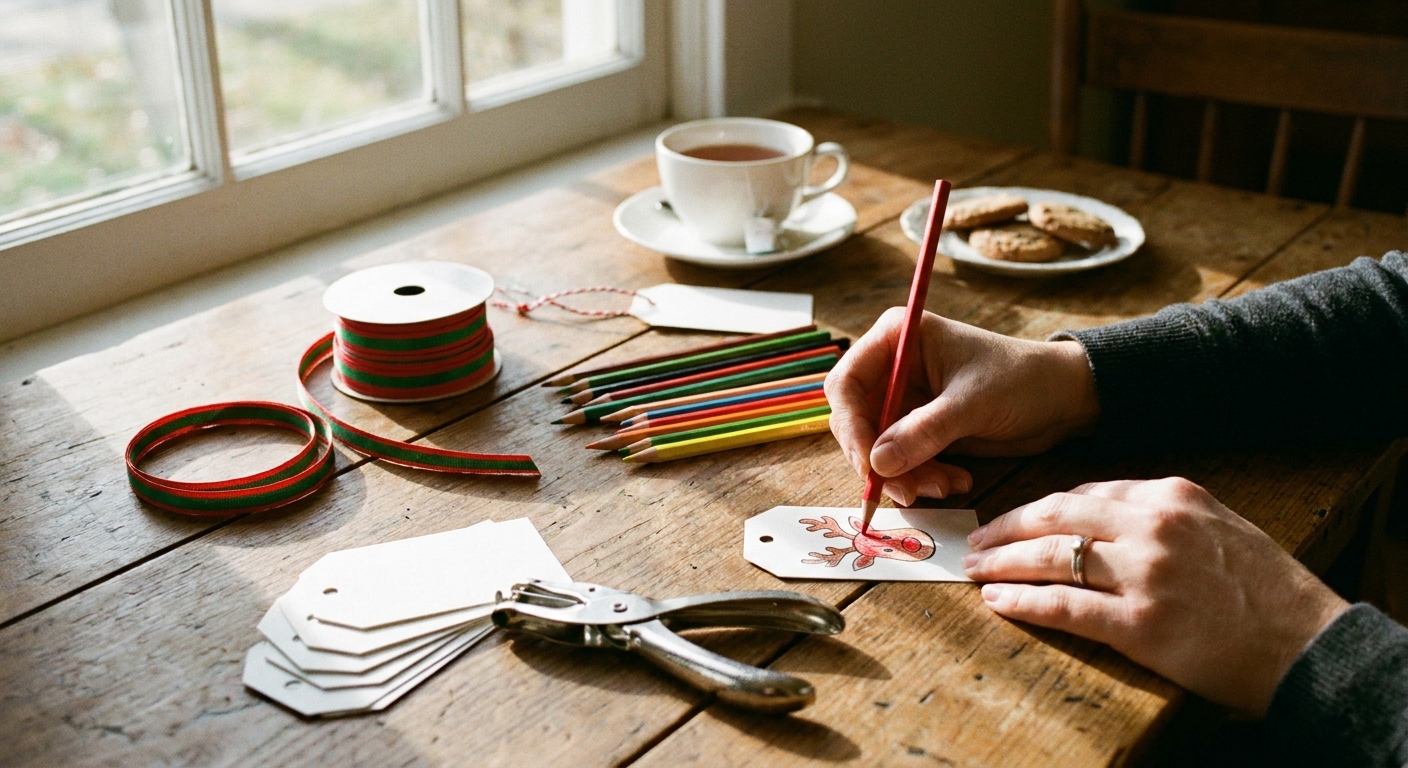
This is my favorite part because it turns “printable craft” into “handmade.” A few easy upgrades:
- Add names: write each person’s name in a darker marker on the front center of the strip.
- Mini messages: “Happy Spring,” “Egg-cellent,” or a tiny doodle heart.
- Palette tip: choose 3 to 5 colors and repeat them across the set for a pulled-together look. If you want a gentle way to plan that, see choose a cohesive color palette before you color.
Marker caution: if your printed lines are inkjet, heavy alcohol markers can sometimes smudge. Colored pencils are the calm, no-surprises option.
Wrap the eggs
Make sure your eggs are fully dry. Moisture is the number one reason wrappers slip.
- Hold the egg upright.
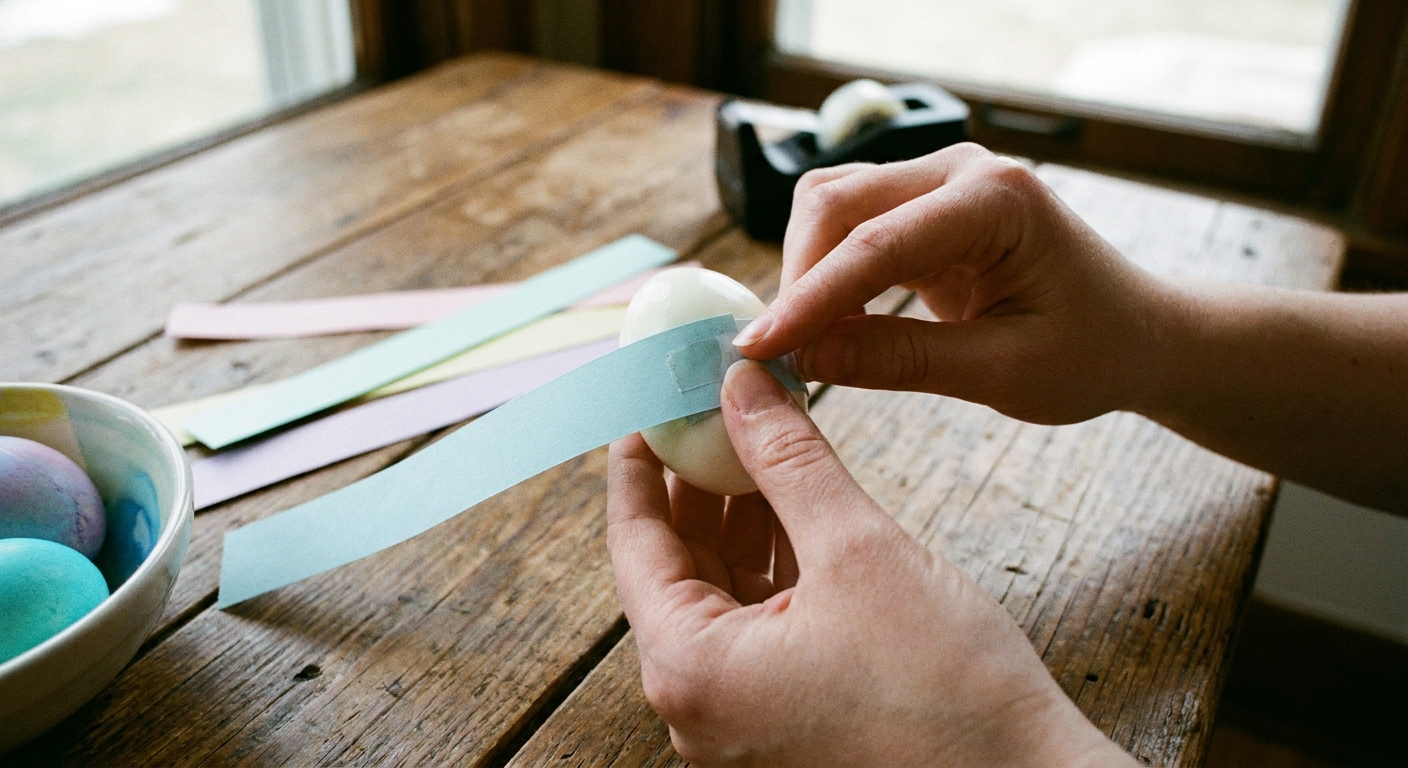
- Wrap the strip around the widest part, keeping the design centered on the front.
- Use double-sided tape if you have it, or a small piece of clear tape on the back seam.
- Press the seam gently for a few seconds.
Best placement: I like the seam on the back so the front looks seamless, especially if you wrote names.
Adhesive note: keep tape or glue on the paper seam only. I always remove the wrapper before peeling and eating, so nothing sticky ends up near the food.
Three cute variations
1) Scalloped edge wrappers
Before wrapping, trim the top and bottom edges with small scallops. You can do this with regular scissors by making tiny half-moon snips. It adds instant Easter basket charm.
2) Peek-a-boo window wrappers
Cut a simple shape from the center of the strip, like an egg shape or a circle, then wrap it so the egg shows through. This looks especially sweet if you wrote a name directly on the shell with a pencil first.
3) Mini character wrappers
Wrap a strip that has a bunny face on the front, then tape on two tiny paper ears at the top edge of the band. Keep it simple: two rounded rectangles is all you need.
Food safety and handling
Because these are paper, treat them like a cute table decoration rather than something that lives on the egg all day.
- Use clean, uncracked hard-boiled eggs.
- Wrap only dry, cooled eggs.
- As a simple rule, do not leave cooked eggs at room temperature for more than about 2 hours (less if it is very warm).
- Remove the wrapper before peeling and eating.
Make it a full spring table moment
If you are already printing and crafting, you can keep the cozy momentum going with other easy paper touches. I love pairing egg wrappers with simple table printables like tags and place settings. This idea plays nicely with customize and print blank holiday gift tags, just resized and repurposed for names.
And if you end up with extra printed pages, do not toss them. I am always looking for ways to turn leftover into lovely, and upcycle coloring pages into gift wrap is one of my go-to moves.
Troubleshooting
My wrapper keeps popping open
- Use a slightly longer strip for more overlap (add another 1/4 inch).
- Switch from glue stick to tape, or use double-sided tape.
- If you used cardstock, gently curve the strip by scoring it with a bone folder or the back of a spoon. If kids are helping, this is a grown-up step.
The wrapper slides down the egg
- Dry the egg thoroughly with a paper towel.
- Wrap at the widest point, not closer to the base.
- Make the band a touch shorter so it fits more snugly.
My printed colors look dull
- Try printing with “high quality” selected in your printer settings.
- Choose brighter paper, or add color with pencils on top.
- Stick to a tight palette so even soft colors look intentional.
A sweet finishing touch
When I make these for a brunch table, I always save one wrapper style as my signature for the year, like tiny daisies or soft watercolor dots, and I repeat it across the whole egg carton. It is such a small detail, but it makes the table feel thoughtfully set, like someone cared enough to pause and make something pretty.
If you try this with kids, let them make one silly wrapper too. A bunny with eyebrows or a chick with superhero eyes belongs on every spring table.