

The week before a big holiday, my dining table starts to look like a tiny paper factory. There is always a stack of printouts, a pair of scissors that mysteriously migrates, and at least one cup of tea I forget about until it goes cold. And every year, the craft I come back to is the humble paper chain. It is simple, satisfying, and it turns waiting into something you can actually see.
This version uses patterned holiday printables instead of plain construction paper, so the whole chain looks like a little garland of wrapping paper. When I say “printables,” I mean designs you print at home, then cut and craft. You can make it as a countdown to any holiday: Christmas, Halloween, Hanukkah, a birthday, New Year’s, or the first day of winter break.
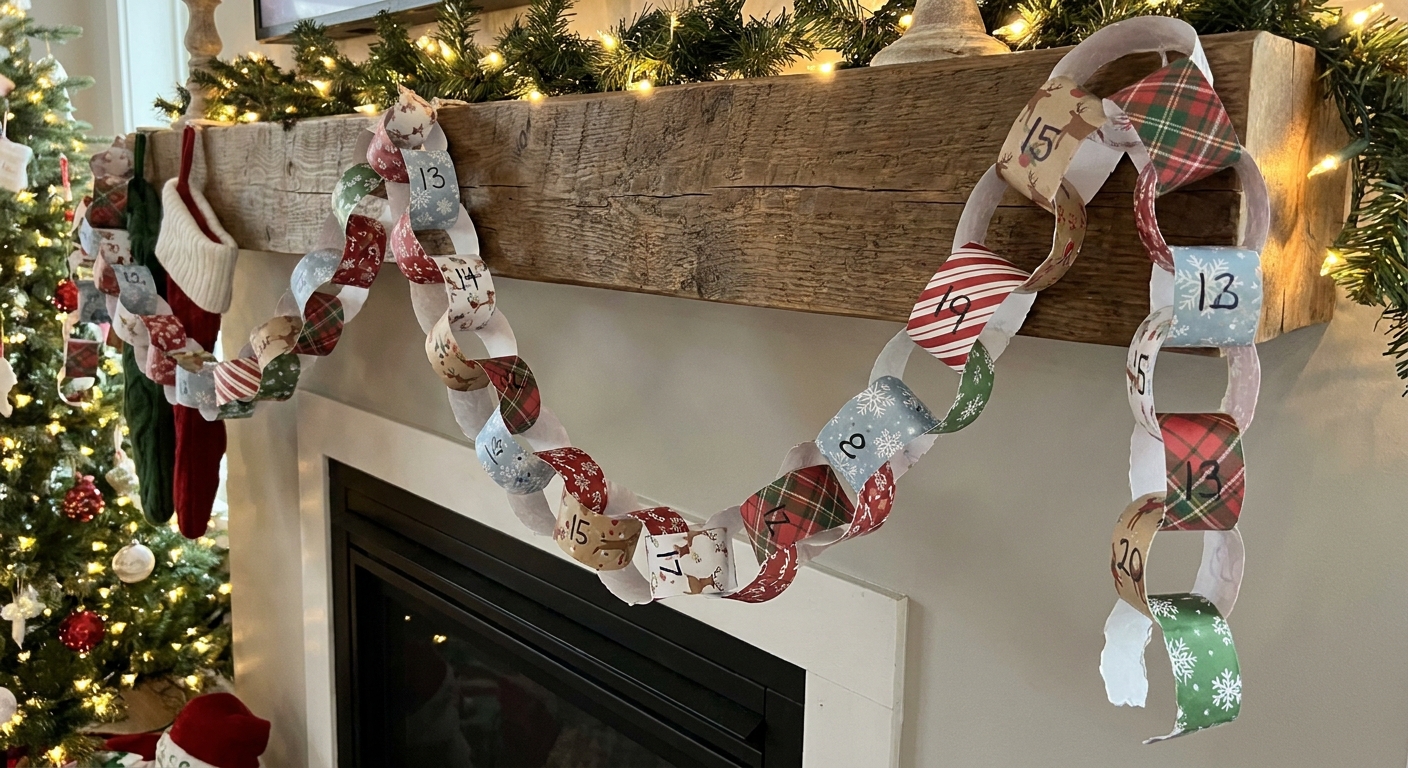
What you need
- Patterned holiday printables (any repeating seasonal patterns you like)
- Printer paper or cardstock (see my paper notes below)
- Scissors or a paper trimmer
- Ruler
- Glue stick or tape (clear tape works, double-sided is extra neat)
- Optional: stapler, hole punch, ribbon or string, marker for numbering, glitter glue
If you want your chain to feel sturdy and less floppy, take a peek at my printing tips in Paper Weight and Printer Settings for Holiday Crafts. It can save you from that crinkly, ink-smudged heartbreak.
Kid comfort note: If kids are helping, I keep the paper trimmer and stapler as “grown-up tools,” and I save glitter glue for a washable surface.
Pick your countdown length
Before you cut anything, choose how many links you need. Most countdown chains use one link per day.
- Counting down to the holiday: The last link you remove is the holiday itself.
- Counting down until: The last link you remove is the day before.
I like the first option because it feels like a tiny daily celebration.
Quick link counts
- Advent style (two common options): 24 links if you start December 1 and finish December 24, or 25 links if you want to remove one each day and finish on December 25.
- Two-week countdown: 14 links
- One month: 30 or 31 links
Measure your strips
Paper chains are forgiving, but proportions matter. Too short and you wrestle every loop. Too long and the chain gets droopy fast.
My go-to strip size
- Length: 8.5 inches (a half sheet of US letter paper cut crosswise into 5.5 x 8.5)
- Width: 1 to 1.25 inches
- Overlap for gluing: 1/2 inch
This size creates a link that looks full without being bulky. It also uses letter-sized paper efficiently.
Other easy strip sizes
- Short and cute: 6 inches long by 1 inch wide
- Extra bold: 10 to 11 inches long by 1.25 inches wide
Kid-friendly tip: If little hands are helping, go a bit wider, around 1.5 inches. Wider strips are easier to hold, wrap, and glue.
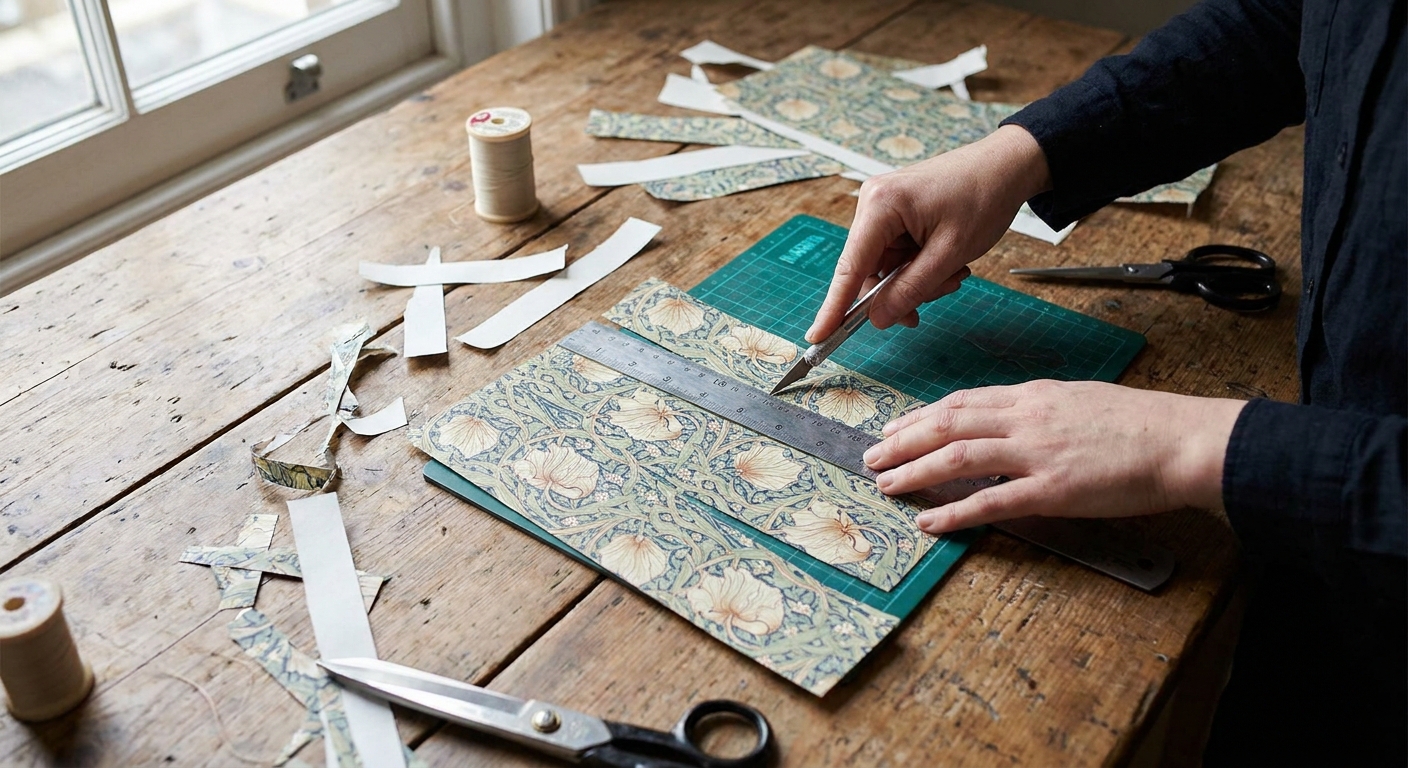
Print and prep pages
If your patterns are light and airy, they can look washed out when cut into skinny strips. I like to choose patterns with medium contrast: candy canes, stars, snowflakes, cozy plaids, bold pumpkins, or bright confetti dots.
Printing choices that help
- Use “Best” or “High quality” print mode if your printer has it.
- Let ink dry for a few minutes before cutting, especially on heavier or coated paper made for your printer.
- Consider cardstock if the chain will hang for weeks or be handled daily.
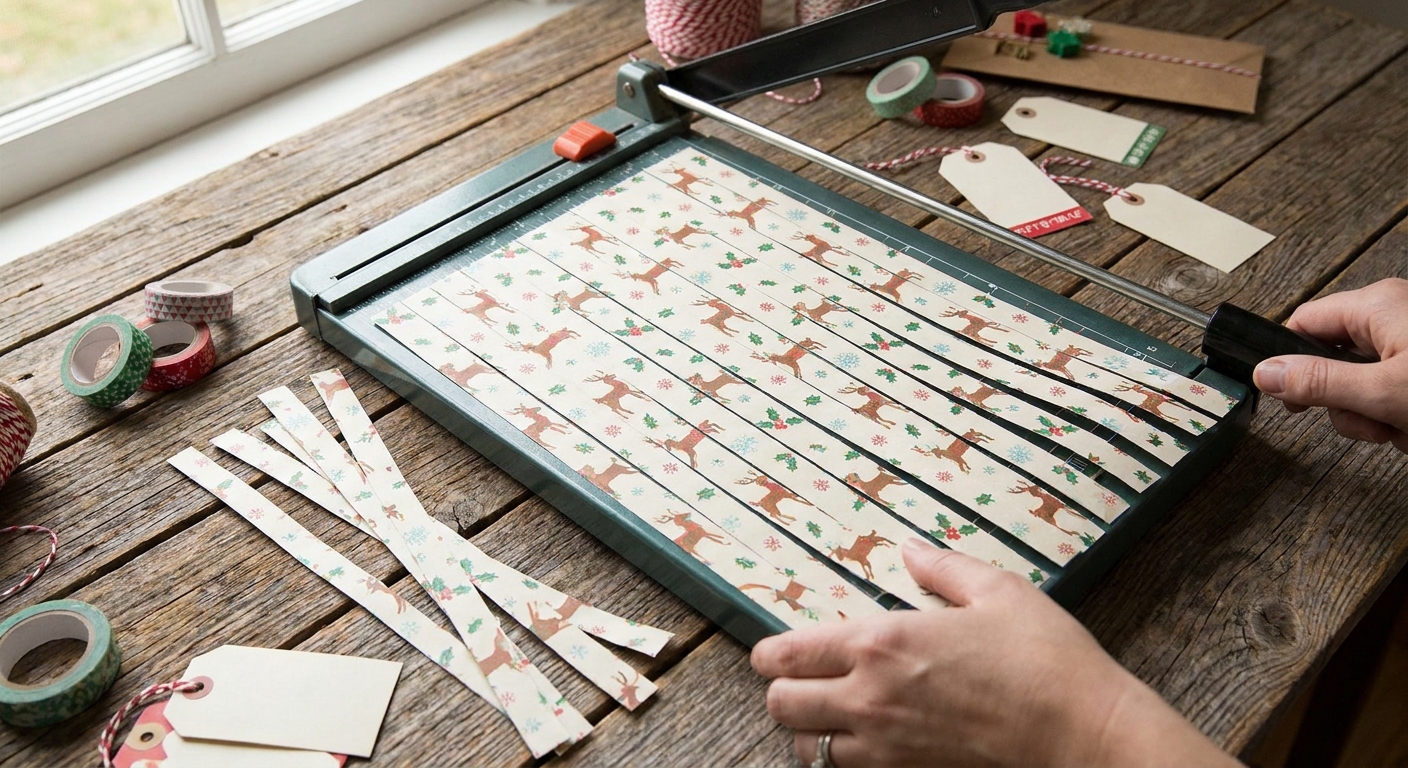
Cut strips efficiently
Here are two ways to cut strips without making it feel like a never-ending paper snowstorm.
Method 1: Slice and stack
- Trim your printed sheet into halves or quarters.
- Stack 3 to 6 pieces (depending on thickness).
- Cut 1 to 1.25 inch strips across the stack.
Method 2: Whole page first
- Cut the page into long 1 to 1.25 inch strips first.
- Then trim each strip to your chosen length.
How many strips per page?
For US letter paper (8.5 x 11): if you cut the page crosswise first, you get two half sheets (5.5 x 8.5). From each half sheet, you can usually cut:
- Five 1-inch-wide strips (with about 1/2 inch leftover), or
- Four 1.25-inch-wide strips (with about 1/2 inch leftover).
So one full sheet gives you about 8 to 10 links, depending on your width. That is usually enough for a short countdown, and it helps you estimate how many patterned pages to print.
Link the chain
Now for the loop, link, loop rhythm that feels weirdly calming.
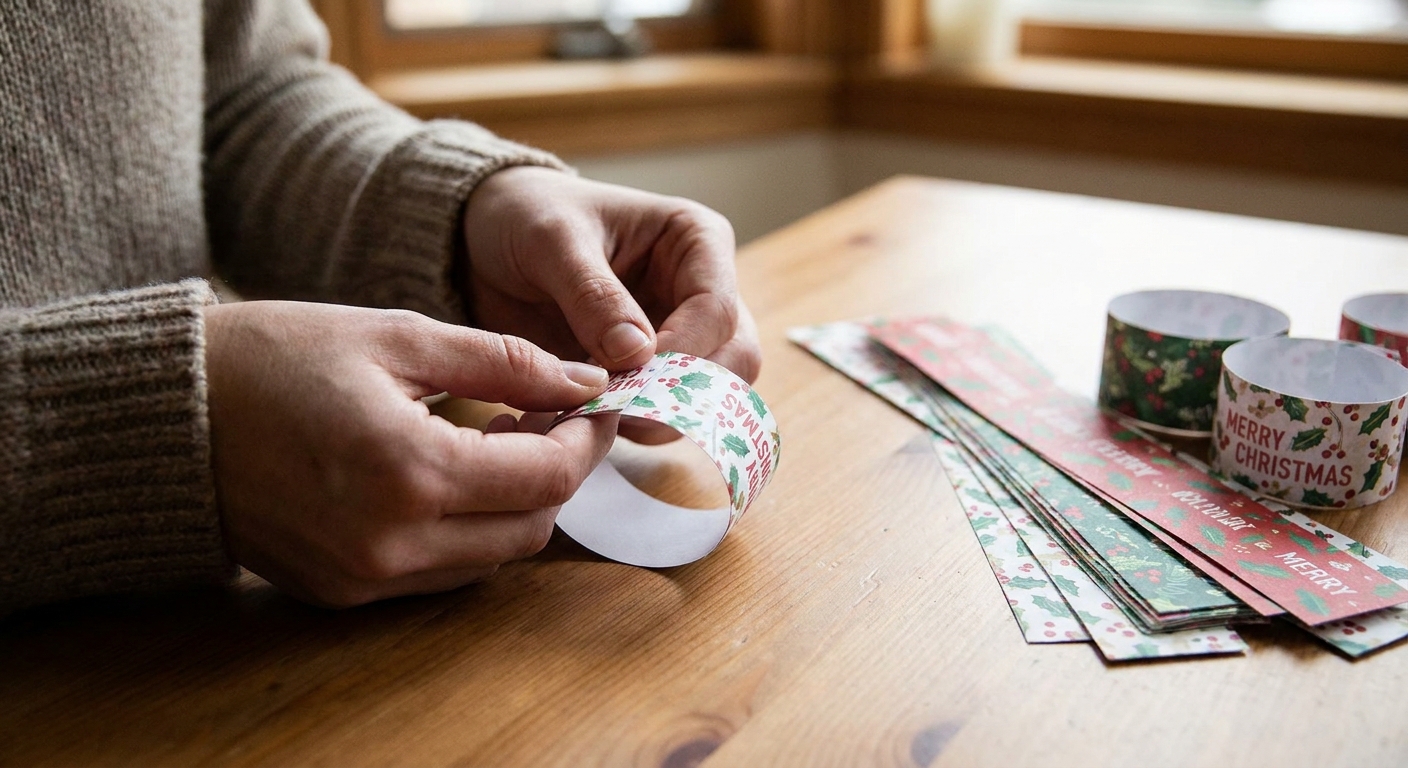
- Make the first loop. Take one strip and bring the ends together into a circle.
- Overlap about 1/2 inch. This overlap gives you a strong seam.
- Glue or tape. Press firmly for a few seconds.
- Add the next strip through the first loop. Thread it through, then form a circle and secure.
- Repeat until you have the full count.
Glue, tape, or staples?
- Glue stick: clean look, great for kids, may need a few seconds of pressing.
- Tape: often the most reliable for daily handling, especially if you tape on the inside seam.
- Staples: very fast for big chains, and can be extra sturdy on thicker paper, but check for sharp edges.
If you want a chain that survives enthusiastic toddlers, I like a combo: glue stick plus one small piece of tape inside the seam.
Add numbers neatly
Numbering is what turns a paper chain into a true countdown tool. You have a few options depending on how bold you want the numbers to look.
Option A: Write on each link
Use a marker in a dark color and write near the seam so it is easy to spot, even when the chain twists.
Option B: Tiny number tabs
Cut small rectangles (about 1 inch by 1/2 inch), write the number, then glue the tab near the seam. This keeps your patterns clean.
Option C: One “today” tag
Instead of numbering every link, punch a hole in a small tag that says “today” and move it down the chain each day. This is lovely for very long countdowns.
For more small paper add-ons like tags and labels, you might also enjoy Customize and Print Blank Holiday Gift Tags.
Hang it up
A paper chain is happiest when it is supported. If it is dangling from one tiny point, the links can stretch and twist.
Easy hanging ideas
- Mantel or shelf: drape it like garland.
- Wall hooks: hang from two hooks so it makes a gentle U shape.
- Doorway: hang it vertically on the hinge side so it does not get slammed.
- Stair railing: spiral it loosely around the rail.
Top loop trick
Make the first link a little smaller, or reinforce it with tape. That top link takes the most stress.
Fun variations
Color then cut
If your “patterned printable” is actually a black-and-white design, color it first, then slice into strips. This turns the chain into a daily gallery of everyone’s coloring style. If you need a gentle nudge for color choices, Choose a Cohesive Color Palette Before You Color is my favorite low-pressure approach.
Mix patterns
Alternate two designs, like plaid and stars, or snowflakes and stripes. It looks intentional even if you are using up scraps.
Mini message chain
Write a tiny prompt inside each link: a gratitude note, a family activity, a joke, a cozy movie suggestion. The chain becomes a tradition, not just a countdown.
Weekend links
Make weekend links wider or a different pattern so kids can see “two sleeps” turning into “one sleep” in a very visual way.
Troubleshooting
Links keep popping open
- Increase overlap to 3/4 inch.
- Press seams for 10 seconds, then let them rest before hanging.
- Use tape inside the loop where it will not show.
The chain twists
- Try slightly wider strips.
- Hang it from two points instead of one.
- Keep each seam aligned similarly so loops sit the same way.
Paper tears when removing a link
- Switch to cardstock or heavier paper.
- Use tape instead of glue.
- Remove links by opening the seam gently rather than yanking.
A daily table moment
If your chain lives near the kitchen, it naturally becomes part of the daily routine. Someone pours cereal, someone removes a link, someone inevitably argues about who gets to do it tomorrow. That is the magic. It is not perfection, it is participation.
If you are building a whole set of low-effort holiday paper traditions, you might also like DIY 3D Advent Calendar With Numbered Christmas Printables for a more structured countdown with little pockets.