

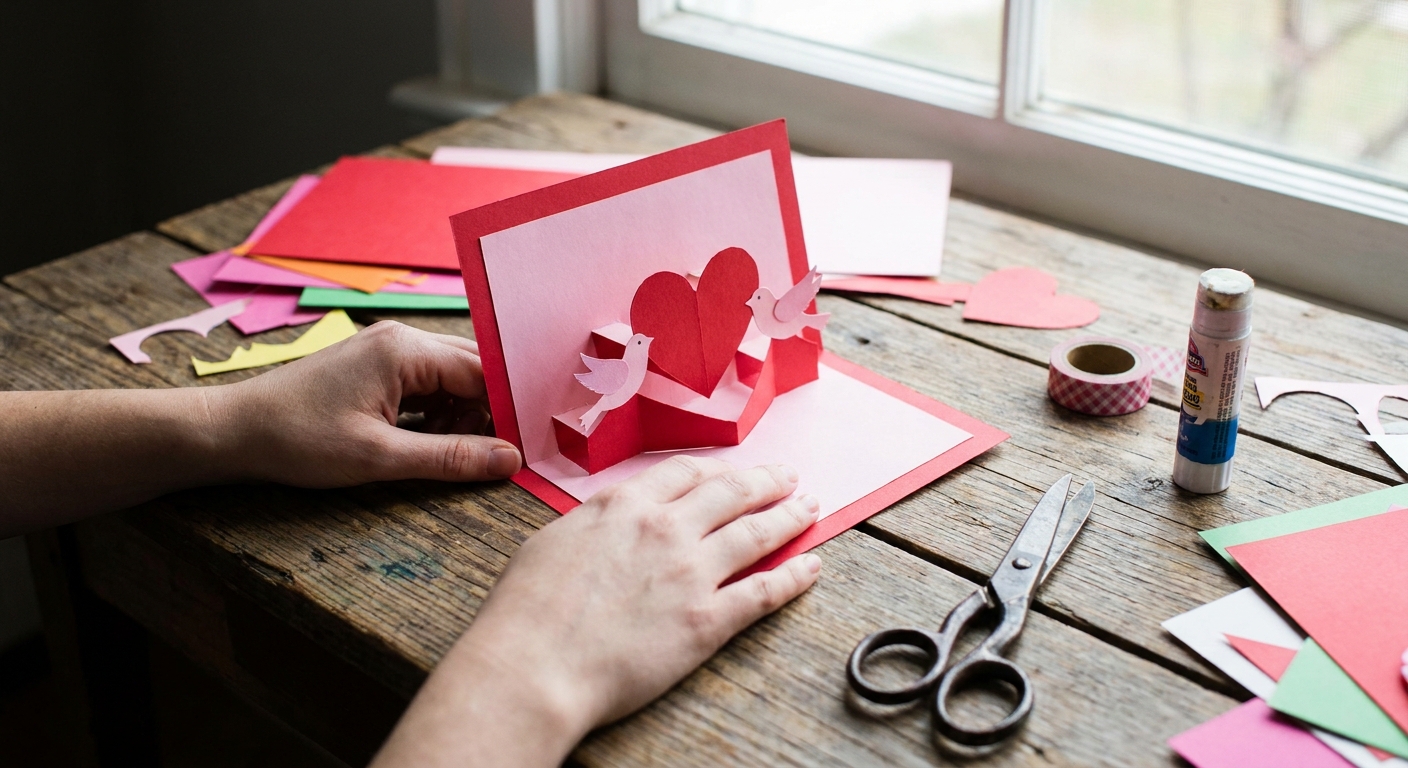
Every February, I end up at my kitchen table with scraps of paper, a glue stick that is trying its best, and that familiar feeling of wanting to make something that looks fancy but is actually very doable. Pop-up Valentine’s Day cards are my favorite solution. You start with a flat printable, add a few strategic snips and folds, and suddenly your card opens like a tiny surprise stage.
This guide walks you through a few reliable pop-up mechanisms you can build from a basic blank Valentine’s template. No special machines, no complicated measuring, and no pressure to be perfect. Just a sweet little paper moment.
What you need
- Flat Valentine’s template printed on regular printer paper or light cardstock
- Cardstock for the base card (8.5 x 11 in works great)
- Scissors (or a craft knife for adults)
- Glue stick or double-sided tape
- Ruler (helpful for crisp folds)
- Something to score with (the back of a butter knife or an empty ballpoint pen works)
- Optional: markers, colored pencils, washi tape, foam tape, stickers
Quick print tip: Set your printer to 100% or Actual Size if you can. Pop-ups are forgiving, but scaling can shift where things land near the fold.
If you are unsure what paper to use for printing, my quick tips in Paper Weight and Printer Settings for Holiday Crafts can save you from the dreaded ink smudge and limp fold.
Start with a sturdy card base
Even if your printable is thin, you can still get a satisfying pop-up. The secret is giving it a strong “book cover.”
- Cut your base (A2 size, the common classic): Cut your cardstock to 5.5 x 8.5 in, then fold it in half to get a finished card that is about 4.25 x 5.5 in.
- Score first, then fold: Run your scoring tool along a ruler where you want the fold, then fold and press firmly.
- Decide your orientation: Top-fold cards feel traditional, side-fold cards feel a little more modern. Both work for pop-ups.
Quick rule: the more layers you plan to pop up, the sturdier your base should be.
Pop-up style 1: Simple box pop-up
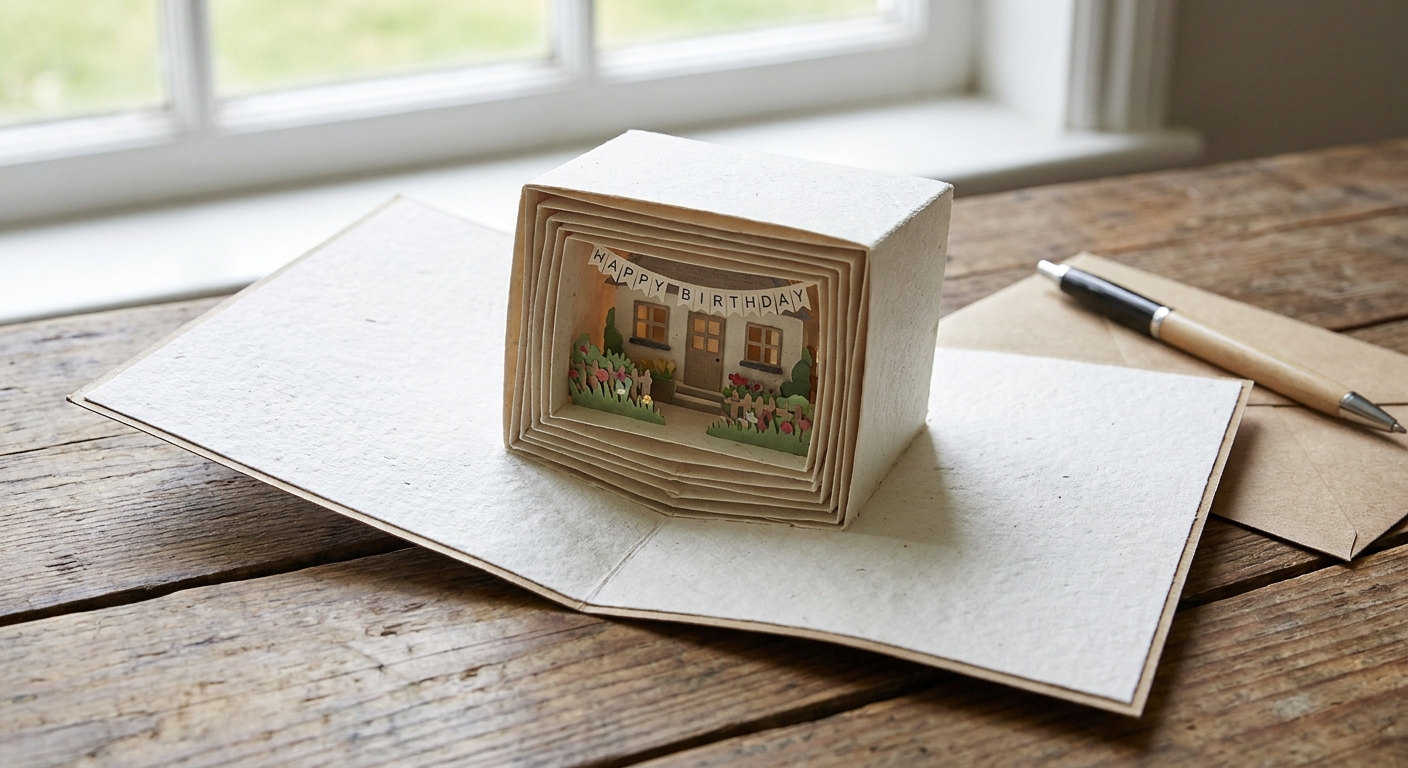
This is the classic mechanism that makes a shape stand up in the middle of the card. It is also the easiest to teach to kids because it is basically: cut, fold, push.
1) Fold the card, then make two cuts
- Fold your base card closed, then open it flat.
- Along the center fold, draw two short lines perpendicular to the fold, starting at the fold and extending outward the same length. These become your “steps.”
- Cut along those two lines, stopping at the end of each line.
2) Create the pop-up crease
- Gently fold the cut section forward (toward you), then backward (away from you), creasing well.
- Close the card and pinch the folded area as you close it so the paper learns where to sit.
- Open the card again. The little rectangular section should now pop inward, creating a flat front face you can decorate.
3) Attach your printable art to the pop-up
- Cut out one motif from your printable (a heart, a bear, a flower, a simple “Be Mine” shape).
- Glue it to the front face of the pop-up box only, not the background of the card.
- Test close the card slowly. If anything catches, trim the shape slightly smaller.
Penelope tip: If the pop-up looks crooked, it is almost always a crease issue. Reopen the card, flatten it, and re-score the folds. Paper loves a confident crease.
Pop-up style 2: V-fold heart
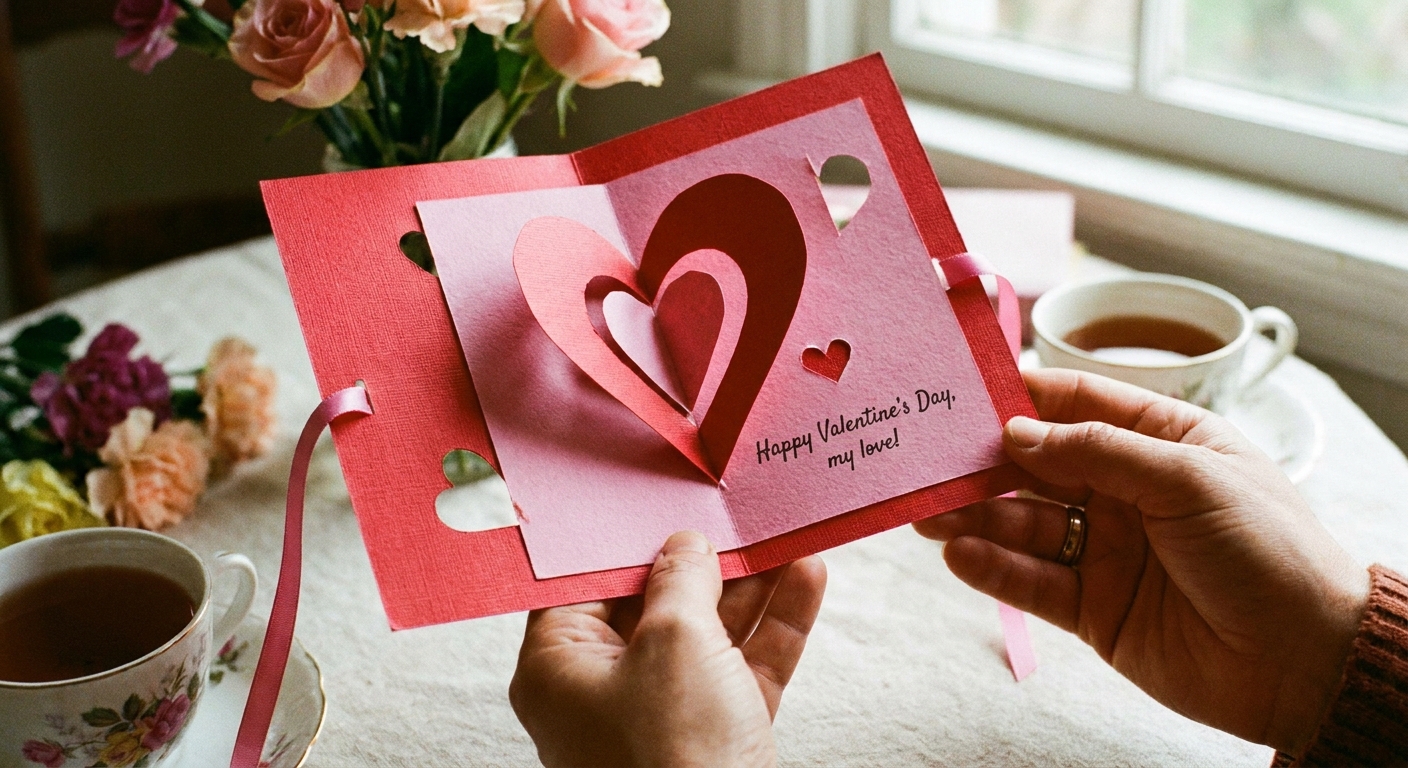
V-folds look magical because the image lifts as you open the card, but the whole thing collapses beautifully when closed. Perfect for hearts, butterflies, or anything symmetrical.
1) Cut and fold your pop-up piece
- From your printable, cut out a heart (or any shape).
- Fold the shape in half vertically so it has a crisp center crease.
2) Place it inside the card
- Open your base card flat.
- Apply glue to the outer area of one half of the heart (a small patch or triangle works well), and avoid the crease line so it can hinge.
- Line the heart’s folded edge up with the card’s center fold, then press down to tack it in place.
3) Glue the other side the smart way
- Apply glue to the outer area of the other half of the heart, again keeping glue away from the crease.
- Carefully close the card, pressing gently where the heart sits inside.
- Open the card. The heart should “stand” as the card opens.
Adjustment trick: If the heart sticks out of the card when closed, move it slightly closer to the center fold. If it does not lift enough, move it slightly away from the fold.
Pop-up style 3: Layered steps
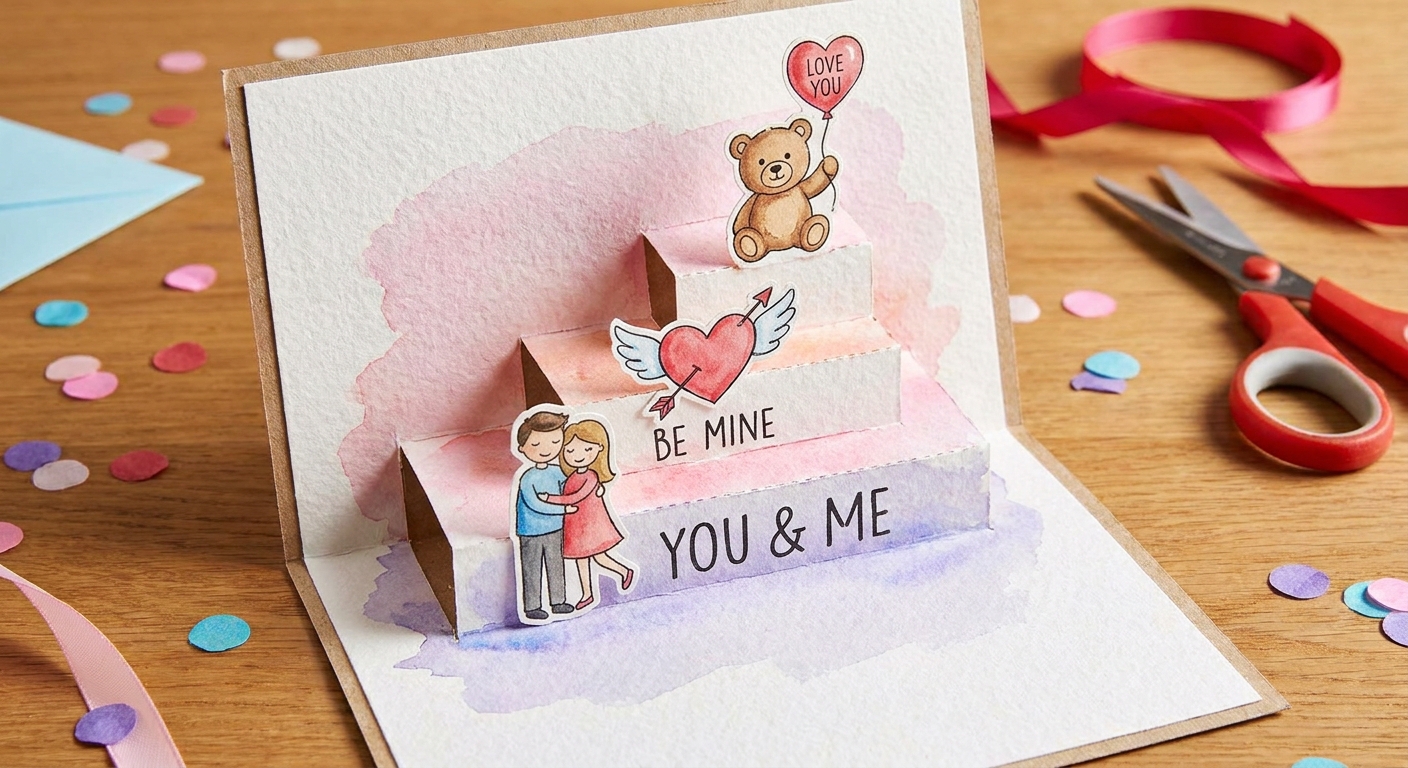
If you want that extra wow, build multiple little boxes at different depths. This creates a stage effect where one element sits closer to the viewer and others sit farther back.
- Make your first box pop-up (from Style 1).
- Repeat the same two-cut step again at a different height or with shorter cuts, always starting from the center fold and cutting outward.
- Fold and crease each pop-up section one at a time.
- Attach smaller cutouts to the deeper steps and larger cutouts to the front step.
This is where simple prints shine. A few hearts, a “Love,” and a tiny bouquet shape can look like a whole scene when layered.
Decorate before you build
I like to color first, then cut and engineer second. It keeps everything calm and clean.
- Color first: It is easier to shade a heart before it is a tiny cutout.
- Keep the fold area lighter: Heavy marker on a fold can crack and look streaky.
- Pick a mini palette: Two main colors plus a neutral looks intentional even if you are doodling quickly. If you want help choosing, see Choose a Cohesive Color Palette Before You Color.
- Add shine without mess: A metallic gel pen around the edges reads “fancy” with almost no effort.
If you love experimenting with mediums, you can also paint directly on printed templates. I share a few practical tricks in Watercolors on Printed Coloring Pages.
Clean cuts and smooth folds
Make folds that stay folded
- Score every fold line before you bend it.
- Press creases with a ruler edge or your fingernail.
- If your paper is thick, fold slowly to avoid cracking.
Cut like you mean it
- Use the very tips of your scissors for tight curves.
- Turn the paper, not your wrist, when cutting rounded hearts.
- For adults: a craft knife gives crisp tabs, especially on small pop-up boxes.
Safety note for kid crafting: Pre-cut the slit lines for pop-up boxes, then let kids do the folding and decorating. It keeps little fingers safe and still gives them the fun part.
Durability tip: If you know the card will be opened and closed a dozen times (classroom Valentines, I am looking at you), glue a second plain paper layer behind the pop-up face, or reinforce the hinge area with a thin strip of tape.
Assembly
- Print and color your Valentine template elements.
- Build the base (score and fold).
- Create your pop-up mechanism (box, V-fold, or layered steps).
- Attach pop-up elements and test-close the card after each addition.
- Add a flat background behind the pop-up if you want more color (a patterned paper rectangle looks great).
- Write your message last so you do not smudge it during construction.
If you want your card to look extra intentional, add a narrow paper border on the front. It frames the design and hides any slightly wobbly cutting.
Troubleshooting
My pop-up will not close
- Something is glued to the background when it should only be glued to the pop-up face. Check your glue zones.
- Your pop-up piece might be too tall or too wide. Trim a sliver off the edges.
- Your folds need stronger creases. Re-score and re-fold.
The pop-up is collapsing
- The fold lines may be reversed. A mountain fold points up like a little peak, and a valley fold dips inward like a V. Box pop-ups need a clear pattern of both to lock in.
- Your card base might be too flimsy. Mount it on thicker cardstock.
The card looks messy from glue
- Switch to a glue stick or double-sided tape for cleaner edges.
- Use less glue than you think you need. Paper bonds quickly when pressed firmly.
Easy variations
- Pop-up bouquet: Use three small V-fold hearts at different heights.
- Window card: Cut a heart window in the front cover, then position the pop-up so it is visible through the opening.
- Confetti-sprinkle look: Glue a few tiny paper confetti hearts around the pop-up scene for that festive, floaty effect.
- Plastic-free shaker option: If you really want movement, make a window, add a foam-tape frame as a spacer, and seal it with another paper window layer. Add a pinch of paper confetti inside before you close it up. It is bulkier, but it does shake.
- Mini card set: Make four small pop-ups from one printed sheet and keep them ready for classmates and neighbors.
And if you end up with extra cutouts, do not toss them. I love using leftovers as gift tags, and you can borrow a few ideas from Customize and Print Blank Holiday Gift Tags.
Quick FAQ
Should I print on cardstock or regular paper?
Either works. Regular paper is easier to fold into pop-ups, then you can glue it onto a cardstock base for strength. If you print directly on cardstock, score your folds so they stay crisp.
What is the easiest pop-up for beginners?
The box pop-up is the most forgiving. Two cuts, a few folds, and you are in business.
Can I mail these?
V-folds often mail the flattest. For box pop-ups and layered scenes, keep the elements small and skip bulky add-ons if you want the card to slip into an envelope easily. I also like to close the card and press it gently under a book for a minute before I envelope it.
How do I make it feel more personal?
Add one tiny detail that is specific to the person, like their favorite color, a doodle of their pet, or a private little joke tucked behind the pop-up.
A sweet finish
The best part of pop-up Valentine’s cards is that they feel like a tiny performance. The moment the card opens, the paper does its little magic trick. If you make one, pause before you seal it in an envelope and open it a few times yourself. It is oddly satisfying, and honestly, you deserve to enjoy the surprise too.