

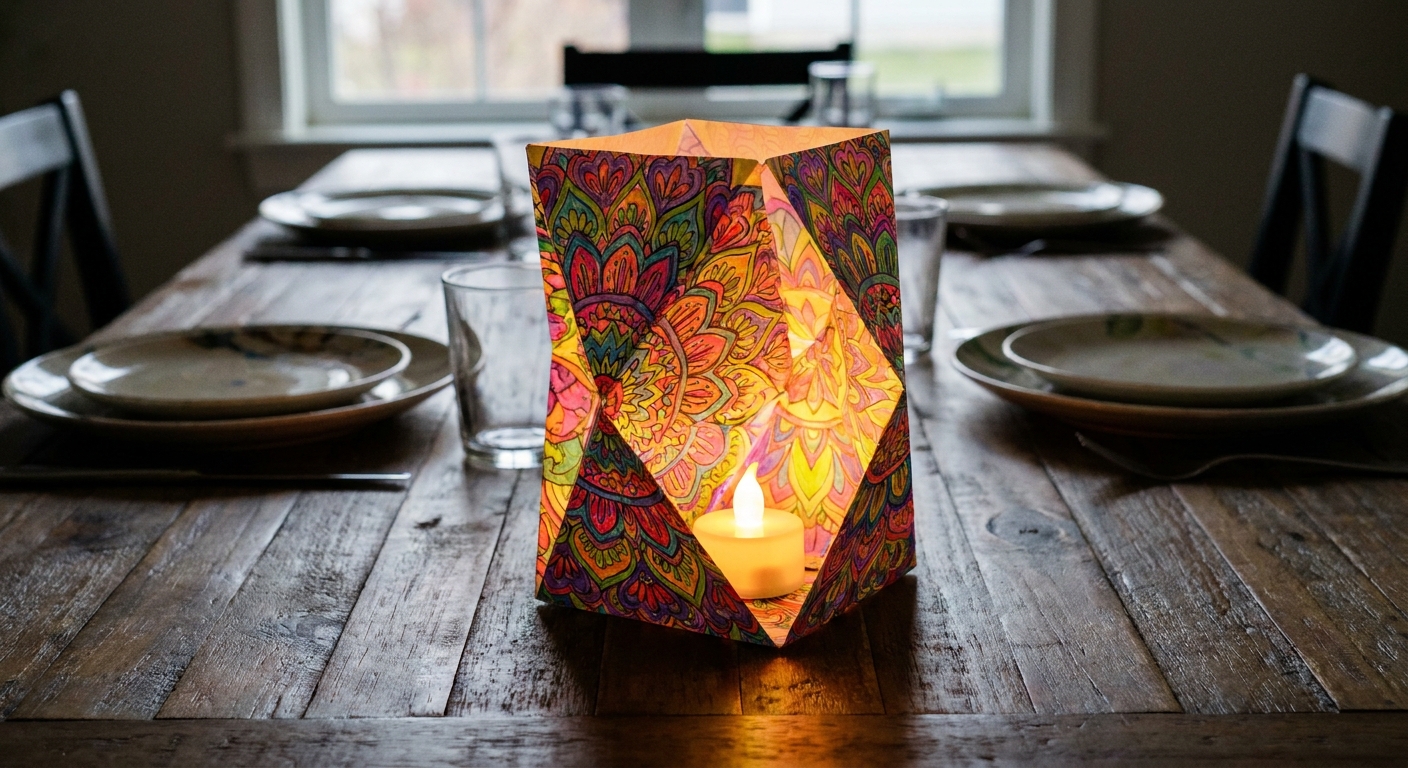
I keep a small stack of “too pretty to recycle” coloring pages in a drawer by my craft scissors. You probably have one too, the page you loved coloring so much that it feels wrong to tuck it away in a folder. This is one of my favorite ways to bring those pages back into the room: folded paper lanterns that stand on their own and glow softly with a battery tea light.
What makes a lantern work
A good paper lantern is basically three things: crisp folds, a stable base, and light that is safe for paper. The magic comes from scoring before you fold. Scoring is just making a gentle guideline so the paper bends exactly where you want it, instead of buckling or cracking your coloring.
These lanterns are designed for battery-operated tea lights only. Real candles and paper are not craft friends.
Supplies
- Finished coloring pages (one per lantern), ideally printed on heavier paper
- Battery-operated tea lights (LED)
- Ruler (12 inch works well)
- Scoring tool or a butter knife or an empty ballpoint pen
- Cutting mat (helpful) or a sturdy piece of cardboard underneath
- Scissors or craft knife
- Double-sided tape or glue stick
- Clear tape (optional for reinforcement)
- Bone folder (optional, for extra-crisp folds)
If you are printing pages specifically for lanterns, my best advice is to skim paper weight and printer settings for holiday crafts. The paper choice matters here more than almost any other step.
Pick the right page
Best patterns for glow
- Bold shapes and medium-large sections of color
- Repeating motifs like florals, stars, mandalas, or geometric patterns
- High contrast palettes, because the light softens everything
Pages to avoid
- Very dark, fully saturated backgrounds across the whole sheet, which can block the glow
- Ultra-fine linework if you plan to add lots of folds, because tiny details can visually break up at the creases
- Heavy marker bleed-through, which can make tape and glue struggle to grip
If you want your centerpiece to feel intentional, choosing a palette first helps a lot. I wrote more about that here: choose a cohesive color palette before you color.
Easy style: accordion loop
This method is sturdy, beginner-friendly, and gives you that beautiful pleated look around the sides. You will turn one coloring page into a loop with accordion folds, then add two simple rings inside to help it stand.

Step 1: Plan height and folds
1) Decide the height
For most tables, a lantern height of 5 to 7 inches looks balanced and leaves room for food and conversation.
- On a standard letter-size page (8.5 x 11 inches), the 8.5-inch side is your natural lantern height. If you want that 5 to 7 inch look, trim the height down before you fold.
- The 11-inch side becomes the wraparound, meaning the circumference of your lantern loop. That wider wrap is what keeps the lantern roomy enough to sit neatly over a tea light.
2) Mark fold lines
Turn the page so the 11-inch side runs left to right. Along the top edge, use your ruler to make light pencil ticks every:
- 1/2 inch for a crisp, detailed lantern (more folds)
- 3/4 inch for a slightly chunkier, very stable lantern
Then make matching ticks along the bottom edge, directly under the first set. This makes it much easier to keep your score lines straight and square.
Consistency matters more than the exact number. Pick one spacing and stick with it.
Step 2: Score and fold
1) Score
Use your ruler to connect each pair of matching tick marks (top and bottom), then score along the ruler with firm, controlled pressure. You are not trying to cut through the paper. You are giving it a hinge.
2) Fold accordion-style
Fold the first line forward (valley fold), the next line backward (mountain fold), and repeat until you have a full accordion strip. Run your fingers or a bone folder along each crease to sharpen it.
Tip from my kitchen table: if your coloring includes heavy pencil layers, fold slowly. Colored pencil can crack at a hard bend if you rush. If you enjoy smooth pencil layers, you might like how to blend colored pencils for smooth shading for future lantern pages.
Step 3: Make the lantern body
1) Bring the side edges together
Wrap the accordion strip into a loop so the left and right edges meet, forming a tube. On a letter-size page, you are joining the two 8.5-inch-tall edges.
Before you tape anything down, take a second to rotate the tube until the pattern lands the way you want it.
2) Attach the seam
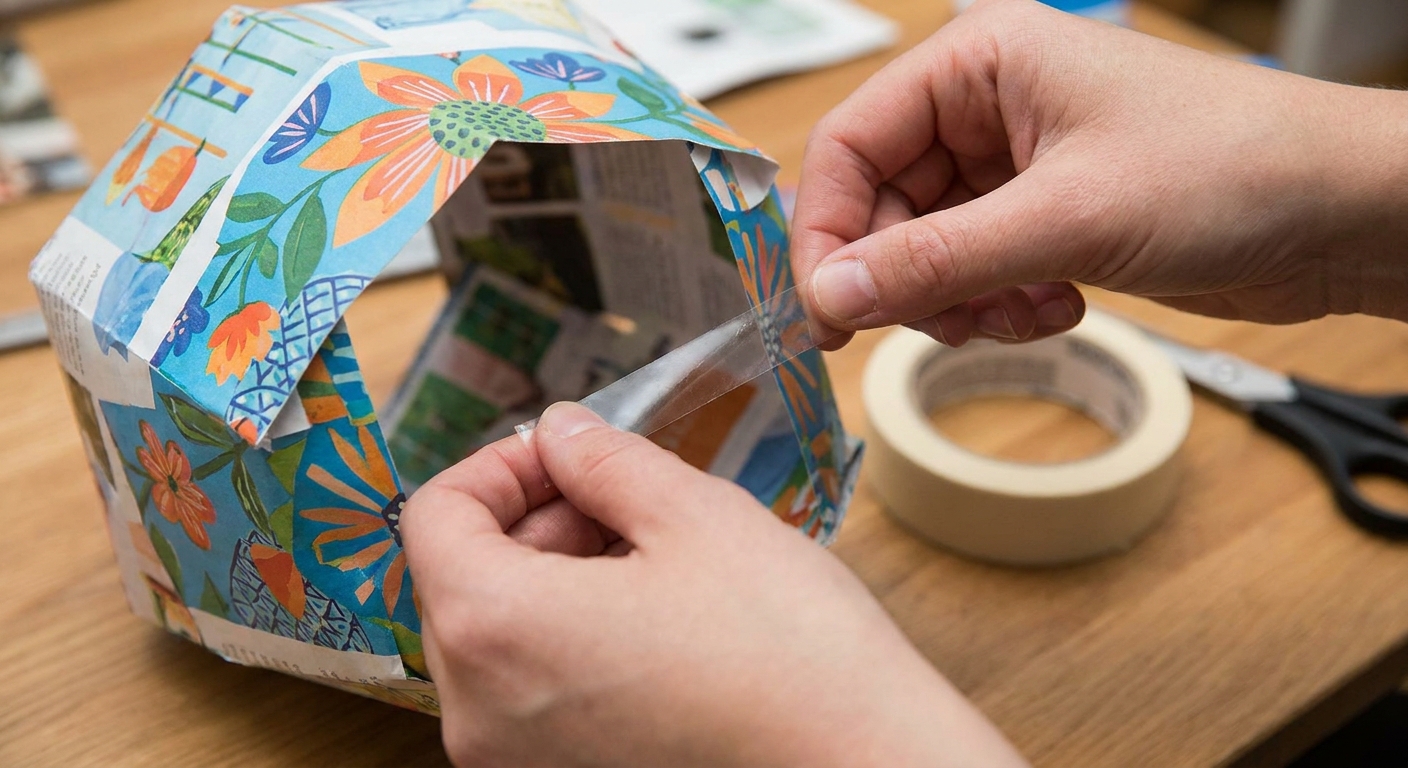
- Use double-sided tape for the cleanest join.
- If using a glue stick, apply it evenly and hold the seam together for 30 to 60 seconds.
If your paper is thin, add a 1-inch strip of clear tape on the inside of the seam as reinforcement.
Step 4: Add support rings
This is the step that turns a pretty paper loop into a centerpiece that behaves itself.
1) Cut two strips
From scrap paper or a second colored page, cut:
- Two strips about 1 inch wide and around 11 inches long
Start at 11 inches, then test-fit inside your lantern and adjust. Depending on how much overlap your ring seam needs, you may trim a little or simply overlap more.
2) Make two rings
Form each strip into a ring and tape or glue the ends. You want rings that fit inside the lantern with a little gentle pressure.
3) Place the rings
- Slide one ring near the bottom inside edge of the lantern.
- Slide the other ring near the top inside edge.
Use small pieces of double-sided tape on a few fold points to tack the rings to the lantern. You do not have to tape every fold. Four points per ring is usually plenty.
These rings help the lantern keep its round shape and stop it from collapsing inward.
Step 5: Light it safely
Choose the right light
- Use LED battery-operated tea lights.
- A warm white flicker looks cozy, but a steady light makes detailed coloring easier to see.
Position the tea light
Place the tea light centered on the table, then set the lantern over it. If the light looks a little lost in the middle, you can make a tiny paper platform by folding a scrap into a flat square so the tea light sits slightly raised and glows more evenly.
Please skip real candles. Even if the flame feels far away, paper lantern walls can shift or tip.
Make it centerpiece-worthy
Build a set
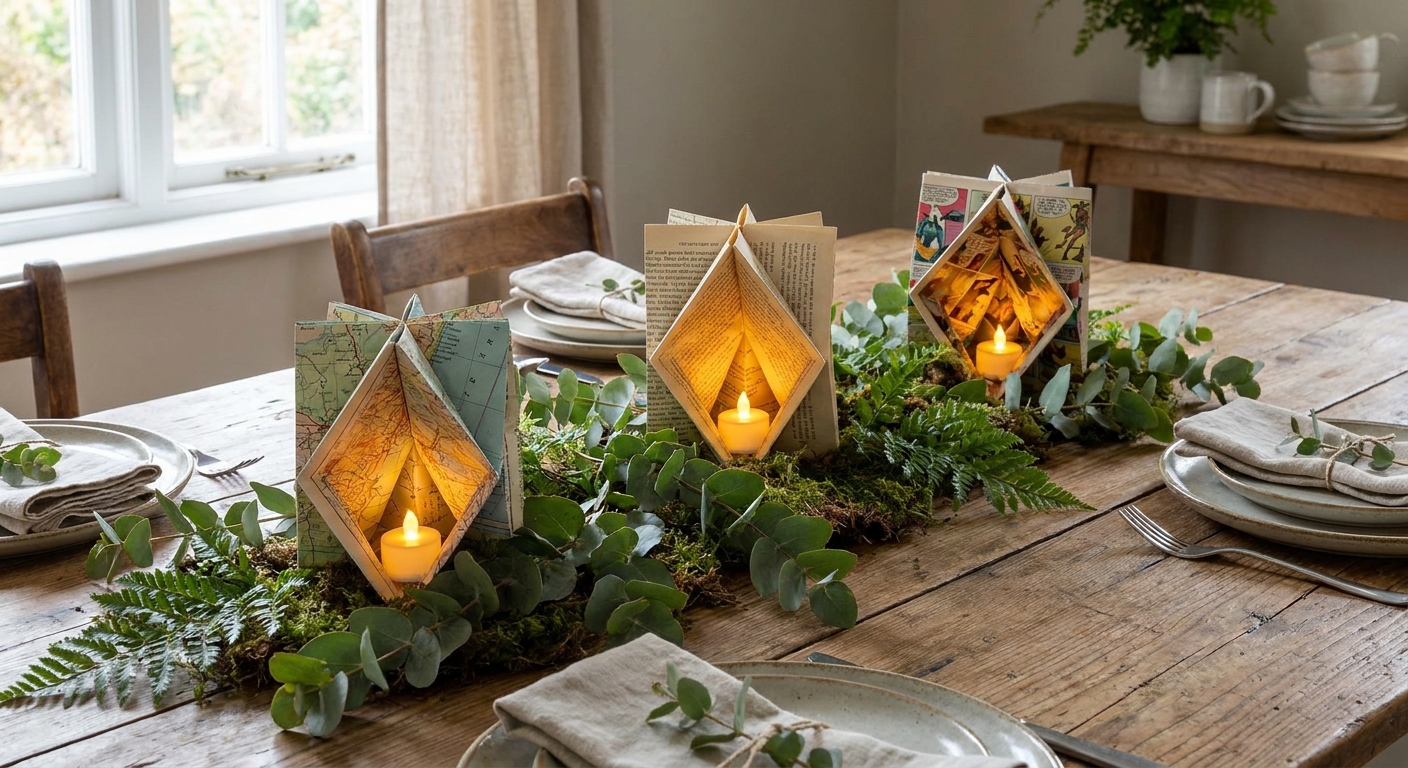
- Vary the heights: make one taller lantern (leave more height), and two shorter ones (trim down to 5 to 7 inches).
- Repeat colors: pull one or two anchor colors through every lantern.
- Mix patterns: one bold geometric, one floral, one simple background wash.
If you want extra table magic, pair lanterns with another quick paper project like a banner. This tutorial is a sweet companion: paper bunting banner from kids coloring pages.
Optional variations
Cutout windows
Before folding, lightly sketch a repeating cutout shape in the middle of the page, leaving at least 1 inch margin at the top and bottom. Cut the shapes out with a craft knife, then fold as usual.
The cutouts create brighter windows, but keep them away from fold lines and do not overdo the number of cutouts if you want your lantern to stay sturdy.
Stained glass look
If you love the lantern glow effect, you might also enjoy this project: faux stained glass suncatchers with baby oil and coloring pages. Same cozy light-through-color feeling, different display.
Kid-friendly version
For kids, use fewer folds (3/4 inch spacing), heavier paper, and tape instead of glue. If you are planning a whole afternoon of table crafts, browse Kids Crafts ideas for more projects that survive enthusiastic help.
Troubleshooting
It keeps collapsing
- Add the support rings if you skipped them.
- Use wider fold spacing (3/4 inch) next time.
- Switch to heavier paper. Regular copy paper can be a bit floppy once folded repeatedly.
The seam pops open
- Use double-sided tape instead of glue stick.
- Reinforce the inside seam with clear tape.
- Make sure the fold stack is not fighting the seam. Sometimes rotating the lantern so the seam lands on a flatter spot helps.
The coloring cracks on folds
- Score more gently, then fold more gradually.
- Avoid overly heavy wax crayon layers right on fold lines.
- Consider coloring with slightly lighter pressure where you know folds will be.
Finishing touches
My favorite part of this craft is the moment you turn the tea light on and the whole lantern softens into this warm little glow. It feels like the page you colored has moved from something I made to something I live with.
If you hit a creative wall while choosing colors for your lantern set, I keep a gentle pep talk here: coloring your way out of creative block. Sometimes you just need one easy win, and a glowing paper lantern definitely counts.