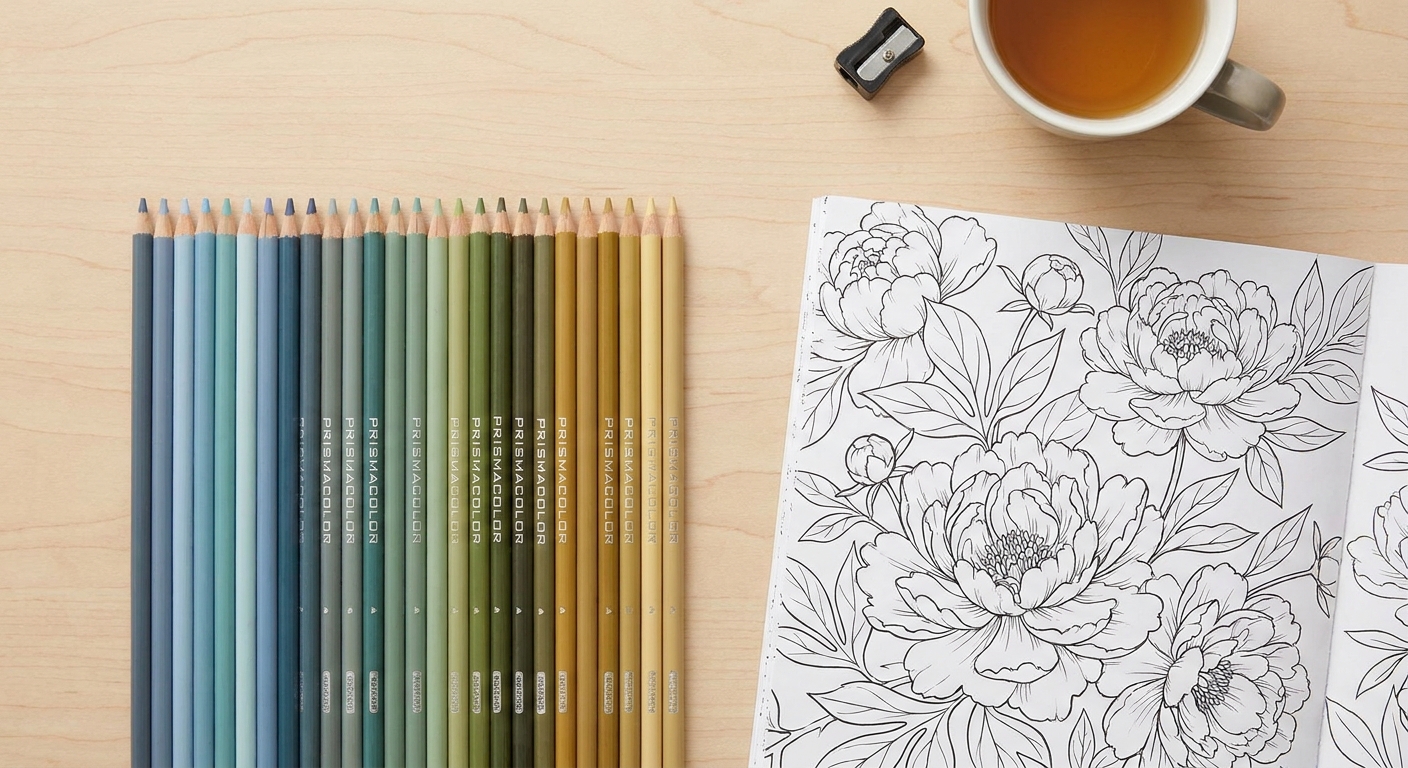
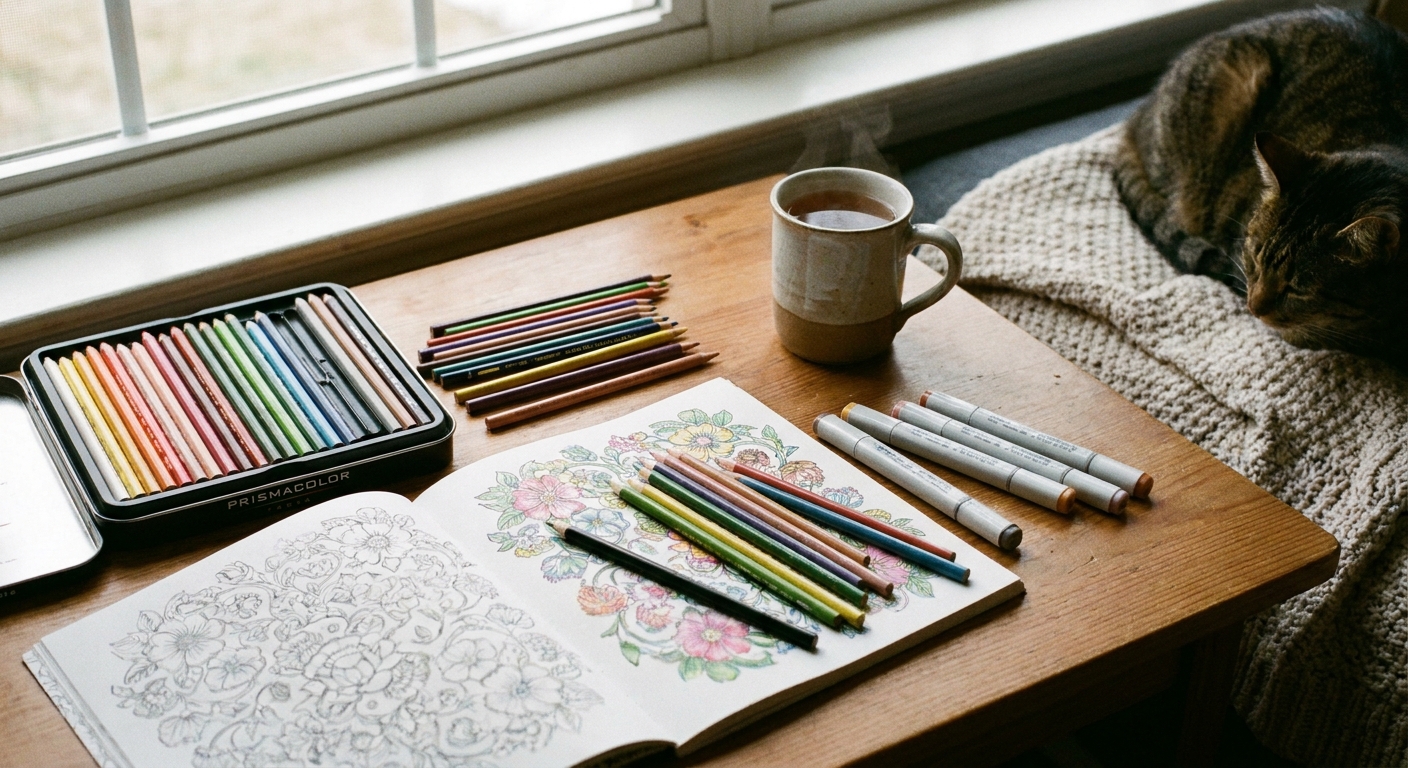
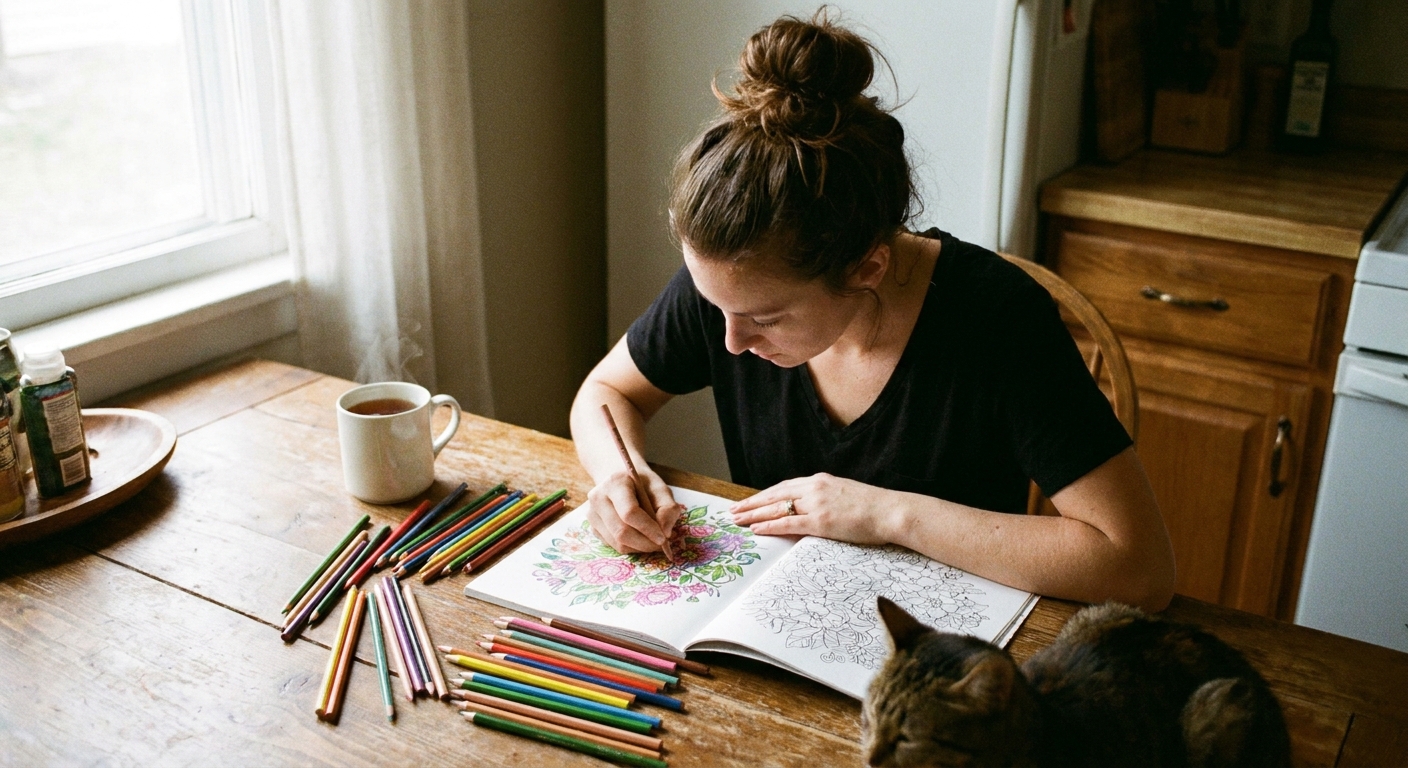
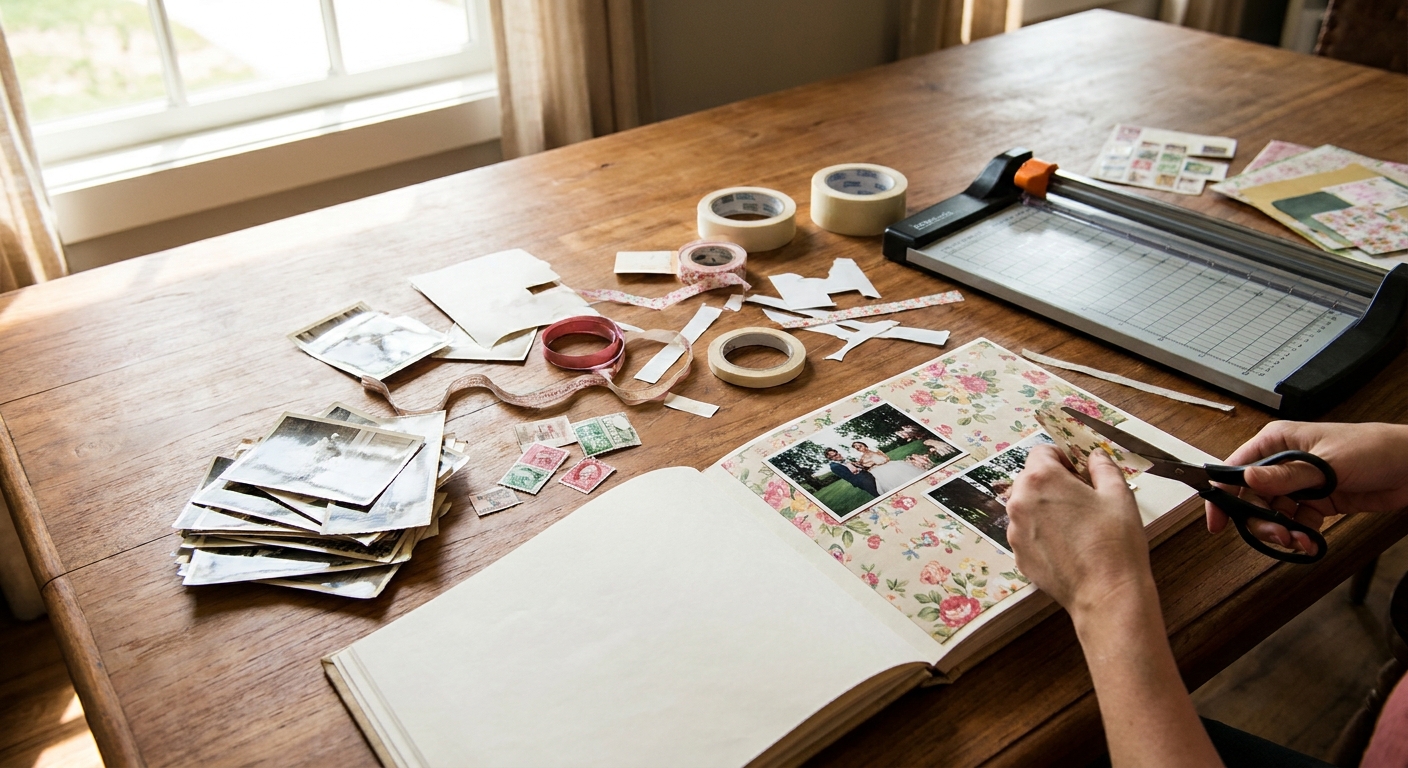
My dining table has always been a little bit scrapbook station and a little bit coloring nook. I love that moment when a finished coloring page stops being “just a page” and becomes a real design ingredient, something you can tuck behind a photo or trim into tiny accents. If you have a stack of detailed pages you have colored (or even a few that are only half-finished), here are five of my favorite ways to weave them into scrapbook layouts so your memories get a little extra sparkle.
Before you start: quick prep
Coloring pages are usually printed on lighter paper than scrapbook cardstock, so a tiny bit of prep goes a long way.
- Back it with cardstock: Use glue or a tape runner to mount your coloring page onto solid cardstock before cutting intricate shapes. It prevents curling and makes cleaner edges.
- Choose a palette first: If your album has a theme color, pick 3 to 5 colors and repeat them across your coloring pieces. I share my favorite approach here: Choose a cohesive color palette before you color.
- Test your adhesives: Ink-heavy areas (especially with markers) can sometimes be slick, so do a quick test on a small scrap before committing. When in doubt, double-sided tape or a strong tape runner usually grips better than wet glue.
- Mind the bulk: Dimensional embellishments are cute, but too many can make an album hard to close. Use foam dots sparingly and balance with flat elements.
- Think long-term: If you are memory keeping for the long haul, go for acid-free cardstock and adhesives. Also, let marker ink fully dry before you layer anything on top so it does not transfer to photos or journaling cards.
1) Make a custom photo mat
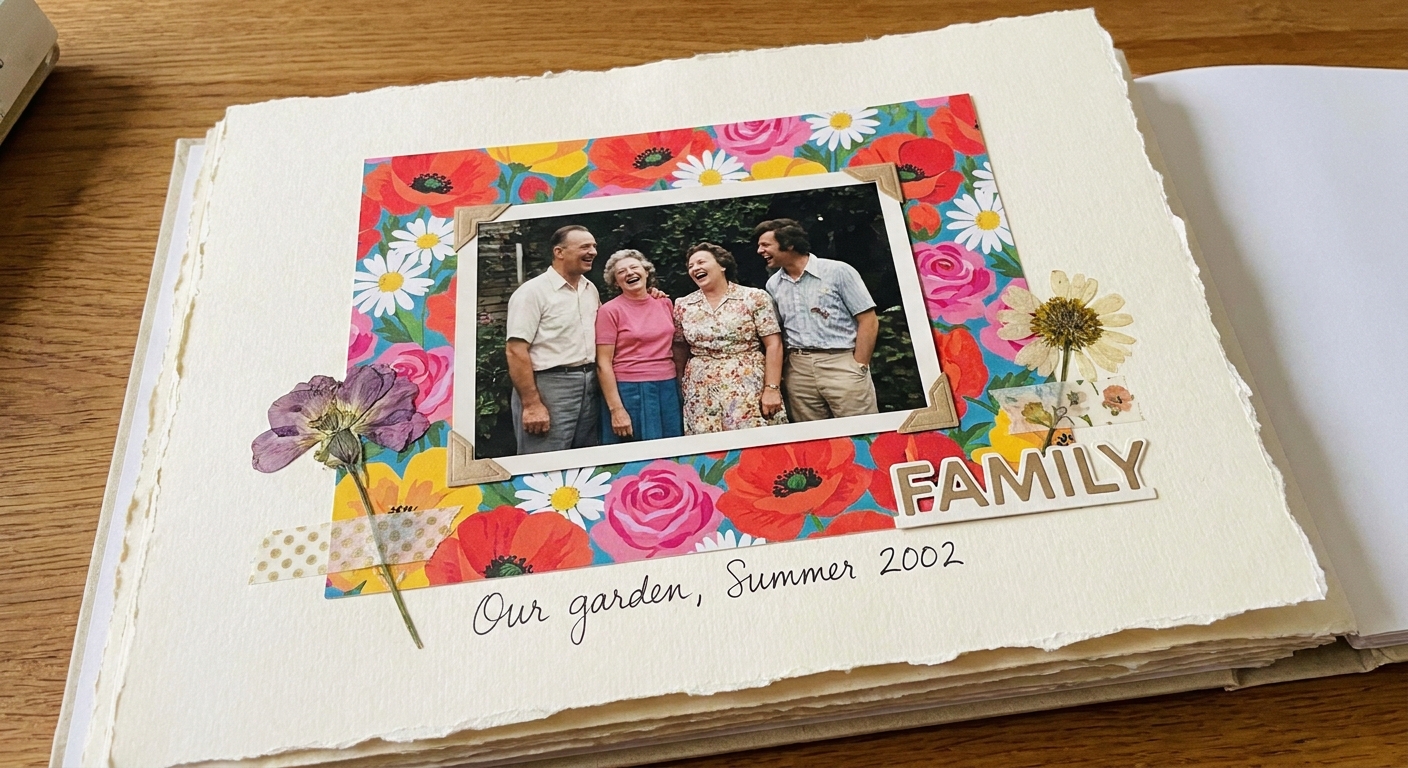
This is my number-one trick when I want a layout to feel handmade without adding a dozen separate embellishments. A colored page makes a gorgeous mat, especially when the design is intricate like florals, mandalas, or repeating patterns.
How to do it
- Pick your focal photo and decide if you want a thin mat (about 1/8 inch border) or a thicker one (1/4 to 1/2 inch).
- Trim the coloring page larger than your photo, then adhere the photo on top.
- Frame it again by mounting the whole piece onto cardstock or patterned paper. This adds structure and helps it sit flat.
Little design tip
If your coloring page has a very busy pattern, try a double mat: a thin solid cardstock layer between the colored mat and the photo. That tiny breathing space makes faces and details pop.
If you used heavy marker, I also like to add a thin cardstock “buffer” behind the colored mat before it touches anything precious. It is a small step that can help prevent rub-off over time.
2) Turn it into a border, frame, or corner flourishes
Borders are a simple way to repeat your coloring work across the page without overwhelming the photos. You can go bold with a thick frame or keep it delicate with corner pieces.
Three border styles to try
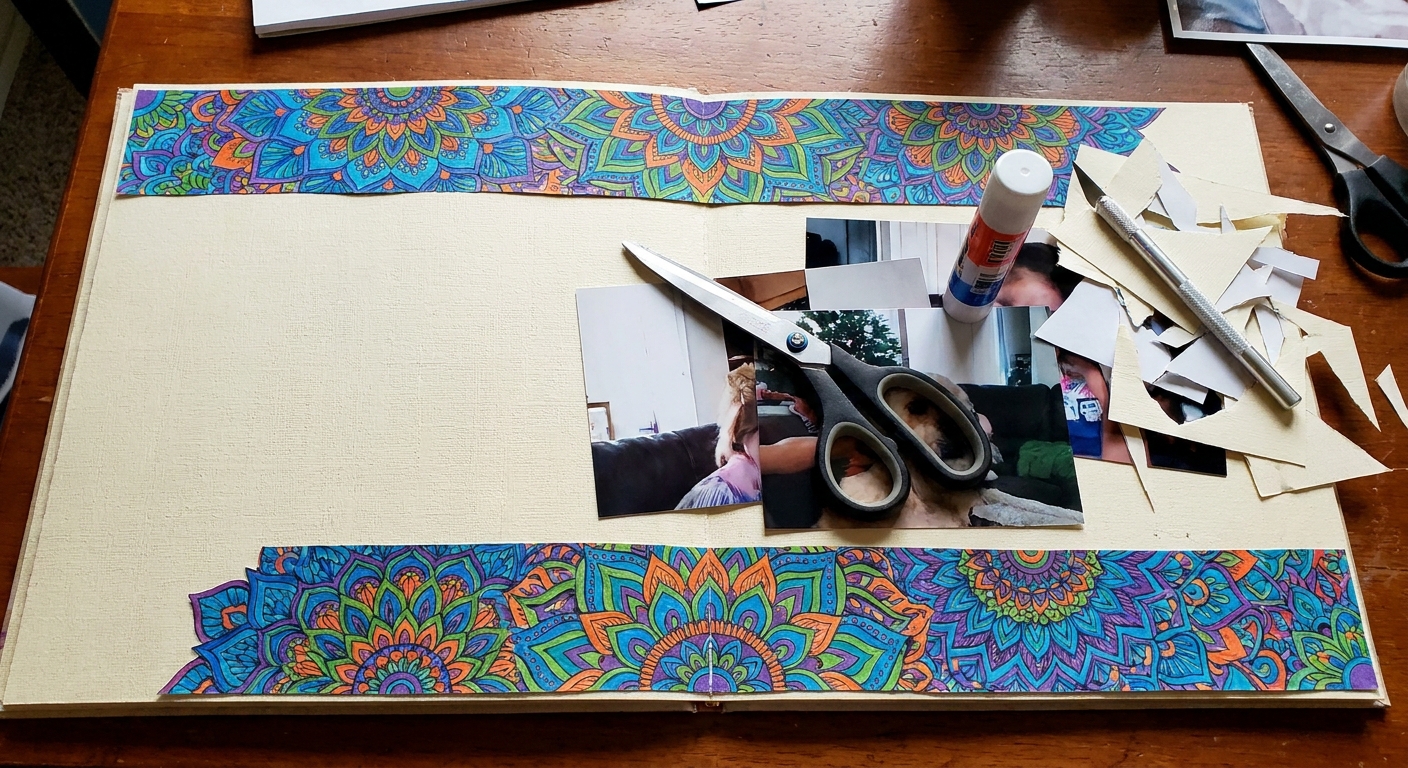
- Full frame: Cut four strips from your coloring page and create a picture-frame effect around the entire layout or around a photo cluster.
- Top and bottom bands: Add two horizontal strips to anchor the layout. This looks especially nice on travel pages.
- Corner flourishes: Cut out just the best parts (a flower cluster, a swirl, a starburst) and glue them into two corners for a lighter touch.
Cutting advice
For long border strips, I like to back the colored sheet with cardstock first. It helps the strip stay crisp instead of rippling.
3) Make layered embellishments
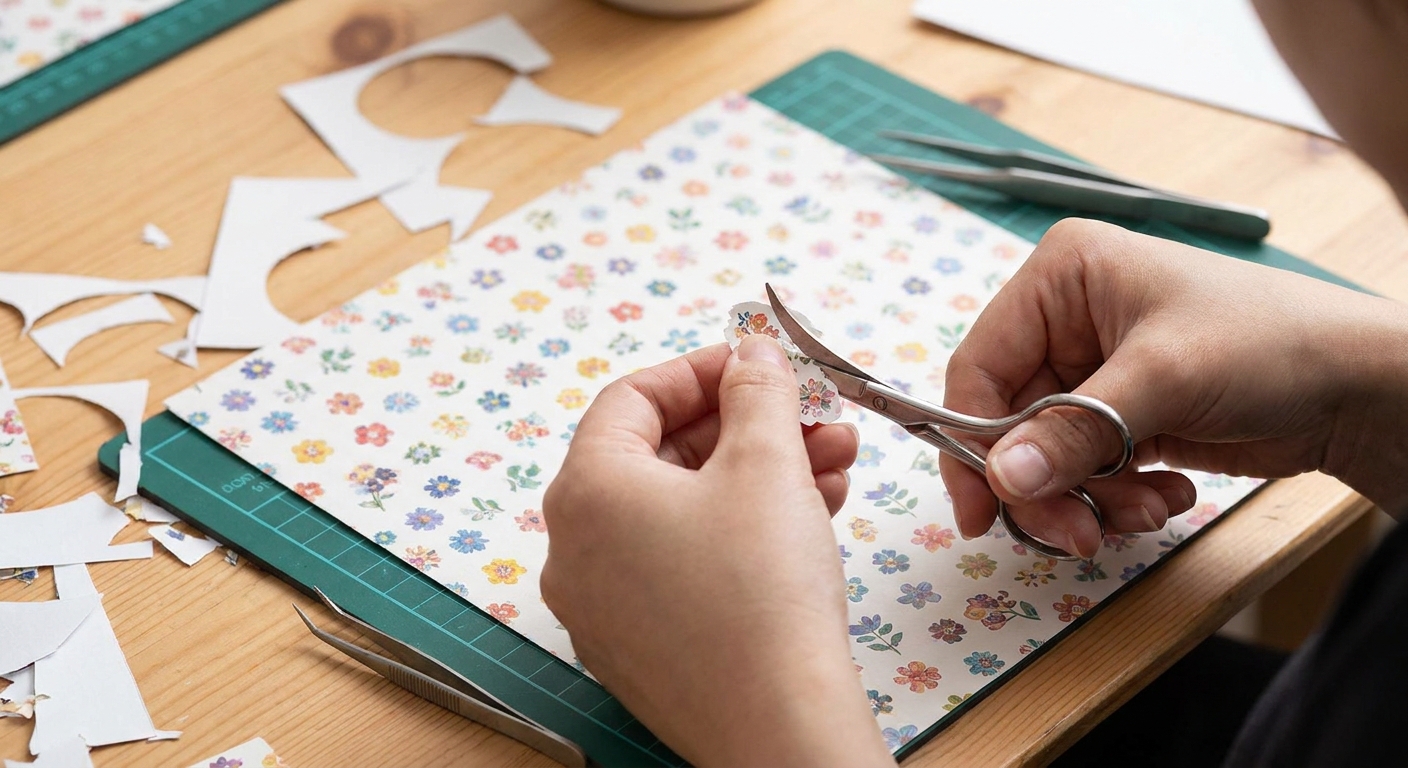
If you have ever sat happily snipping flowers out of patterned paper, this one feels like pure joy. Coloring pages are perfect for fussy cutting because you control the colors, which means your embellishments automatically match your layout.
How to do it
- Color with cutting in mind: If you know you will cut out motifs, use stronger contrast so the shapes read clearly once they are separated from the page.
- Cut a variety of sizes: A few larger motifs plus several tiny ones gives you flexibility when you start arranging clusters.
- Build clusters: Group 3 to 5 pieces near your title, journaling block, or along a photo edge.
Make it look intentional
Repeat one specific color three times across the layout. For example, if you used teal in one flower, echo teal in a small heart, a title shadow, or a tiny tab.
If you are curious about mediums, I also have a breakdown that can help you choose what colors cleanly for cutouts: Markers vs. colored pencils.
4) Make pockets, flips, and hidden journaling
This is my secret weapon for layouts that have a lot to say. Pockets and flips let you add journaling, ticket stubs, extra photos, or little notes without crowding the main page.
Easy pocket idea
- Start with a larger rectangle: Cut a piece of your colored page to about 5 x 7 inches (or any size that gives you room for folds).
- Score and fold a 1/2 inch flap on three sides (left, right, bottom).
- Trim if needed: After folding, you can trim the pocket face down to 4 x 6 inches if that is the size you want on your layout.
- Adhere the flaps to your layout, leaving the top open.
- Slide in a journaling card or extra photo.
Flip-out idea
Cut a panel from a colored page, hinge it with washi tape or a thin strip of cardstock, and place hidden journaling or a second photo underneath. It feels like opening a little storybook door.
If you love memory keeping that reads like a narrative, you might also enjoy 7 ways to use coloring pages to teach storytelling. The same prompts work beautifully for scrapbook journaling.
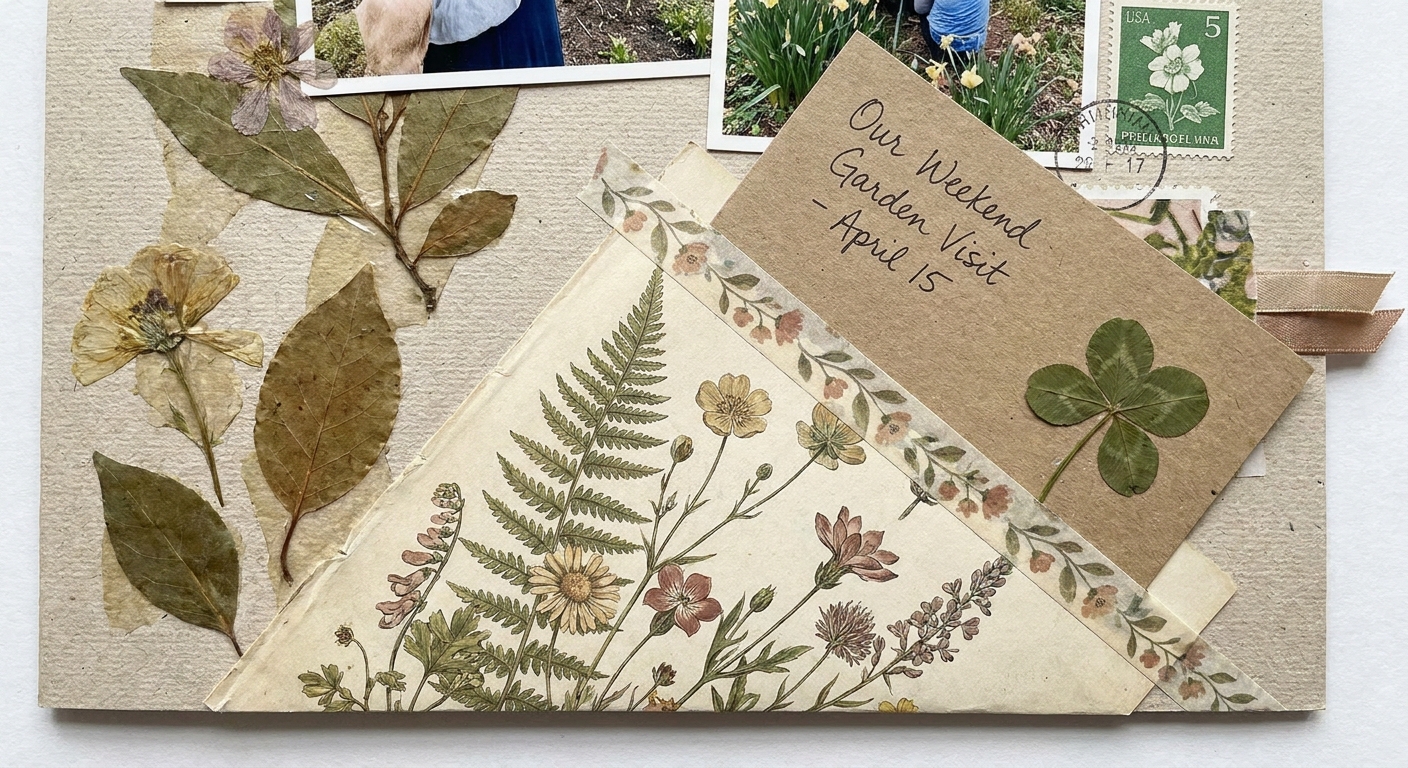
5) Add texture with scraps
Not every coloring page needs to stay pristine. Sometimes the most charming scrapbook details come from pieces that are imperfect, leftover, or slightly smudged. This is where scraps become magic.
Three texture techniques
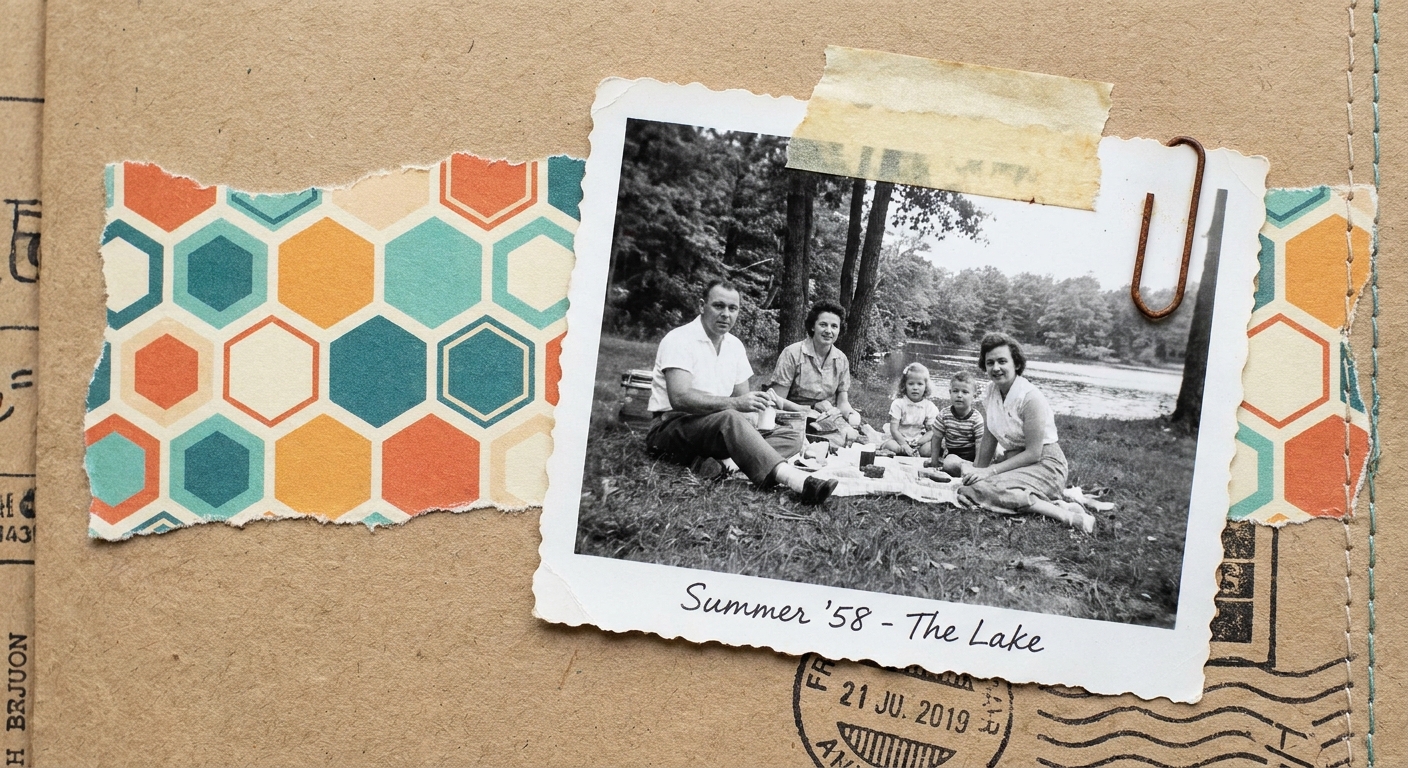
- Torn edge grounding strip: Tear a strip from your coloring page and run it behind a photo cluster. The soft edge looks cozy and handmade.
- Paper quilt blocks: Cut small squares or rectangles (1 inch to 2 inches) and assemble them like a patchwork band across the bottom of a page.
- Confetti accents: Use a hole punch to create tiny dots from colored areas and sprinkle them lightly around a title or along a diagonal visual path.
Keep it from getting busy
Limit yourself to one texture technique per layout, and pair it with calmer papers. If everything is detailed, nothing gets to be the star.
Printing and paper tips
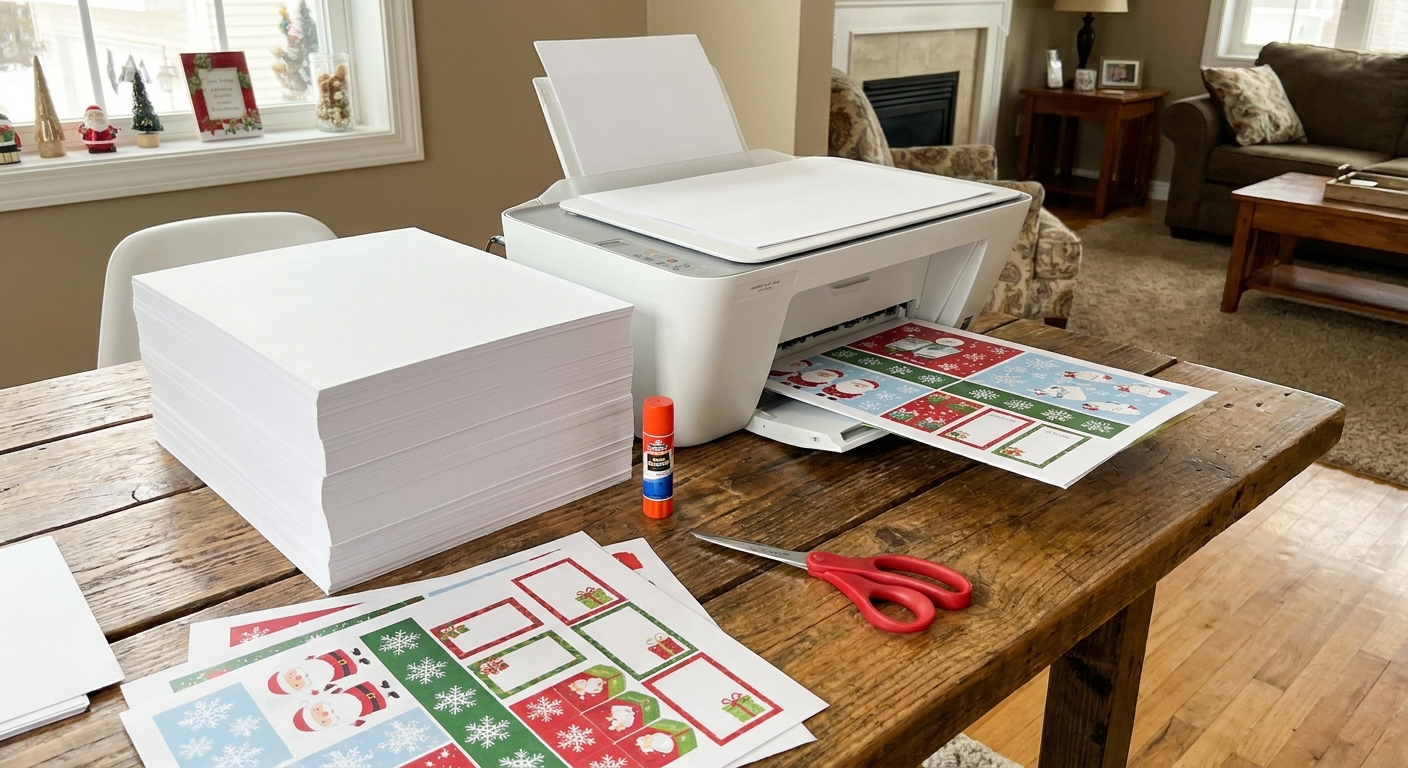
If you are printing pages at home specifically for scrapbooking, a couple of small settings can make the finished page sturdier and easier to work with.
- Choose slightly heavier paper if your printer allows it. Even moving up a little can reduce rippling when you glue or tape.
- Try “best” quality for fine line art: This can make details crisper, but it can also lay down more ink. If you notice bleed-through or wrinkling, dial it back one notch or switch to heavier paper.
- Plan for crafts if you are making elements like pockets, tabs, or folded pieces. I go deeper on paper choices and settings here: Paper weight and printer settings for holiday crafts. The advice works year-round.
Quick troubleshooting
My cut edges look fuzzy
Back the page with cardstock first, then cut. Also try a sharper pair of detail scissors and shorter snips around curves.
My page is curling after I glue it
Use a tape runner or double-sided adhesive instead of wet glue, and burnish it down with a bone folder or the back of a spoon.
The design overwhelms my photo
Use the colored page as a thinner accent: corners, a narrow border, or small fussy-cut motifs. You can also mat the photo with a solid layer to calm the area around faces.
I feel stuck staring at the blank layout
Start by placing one colored piece you love, then build outward. I wrote about this exact feeling here: Coloring your way out of creative block.
A simple one-page recipe
If you want a no-pressure first attempt, here is a layout formula I return to constantly:
- Photo mat made from a colored page
- One border strip from the same page (top or bottom)
- Three fussy-cut motifs clustered near the title
- One small torn scrap tucked under the photo for texture
It looks cohesive because everything comes from one coloring page, and it still leaves plenty of space for journaling and breathing room.