

I have a little “paper purgatory” pile that lives near my craft table. It is full of half-colored pages, printer misfires, and those brave attempts that started strong and then wandered off into scribble-land. If you have a stack like that too, this project is my favorite kind of fix: messy, forgiving, and wildly satisfying.
We are going to shred those scrapped coloring pages into pulp and mold them into sturdy papier-mâché bowls that look like confetti you can actually use. They are perfect for holding keys, hair ties, LEGO treasures, or simply sitting on a shelf looking cheerful.
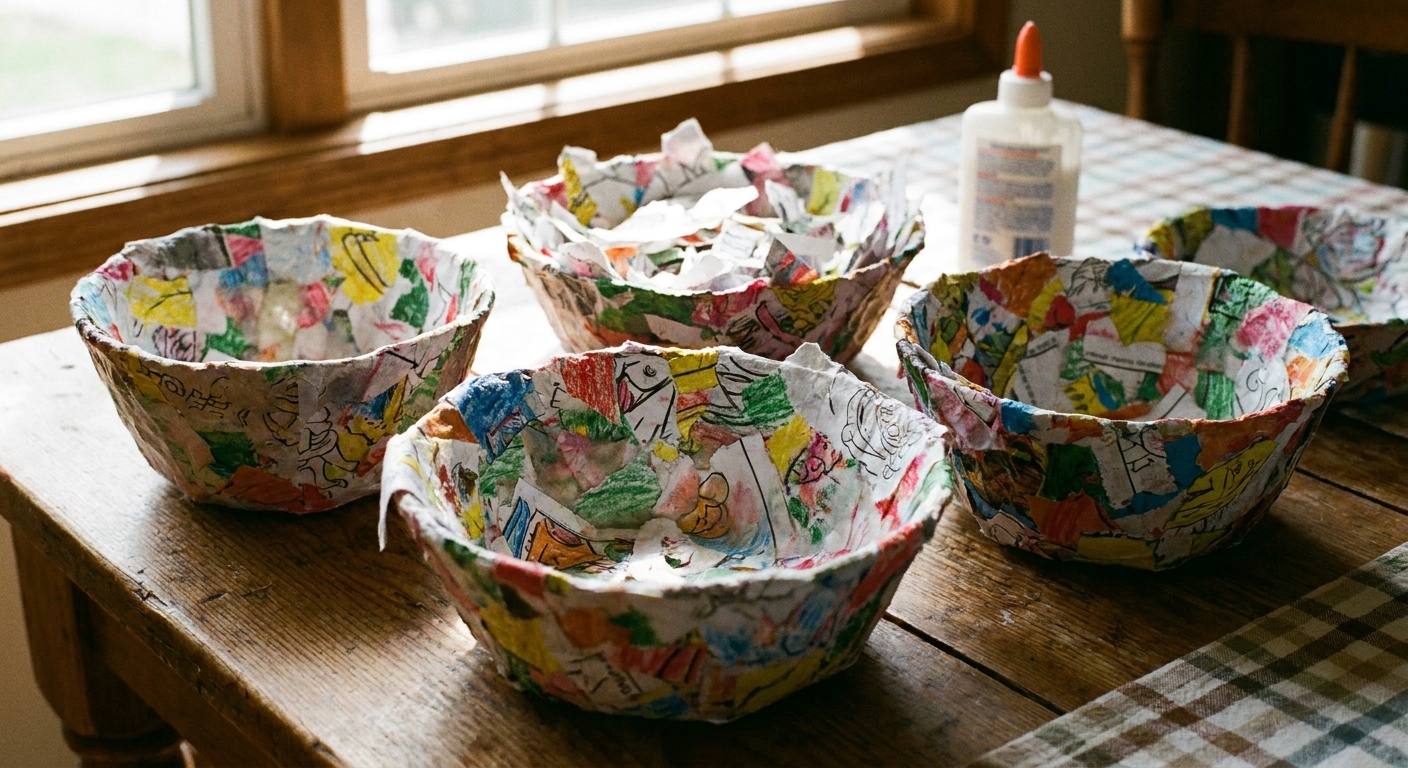
Why pulp bowls work well
Traditional papier-mâché uses strips of paper. Pulp papier-mâché uses tiny fibers mixed with binder, which means the bowl ends up thicker and more rigid.
- Color built in: Your page colors become the pattern, no paint required.
- Great use for “oops” pages: Smudges and unfinished spots disappear into the mix.
- Easy for kids to help: It is basically a supervised squish session.
If you want more projects for your “finished or not” pages, my roundup on upcycling coloring pages into gift wrap is another fun way to rescue paper that would otherwise be tossed.
Supplies
You likely have most of this already. I am listing a couple options so you can use what fits your household.
Paper
- Scrapped coloring pages (printed on regular printer paper works great)
- Optional: a handful of plain white scrap paper (helps calm down super dark mixes)
Binder options
- School glue method: White school glue plus a little water
- Paste method: Flour plus water (budget-friendly, slightly more prone to softening with moisture later)
Mold and release
- A bowl to use as a mold (glass or metal is easiest to release)
- Plastic wrap or a thin plastic bag or parchment paper
- Optional: a little cooking oil for extra insurance
Mold note: Avoid porous materials like unfinished wood. They can grab onto the pulp and make release frustrating.
Tools
- Scissors (for rough cutting) or hands (for ripping)
- Large mixing bowl or tub
- Blender you do not mind dedicating to crafts or a potato masher
- Clean dish towel or mesh strainer
- Spoon or silicone spatula
Blender note: If you use a blender for gluey craft pulp, do not return it to food use afterward.
Finishing
- Sandpaper (220 grit is a nice all-purpose)
- Brush for sealer
- Sealer: Mod Podge, clear acrylic craft sealer, or water-based polyurethane (more on choosing below)
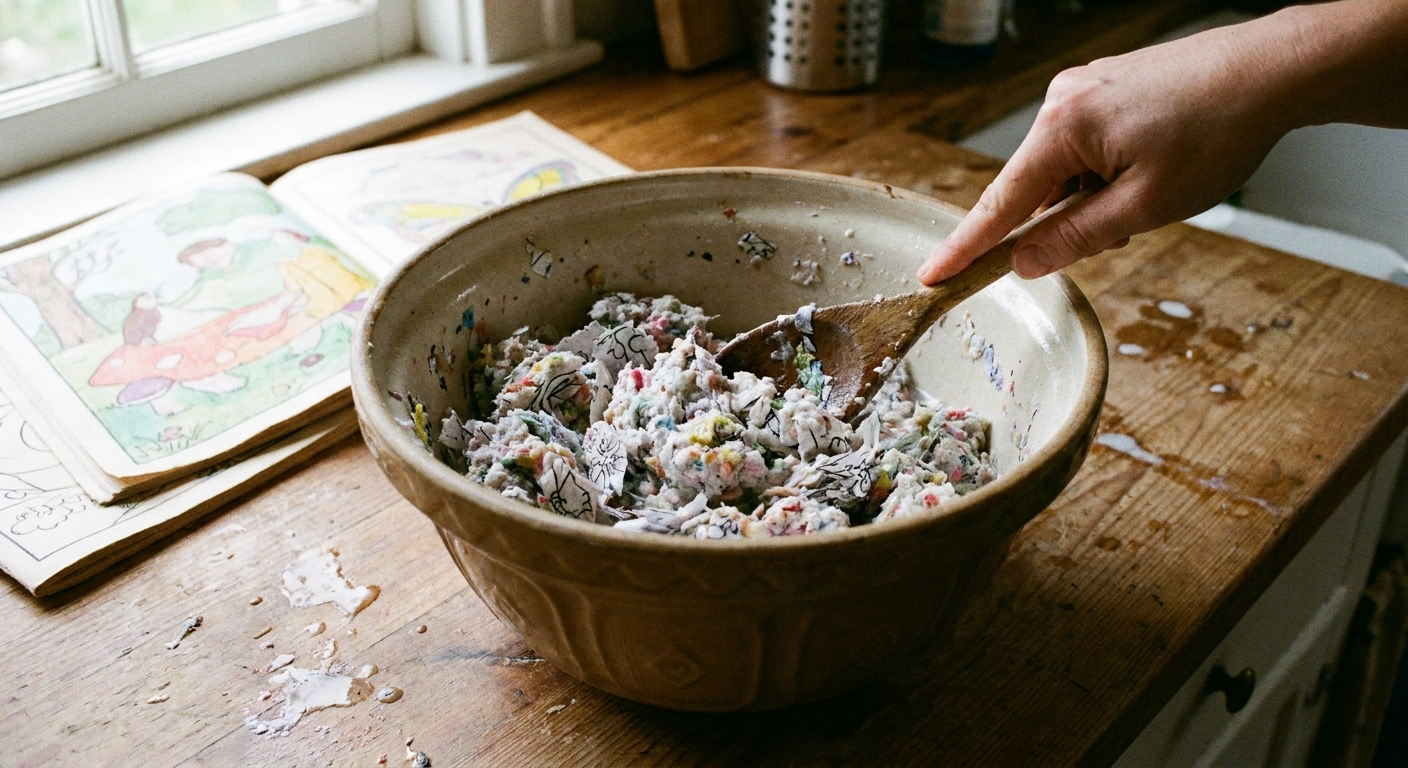
Step 1: Shred and soak
Start by tearing your scrapped coloring pages into small pieces. Think postage stamp size or smaller. The smaller the pieces, the faster they turn into pulp.
- Put the torn paper into a bowl or tub.
- Cover with warm water and press it down so everything gets soaked.
- Let it sit for at least 30 minutes. Overnight is even easier if you are not in a rush.
Penelope tip: If your pages are heavy on marker and the water turns very inky, you can drain once and refill before pulping. It helps reduce dye bleed, but it can also fade some water-based marker colors. If you care a lot about brightness, test with a small batch first.
Step 2: Make pulp
You have two main ways to do this.
Option A: Blender (smoothest pulp)
- Work in small batches. Add a loose handful of soaked paper, then top up with water until the blender jar is about half full.
- Pulse until it looks like oatmeal, not soup.
- Pour into a strainer or towel-lined bowl.
Option B: No blender (chunkier, more textured)
- Drain most of the soaking water.
- Mash the paper with a potato masher or your hands until it breaks down into a fibrous mush.
Safety note: If kids are helping, keep the blender part grown-up only, and let kids do the soaking, squishing, and molding.
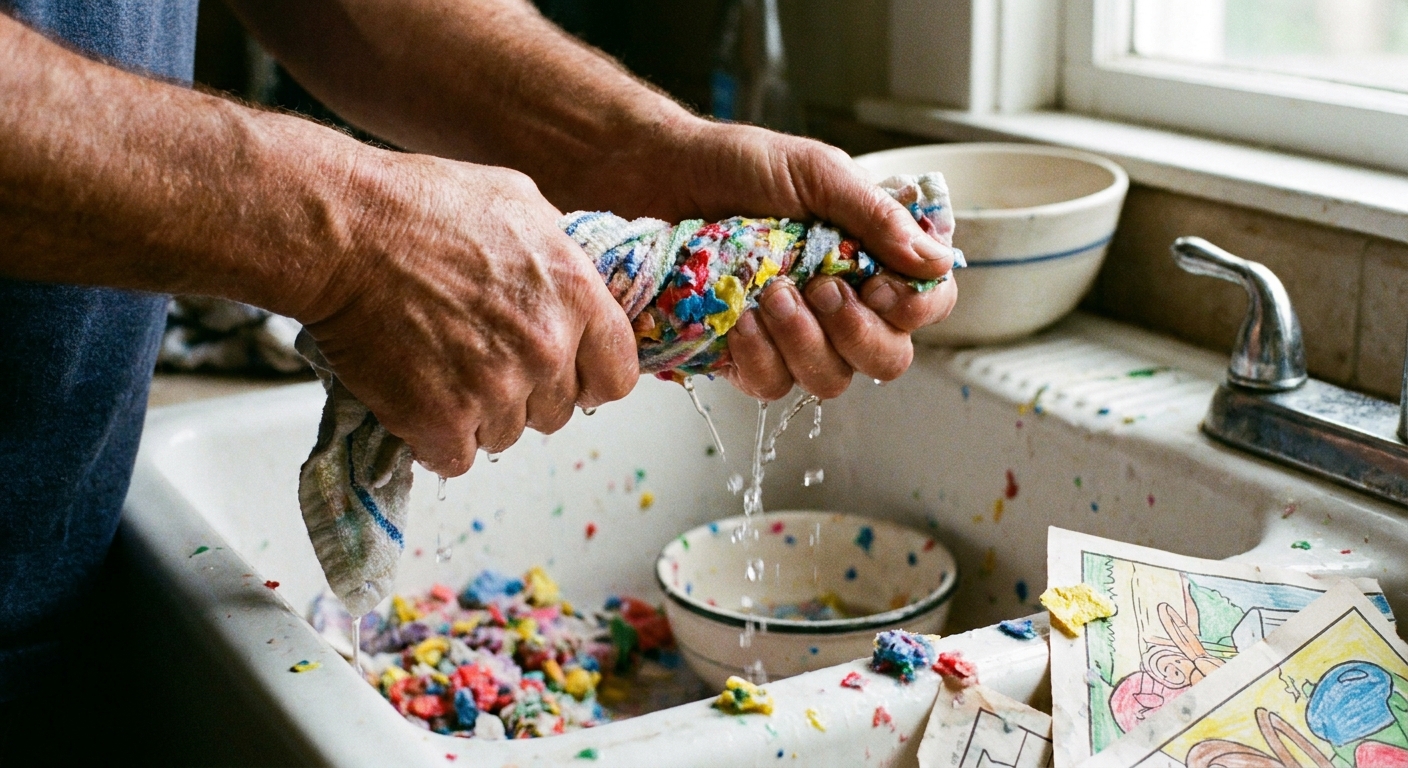
Step 3: Squeeze the pulp
This is the step that makes the difference between “dries quickly” and “still damp next week.” Do this after you have actual pulp (after blending or mashing).
- Scoop pulp into a clean dish towel.
- Twist and squeeze over the sink until it stops dripping.
- Fluff it back into a bowl.
You want it damp, not watery. If it looks like it could be spooned like soup, squeeze more.
Step 4: Add binder
Now we turn the pulp into something that behaves like moldable clay. Exact amounts vary a lot based on how wet your pulp is and what paper you used, so think of these as starting points.
School glue binder (my go-to)
Start with about 1/3 cup of white glue per 2 cups of well-squeezed pulp. Mix well, then adjust. The mixture should clump together when you press it in your hand.
If it feels crumbly, add a little more glue. If it feels slimy and overly wet, add more pulp.
Flour paste binder (budget option)
Mix 1/2 cup flour + 1/2 cup water until smooth, then knead it into about 2 cups of well-squeezed pulp. Add a spoonful of flour if it feels too loose.
Important: Flour paste can spoil if stored wet. Only make what you will use, and let bowls dry fully before sealing.
Step 5: Prep the mold
The outside of your bowl will pick up whatever texture your mold covering has. The inside is the part you can smooth with your fingers, so you get to choose the final vibe.
- Cover the mold bowl with plastic wrap or a thin plastic bag, smoothing wrinkles as much as you can.
- If you want extra easy release, rub a tiny bit of oil on top of the plastic.
Choosing a bowl size: A cereal bowl makes a great first mold. Bigger bowls take longer to dry.
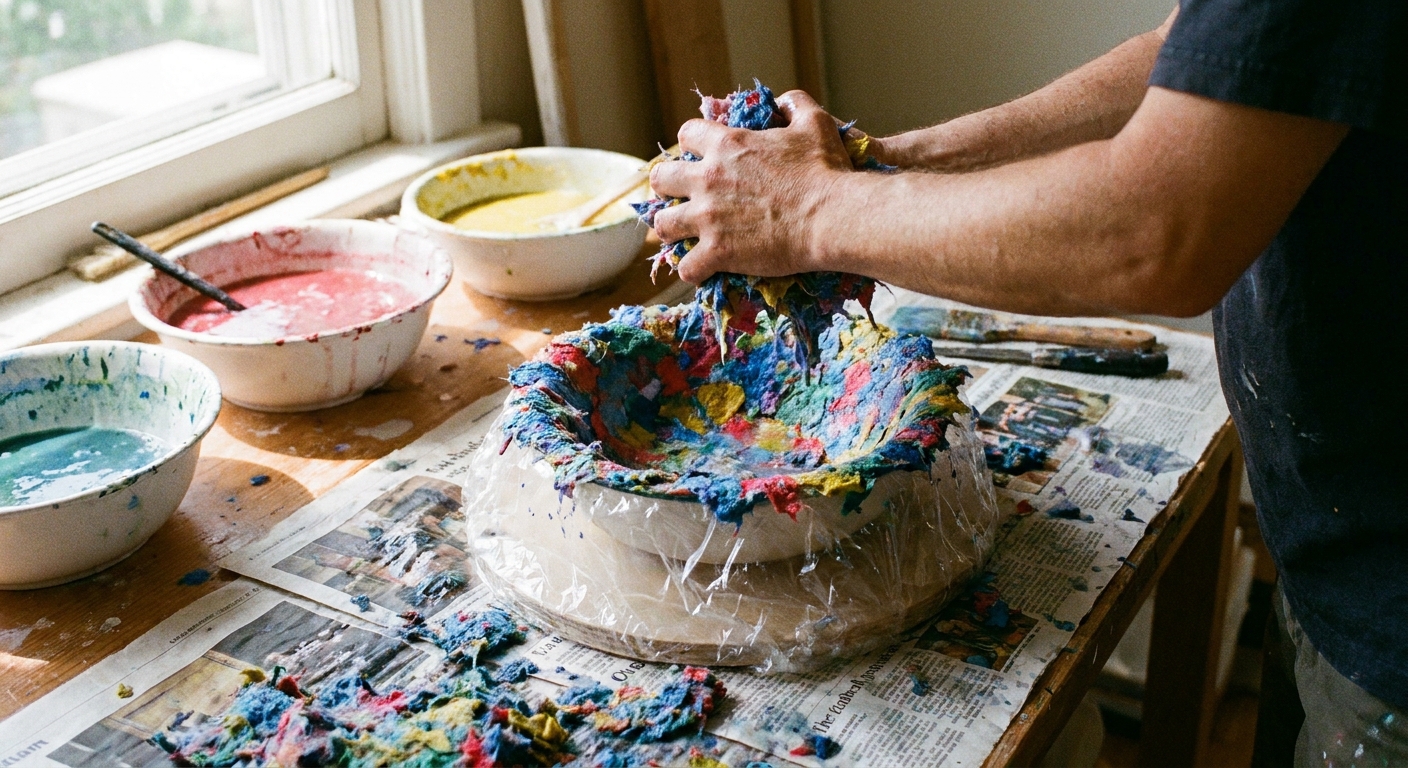
Step 6: Build the bowl
This part is pure joy.
- Grab a handful of pulp and press it onto the mold.
- Work in sections, overlapping edges and pressing seams together.
- Keep thickness consistent. Aim for 1/4 inch for a sturdy bowl that still dries in a reasonable time.
- Smooth the inside with slightly damp fingers.
For a stronger bowl: Press firmly as you go. You are compressing fibers and pushing out trapped water, which helps it dry and harden better.
If you want a cleaner rim, press the edge down with a spoon and then pinch it gently between your fingers to even it out.
Step 7: Dry well
Drying is the unglamorous step, but it is where strength happens.
- Let it dry on the mold for 24 to 48 hours in a warm, airy spot.
- Once it feels firm, gently lift it off the mold and let it finish drying at least another 24 hours so the inside can breathe.
- Set it on a rack or a dry towel and rotate it occasionally.
In humid weather, or if your bowl is thicker than 1/4 inch, drying can take several days. That does not mean you did it wrong. It just means water is taking the scenic route.
How to tell it is fully dry: It feels room-temperature (not cool), and it sounds slightly hard when you tap it with a fingernail.
Avoid: blasting it with high heat. Slow and steady reduces warping and cracking.
Step 8: Smooth and shape
Once dry, you can clean it up:
- Trim a wobbly rim with scissors.
- Sand lightly with 220 grit to soften sharp bits and fuzz.
- If it looks too rough, brush on a thin coat of glue mixed with a little water, let dry, then sand again.
Step 9: Seal it
Sealing protects the bowl and deepens the colors. Choose a sealer based on how you plan to use it.
Good sealing options
- Mod Podge: Easy, accessible, dries clear. Great for display bowls.
- Clear acrylic craft sealer: Nice for a quick protective topcoat. Use in a well-ventilated area and follow label directions.
- Water-based polyurethane: My pick for the most durable finish for a catch-all bowl. Still not a great idea for serving, but excellent for daily handling.
Not for food: Even sealed, papier-mâché bowls are best for dry items only. Please do not use them for snacks, fruit, or anything wet.
Brush on 2 to 3 thin coats, letting each coat dry completely.
Cure time matters: “Dry to the touch” is not the same as fully cured. For the toughest finish and least tackiness, give your sealed bowl a couple of days before heavy handling (and follow your product label if it specifies a longer cure).
Color and pattern ideas
This is where you can play, especially if you have a mountain of mixed pages.
- Confetti mix: Combine a little of everything for a speckled, party-bowl look.
- Ombre: Build the bowl in bands, dark pulp at the base and lighter pulp toward the rim.
- Theme bowl: Use only blues and greens for an ocean vibe, or reds and golds for a cozy autumn feel. If you want help choosing colors before you start, I wrote a gentle guide on creating a cohesive color palette that applies to crafts too.
- Texture bowl: Leave the pulp chunkier and do minimal smoothing for a handmade, earthy finish.
Troubleshooting
My bowl is cracking
- It is often too thin in spots. Next time, aim for an even 1/4 inch thickness.
- Drying too fast can crack it. Move it away from direct heat.
- Small cracks can be patched with fresh pulp like spackle. Let it dry, then sand and seal.
It will not release from the mold
- Let it dry longer. Damp pulp clings.
- Wiggle the plastic wrap, not the bowl. The plastic should peel away first.
- Next time, smooth the plastic wrap more carefully and consider a tiny bit of oil.
It feels soft after days
- Too much water left in the pulp. Squeeze harder next batch.
- Too much glue can slow drying. Add more pulp to balance.
- Humidity can stall drying. Move it to a warmer, drier room and give it airflow.
The colors look muddy
- Mixing too many dark pages can create a brown cast. Add some white paper scraps to brighten.
- Try sorting paper by color family before pulping.
Kid-friendly variations
If you are crafting with kids, here are a few ways to keep it fun and manageable.
- Mini bowls: Use small yogurt cups or ramekins as molds. They dry faster and feel less precious.
- Name-free treasure bowls: Skip personalization that requires writing. Let the paper colors be the decoration.
- Sensory add-ins (optional): After the bowl is sealed and fully dry, you can glue on buttons or yarn details. If that is your family’s vibe, you might also like sensory coloring crafts with yarn, glitter, and buttons.
How to use your bowls
- Entryway catch-all for keys and coins
- Desk bowl for paper clips, sticky notes, and tiny treasures
- Nightstand bowl for jewelry
- Gift “wrapping” for small items like hair accessories or candy in a bag
If you want to keep the upcycling streak going, paper bead jewelry is another delightful way to turn scraps into something you will actually use.