

I have a little pile of “too pretty to toss” coloring pages that lives on the corner of my craft table. You know the ones: half-colored experiments, test swatches, and those glorious mistake pages where you tried a new marker and it bled through. They might not be frame-worthy, but they are absolutely gift-bow worthy.
These voluminous paper bows look fancy in a wrapped-present way, not a fussy way. They are lightweight, surprisingly forgiving, and a perfect excuse to use up the colorful scraps you already have.
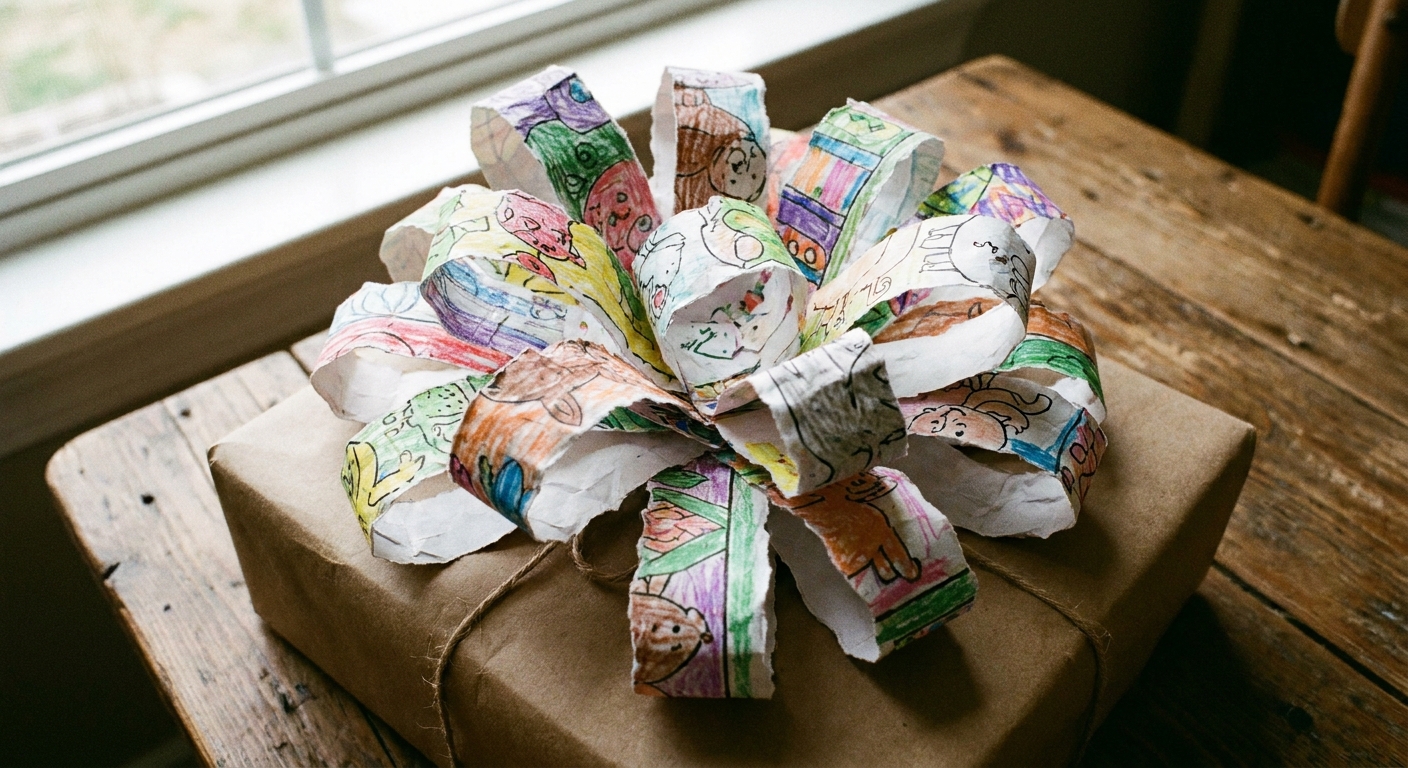
What makes a bow look full
Big, boutique-style bows usually have three things going for them: lots of loops, consistent loop size, and a tidy center that hides the mechanics. The good news is that most paper strips hold their curve nicely once you turn them into loops, which makes the “lots of loops” part feel easy.
If you want your bow to look intentionally designed, pick either:
- A cohesive color family (all blues, all warm tones, all pastels), or
- A deliberate mix (rainbow, complementary colors, or black-and-white with one accent).
If you enjoy the calming part of planning colors as much as coloring itself, you might like my approach in Choose a Cohesive Color Palette Before You Color.
Supplies
- Leftover coloring pages (colored, uncolored, or a mix)
- Scissors or a craft knife and cutting mat
- Ruler
- Glue stick or tacky craft glue
- Double-sided tape (optional but very handy)
- Stapler (optional for a very sturdy bow)
- Ribbon or twine (optional, for extra polish)
Paper tip: Regular printer paper works great. If your pages are thin and floppy, you can still make a full bow. Just use slightly shorter loops so everything stays perky instead of slumping.
Prep your coloring pages
Choose the right side
Decide what you want showing on the outside of each loop:
- Fully colored side out: Bright, bold, confetti effect.
- Line art side out: Chic, graphic, and surprisingly elegant.
- Mix both: Playful and kid-approved.
Flatten curls
If your pages have been sitting in a stack, gently curl each sheet the opposite way over the edge of a table to relax it. You want the strips to curve smoothly, not fight you.
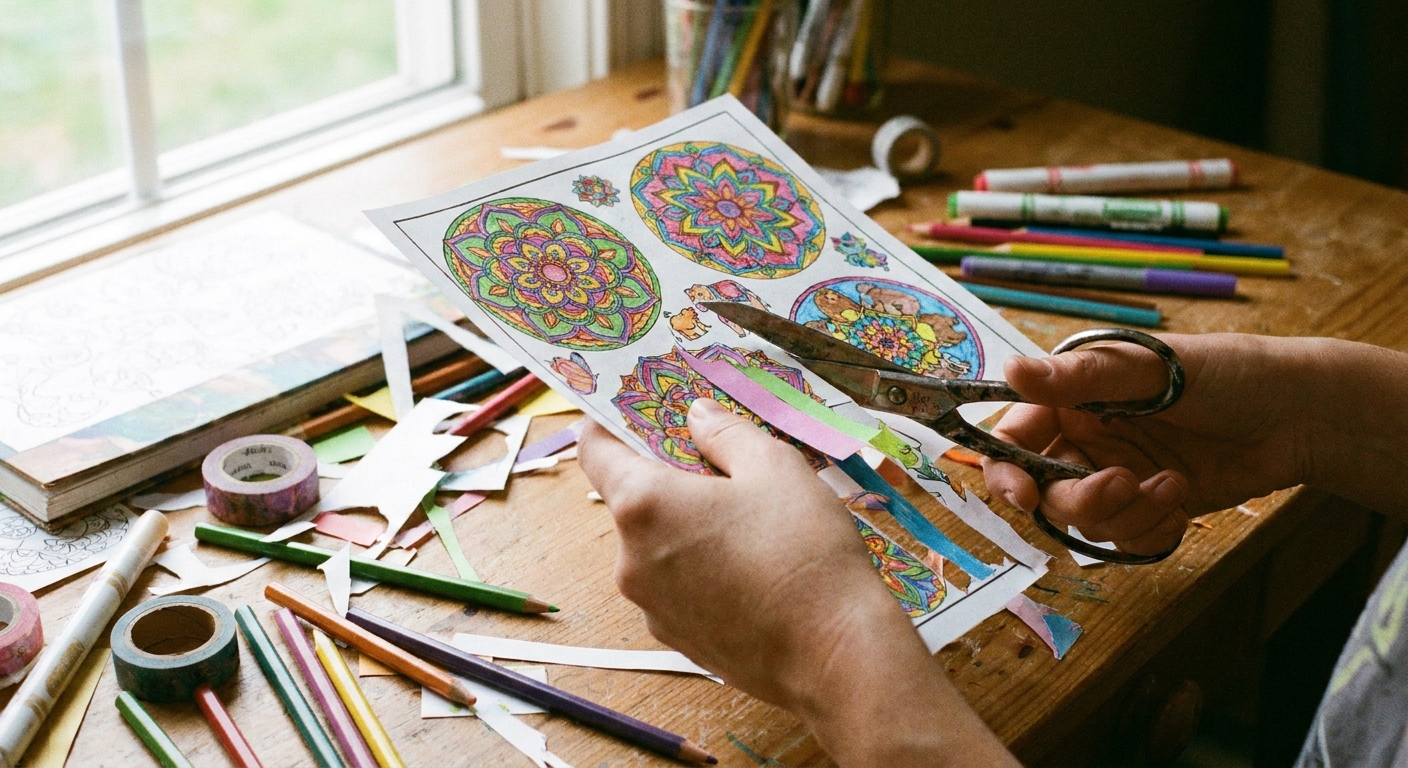
Cut your strips
You can eyeball this, but I have learned that a ruler saves me from the “lopsided bow sadness.” Here are reliable strip sizes:
- Standard full bow: 10 to 12 strips that are 1 inch wide and 8 to 10 inches long
- Small gift bow: 8 to 10 strips that are 3/4 inch wide and 6 to 7 inches long
- Extra fluffy bow: 14 to 18 strips that are 1 inch wide and 8 to 10 inches long
Sizing cheat: Length controls loop height. Width controls visual heft. If your bow feels skimpy, go longer. If it feels wispy, go wider.
Cut two additional skinny strips (about 1/2 inch wide):
- One about 5 inches long for wrapping the center
- One about 8 inches long for tails (optional, but adorable)
Make the loops
Step 1: Form one loop
Take one strip and bring both ends toward the middle so they overlap by about 1/2 inch, creating an oval loop with no twist. Secure that overlap with glue or tape so the ends are stuck to each other. If you want extra hold, also press the overlap down firmly so it bonds well before you move on.
My favorite method: A small square of double-sided tape right where the ends overlap. It grabs instantly and keeps the loop from sliding while the glue thinks about it.
Step 2: Repeat
Make loops from all your strips. Try to keep the overlap length consistent so your loops end up the same size.
Step 3: Optional pinch
If you want more “gift shop” puff, pinch the overlap slightly before the adhesive fully sets. This gives the loops a subtle bow-like crease.
Assemble the bow
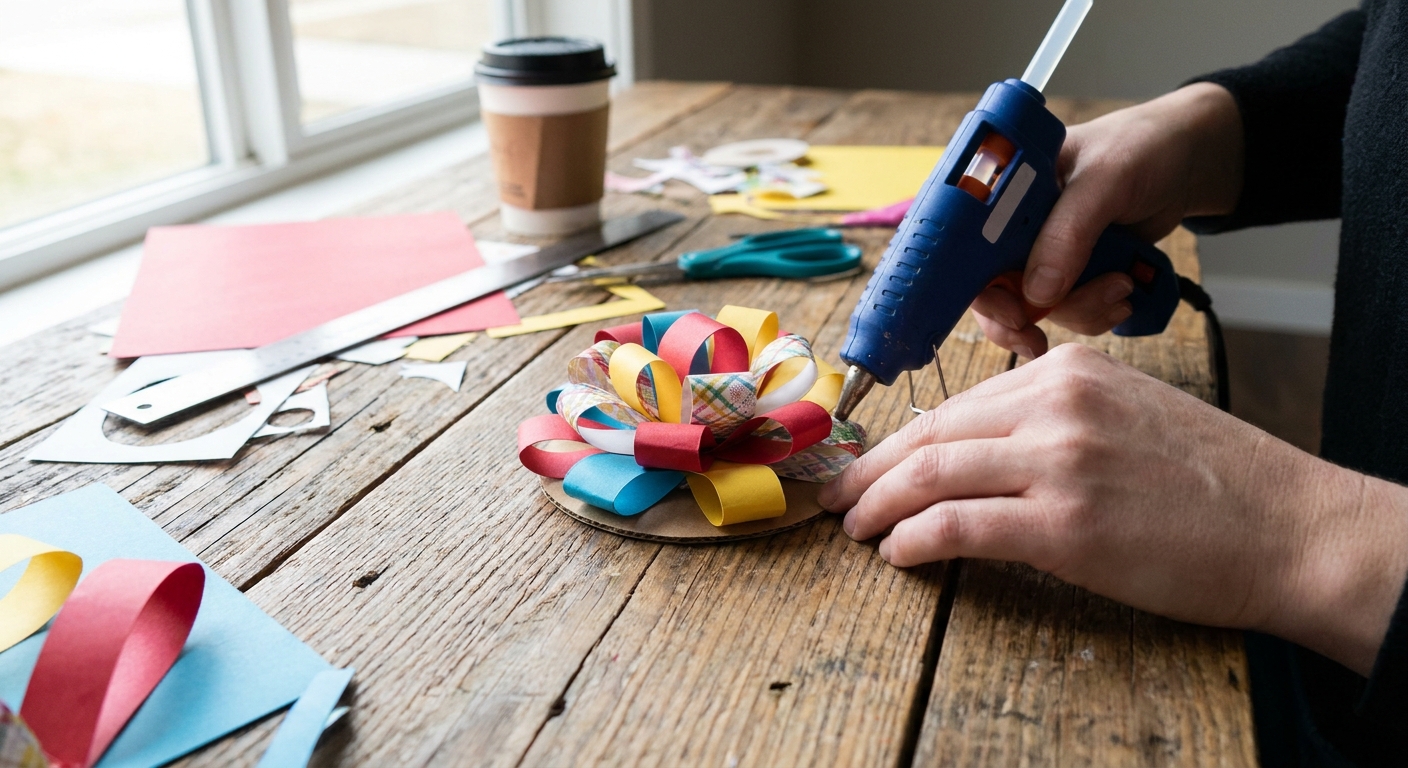
This starburst method is the easiest way to get a full, round bow without complicated folding.
- Create a base: Cut a small cardboard circle (about 1 to 1.5 inches across) from packaging, or use a sturdy scrap of paper. This is your hidden support.
- First layer: Glue 4 loops onto the circle like a plus sign, evenly spaced.
- Second layer: Add 4 more loops in the gaps, creating an 8-point star.
- Third layer: Add the remaining loops on top, angling them so the bow looks round and lush.
- Center cover: Wrap your 1/2-inch strip around the center and glue it on the underside to hide all overlaps.
Need it extra sturdy? Before you wrap the center strip, add one staple through the middle of the bow and the base circle. Then cover it with the center strip so nobody knows.
Add tails
Take your longer skinny strip and cut the ends into a V shape (classic ribbon tail) or a simple diagonal snip. Tape or glue the tail strip to the underside of the bow so it peeks out from behind.
If your gift wrap is busy, keep tails short. If your wrap is plain, let the tails be dramatic.
Let it set
If you used a glue stick, you can usually attach the bow right away. If you used tacky glue, give it about 10 to 20 minutes to grab before you handle it a lot, and longer if you were generous with the glue. I like to build a few bows first, then wrap gifts while they set up.
Attach the bow
- Quick and clean: Use a big piece of strong double-sided tape on the bow base.
- Secure for travel: Tape the bow down, then tie a thin twine or ribbon around the box and over the center of the bow.
- For gift bags: Glue the bow to a small tag, then tie the tag to the handle.
Wrapping-paper tip: Some tapes can tear delicate gift wrap when you try to reposition the bow. If your paper is the fussy kind, put a little cardstock “foot” under the bow (just a small rectangle) and tape that down instead. It spreads the stickiness out and saves your wrapping job.
If you want a sweet finishing touch, pair your bow with a handmade tag. I love this approach: Customize and Print Blank Holiday Gift Tags.
Make it look polished
- Use odd numbers on top: If your bottom layers are even (8 loops), add 3 or 5 smaller loops on top to make it feel organic, not rigid.
- Vary the print subtly: Mix bold color blocks with lighter areas of the coloring page so the bow has depth.
- Hide messy seams: That center wrap strip is your best friend. Make it slightly wider if your overlaps look chaotic.
- Match paper weight to the job: Thin paper looks best with more loops. Thicker paper looks best with fewer, bigger loops.
If you are printing pages specifically for crafting, my tips in Paper Weight and Printer Settings for Holiday Crafts will help you choose paper that cuts cleanly and holds shape.
Kid-friendly version
If little hands are helping, simplify the build:
- Pre-cut the strips.
- Use double-sided tape instead of liquid glue.
- Have kids make loops, then an adult assembles layers on the base circle.
This makes a great quiet-table activity while you are wrapping gifts nearby. Everyone feels included, and the bows come out delightfully wild.
Troubleshooting
My bow looks flat
- Add more loops, especially in a third layer.
- Shorten your strips slightly so loops stand taller.
- Pinch the center of each loop before assembling.
My loops pop open
- Use double-sided tape to hold the overlap, then reinforce with glue.
- Hold each loop closed for 10 to 15 seconds if using tacky glue.
- For stubborn paper, add one staple in the overlap and hide it inside the bow.
The bow is too big
- Trim 1 to 2 inches off the length of every strip and rebuild smaller loops.
- Use fewer loops and keep them evenly spaced.
A sweet use for imperfect pages
I love this craft because it turns the pressure down. A coloring page does not have to be perfect to be beautiful. A smudge becomes texture. A half-finished section becomes pattern. And suddenly your gift wrap has this cheerful, handmade topknot that says, “I spent time on you,” without requiring you to be a professional anything.
If you are on a roll with repurposing finished pages, you might also enjoy Upcycle Coloring Pages Into Gift Wrap for the full matching set.
Quick FAQ
Will these bows hold up in transit?
Yes, especially if you use a sturdy base circle and secure the bow with tape plus a ribbon or twine around the box. If the gift will be tossed in a bag with other items, I recommend the hidden staple through the center.
Can I use marker-colored pages?
You can, with one caution: some markers, especially heavily saturated areas and some alcohol-based markers, can transfer color when rubbed. If you are unsure, use the line-art side facing out, or give the page time to fully dry before cutting.
Do I need a bow-making tool?
Nope. Strips, loops, and a covered center get you that full, finished look with basic supplies.