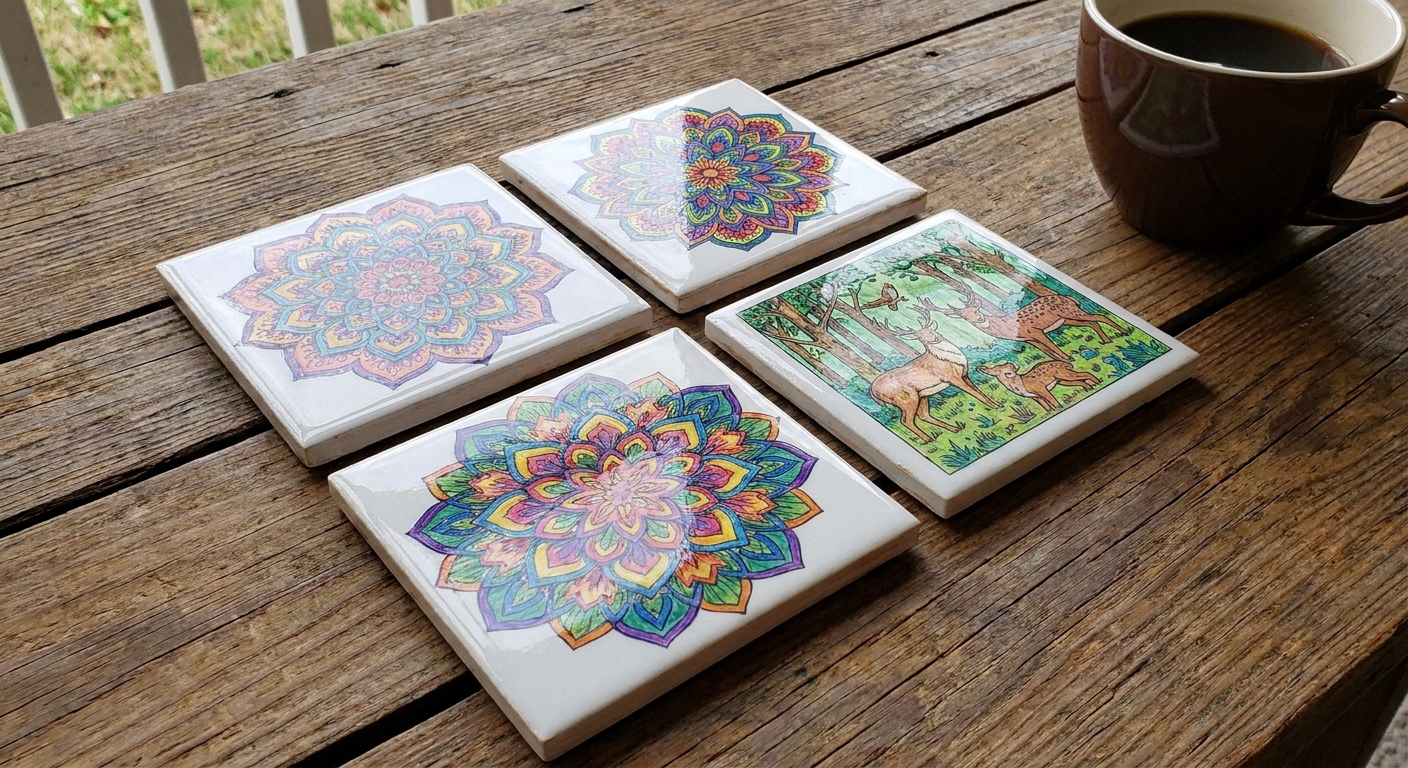
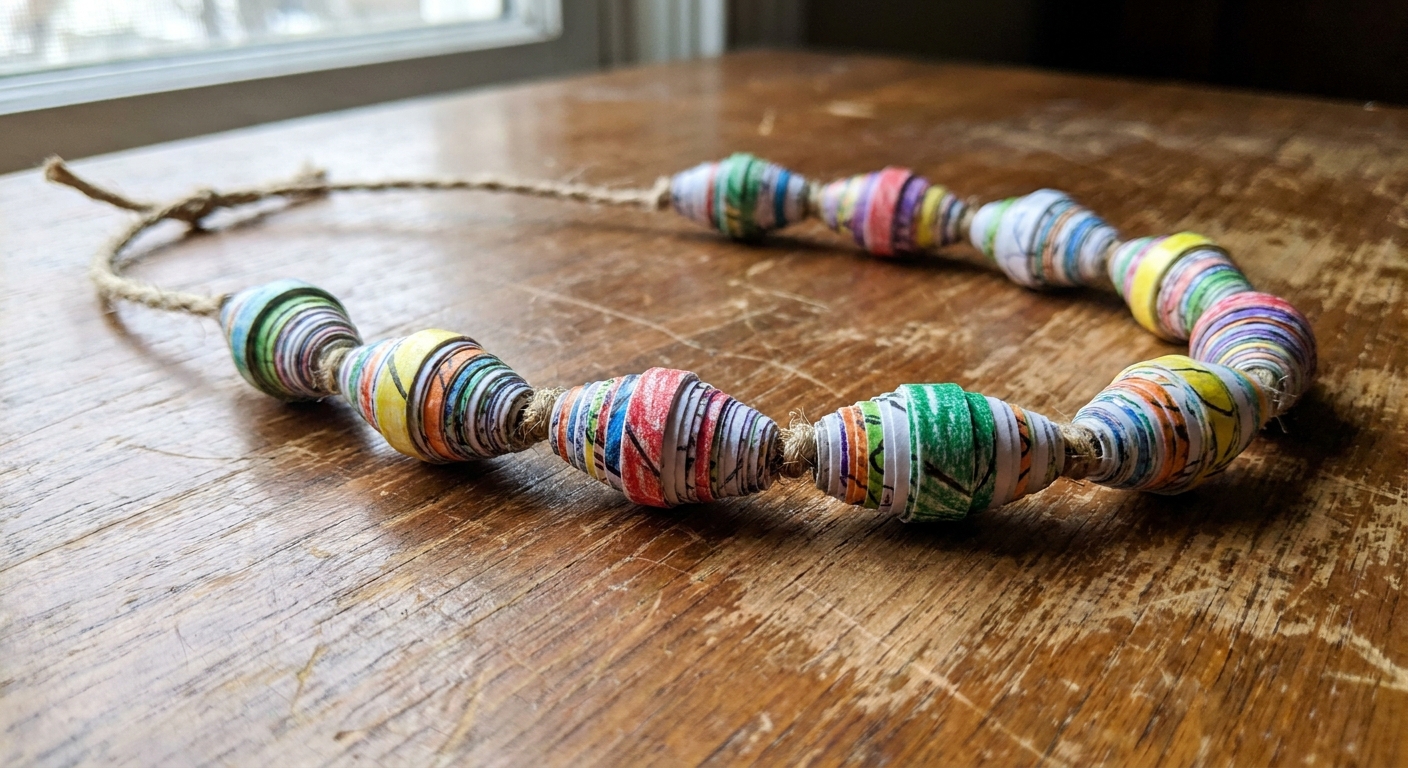
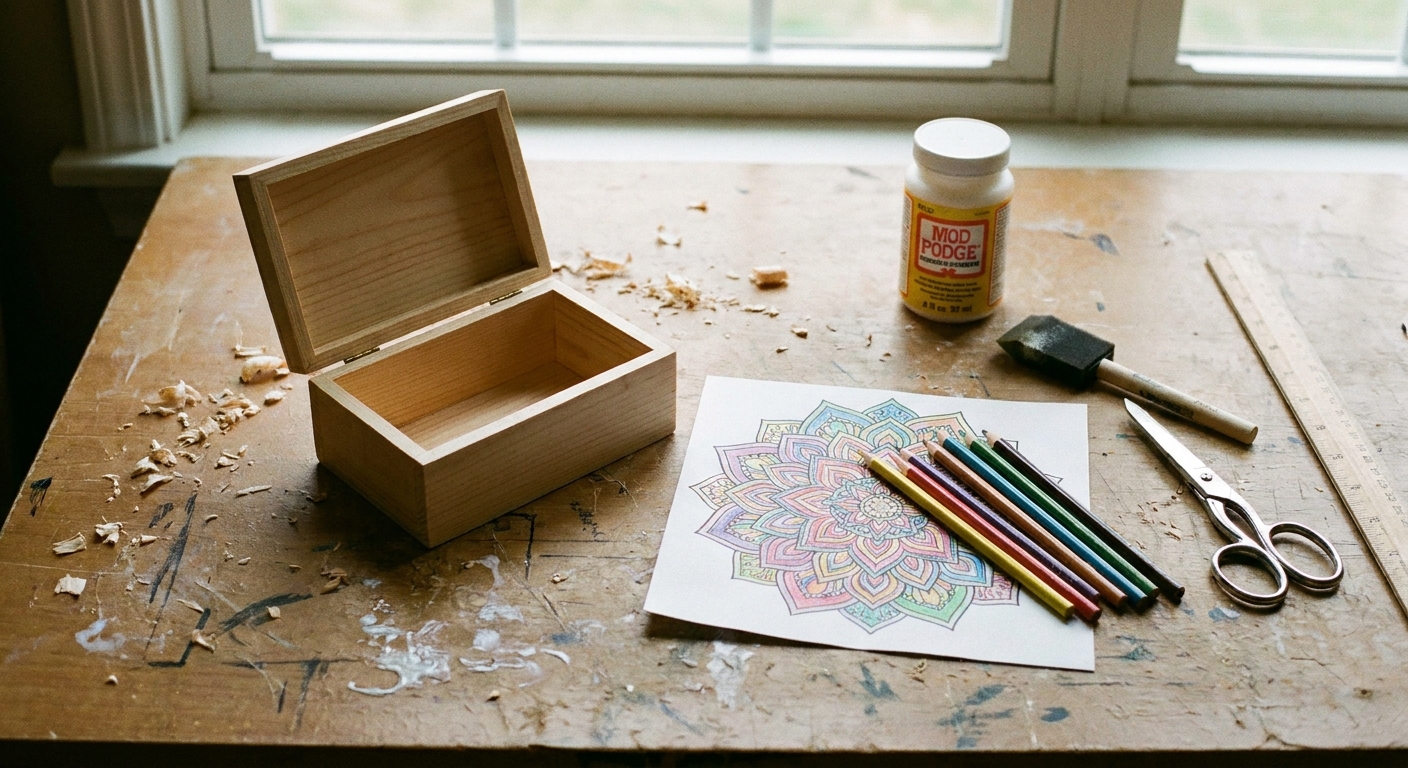
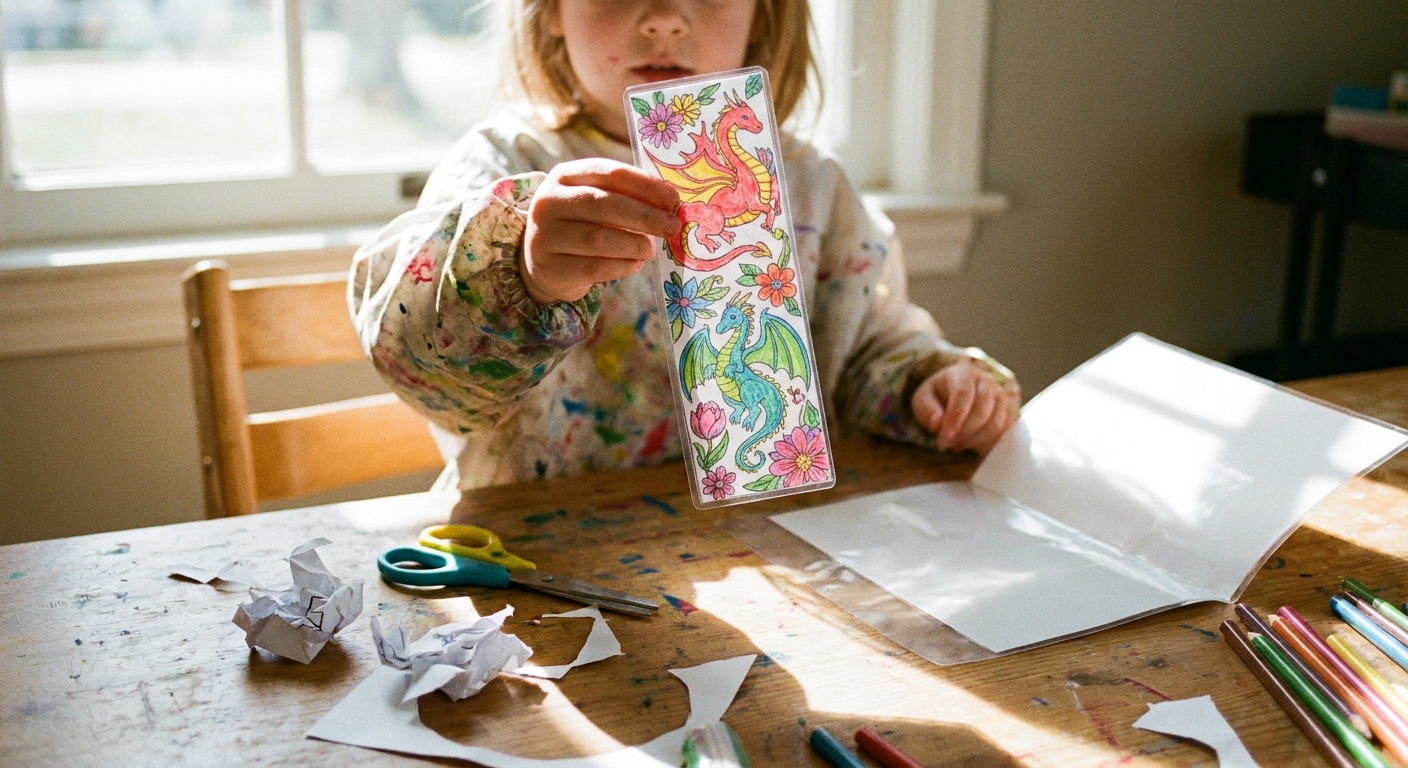
The first time I tried turning a tiny cut-out coloring page into a resin keychain, I was feeling very smug. I had the cutest little mushroom, perfectly colored, perfectly cut… and then the resin turned it into a blurry, inky puddle. If you have ever watched your colors bleed like they are trying to escape the paper, you are not alone.
The good news is that resin keychains with paper art are absolutely doable. You just need two things: a reliable way to seal the paper, and a calm, safe routine for working with two-part epoxy resin.
Why paper acts weird in resin
Coloring pages and coloring supplies are a mix of materials. Some inks are easily reactivated, and some papers soak up liquid like a sponge. When you add resin, a few different problems can show up:
- Bleeding or smearing: Resin can seep into unsealed paper fibers and mobilize certain inks (inkjet prints and many markers are the most likely to move).
- Hazy halos and bubbles: Paper holds tiny pockets of air. When resin surrounds it, that air can escape as bubbles and cling along the edges.
- Cloudiness: Moisture from the paper or an uncured sealer can create a foggy look in otherwise clear resin.
Sealing gives your cut-out a protective “raincoat” so resin cannot soak in and tug pigment around.
Supplies you will want
For the cut-outs
- Finished coloring page art (printed or hand-drawn)
- Sharp scissors or a craft knife and cutting mat
- Tweezers (helpful for placing small pieces)
- Optional: a hole punch if you are embedding a jump ring
For sealing
- Clear-drying glue (a PVA school glue works) or Mod Podge
- Soft paintbrush or foam brush
- Optional upgrade: clear acrylic spray sealer if you prefer spray sealing (often the most water-resistant, consistent option for resin)
For resin keychains
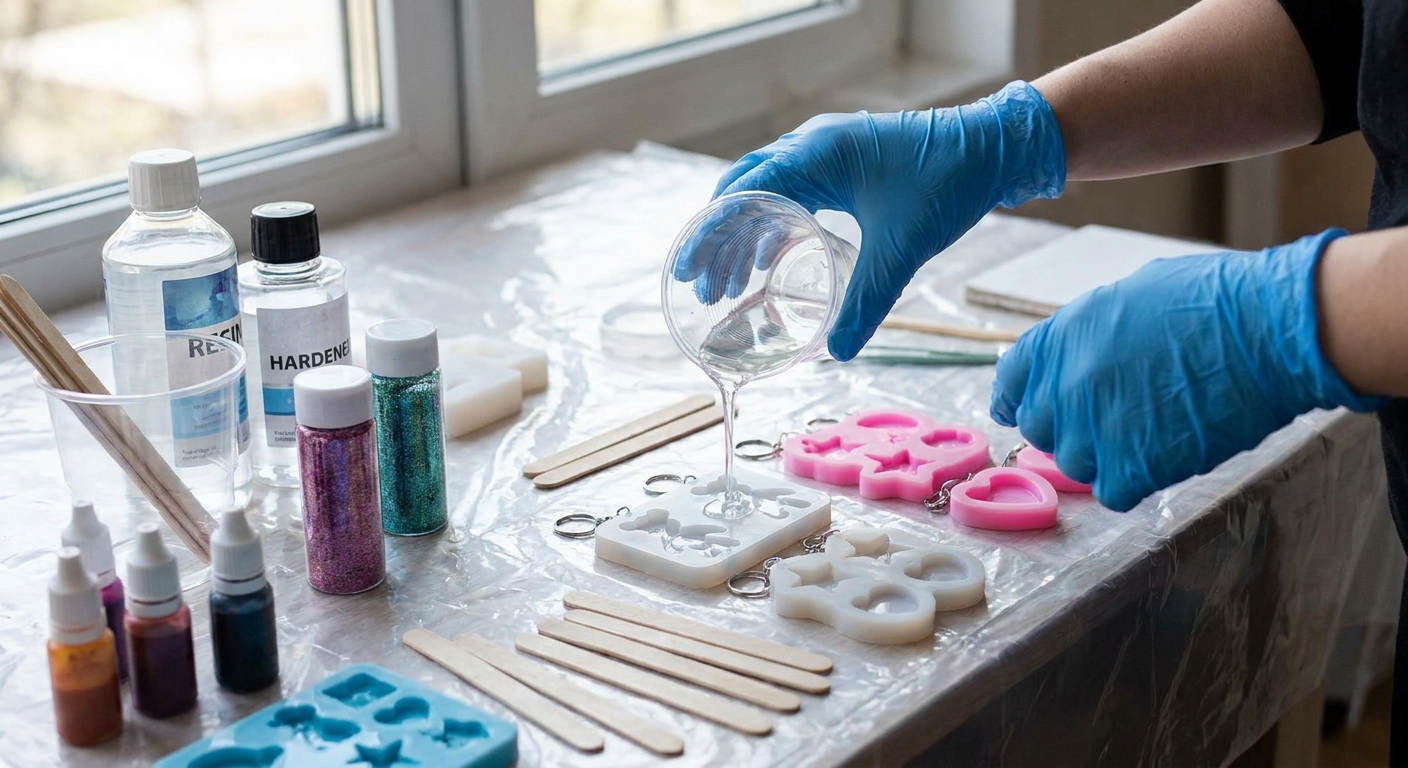
- Two-part epoxy resin (resin + hardener)
- Silicone keychain molds
- Mixing cups and stir sticks (dedicated to resin)
- Nitrile gloves
- Safety glasses
- Disposable table cover (freezer paper shiny side up, or plastic sheeting)
- Isopropyl alcohol and paper towels for quick wipe-ups on tools and surfaces (uncured resin only)
- Heat tool options: a small torch or heat gun (used gently). For a couple tiny surface bubbles, a very gentle exhale can help, but do not overdo it since breath adds moisture.
- Keychain hardware (jump rings, key rings)
If you are unsure about paper choices for crafts, I also keep a simple guide on paper weight and printer settings that can help your cut-outs feel sturdier: /paper-weight-and-printer-settings-for-holiday-crafts/.
Before you seal
You can make almost any medium work, but some are easier for beginners.
- Colored pencils: usually the safest, least likely to bleed.
- Markers: can be fine, but they must be fully dry and well sealed. Some brands re-smear easily.
- Gel pens: pretty, but can smear if not completely cured. Seal gently to avoid dragging ink.
If you want a quick refresher on how different tools act on paper, this comparison may help you plan your page before you start: /markers-vs-colored-pencils/.
How to seal cut-outs
There are a few ways to seal, but my go-to for beginners is a thin brush-on seal. It is inexpensive, predictable, and easy to do at the kitchen table.
Method A: Brush-on glue or Mod Podge
- Let your coloring fully dry. I like to wait at least a few hours for markers or gel pens, overnight if I have time.
- Cut out your design. Cut cleanly, then lightly brush away paper fuzz around the edges.
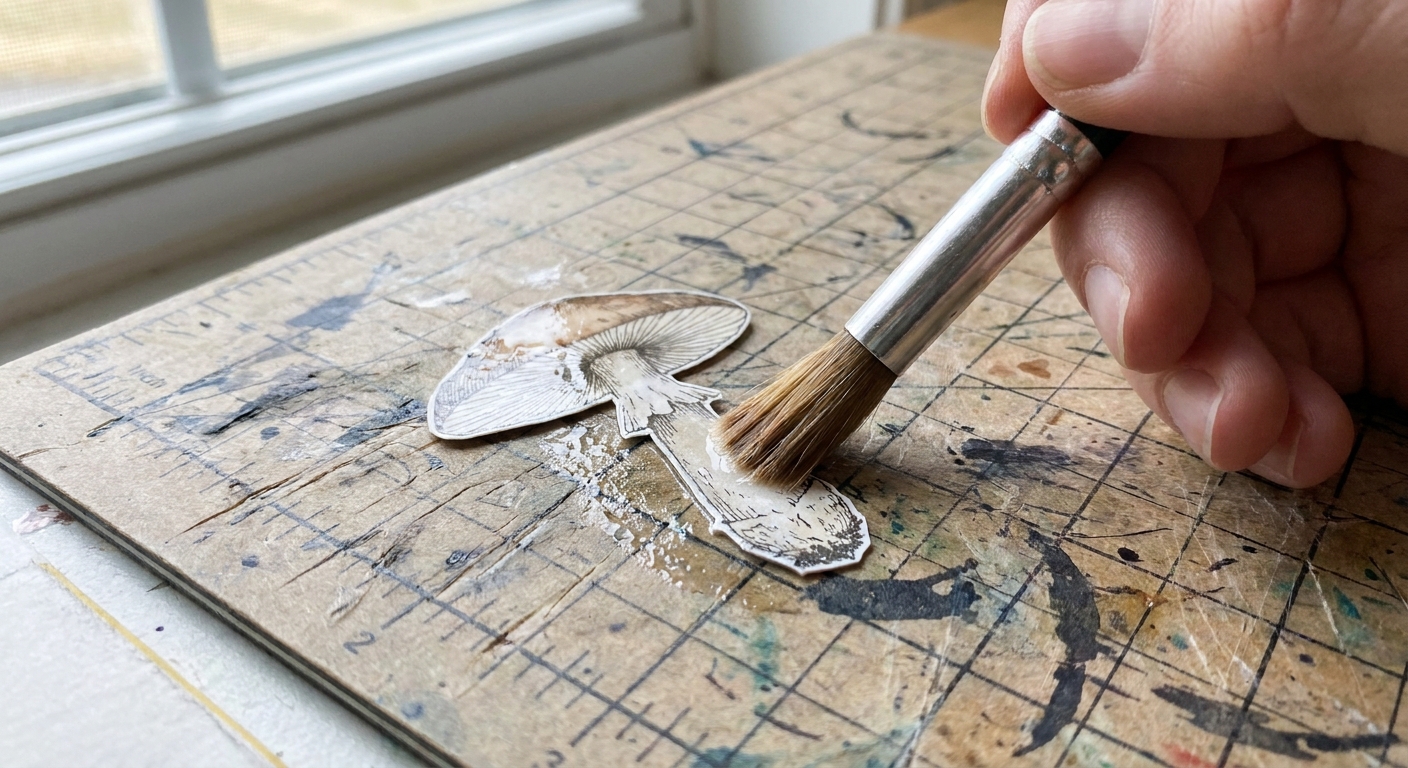
- Seal the front with a light touch. Brush on a thin coat of glue or Mod Podge. Use gentle strokes (center outward) so you do not re-wet and drag ink. If you are using markers or gel pen, a very light “floating” first coat is safer than a juicy one.
- Let it dry completely. It should feel dry, not cool or tacky.
- Seal the back. Thin coat again, then dry completely.
- Seal the edges. This part is easy to skip, but edges are where resin loves to sneak in. I run a tiny bit of sealer along the cut edge and let it dry.
- Repeat with a second coat. Two coats front and back is my sweet spot for most coloring pages.
Tip: Thin layers beat thick layers. Thick sealer can dry cloudy or leave brush ridges that show in clear resin.
Method B: Clear acrylic spray sealer
Spray sealer is wonderful if you can work outdoors or in a very well-ventilated space. Do light coats, let them dry, then flip and repeat.
- Use multiple light passes instead of one heavy spray.
- Follow the can directions for dry time, recoat time, and full cure time. (A lingering strong smell can be a clue it is not cured yet, but the label timing is the real rule.)
Quick bleed test
If you are trying a new marker, a new printer, or a new sealer, test first:
- Seal a small scrap colored the same way as your cut-out.
- Put a drop of mixed resin on it or brush a tiny bit of rubbing alcohol on top.
- If color lifts or smears, add another coat of sealer and let it cure longer.
Epoxy safety
Epoxy resin is fun, but it is still a chemical process. Treat it like something you do not want on your skin, because repeated exposure can lead to sensitization (meaning your body may start reacting more strongly over time).
- Ventilation: work in a well-ventilated area.
- Gloves: nitrile gloves protect better than latex for many people.
- Eye protection: especially if you use a torch to pop bubbles.
- Dedicated tools: keep resin cups, sticks, and molds for crafts only.
- Level surface and steady room temp: work on a level table and aim for the temperature range your resin recommends (many epoxies behave badly in cold rooms).
- Keep kids and pets away during mixing, curing, and demolding.
- Clean-up reality check: isopropyl alcohol can help wipe uncured resin off tools and surfaces, but do not use it on skin. Once resin is cured, it will not wipe up.
Always read and follow the safety instructions and cure times on your resin brand. Cure times and ratios vary.
Cast a resin keychain
1) Prep your mold
Decide how your keychain will hang before you pour.
- If your mold has a built-in hole, great.
- If you are embedding a jump ring, set it aside and practice placing it with tweezers first.
2) Mix the resin slowly
Measure exactly according to your resin instructions. Mix slowly, scraping the sides and bottom. Fast stirring makes extra bubbles that love to park themselves right on top of your art.
3) Pour a thin base layer
Pour just enough resin to cover the bottom of the mold. This helps prevent your paper from sitting directly on the mold surface and trapping air underneath.
Let this layer sit a few minutes so bubbles can rise. If your resin has a stage where it thickens slightly (some people call it the gel stage), that is often a great time to place the cut-out so it does not drift or float.
4) Place the sealed cut-out
Use tweezers and lower the cut-out into the resin gently.
- Press lightly in the center to release trapped air.
- If you see bubbles clinging to the paper edge, coax them out with a toothpick.
5) Top up with resin
Pour resin until the mold is filled. Pour along the side of the mold in a thin stream to reduce bubbles.
6) Pop bubbles carefully
Use your preferred method:
- Toothpick: excellent for tiny surface bubbles near the paper edges.
- Heat gun: use from a distance and keep it moving. Too much heat can warp the mold or push your cut-out around.
- Small torch: quick passes only, and never linger in one spot.
7) Cover and cure
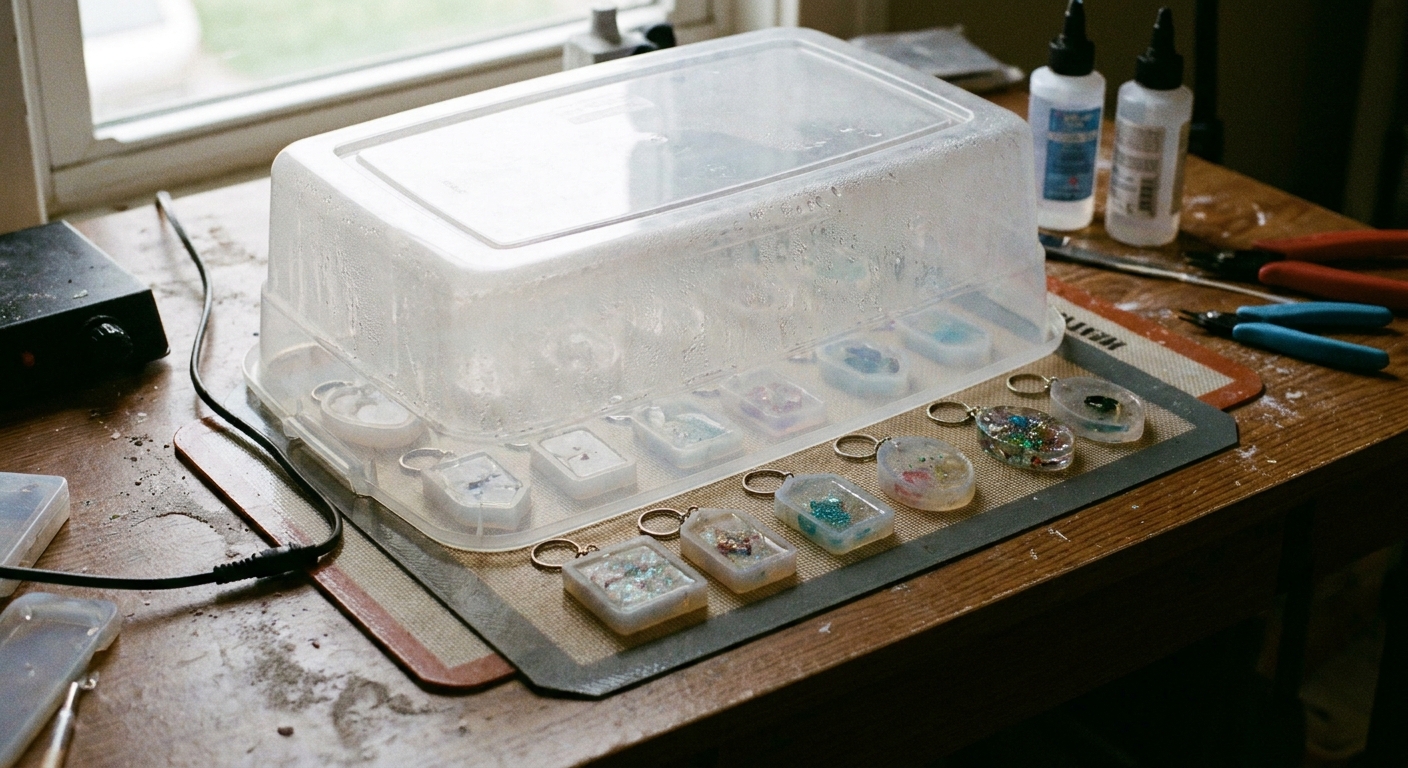
Cover your molds with a clean box lid or plastic container to keep dust out. Let cure fully according to your resin instructions. Moving it too soon can tilt the design or create ripples.
Demold and finish
Remove from the mold
When fully cured, flex the silicone mold and release the piece. If it feels bendy or rubbery, give it more time.
Add hardware
- Attach a jump ring through the hole.
- Add your key ring or clasp.
Smooth edges
If the edge feels sharp, you can wet sand lightly with very fine grit sandpaper and then add a thin coat of resin as a final gloss coat. Only do this if your resin brand supports it and your workspace is set up for sanding dust control.
Problems and fixes
My paper still bled
- Add more sealer coats, especially on edges.
- Let the sealer cure longer. Dry to the touch is not always cured.
- Try colored pencils for the design, or choose a different marker for future pieces.
The cut-out floated
- Wait for the base layer to thicken slightly before placing the cut-out.
- Pour a thinner base layer, place the cut-out, then top up gradually.
Tiny bubbles outline my cut-out
- Seal edges more carefully.
- Press the cut-out gently into the base layer and tease bubbles out with a toothpick.
- Warm your resin bottles in a lukewarm water bath before mixing to reduce viscosity and bubbles. Keep caps closed so no water gets in.
Cloudy resin
- Double-check your measuring ratio and mix time.
- Avoid humidity if your resin is sensitive to it.
- Make sure any brush-on sealer is fully dry and not trapping moisture.
Keychain ideas
- Mini charm sets: color a themed page and cut out 3 to 5 tiny motifs.
- Name initial + icon: an initial with a small flower or star in the corner.
- Palette challenges: pick 3 colors and keep every keychain in that tiny palette. If you love that kind of soothing constraint, you will probably enjoy choosing a cohesive color palette.
- Memory keychains: use a small cut-out from a page your child colored and turn it into a keepsake.
Resin and kids
I love kid crafts, but I do not treat epoxy resin as a kids-at-the-table activity. Kids can absolutely help with the fun parts like coloring, choosing designs, and cutting shapes (with supervision). For the resin mixing and pouring, I recommend adults-only.
If you are looking for crafts that keep the same “tiny treasure” feeling without resin, you might like making laminated keepsakes such as bookmarks: /laminated-bookmarks-from-kids-coloring-pages/.
FAQ
Do I have to seal both sides?
Yes, if you want consistent results. Resin can seep in from the back or edges, not just the front.
Can I use packing tape to seal?
You can, but it tends to show seams and trapped air, especially around curves. For clear, glassy results, brush-on or spray sealers usually look cleaner.
Should I laminate the cut-out first?
Lamination can work, but the plastic edge can sometimes show as a noticeable border in resin, and it can trap air. If you laminate, trim very close and still watch for bubbles along the edge.
What is the best paper for resin keychains?
Slightly thicker paper is easier to handle and less prone to wrinkling. Standard printer paper works if it is sealed well, but a heavier sheet often feels more “charm-like.” Also note: laser prints (toner) are often more stable than inkjet prints in wet processes, but sealing is still the best insurance either way.
A sweet finishing touch
My favorite part of these little keychains is that they turn a quiet coloring moment into something you can carry around. They are small, shiny reminders that you made something with your hands, even if it was just for ten calm minutes at the table.
If you end up with extra colored pieces you do not want to cast, you can always tuck them into another project, like turning finished pages into gift wrap: /upcycle-coloring-pages-into-gift-wrap/.