I grew up in a house where paper was never just paper. A “finished” coloring page might become a bookmark, a little wall print, or a homemade card before dinner was even cleared. One of my favorite upgrades, though, is turning a full-size colored page into a real, mailable envelope. It feels like sending a tiny piece of your calm, creative table out into the world.
This guide walks you through a few dependable envelope folds for standard 8.5 x 11 inch pages, plus the little details that make them sturdy enough for the mailbox.
Before you fold: choose the right page
You can fold envelopes from almost any printed coloring page, but if you want it to survive the journey (and look crisp when it arrives), a few choices really help.
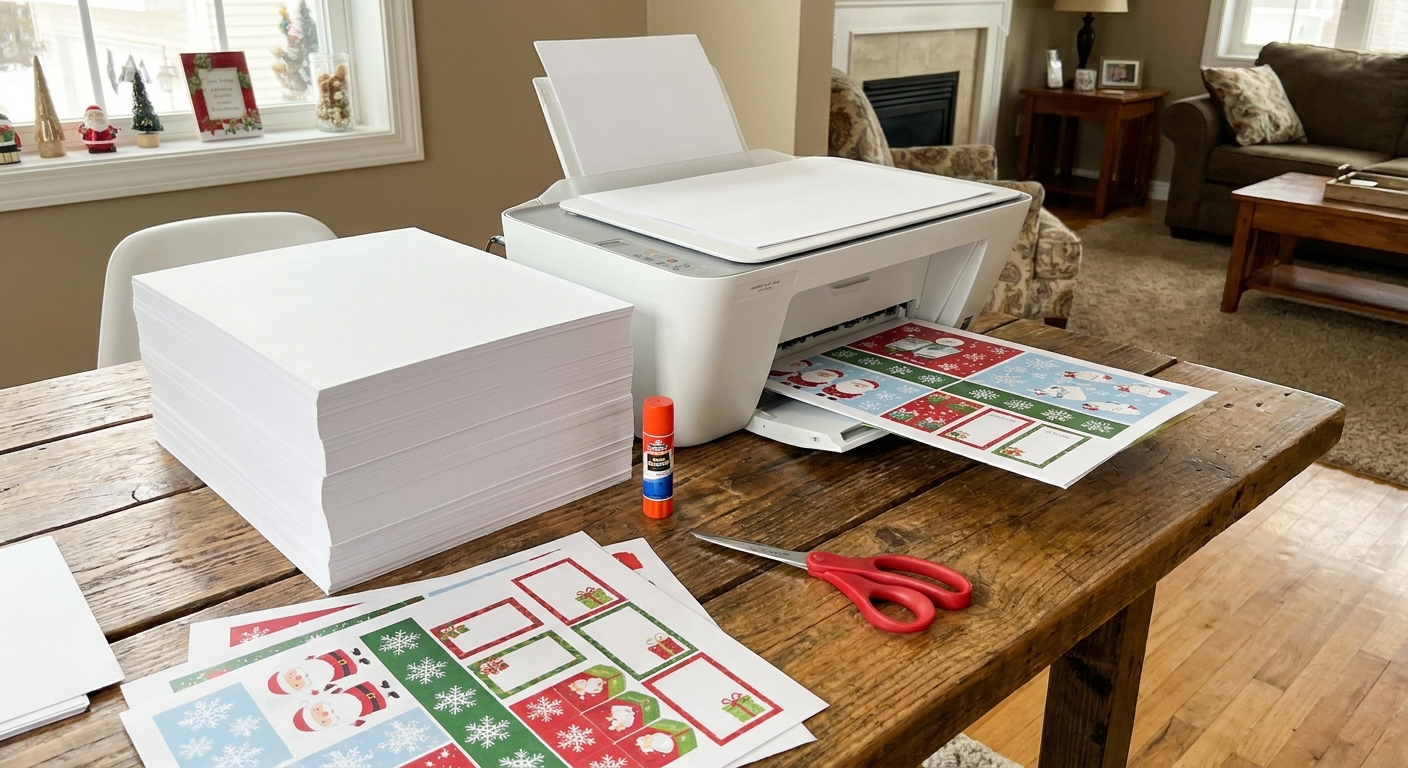
- Paper weight: Regular printer paper works, but a slightly heavier sheet feels more like a store-bought envelope. If you are printing your coloring page, my printing tips in paper weight and printer settings for holiday crafts apply beautifully here too.
- Ink safety: If your page is colored with markers that smear when touched, plan to keep the marker side on the outside of the envelope, and test for smudging after it dries. Dry times vary a lot depending on the ink and paper, so give it plenty of time if you can.
- Design placement: Decide what you want the receiver to see. A big character or flower looks adorable centered on the front. A pattern looks great on the flap.
- Mail friendliness: Avoid chunky add-ons like glitter glue or thick stickers on the outside. Those can snag in automated sorting machines.
Tools and supplies
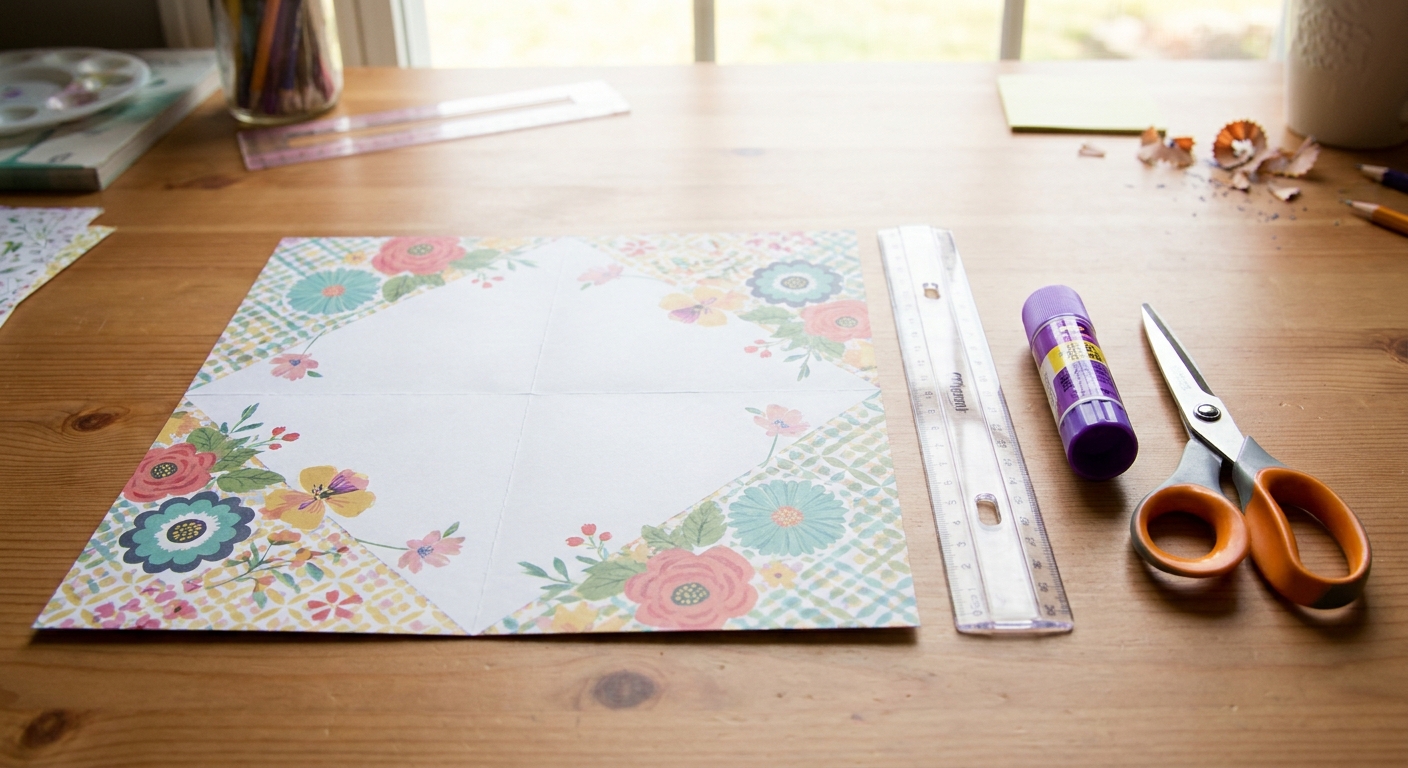
You can do this with basic desk supplies. The only “fancy” step is making the folds sharp.
- One 8.5 x 11 inch colored page (or printed coloring page)
- Ruler
- Pencil (light marks)
- Scissors or paper trimmer
- Glue stick or double-sided tape (tape is usually stronger)
- Optional: bone folder, the back of a spoon, or a capped pen for crisp creases
- Optional: a scrap of plain paper for an address label, if the envelope is busy
Size planning: what are you mailing?
Start by deciding what needs to fit inside. Here are three common situations:
- Letter only: A tri-folded letter (folded into thirds) fits nicely in a long envelope shape.
- Greeting card: Many greeting cards are A2 size (about 4.25 x 5.5 inches folded). You can fold an envelope that hugs it closely, or go a little bigger if you want an extra note inside.
- Photos or flat keepsakes: Keep everything perfectly flat and add a bit more overlap on seams for strength.
If you want a quick win, use the “any size” method below and custom fit it around the exact item you are mailing.
Method 1: The custom-fit wrap-around envelope
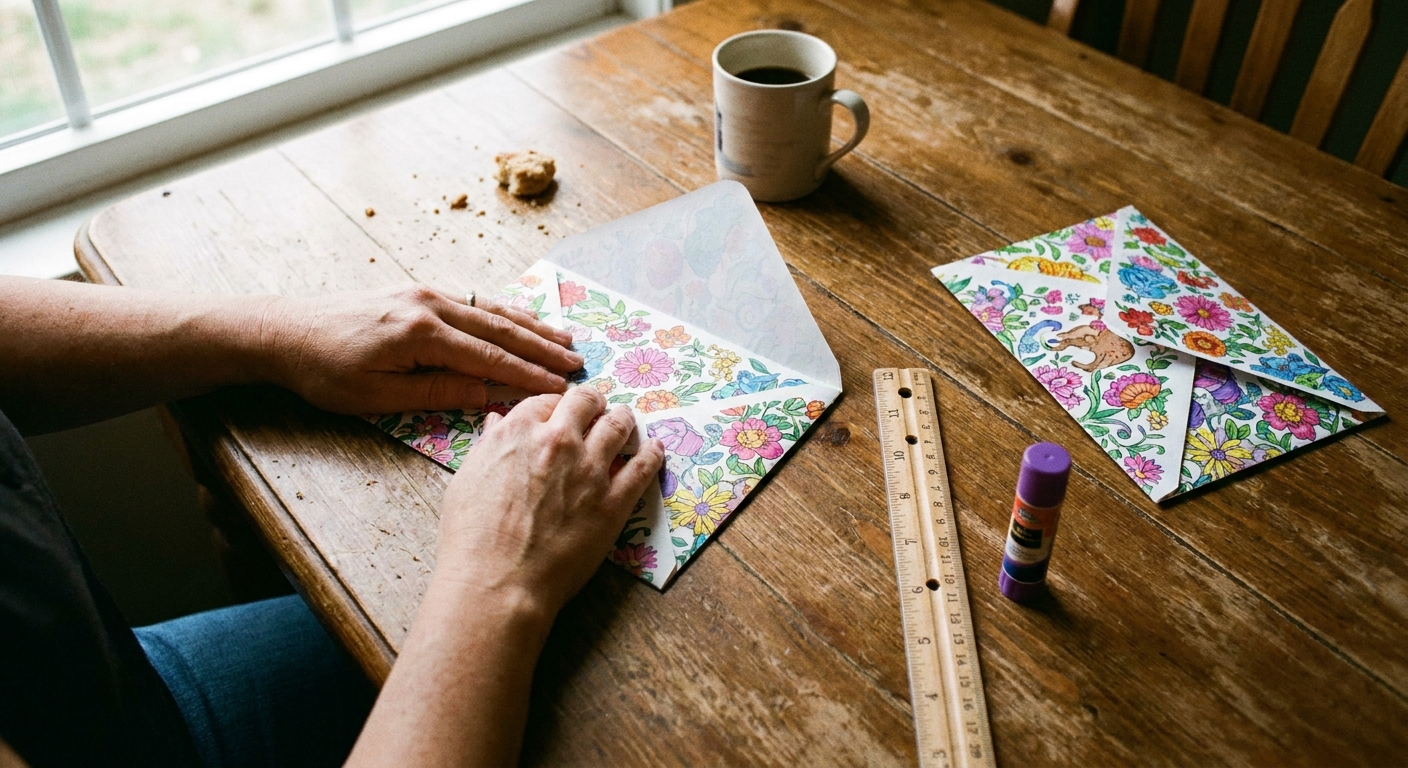
This is my go-to because it fits exactly around your card, and the folding logic is simple. You are basically gift wrapping with paper, then sealing the sides.
Step 1: Center your card
Place your card face down in the middle of the colored page, with the side you want visible on the outside facing the table.
Step 2: Fold the bottom up
Fold the bottom edge of the page up over the card so it covers it completely. Crease firmly, then unfold.
Step 3: Fold the top down
Fold the top edge down so it overlaps the bottom fold line by about 1 inch. Crease firmly.
Step 4: Fold the sides in
Fold the left side in until it just meets the card edge. Repeat on the right side. You should now see the basic envelope shape around the card.
Step 5: Trim bulk (optional but makes it flatter)
Open the side folds and look at the little rectangles of paper that stick past the top and bottom edges near the corners. Trimming those off reduces thickness. You only need to remove a small amount, and you do not have to be perfect.
Step 6: Seal the sides
Take the card out. Apply double-sided tape or a strong glue stick along the inside edge of one side flap and fold it back into place. Repeat for the other side.
Step 7: Create a flap
Your top fold becomes the flap. If you want a classic angled flap, trim the corners into a triangle shape.
Penelope tip: If your envelope will be mailed, I like to add a second line of tape inside each side seam. It is invisible and it makes the envelope feel surprisingly professional.
Method 2: A sturdy long envelope
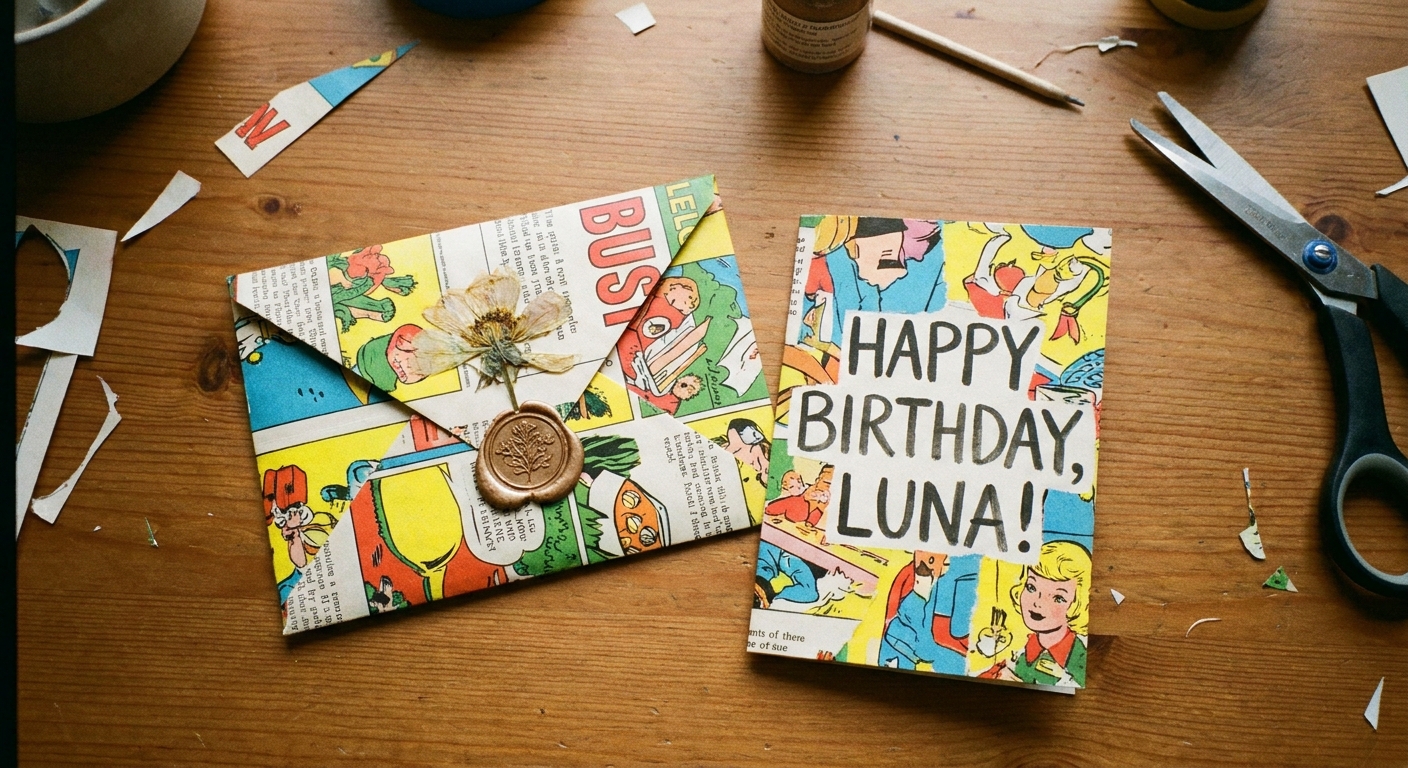
If you are sending a letter (or a thin stack of pages), this slim shape is satisfying and easy to address.
Step 1: Cut the sheet to a long rectangle
Trim your 8.5 x 11 inch page down to 8.5 x 9 inches by cutting 2 inches off the 11-inch side. This smaller rectangle folds into a cleaner long envelope that is not too bulky.
Step 2: Position your letter
Fold your letter into thirds first. Place it centered on the paper.
Step 3: Fold bottom up, top down
Fold the bottom up over the letter and crease. Fold the top down to overlap by about 1 inch. Crease well.
Step 4: Fold and seal sides
Remove the letter, fold each side inward so they overlap slightly (about 1/2 inch overlap is great), then tape or glue the overlap shut. Put the letter back in and close the flap.
Extra sturdy option: If you have washi tape, you can run a strip along the side seams on the inside. It reinforces without adding much thickness.
Method 3: The classic square style
Square envelopes are adorable for hand-delivered notes, invitations, or slipping into a gift. They can be less postage-friendly in some postal systems, so check your local rules if you plan to mail a true square shape. Square or unusual sizes may need additional postage and may be processed differently.
How to fold
- Trim your 8.5 x 11 inch page into a square. The biggest square you can get is 8.5 x 8.5 inches.
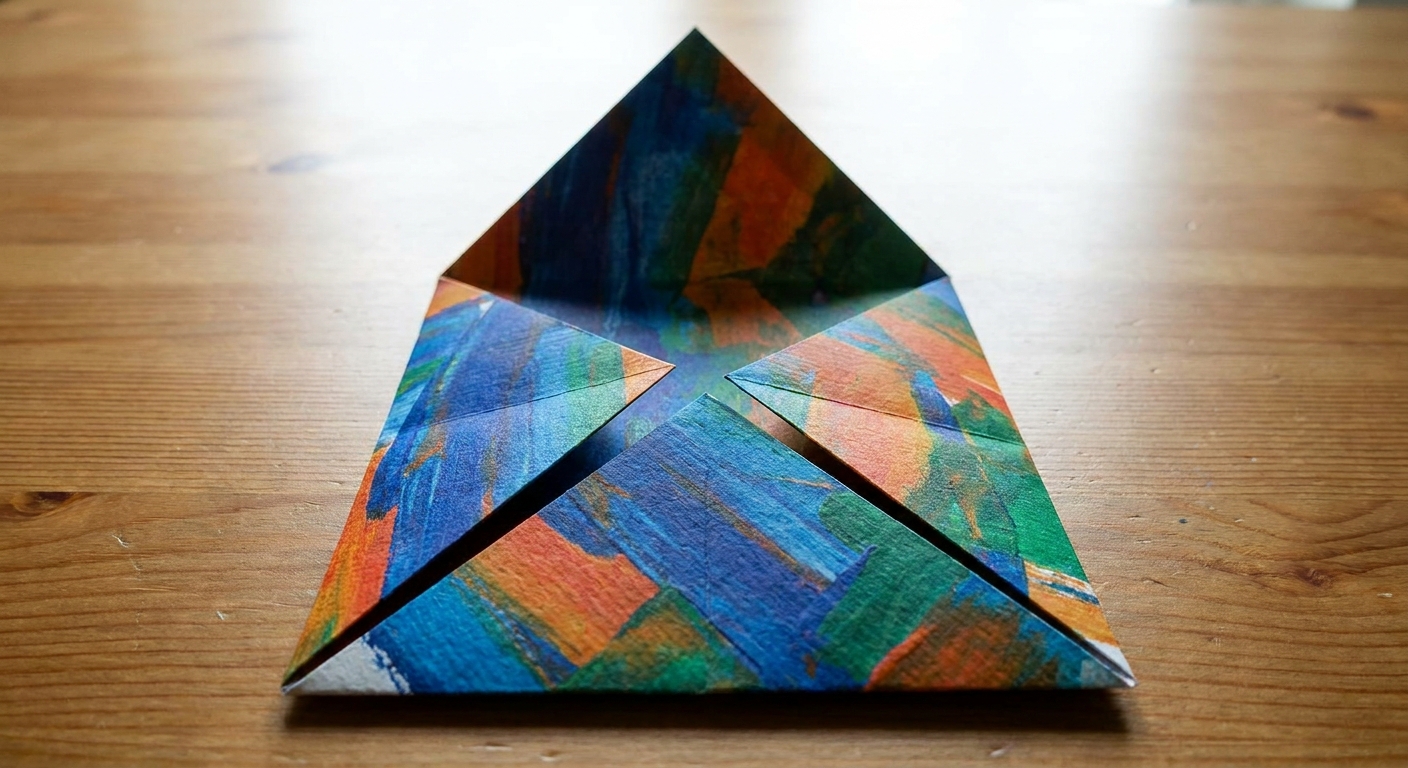
- Place the square like a diamond (one corner pointing up).
- Fold the bottom corner up to the center and crease.
- Fold the left corner to the center and crease, then the right corner to the center and crease. The left and right should overlap slightly.
- Tape or glue the overlapping side corners down.
- Fold the top corner down to create the flap. Trim to your favorite shape.
Make it mail-ready
Homemade envelopes can often be mailed, but they do best when they are smooth, flexible, and securely sealed. If you are unsure, bring one finished envelope to the post office and ask if it is machinable, nonmachinable, or better hand-canceled in your area.
- Use tape for seams: Glue sticks are fine, but double-sided tape tends to hold better during transit, especially on smoother paper.
- Reinforce the flap: Add one strip of tape along the flap edge, or seal with a small piece of sturdy tape. If you use a sticker, keep it flat and centered.
- Keep it flexible: Avoid thick layered paper, foam stickers, and anything that makes the envelope lumpy or rigid.
- Do a quick shake test: Close the envelope and gently shake it. If the contents slide around a lot, add a small folded scrap of paper as a spacer so it stays snug.
- Watch for ink transfer: If you used heavy marker, gel pen, or watercolor, make sure it is fully dry and not tacky. For extra protection, slip your note into a plain inner sheet before you insert it.
If you want a fun coordinated set, pair the envelope with a handmade note using my card fold tutorial: turn a coloring page into a folded card.
Address a busy envelope
This is the moment where everyone hesitates, because the envelope is so pretty. These approaches keep the design front and center.
- Use a plain label: Cut a small rectangle from white paper and glue it on the front. It looks intentional and keeps the address readable.
- Create a light address area: Leave a blank area when you color, or keep one corner mostly pale so dark ink stands out.
- Test pen on a scrap first: Some gel pens and markers smear on printed paper. A basic ballpoint is often the most reliable.
Optional upgrades I love
Liner from leftover scraps
If you trimmed the page into a square or a smaller rectangle, use the leftover strip as an inner liner. Glue it inside the envelope before you seal the side seams.
Coordinated palette
If you want the envelope to look polished, pick a limited color family and repeat it in a few spots. My favorite way to do this is choosing 3 to 5 colors before I start: choose a cohesive color palette before you color.
Make it a keepsake
If the envelope is part of a special note, write the date lightly inside the flap. Years from now, that tiny detail makes it feel like a time capsule.
Troubleshooting
My envelope keeps popping open
Switch from glue to double-sided tape, and make sure the paper is not dusty from eraser crumbs. Press firmly for 10 seconds after sealing.
The edges look messy
Use a ruler to line up folds, and crease with the back of a spoon. Also, trimming the corners where layers stack makes everything flatter and cleaner.
It tore when I folded it
Very dry paper or heavily inked areas can crack on sharp creases. Fold more gently at first, then strengthen the crease gradually. If you are printing pages, slightly heavier paper helps.
I want to make a bunch at once
Make one test envelope first and write your measurements down. Then you can batch cut and batch fold assembly line style, especially if you are using a paper trimmer.
Use the leftovers
Those offcuts from trimming your page are perfect for tiny matching enclosures. I like to cut them into mini note cards or little gift tag shapes. If you are in a gift wrapping mood, you might also enjoy upcycle coloring pages into gift wrap.
And if you are sending something extra special, save one envelope as a “master” and trace it onto future pages. It turns the intimidating blank sheet into a familiar, comforting project, which is basically my whole reason for loving crafts in the first place.