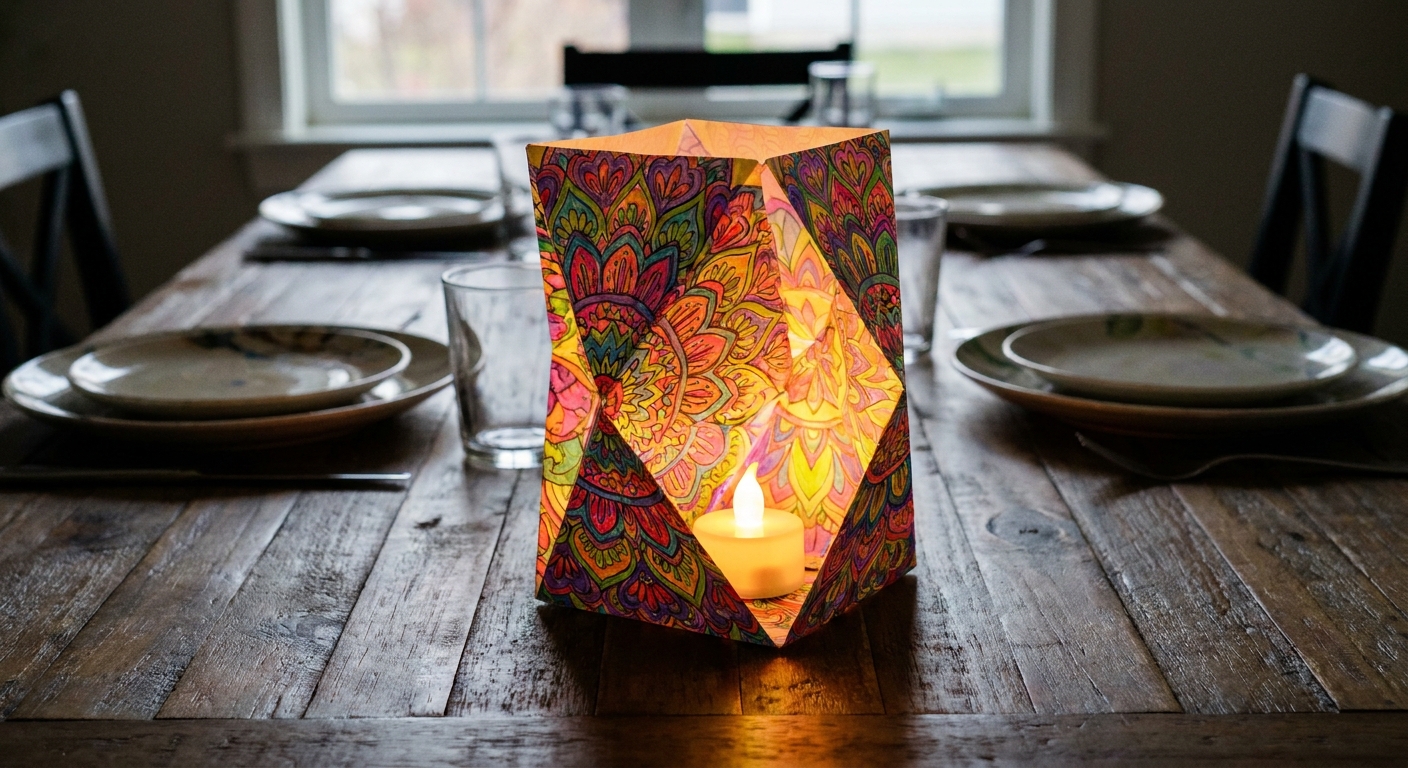
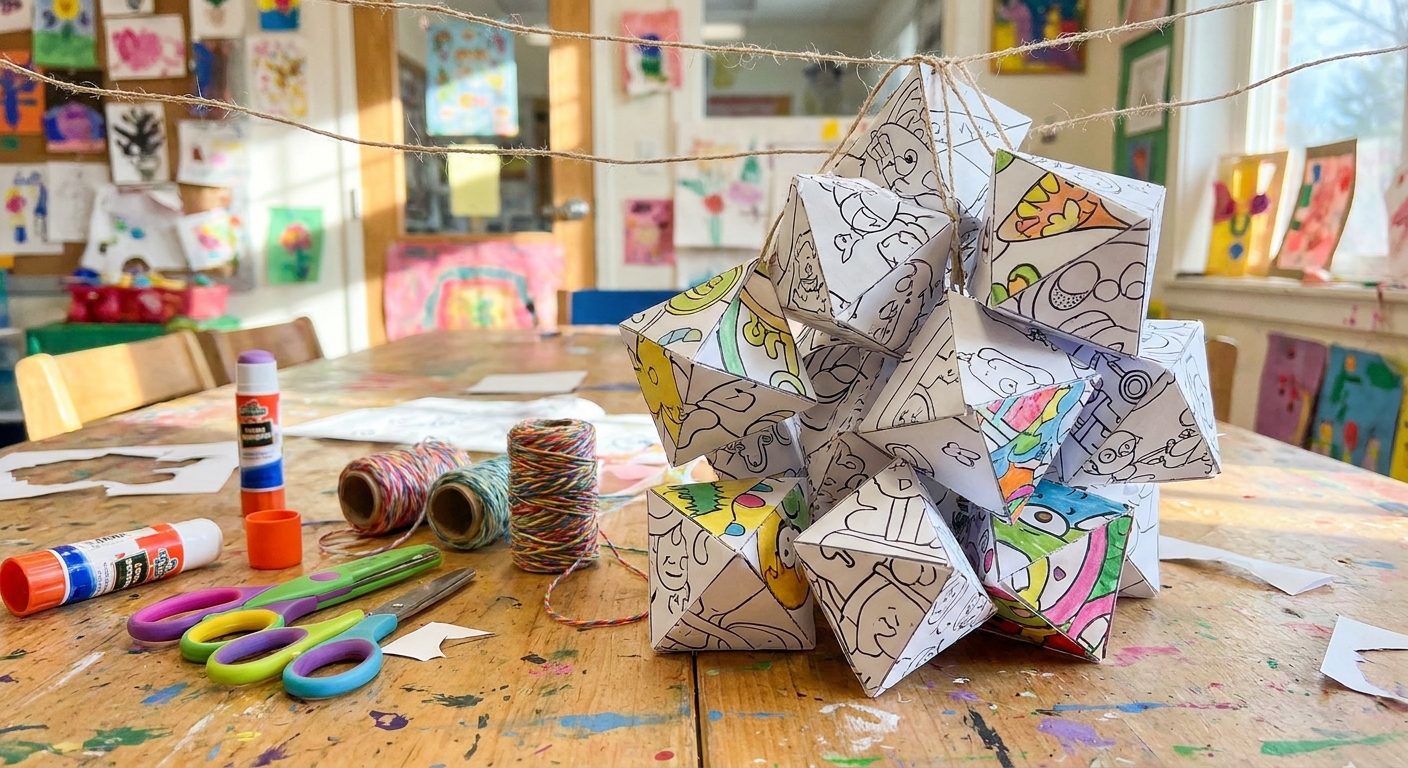
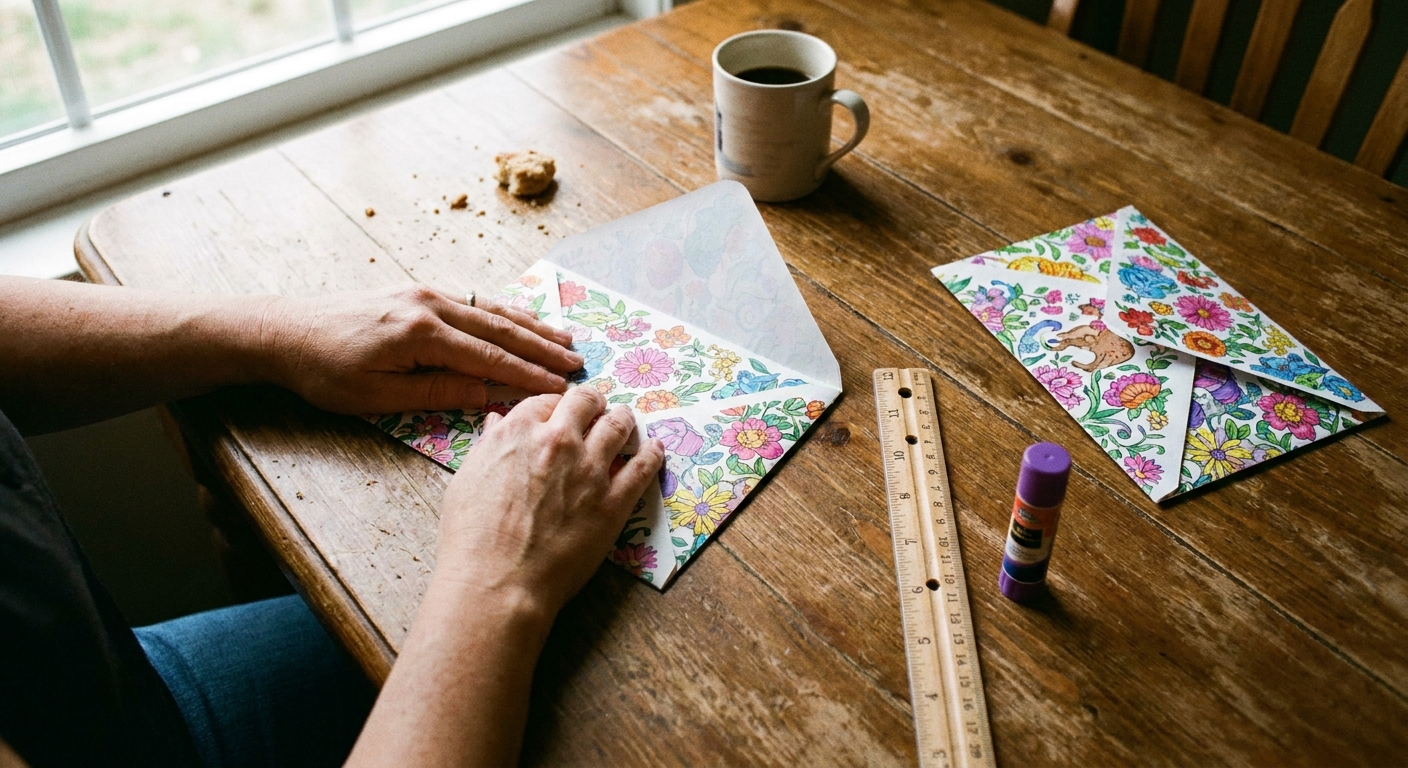
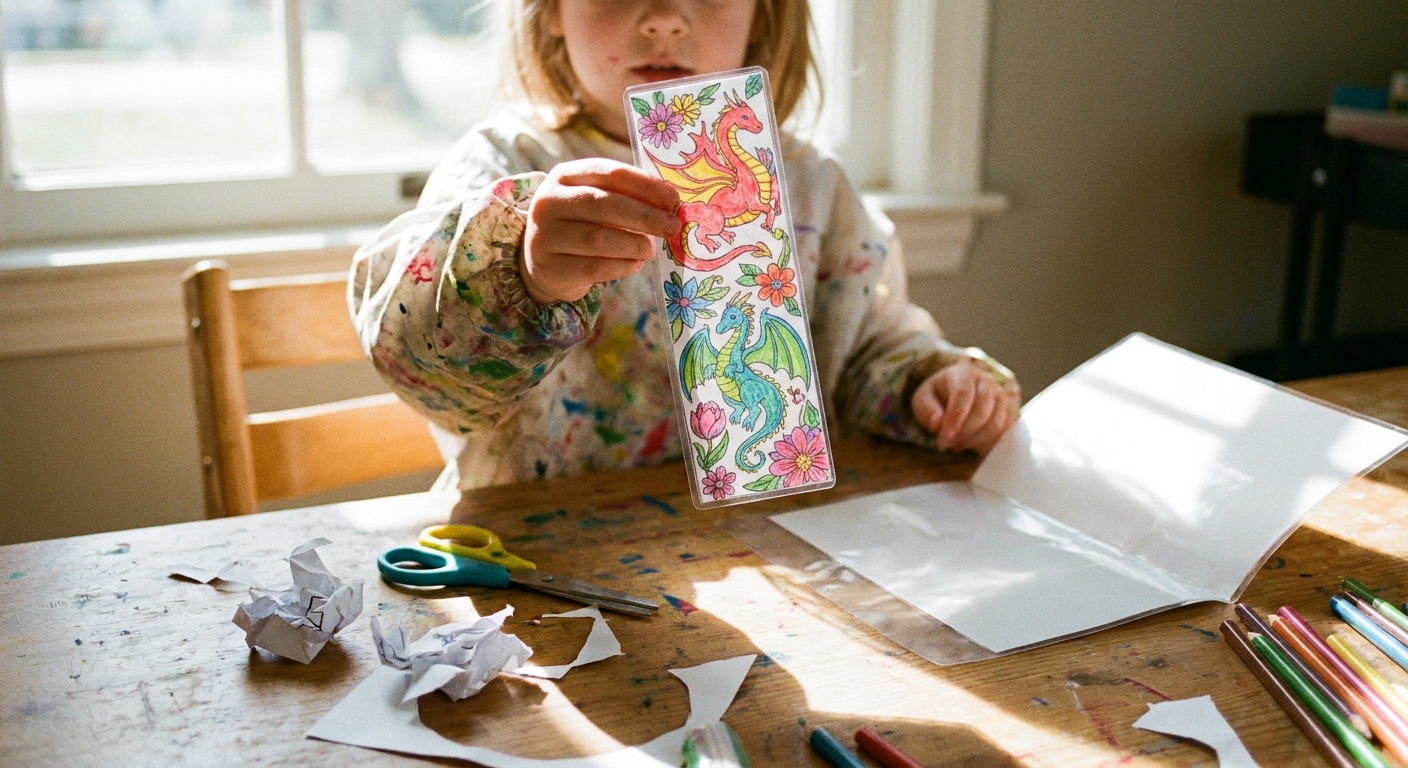
I grew up with sketchpads all over the dining table, which means I also grew up with lots of paper scraps. These days, one of my favorite little “second life” tricks is turning finished coloring pages into origami. It is satisfying in the best way: your kid colors a page, you admire it for two seconds, and then it becomes a tiny 3D creation you can play with, gift, or decorate with.
Below are 10 beginner-friendly origami projects that work beautifully with colored pages. Think of it as crafting that starts with a calm moment and ends with something you can hold.
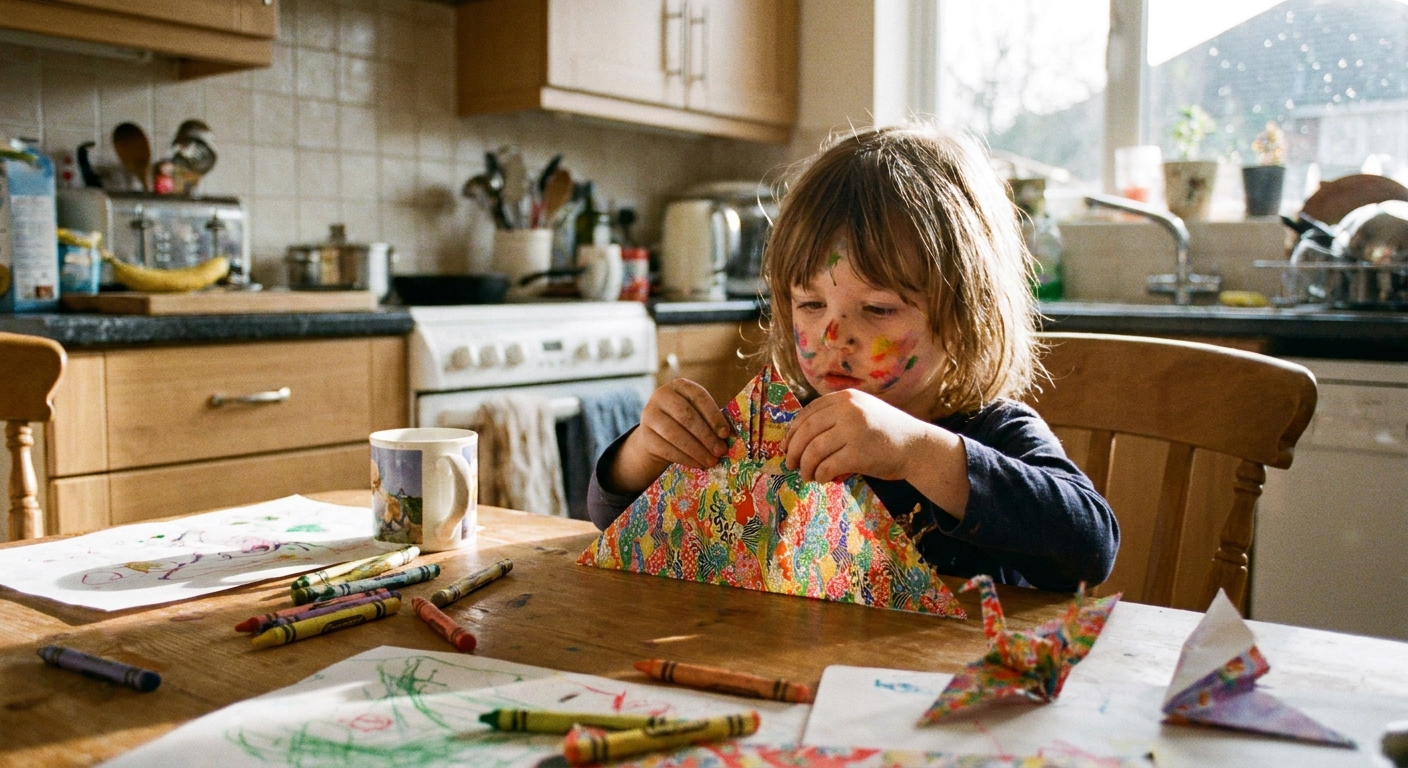
Before you fold
Coloring pages are often a bit thicker than origami paper, and printer paper has a mind of its own. A tiny bit of prep makes every fold easier.
- Choose the right section of the page. If your coloring page has a big character in the center, try cutting a square from a background area with lots of color or pattern. It hides folds and looks extra magical.
- Cut a clean square. Most origami starts with a square, not a rectangle. Use scissors or a paper trimmer. If you only have a rectangle, fold one corner up to form a triangle, trim the extra strip, and unfold to get a square.
- Crease like you mean it. Run a fingernail along every fold. For thicker paper, a dull butter knife (used gently) can help sharpen creases.
- Which side goes out? If your page is colored on one side only, many models start with the colored side down so the color ends up on the outside, but it can vary. If you are unsure, do the first fold, peek, and decide if you want to flip and restart.
- Paper and printing tip. If you are printing pages specifically for folding, lighter printer paper is easier than heavy cardstock. Draft mode also helps keep ink lighter, which can make folds cleaner. If your page is very wet (for example, from paint), let it dry completely and press it flat before folding. For painting pages, see watercolors on printed coloring pages.
- Age and patience reality check. Ages 4 to 6 usually love simple folds with big results. Ages 7+ can handle a few more steps. For little ones, you can pre-crease and let them do the “pinch and press” part.
If you want more ways to use pages beyond folding, I also love turning them into keepsakes like in turn a coloring page into a folded card and display pieces like frame your coloring pages as DIY wall art.
1) Classic paper boat
This one is a classic for a reason. It feels like magic when it pops open into a boat shape.
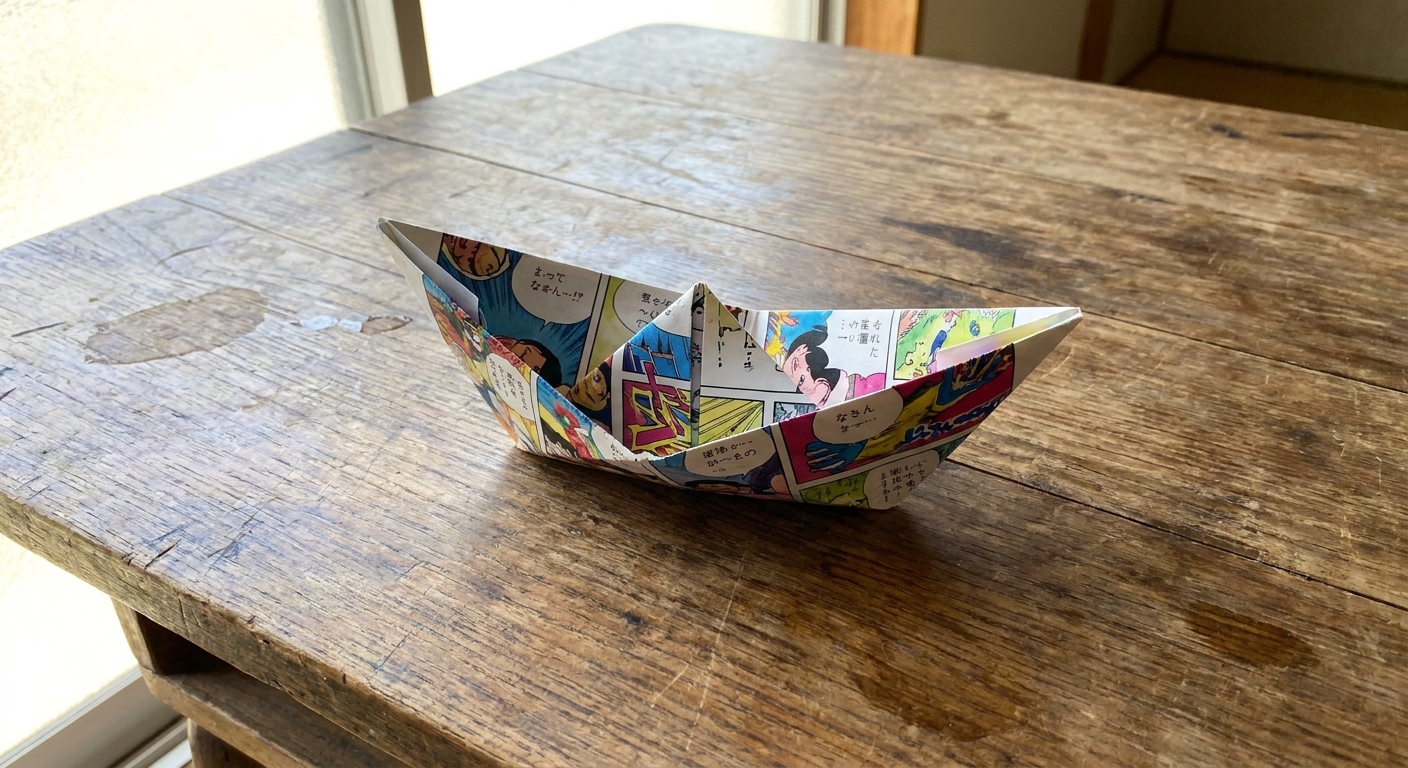
- Best for: Ages 5+, quick wins
- You need: A rectangle (this is one of the few that does not require a square)
How to fold
- Start with the colored side down.
- Fold the rectangle in half short end to short end. Crease well.
- With the folded edge on top, fold the two top corners down to meet in the middle, making a triangle “roof.”
- You should now have a triangle on top and two paper flaps along the bottom.
- Fold the front bottom flap up over the triangle. Crease.
- Flip it over and fold the other bottom flap up.
- Open the bottom and squash it into a diamond shape, flattening the sides.
- Fold the bottom corner of the diamond up to the top corner. Flip and repeat with the other bottom corner.
- Open the bottom again and squash into a diamond one more time.
- Hold the two top points and gently pull them apart, then press the bottom flat to form the boat.
Extra fun: Add a mast using a paper straw or a tightly rolled strip of paper. If you use a toothpick, keep it as a grown-up-only add-on for little kids.
2) Fortune teller
If your kids like games as much as crafts, this is the one. Your colored page becomes a little interactive toy.
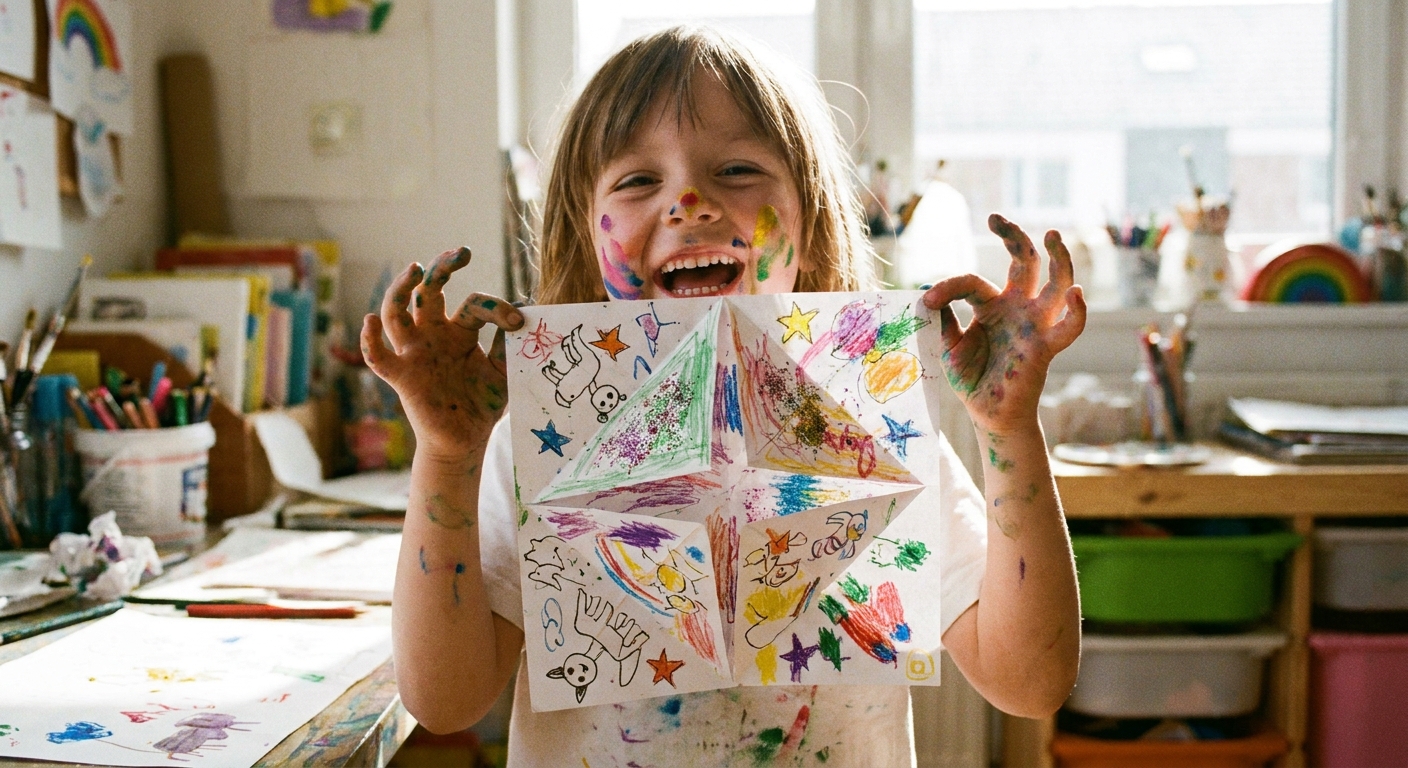
- Best for: Ages 6+, playtime
- You need: A square
How to fold
- Colored side down. Fold the square in half diagonally both ways and unfold.
- Fold all four corners into the center point.
- You should have a smaller square with four triangles meeting in the middle.
- Flip it over.
- Fold all four corners into the center again.
- Fold in half, crease, then unfold. Fold in half the other direction, crease, then unfold.
- Slip thumbs and index fingers into the four pockets underneath and gently wiggle it open.
Make it yours: Write silly dares, jokes, or kind compliments inside. If your coloring page is already busy, use a marker on the inside panels so the words stand out.
3) Easy origami heart
This is my favorite “I made you something” fold. It is sweet, fast, and looks especially pretty with patterned coloring sections.
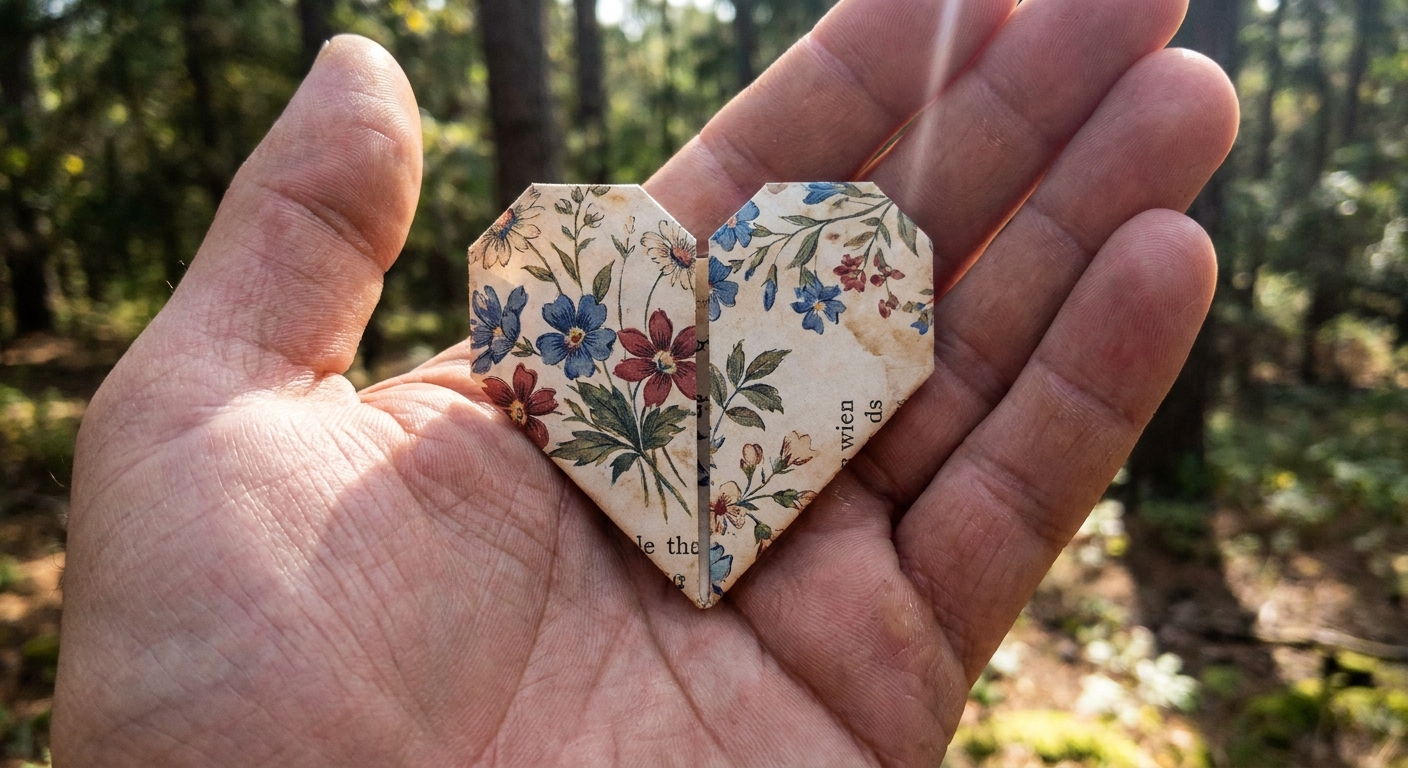
- Best for: Ages 6+, gifts and notes
- You need: A square
How to fold
- Start with the colored side down. Rotate your square like a diamond (one corner pointing up).
- Fold the bottom corner up to meet the top corner to make a triangle. Crease well.
- Turn the triangle so the long edge is at the bottom and the point is facing up.
- Fold the left corner up to the top point. Repeat with the right corner. You should now have a diamond-like shape with a seam down the center.
- Fold the top point down about one third of the way to start the heart shape. Crease.
- To round the “bumps,” fold the new top left corner down and inward slightly. Repeat on the top right. (Small folds look more heart-like than big ones.)
- Flip it over and check the shape. If it looks too pointy, flip back and make the rounding folds a little bigger.
Shaping tip: Printer paper varies. If your heart looks more like a kite, go back to Step 6 and adjust those tiny rounding folds until it reads as a heart.
4) Corner bookmark
This is the craft that convinces kids that reading is kind of fun actually, because their bookmark is “eating” the page corner.
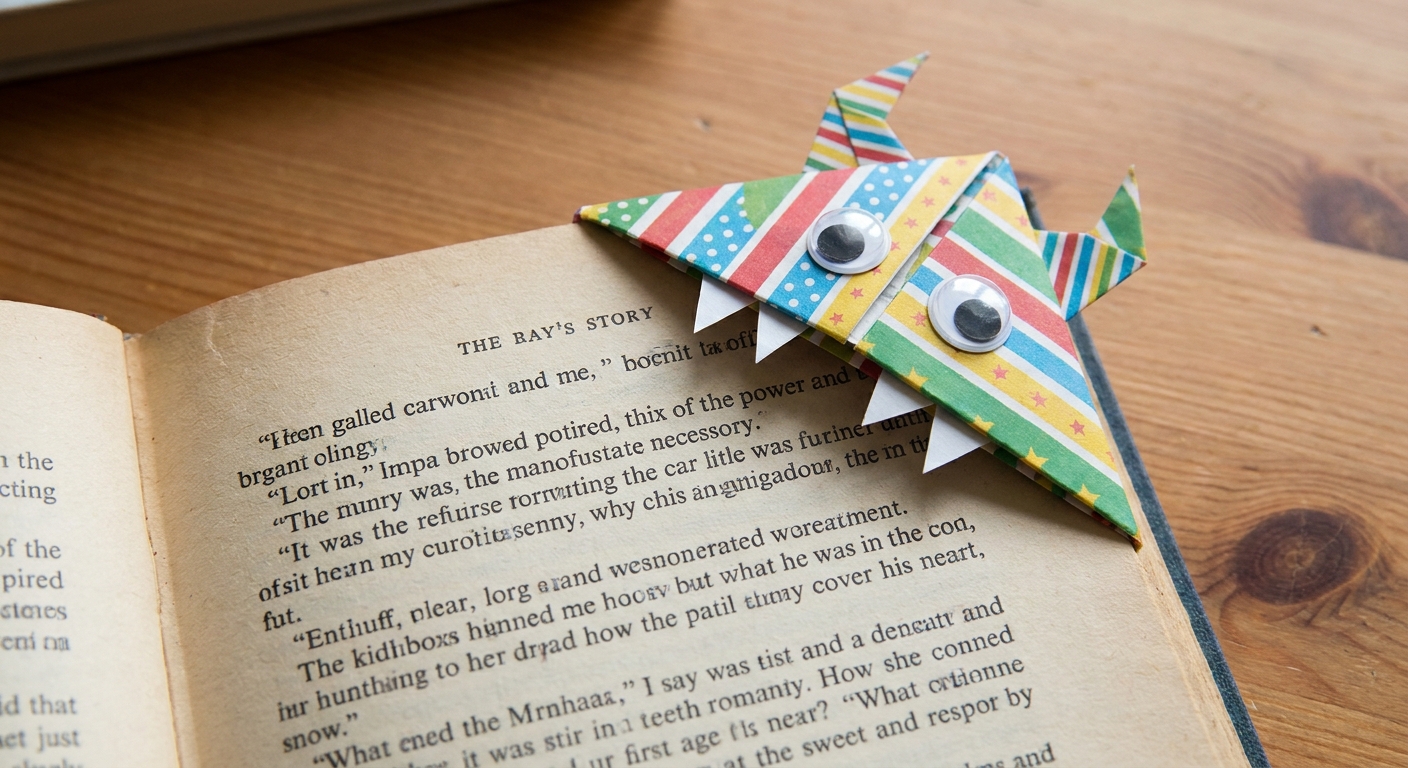
- Best for: Ages 6+, useful crafts
- You need: A square
How to fold
- Colored side down. Fold the square diagonally into a triangle.
- With the long edge facing you, fold the top point down to the middle of the long edge, crease firmly, then unfold.
- Fold the left corner up to the top point. Crease.
- Fold the right corner up to the top point. Crease.
- Unfold the last two folds.
- Fold the top point down again and tuck the left and right corners into the pocket. Flatten.
Decorate: Add eyes, teeth, or freckles with a marker. If the coloring page already has a character face, position it so the face ends up on the front of the bookmark.
5) Simple origami hat
This one is big, wearable, and delightfully dramatic. If you have a large coloring page (or you tape two together), it becomes a pirate hat, a chef hat, or a “captain of the couch” hat.
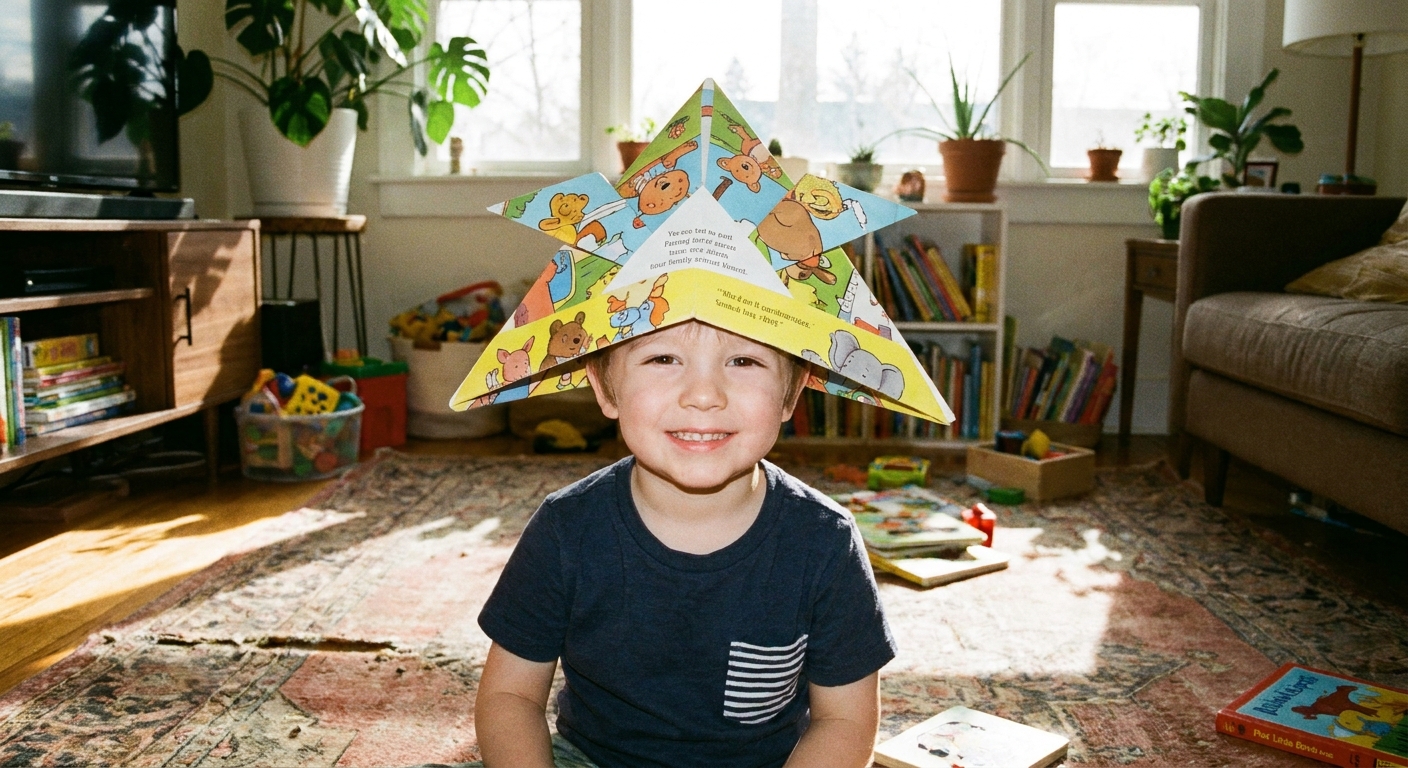
- Best for: Ages 5+, pretend play
- You need: A rectangle, the bigger the better
How to fold
- Colored side down. Fold the rectangle in half short end to short end.
- Fold the top corners down to the center line to make a triangle.
- Fold the bottom flap up.
- Flip and fold the other bottom flap up.
- Open slightly and shape into a hat.
Paper tip: Thicker pages can feel stiff on heads. If it is uncomfortable, fold with a lighter section of the page or use a thinner printout.
6) Puppy face
When I want a guaranteed win with kids, I pick a face fold. It is quick, forgiving, and it begs to be decorated.
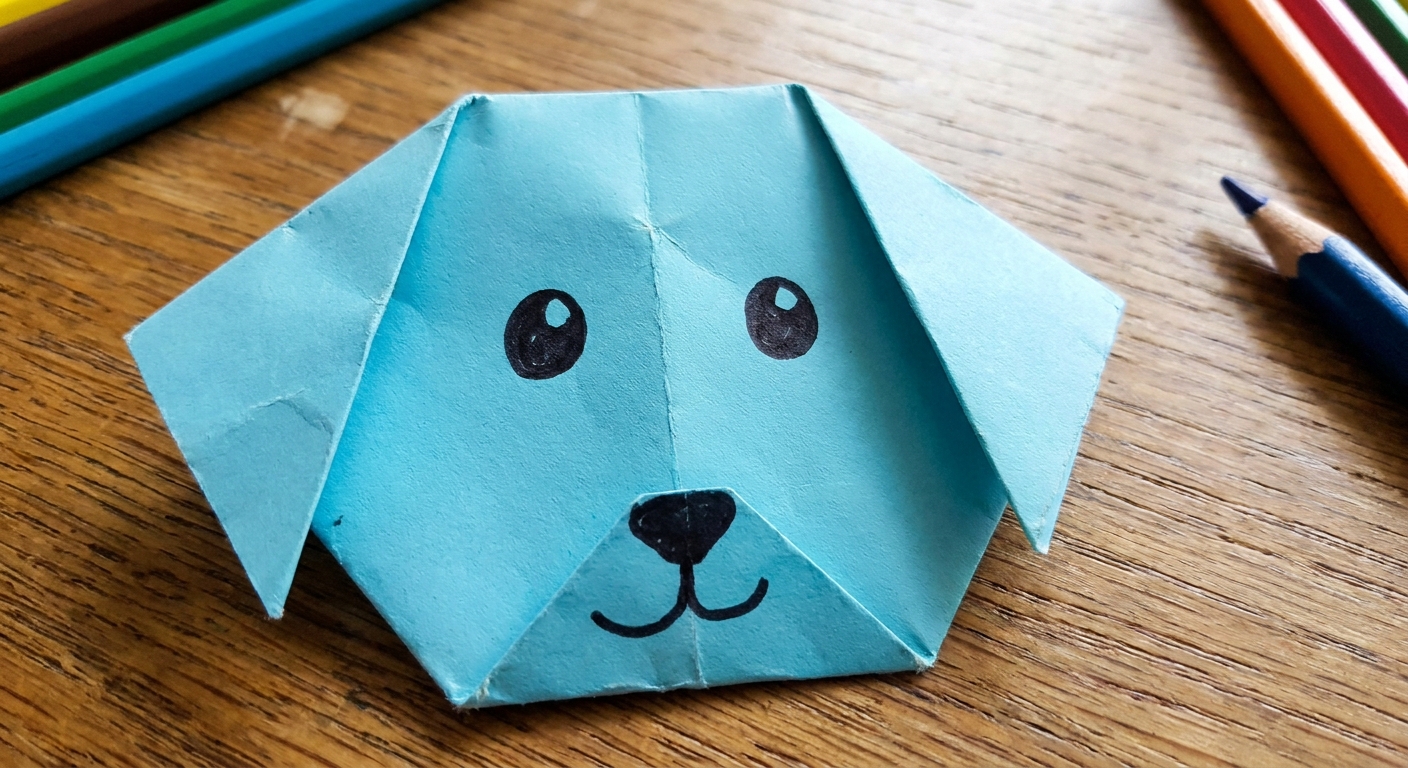
- Best for: Ages 4 to 7, quick cute results
- You need: A square
How to fold
- Start colored side down. Fold the square diagonally to make a triangle.
- Turn the triangle so the point faces down, with the long edge on top.
- Fold the left corner down and out to make an ear. Repeat on the right side.
- You should now have a triangle with two floppy ear corners.
- Fold the bottom point up a little to make the snout.
- Flip if you want the “cleaner” side to be the face, then draw eyes and a nose.
Kid trick: If the ears keep sliding, make the ear folds bigger and press the creases extra hard.
7) Easy fish
Fish are perfect for coloring pages because any pattern looks like scales once it is folded. Also, kids can make a whole school of them fast.
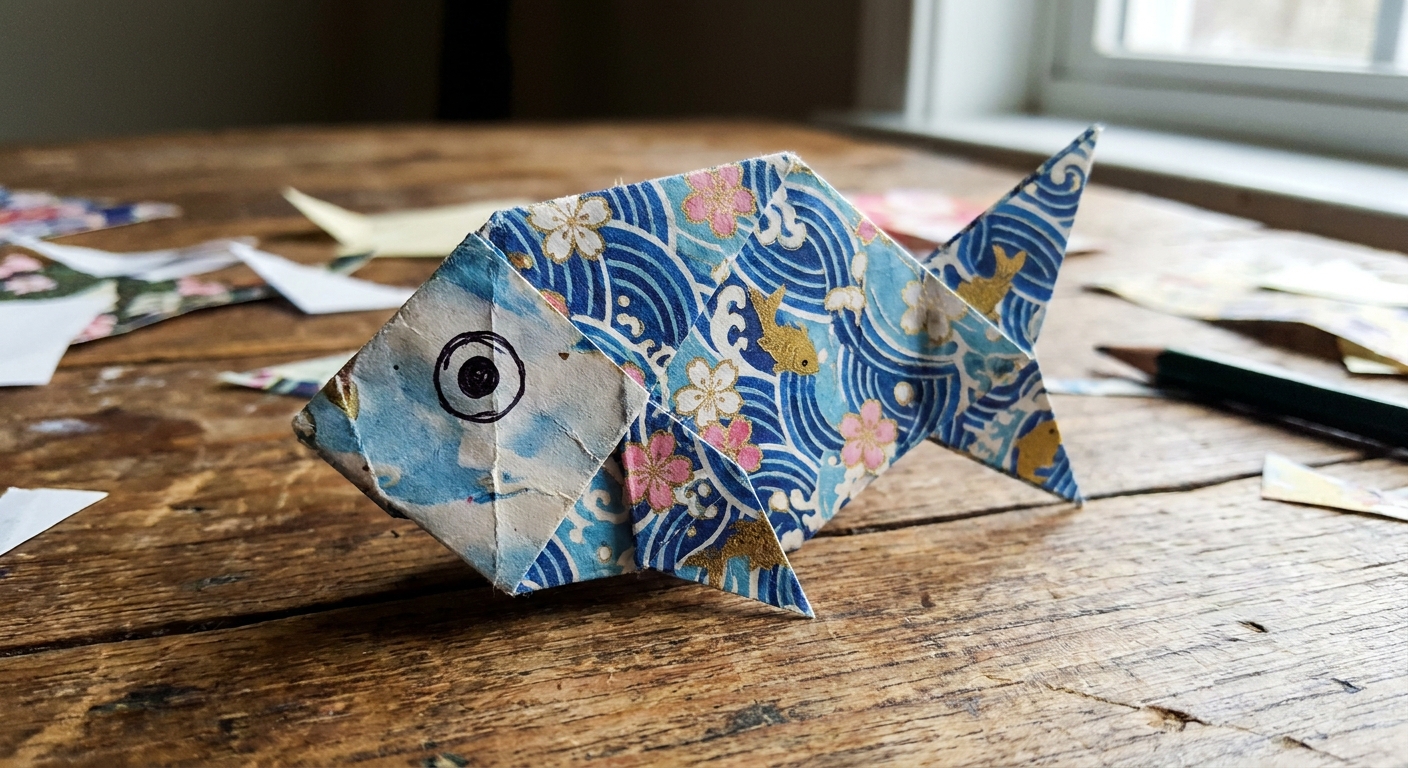
- Best for: Ages 5+, fast repeats
- You need: A square
How to fold
- Start colored side down. Fold the square diagonally into a triangle.
- With the long edge facing you, fold the triangle in half by bringing the left point to the right point. Crease and unfold.
- Fold the left point in toward the center crease line, about halfway. This starts the tail.
- Fold the same left point back out a little to create a tail fin shape. Crease well.
- Fold the right point (the fish nose) back slightly to blunt the tip.
- Flip over and draw an eye.
Checkpoint: If it looks like a triangle with a zigzag tail, you nailed it.
8) Tulip head
Paper flowers are such a cheerful use for colored pages. A tulip is simple, recognizable, and fun to make in “impossible” colors like rainbow or galaxy.
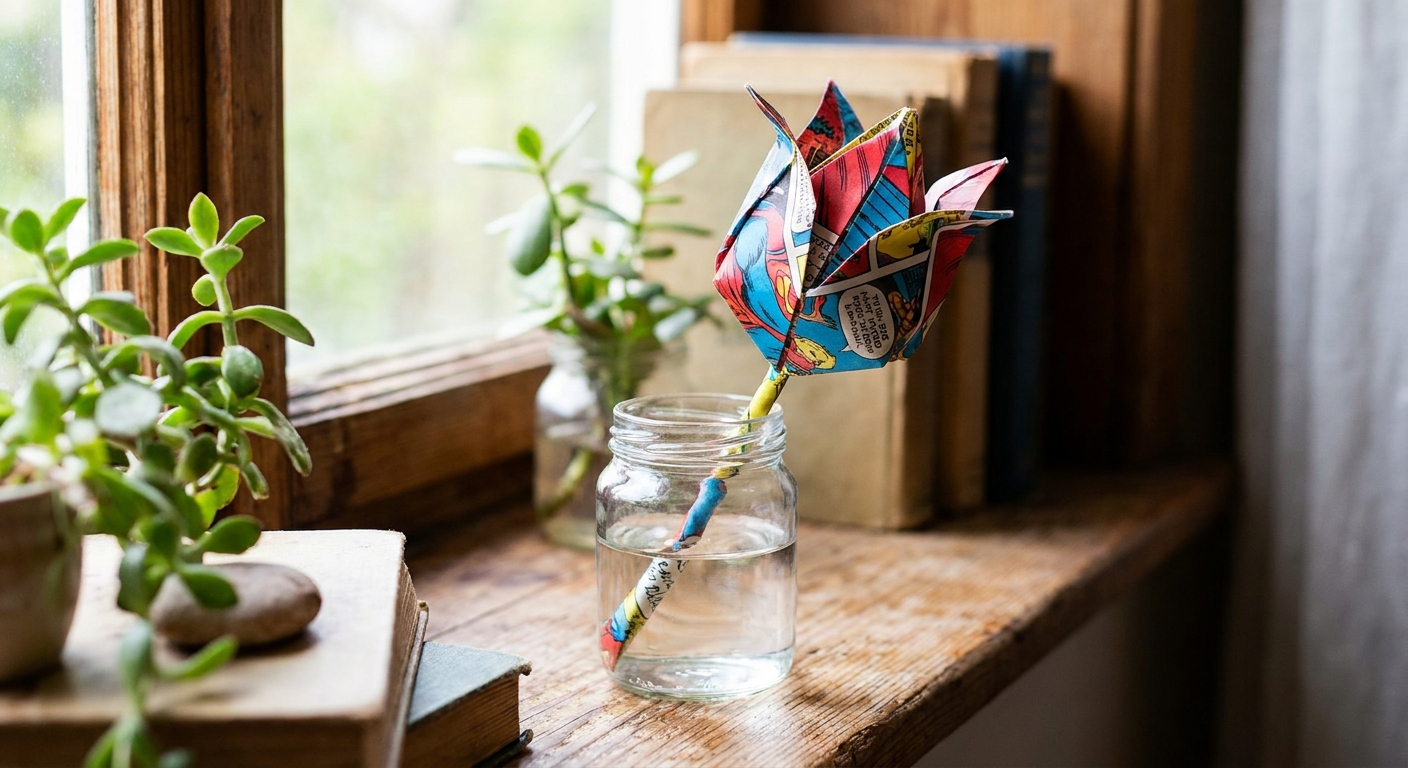
- Best for: Ages 6+, gifting
- You need: A square
How to fold
- Start colored side down. Fold the square diagonally to make a triangle.
- Turn the triangle so the long edge is at the bottom and the point is facing up.
- Fold the left corner up toward the top point, stopping a little short of the tip. Crease.
- Fold the right corner up the same way. You should now have a diamond-like shape with two “petal” flaps.
- Flip the model over.
- Fold the bottom point up a small amount to create a flat base for the flower.
- Gently curl and pinch the top edges outward with your fingers to suggest petals. On thicker printer paper, this is more of a stylized tulip than a puffy flower, and that is totally fine.
Stem option: If you want a stem, roll a thin strip of paper tightly and tape the end. Slide it behind the tulip base like a little handle.
9) Mini envelope
This is a sweet little fold that feels like a secret. It is also one of the most useful projects on this list, because it can actually hold something.
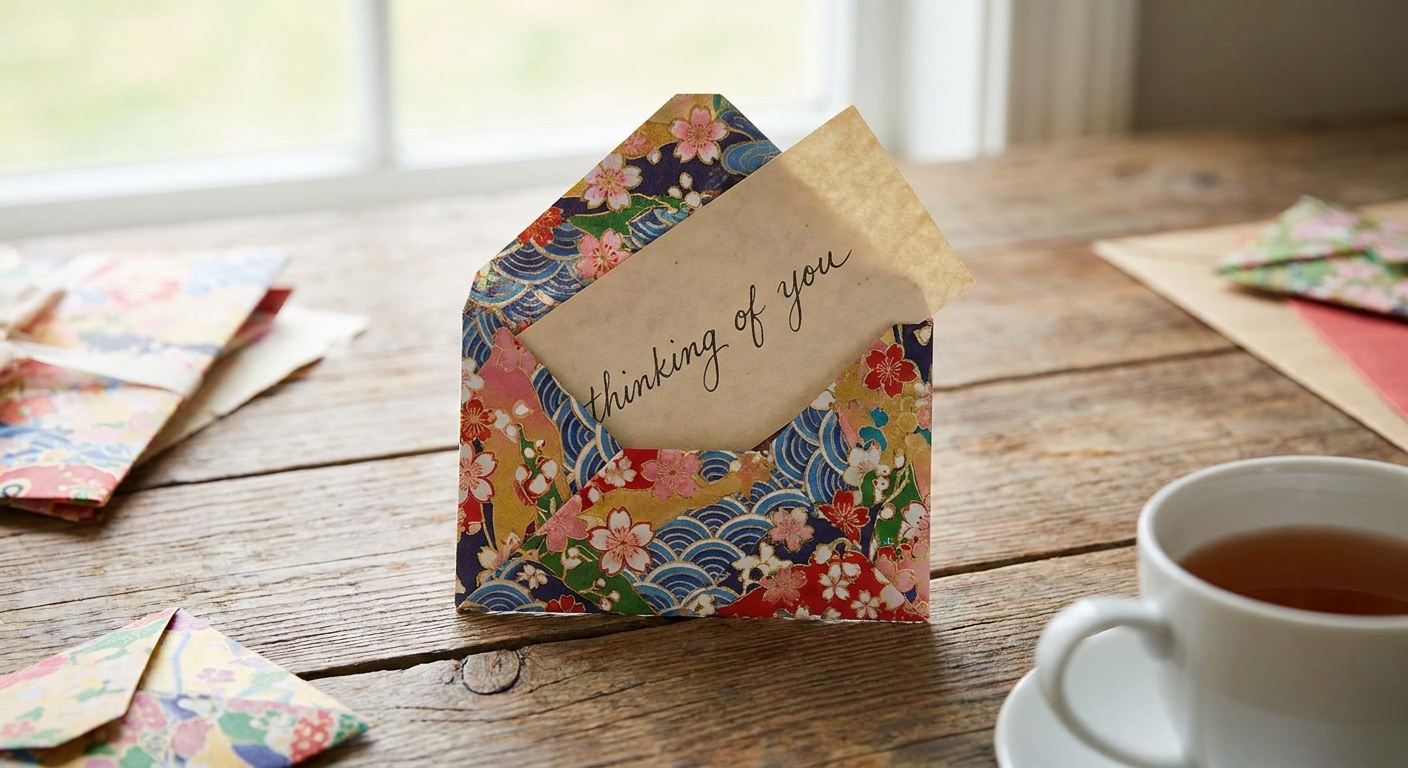
- Best for: Ages 6+, notes and small stickers
- You need: A square
How to fold
- Start colored side down. Fold the square in half diagonally to make a triangle, then unfold.
- Fold the bottom corner up to the center point (where the creases cross). Crease.
- Fold the left corner in to the center point. Repeat with the right corner. You should have an open pocket shape.
- Fold the top corner down over the pocket to close the envelope.
- If you want it to stay shut, use one small piece of tape like a “seal.”
Use it: Slip in a tiny drawing, a joke, or one sticker for a lunchbox surprise.
10) Origami fidget spinner
This is my favorite “practice folds without the whining” project. It is a little hand-powered fidget that flips and spins between your fingers. It will not spin like a true pinwheel (those usually use cuts and a pin or brad), but it is oddly satisfying once you get the motion.
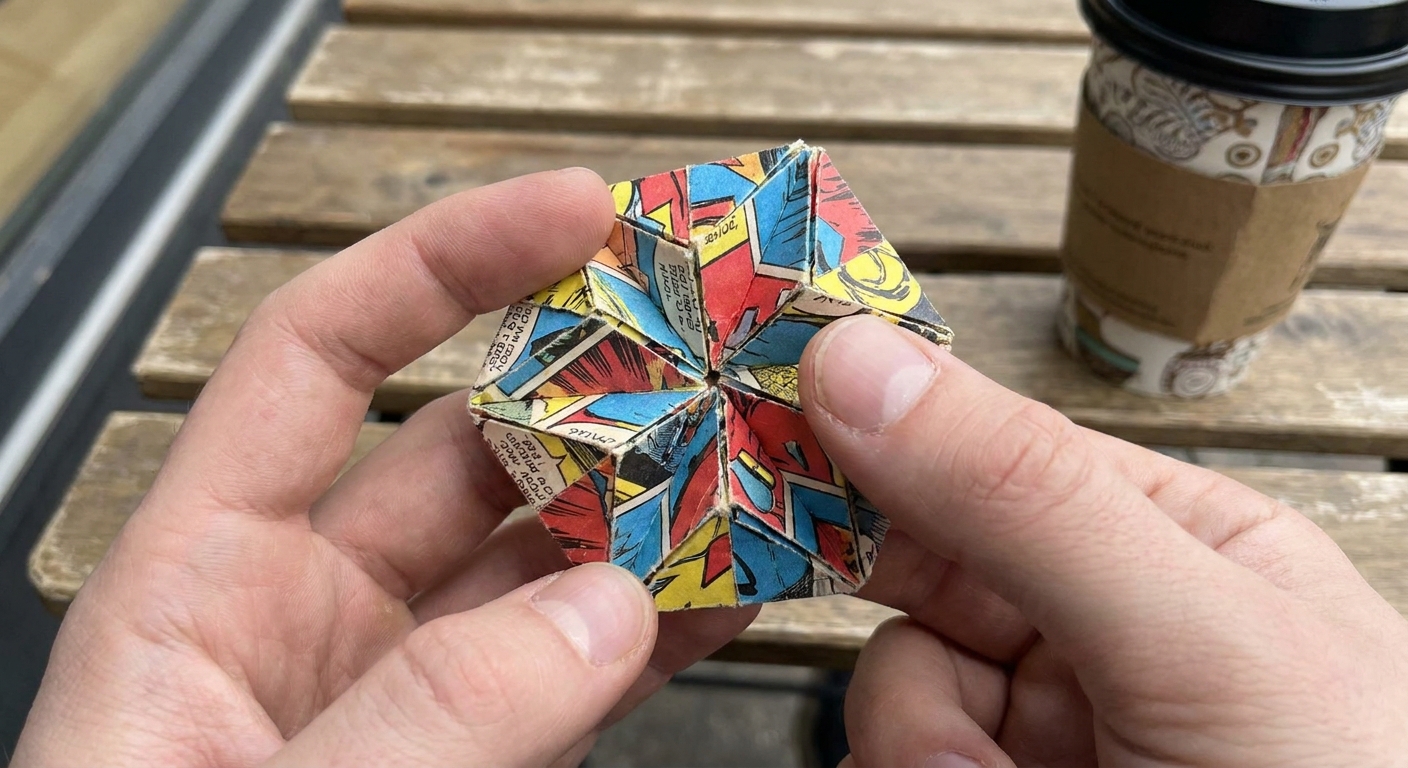
- Best for: Ages 7+, play and repetition
- You need: A square
How to fold
- Start colored side down. Fold the square in half top to bottom, unfold. Fold left to right, unfold.
- Fold the square diagonally both ways and unfold. You should now have a star of creases.
- Bring the left and right edges in toward the center crease to make a tall rectangle (a “door fold”). Crease well.
- Fold the top left corner down to the center line to make a triangle. Repeat on the top right side.
- Flip the paper over and repeat Step 4 on the back (top left, then top right).
- Now collapse along the existing creases so the piece forms a compact X shape. (It helps to push the center inward with your thumbs while guiding the folded corners together.)
- Pinch the center and flick one of the arms with your finger. With a little practice, it will flip and spin in your hand.
Safety note: If you decide to make a true pinwheel with a brad, pin, or staple, keep that part grown-up-only.
Make pages easier to fold
If you are using pages that were colored with heavy marker or lots of waxy crayon, folds can crack a little. Here are a few gentle tricks:
- Color lightly on fold lines. If you know you will fold the page later, leave margins less saturated.
- Press before you crease. Flatten the page under a book for 10 minutes to reduce curl.
- Try colored pencils for fold-friendly color. If you are deciding which supplies to use, see markers vs colored pencils.
- Keep palettes simple for bold folds. A cohesive palette looks especially striking once it is folded into shapes. I wrote more about that here: choose a cohesive color palette before you color.
Use your origami
- Story prompts: Fold a boat, a fish, and a heart, then invent a tiny story starring all three. If your kids like storytelling, you might enjoy 7 ways to use coloring pages to teach storytelling.
- Party table decor: A row of fish or tulips looks adorable as a centerpiece.
- Lunchbox surprises: Slip a heart or mini envelope into a lunch bag with a note.
- Quiet-time basket: Keep a small stack of cut squares, plus a simple “pick a project” list for calm afternoons.
Troubleshooting
My folds keep popping open
Re-crease firmly, especially at the final locking folds. If the paper is very slick (some marker-heavy pages feel that way), a tiny piece of tape on the inside can help. I keep tape as a “grown-up assist,” not a requirement.
The paper keeps tearing
That usually means too much force or too many re-folds in the same spot. Slow down and aim for one careful crease instead of lots of tiny adjustments. Thicker paper can also crack if it is heavily colored with waxy layers.
What size square should we use?
For kids, bigger is easier. A 6 inch or 8 inch square is a sweet spot. If your coloring page is letter-sized, you can often cut one large square plus a few smaller ones from leftover space.
A gentle reminder
Origami does not have to be perfect to be joyful. Some boats will look like lopsided tacos. Some spinners will refuse to cooperate. That is all part of it. The goal is to take a colored page you already love and let it become something new in your hands.
If you want more kid-friendly projects beyond folding, browse the ideas in our Kids Crafts guide and Craft Projects.