I have a little “save” pile of coloring pages that are too pretty to toss, but too smudged or scribbly to frame. When that stack starts whispering guilt at me from the corner of the table, I turn it into jewelry. Paper beads are one of those crafts that feel almost magical: a flat scrap becomes a glossy bead that looks like it came from a boutique.
Below is my favorite method for cutting, rolling, and sealing recycled coloring pages into sturdy beads you can string into bracelets, necklaces, even little zipper charms.
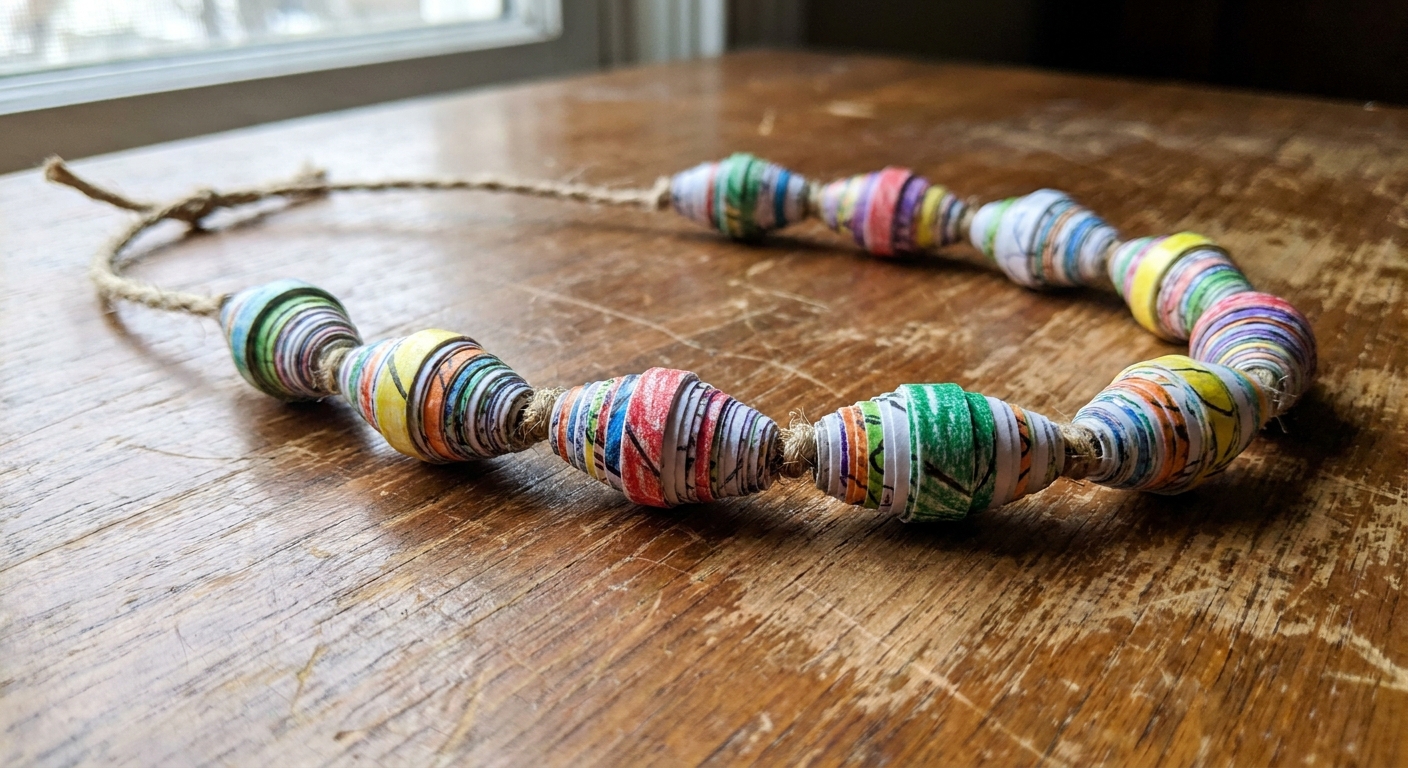
Why coloring pages work so well
Coloring pages already have what we want in a bead: bold color, interesting patterns, and lots of small areas that become stripes and spirals when rolled. Even imperfect pages work beautifully because tiny wobbles look intentional once they are wrapped into a swirl.
- Eco-friendly: great for using scraps and “oops” pages.
- Kid-friendly: rolling is calming and repetitive in the best way.
- Totally custom: you choose the color palette and vibe, from rainbow to soft neutrals.
If you want your beads to look extra pulled-together, choosing a limited palette first helps a lot. I use the same mindset from Choose a Cohesive Color Palette Before You Color, just applied to scraps instead of a full page.
Supplies
- Finished or partially finished coloring pages (regular printer paper works well for beginners, and heavier paper makes sturdier beads)
- Scissors or a craft knife and cutting mat
- Ruler
- Glue (a glue stick works, or white glue thinned with a tiny bit of water)
- Something to roll on: a bamboo skewer, toothpick, thin straw, or paper bead roller tool
- Sealer (pick one option below)
- Wax paper or parchment paper (for drying)
- Optional: acrylic paintbrush, fine sandpaper, jump rings, clasps, stretchy cord, beading wire
Choosing a sealer
- Quick and easy: Mod Podge (gloss or satin) or a similar decoupage glue.
- Extra durable: water-based polyurethane (usually tougher than decoupage glue once fully cured, which often takes 24 to 72 hours depending on the product and humidity).
- Budget-friendly: slightly diluted white glue, then a second coat once dry.
If this jewelry is for small kids, I stick with water-based sealers and let everything cure fully before wearing. Also, “non-toxic” varies by brand, so I always check the label on the specific product I am using.
Step 1: Pick pages and a look
Before cutting anything, flip through your pages and decide what you want the finished beads to feel like:
- Bold and graphic: use high-contrast areas (black outlines plus strong marker or pencil color).
- Soft and dreamy: pastels, light pencil shading, gentle gradients.
- Confetti style: mix lots of tiny scrap colors, then seal with a high-gloss finish.
Tip: If your page has a big white margin, keep it. White space turns into crisp stripes that make beads look surprisingly polished.
One more small heads-up if you print your own pages: some inkjet inks can smudge or bleed under water-based sealers. If you are not sure what you have, seal a tiny test strip first and see what happens before you commit to a whole batch.
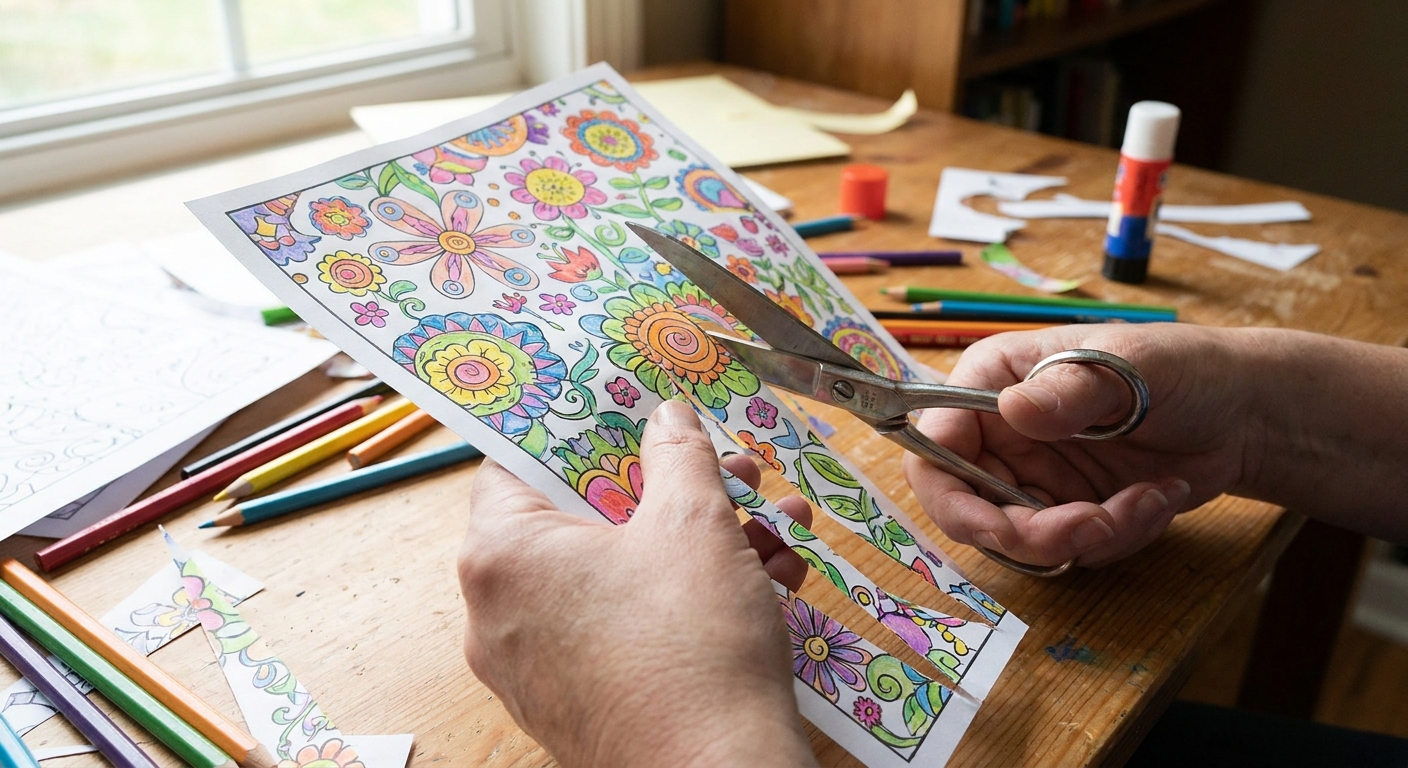
Step 2: Cut triangles
Paper beads are usually made from long triangles. The wide end becomes the outside of the bead, and the point disappears into the roll.
Easy starter size
- Rectangle size: 7 to 8 inches long by 1 inch wide
- Cut: slice each rectangle diagonally corner-to-corner to make two long triangles
Repeat until you have a little pile.
Want to play with sizing? A wider triangle makes a thicker bead. A longer triangle makes a longer bead (and usually more spirals). Tiny triangles give you sweet little spacer beads.
Step 3: Roll tight
- Place the wide end of the triangle against your skewer or toothpick.
- Roll once or twice to anchor it, then keep rolling with gentle, even pressure.
- As the bead grows, guide the paper so the edges stay aligned. Do not worry about tiny imperfections. They add charm.
- When you reach the last inch, add glue to the inside of the triangle tip.
- Finish rolling and hold the bead for 10 to 15 seconds so it grabs.
Make a few and you will feel your hands find a rhythm. This is one of those crafts that quietly melts stress, like the coloring itself.
Step 4: Let them set
Slide beads off the skewer and set them on wax paper to dry. I aim for 30 to 60 minutes, or longer if your glue is wet or the air is humid. The real test is touch: the bead should feel firm and not try to spring open when you pinch it lightly.
Step 5: Seal for strength
Method A: Brush-on (best control)
- Thread several beads onto a skewer, leaving a little space between each.
- Brush on a thin coat of sealer, rotating as you go.
- Stand the skewer upright in a cup to dry, or rest it across two jars so beads do not touch the table.
- Repeat for 2 to 3 thin coats, letting each coat dry completely.
Method B: Dip (fast for big batches)
Pour sealer into a small cup, dip each bead, let excess drip off, then dry on a skewer. Dipping can leave thicker coats, which is great for strength, but watch for drips.
Quick tip: before the sealer dries, run the skewer (or a toothpick) through the hole once to keep it from sealing shut.
Method C: Polyurethane (tough finish)
Use a water-based polyurethane and brush on very thin coats. Let it cure fully before wearing. It can feel dry to the touch quickly, but full cure often takes 24 to 72 hours depending on the brand and conditions.
My rule: more thin coats beat one thick coat. Thick coats love to drip and glue your bead to the drying surface.
Even sealed paper beads are still paper at heart, so I do not treat them like pool jewelry. I take them off for showers, swimming, and anything that is basically a splash zone.
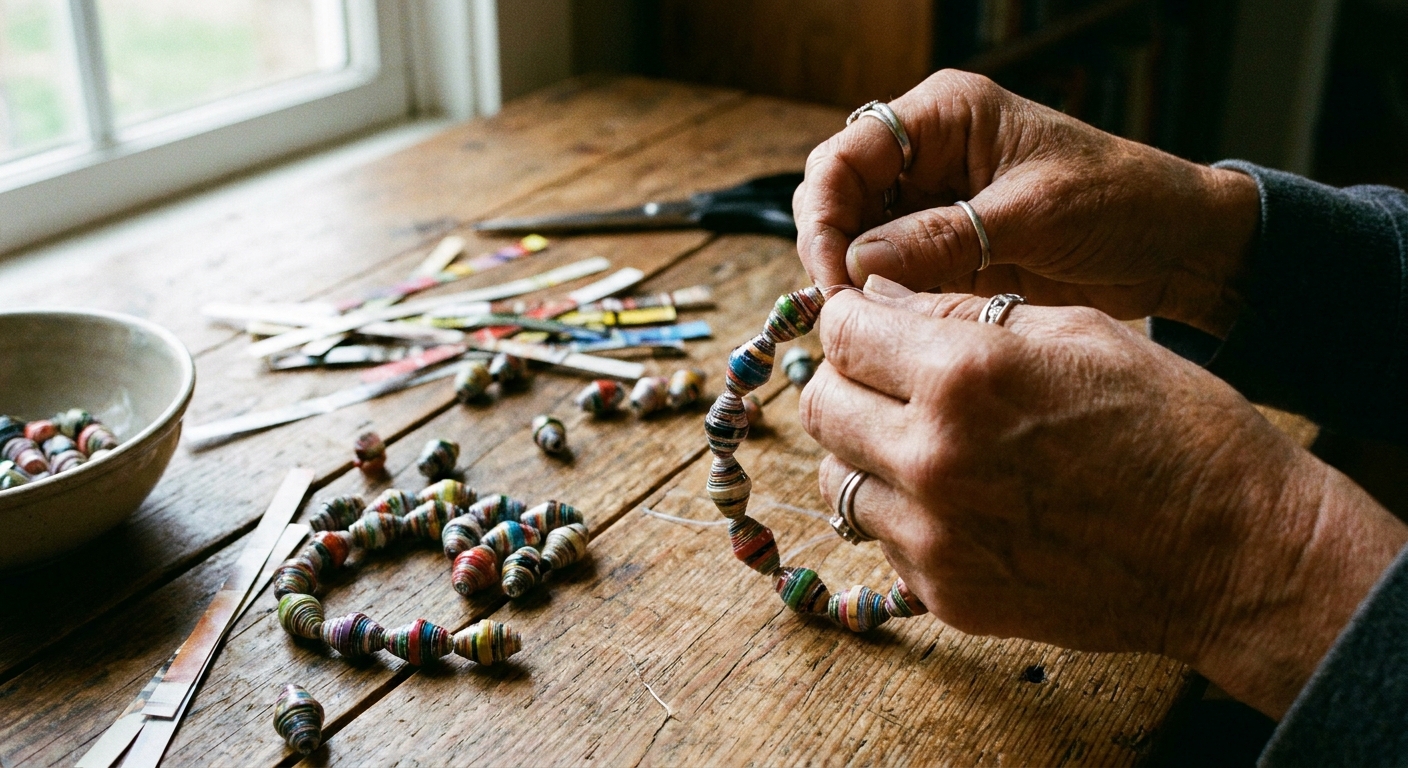
Step 6: String your jewelry
Once the beads are fully dry and no longer tacky, it is time for the fun part.
Bracelets
- Stretch cord: quickest for kids. Tie a surgeon’s knot and add a tiny dab of glue to the knot when finished.
- Elastic plus spacer beads: add a few pony beads or wooden beads between paper beads for a playful look.
Necklaces
- Waxed cotton cord: easy to knot, nice for lightweight beads.
- Beading wire: best if you are adding heavier spacer beads or a clasp.
If you want the bead holes to be larger, use a thicker skewer when rolling. If you want smaller holes, use a toothpick. Simple as that.
Make it look intentional
- Color-block your pile: group beads into warm colors, cool colors, and neutrals, then alternate.
- Repeat a pattern: for example, 3 small beads, 1 big bead, repeat.
- Use outline-heavy scraps: thick black lines create dramatic spiral stripes.
- Mix finishes: satin beads plus a few glossy beads can look surprisingly fancy.
If you are using marker-heavy pages, you might enjoy reading Markers vs Colored Pencils. Markers make super bold beads, but they can sometimes smear if sealed too soon, so I let them dry overnight before I cut.
Troubleshooting
The bead unrolls at the end
Add a touch more glue to the last 2 inches and hold a little longer before letting go. Also try rolling with slightly more tension.
The sealer makes the colors bleed
This can happen with some markers and some inkjet prints. Let the page dry longer before cutting, then do a very light first coat and let it dry completely before adding more. When in doubt, test a small strip first.
The beads are lumpy
Lumps usually come from uneven rolling tension or thick glue blobs. Use less glue and roll slowly at first. The good news is that lumpy beads still look adorable in a boho bracelet.
The holes are too tight to string
Ream the hole gently with the same skewer you rolled on, or twist a toothpick through after sealing is fully dry.
Safety notes
- Adult help is best for craft knives and cutting mats.
- Use sealers that are labeled non-toxic and water-based when crafting with kids, and follow the product’s instructions.
- Let beads cure fully before wearing, especially if they will touch skin for long periods.
- Small beads can be a choking hazard for very young children.
More crafts for colored pages
If this project made you look at your coloring pile with fresh eyes, you are my kind of person. These are also fun ways to turn finished pages into something useful:
- DIY Paper Ornaments From Coloring Pages
- DIY Jigsaw Puzzle From a Finished Coloring Page
- Frame Your Coloring Pages as DIY Wall Art
- Guide: Craft Projects
And if you make a set of paper beads you love, save a few extras. I like keeping a tiny jar of them on my desk. They are the happiest little reminder that creativity is never wasted, even in scraps.