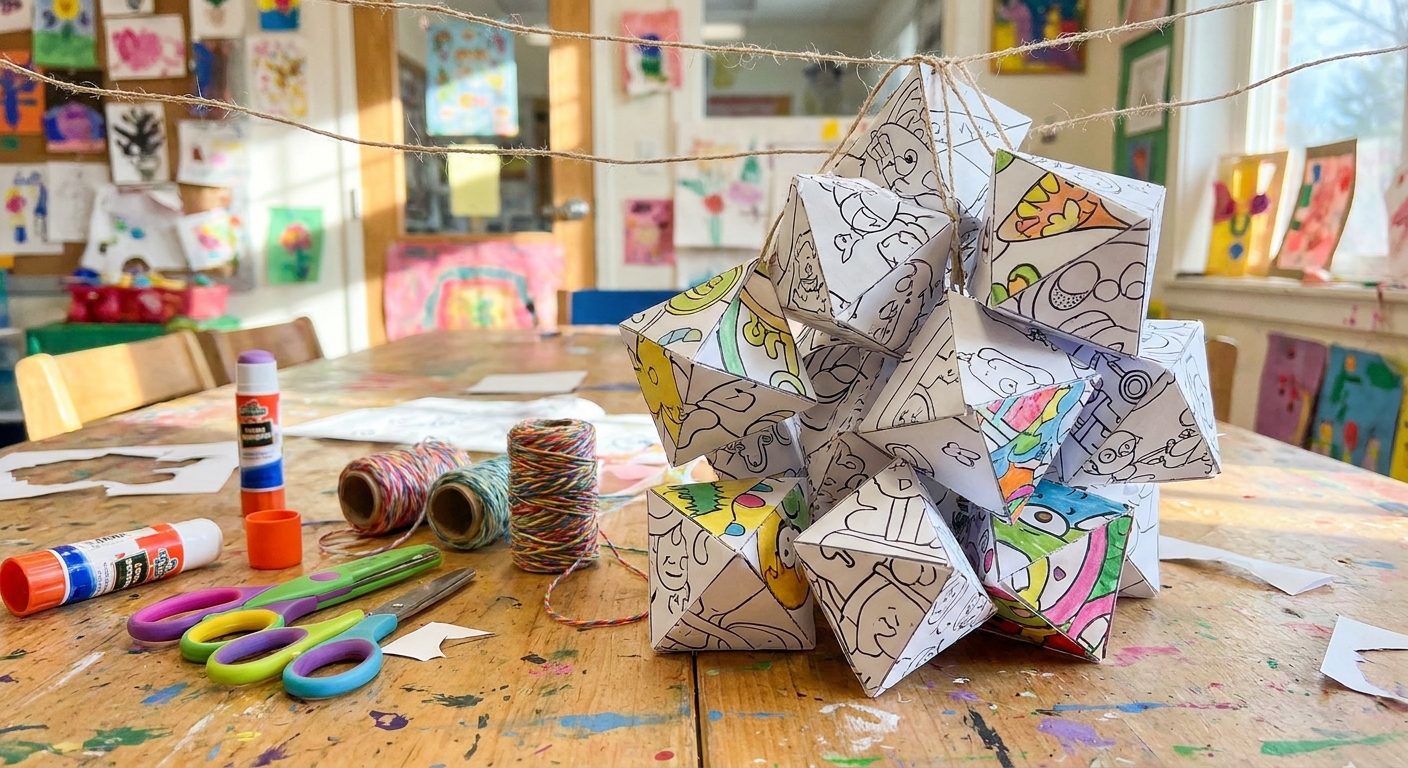
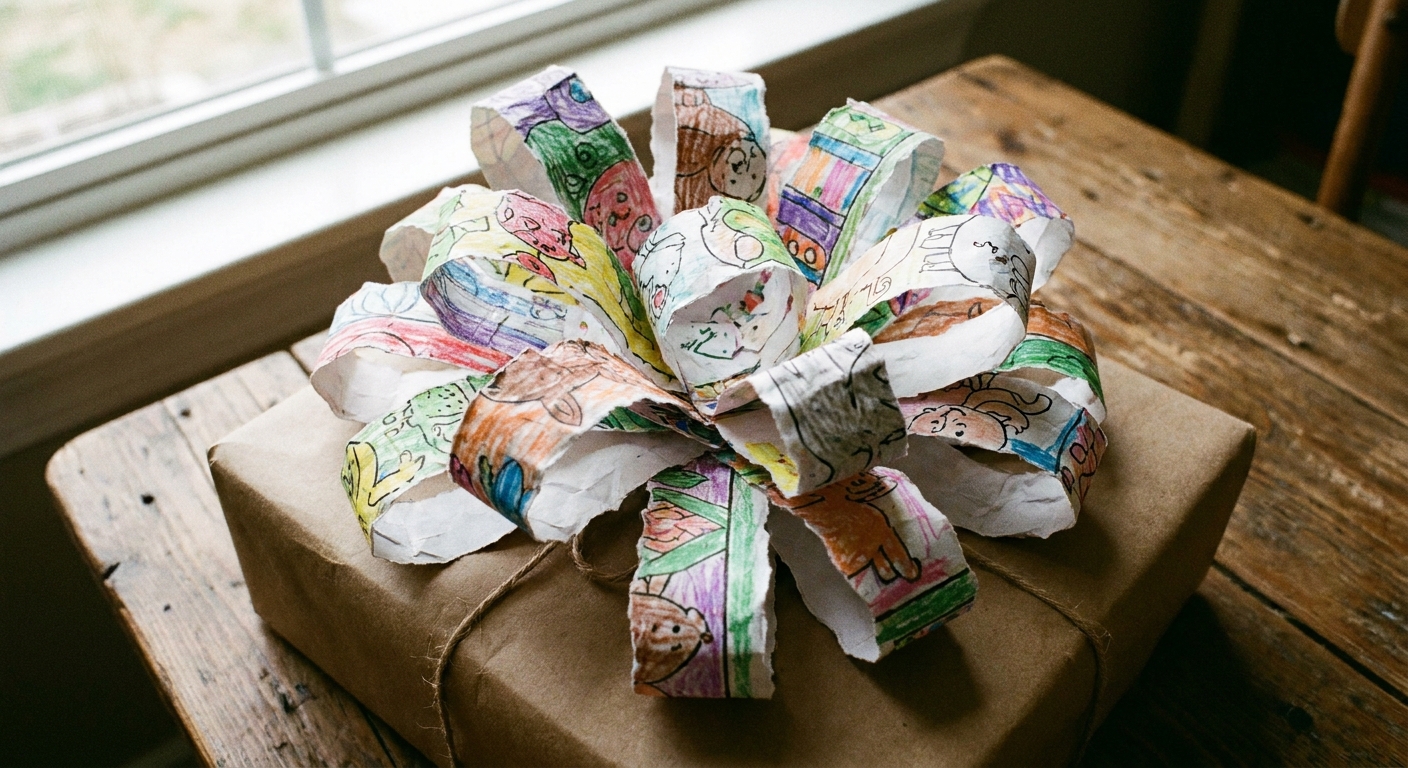
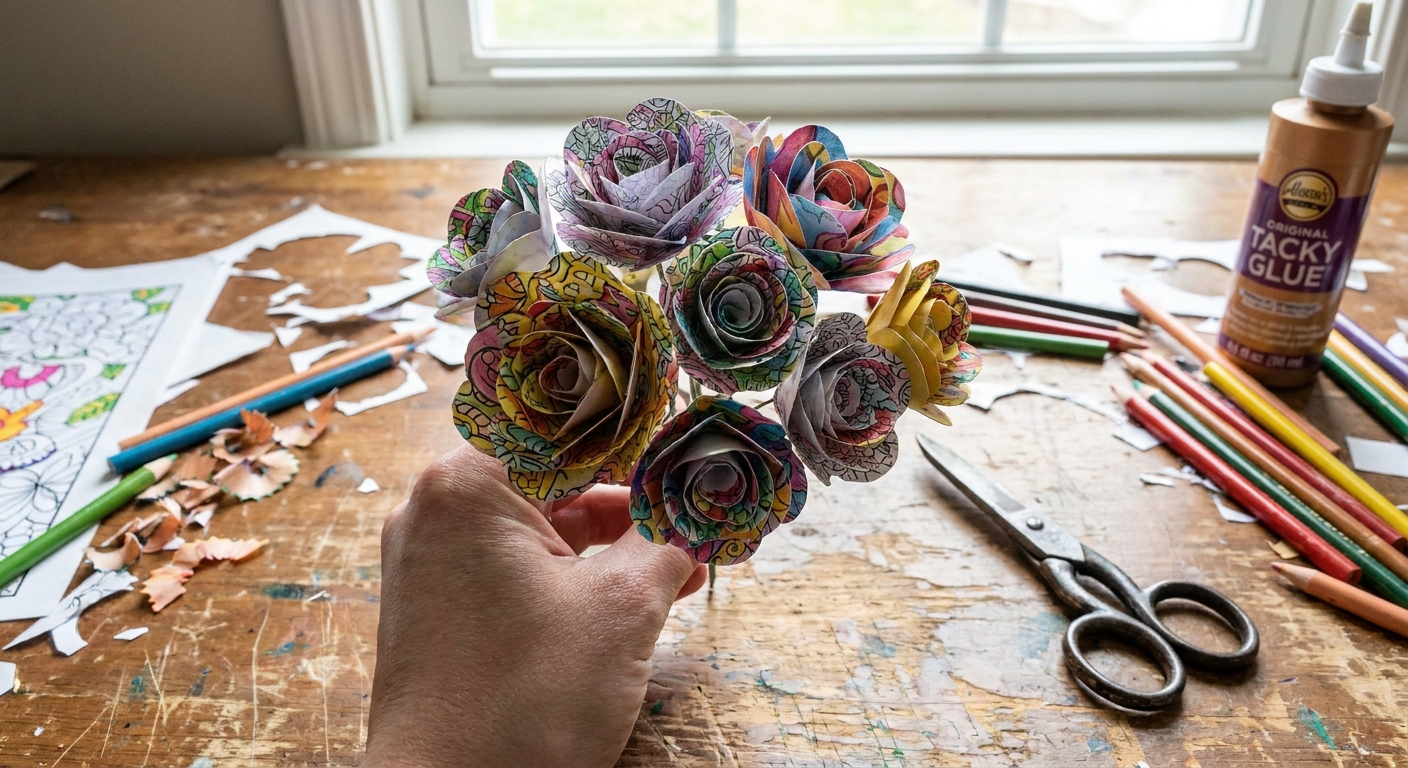
My dining table has seen a lot of things over the years: sketchpads, crayon stubs, half-finished greeting cards, and the occasional heroic glue-gun rescue. One of my favorite ways to celebrate a stack of finished coloring pages is turning them into something you can actually live with, like a vibrant indoor wreath made from rolled paper cones. It is cheerful, surprisingly sturdy, and wonderfully forgiving if your cones are not perfectly identical.
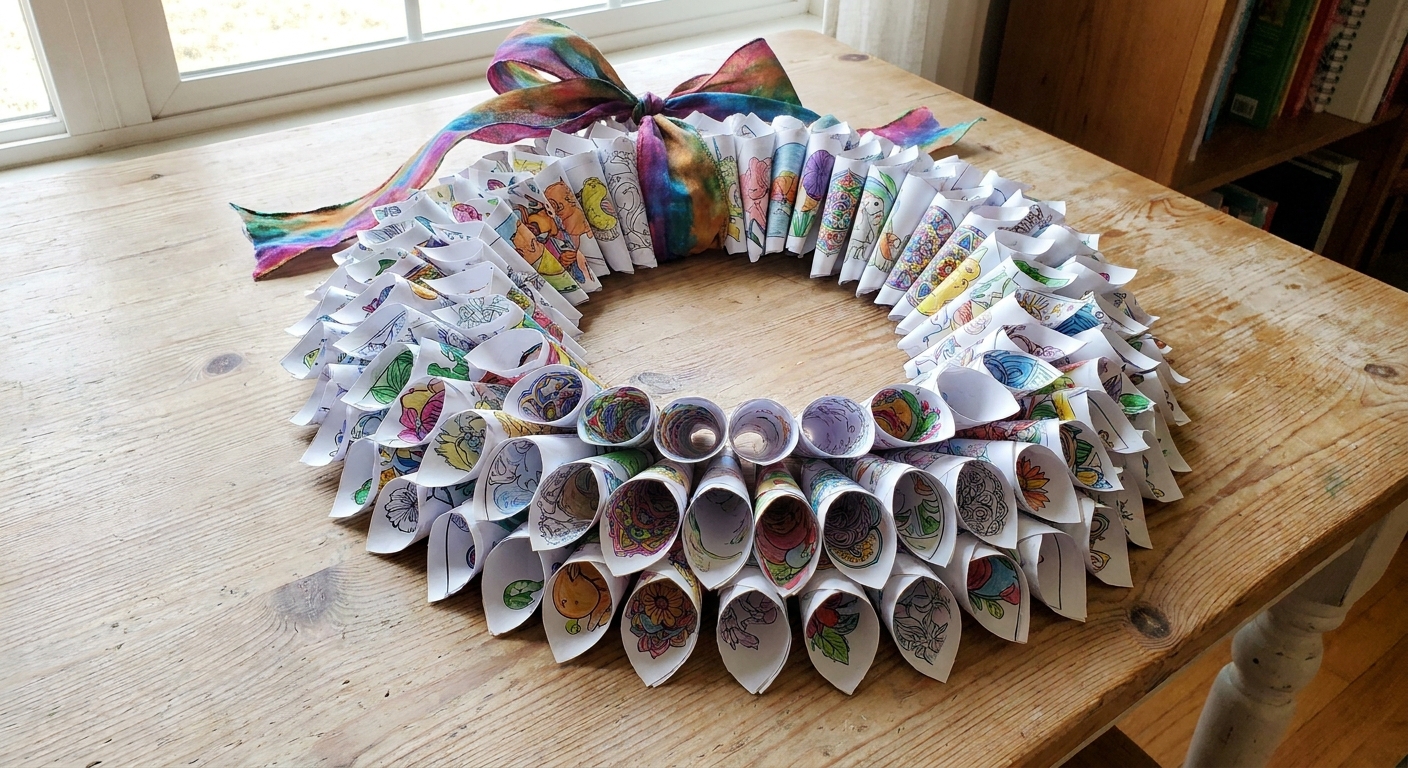
What you will make
This project uses completed coloring pages as the decorative element. You roll each page (or page section) into a cone, then attach the cones in layers onto a foam wreath base. The result looks like a paper flower wreath, but it is made entirely from your own coloring work.
- Skill level: Beginner-friendly
- Time: About 60 to 120 minutes, depending on how many cones you use
- Best for: Indoor doors, playrooms, craft corners, and party decor
Supplies
You can keep this very budget-friendly. I love using what I already have in the craft drawer.
Core materials
- Finished coloring pages (often 12 to 25 pages, depending on wreath size and cone size)
- Foam wreath form (a 10- to 14-inch diameter is a great indoor size)
- Hot glue gun and glue sticks (or strong tacky craft glue, but drying time is longer)
- Scissors or a paper trimmer
- Pencil for light marking
Helpful extras
- Ribbon or twine for hanging
- Optional: straight pins or toothpicks for temporary positioning (only if your foam accepts them without crumbling)
- Optional: cardstock scraps to reinforce the back
- Optional: a little acrylic paint to tint the foam edge (not required)
- Optional but smart: a silicone craft mat, old placemat, or a piece of cardboard to protect your table
If you are printing pages specifically for this craft, paper choice matters. I share a few printing tweaks in Paper Weight and Printer Settings for Holiday Crafts, and they work beautifully here too.
Quick glue and foam note: Foam wreath forms vary. Very hot glue can dent or melt some foams, and some glues do not play nicely with certain foams. If you are not sure, test a dot on the back first and use a low-temperature glue gun if you have one.
Before you start: pick a color vibe
This wreath looks best when the colors feel like they belong together, even if the pages are all different designs. You have two easy options:
- Curated palette: Choose finished pages that share 2 to 4 main colors for a more polished wreath.
- Happy chaos: Mix everything for a confetti look, then unify it with one ribbon color.
If you want that curated look, my favorite low-pressure approach is in Choose a Cohesive Color Palette Before You Color.
Step-by-step: make a rolled coloring page cone wreath
1) Prep your pages
Decide how big you want your cones. For a 12-inch foam wreath, I like cones made from rectangles about 4 x 6 inches or 5 x 7 inches. Smaller pieces give you a fuller, more detailed wreath, but you will need more cones.
- Trim away any large blank margins if you want maximum color.
- If the backs are uncolored and you worry they will peek through, choose patterns with edge-to-edge color or plan to layer more densely.
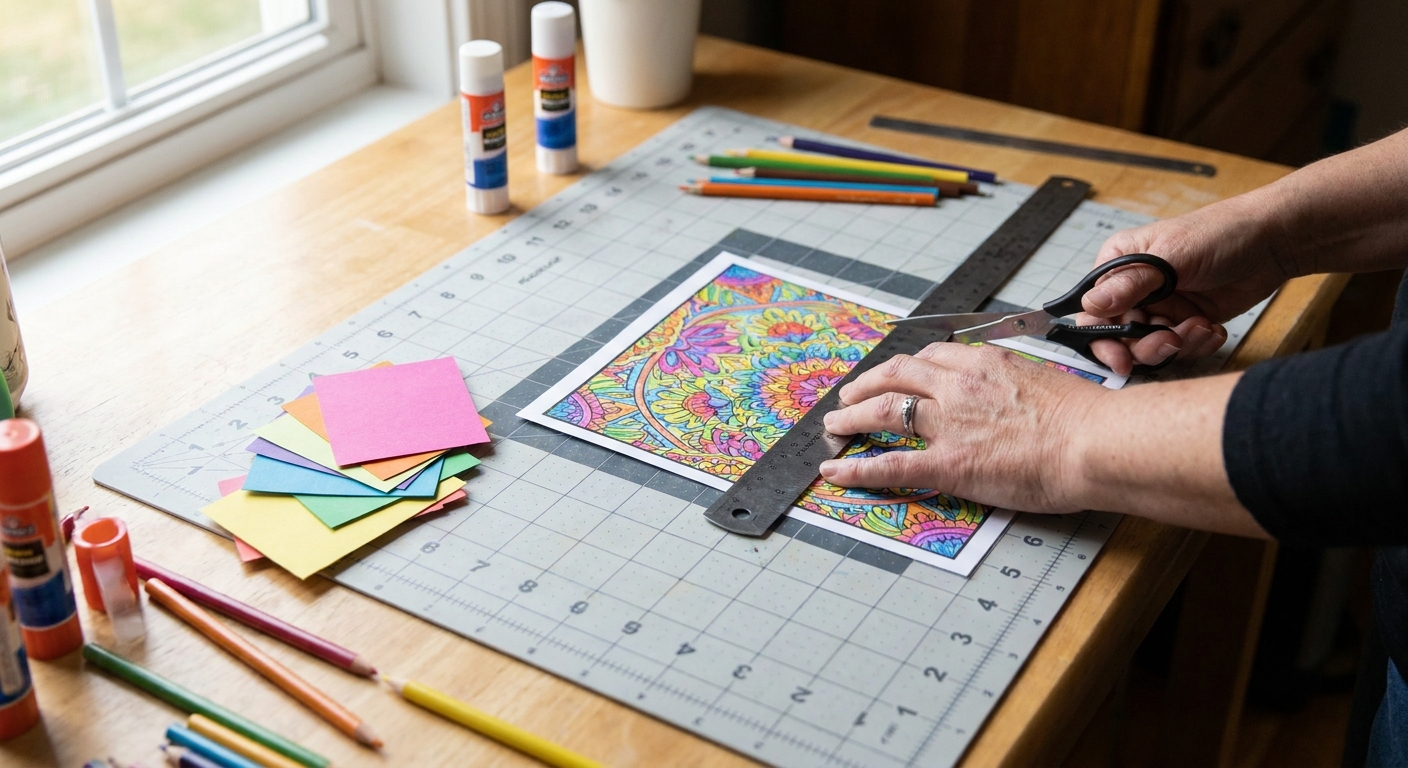
2) Roll each piece into a cone
Take one rectangle and roll it into a cone shape, overlapping the paper until you like the opening size. There is no single correct cone. Variation adds charm.
- For a tighter cone, overlap more.
- For a wider cone, overlap less.
- Try to keep the pointed tip fairly snug so it has a clear spot to glue down.
Once you like the shape, run a thin line of hot glue along the overlap seam and press to hold for a few seconds.
If kids are helping: I let them do the rolling and hand me finished cones. I handle the hot glue. If you do use a glue gun with older kids, low-temp glue and close supervision make the whole thing calmer.
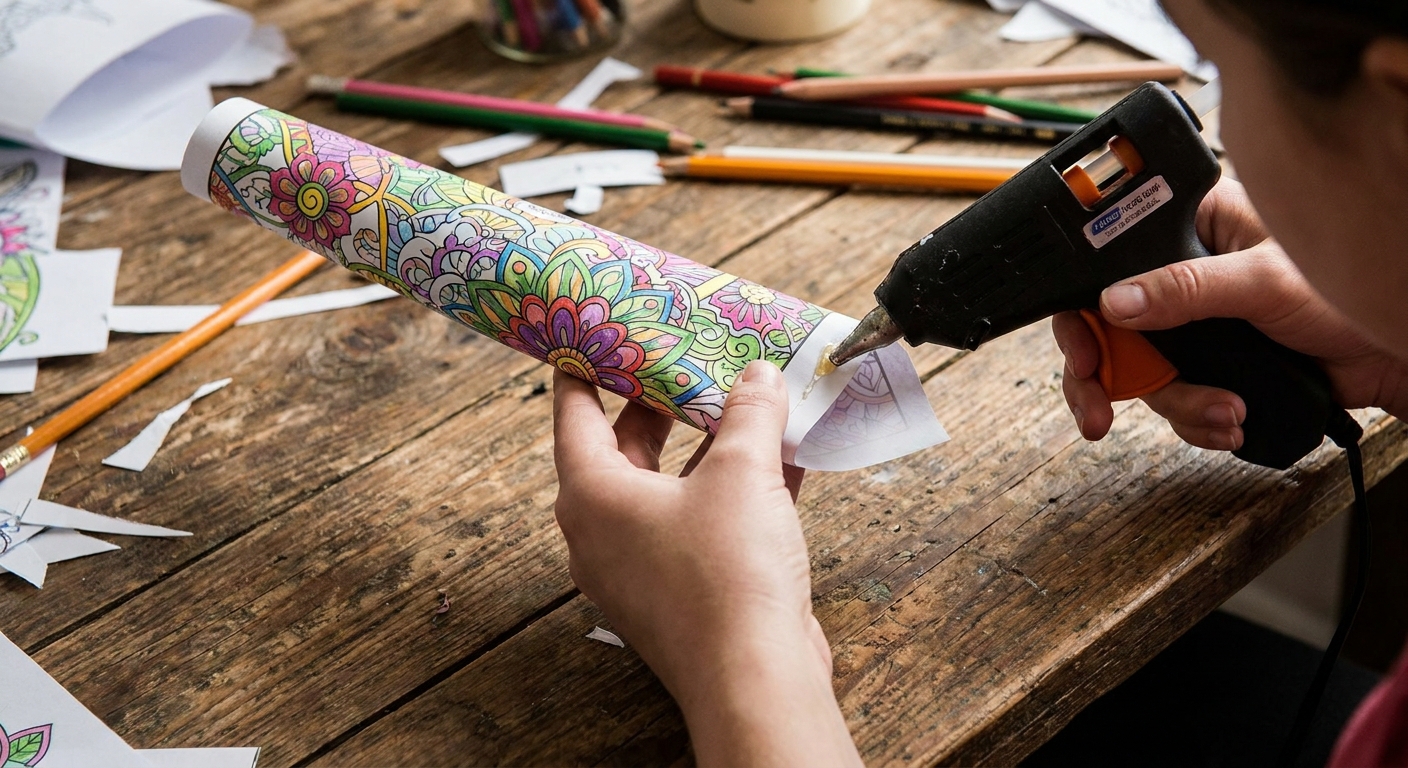
3) Make enough cones for one full layer
Before you start gluing to the wreath form, build a small pile of cones. For a 12-inch form, a common ballpark is about 35 to 60 cones, depending on your rectangle size, cone tightness, and how many layers you want.
- If your rectangles are closer to 4 x 6 inches and you want two layers, you will usually land toward the higher end.
- If your rectangles are closer to 5 x 7 inches and you want one main layer with just a little gap-filling, you will often land toward the lower end.
My little trick is to create three “types” without overthinking:
- Large cones: for the bottom layer
- Medium cones: for the middle
- Small cones: for filling gaps and adding texture
4) Add a hanger first
Flip the foam wreath over. Hot glue a loop of ribbon to the back, then reinforce by gluing a second small strip of ribbon over the ends like a patch. Let it cool fully before you lift it.
If your wreath form is the kind of foam that accepts toothpicks cleanly (without crumbling), you can press a few toothpicks into the foam through the ribbon ends, then glue over them. It is not mandatory, but it helps if your wreath will hang for months.
Hanging reality check: These wreaths are usually light, but they can be a little bulky. A simple removable hook rated for decor (or a sturdy nail on an indoor wall) is a better bet than flimsy tape.
5) Glue the first layer of cones around the outer edge
Turn the wreath front-side up. Starting at the outer edge, apply hot glue to the pointed tip of a cone and press it into the foam so the open end faces outward and slightly upward.
- Work in small sections so the glue does not cool before you place the cone.
- Keep the cones close enough that foam does not show through.
- Rotate your colors as you go so one bright page does not clump in a single area.
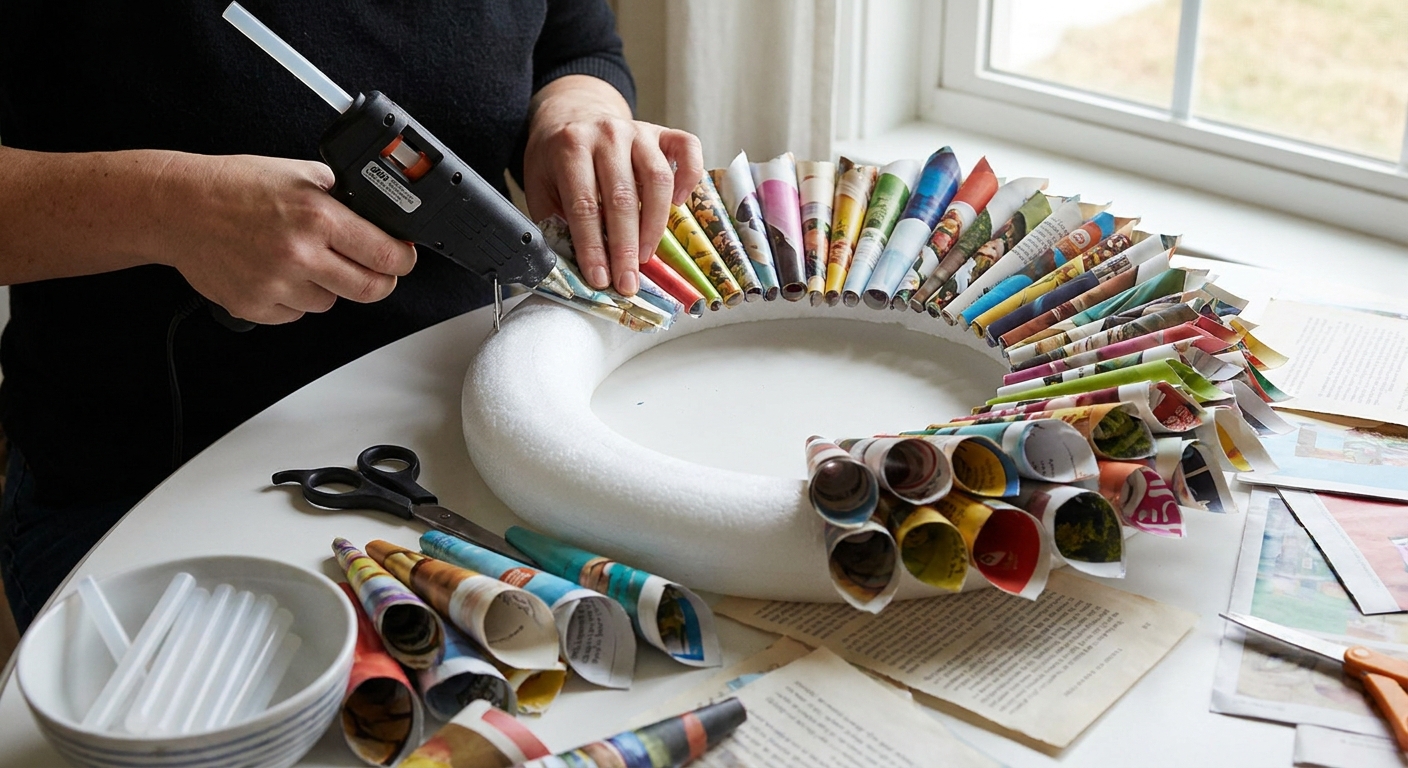
6) Build inward with a second layer
Once the outer ring is complete, start a second layer just inside it. Angle these cones slightly more toward the center. This layering is what creates that lush, full wreath look.
Keep going until you have covered the foam base, including the inner circle edge. If you want a very full wreath, add a third mini layer with smaller cones tucked into gaps.
7) Cover any peeking foam and tidy the center
Step back and look for bright white foam spots. You can solve them in a few ways:
- Glue in small cones wherever the foam peeks through.
- Add a few “accent” cones that are extra tight and pointy to fill tiny gaps.
- If the inner circle still shows foam, glue a ring of small cones facing inward to create a finished rim.
8) Add a simple finishing touch
You can absolutely stop with just the cones, but a little finishing detail makes it feel intentional:
- A bow at the top or bottom
- A loop of twine wrapped around the form before you start gluing cones
- A small cluster of paper leaves cut from leftover coloring scraps
If you enjoy turning coloring into decor, you might also like Frame Your Coloring Pages as DIY Wall Art.
Tips for a sturdier wreath
- Use enough glue: A generous dot at the cone tip helps prevent wobble.
- Stagger seams: Rotate cones so all the glued seams are not facing the same direction.
- Let it cool in stages: If you are working in a warm room, pause occasionally so the glue fully sets.
- Keep it indoors: Paper cones do not love humidity or rain. This is happiest on an interior door or wall.
Easy variations
Ombre rainbow wreath
Sort cones by color family and glue in a gradient around the circle. It is extremely satisfying and looks like a color wheel exploded in the best way.
Seasonal switch-out wreath
Make one neutral base, then create small cone clusters you can glue on top for each season. When you want to change it, carefully peel off the top accents and refresh.
Kid-made “proud of you” wreath
Use a child’s finished pages from a month or a school break. It becomes a sweet memory piece, like a scrapbook you can hang on the wall. If you want to take that keepsake idea further, Bind Your Child’s Coloring Pages Into a Storybook is another favorite of mine.
Common questions
How many coloring pages do I need?
For a 12-inch foam wreath, I usually plan on about 12 to 25 full pages, since each page gets cut into multiple cone pieces. It varies a lot based on cone size and how densely you layer. If you are unsure, start with a stack of 10 to 12 pages, make a first batch of cones, and see how quickly your pile shrinks once you start building the outer ring.
Can I use tacky glue instead of hot glue?
Yes, but it is slower. A PVA-style tacky glue is usually a good match for paper and foam, but foam types vary, so I still like to test a small spot on the back first. You will also want to pin cones in place while they dry, and drying can take several hours.
Will this ruin my finished coloring pages?
It does repurpose them permanently, so I like to choose pages I love but do not plan to frame. If a page feels too precious, take a quick photo of it first so you can remember it as a flat artwork too.
Where should I hang it?
Indoors is best. Try a hallway, a bedroom door, above a craft cart, or anywhere that could use a little color therapy in wreath form.
How do I store it or keep it clean?
If you want to save it between seasons, lay it flat in a roomy box so the cones do not get crushed. For dust, a soft, dry paintbrush (or a gentle pass with a handheld duster) does the job without snagging the paper.
A calm way to use what you already colored
I love crafts like this because they solve a very real problem: the finished pages we adore tend to end up stacked in a drawer. Turning them into a wreath keeps them in your everyday line of sight, which is exactly where joyful color belongs.
If you want more ideas for transforming finished pages, start with our Craft Projects guide and pick the one that makes you want to clear the table and grab the glue sticks.