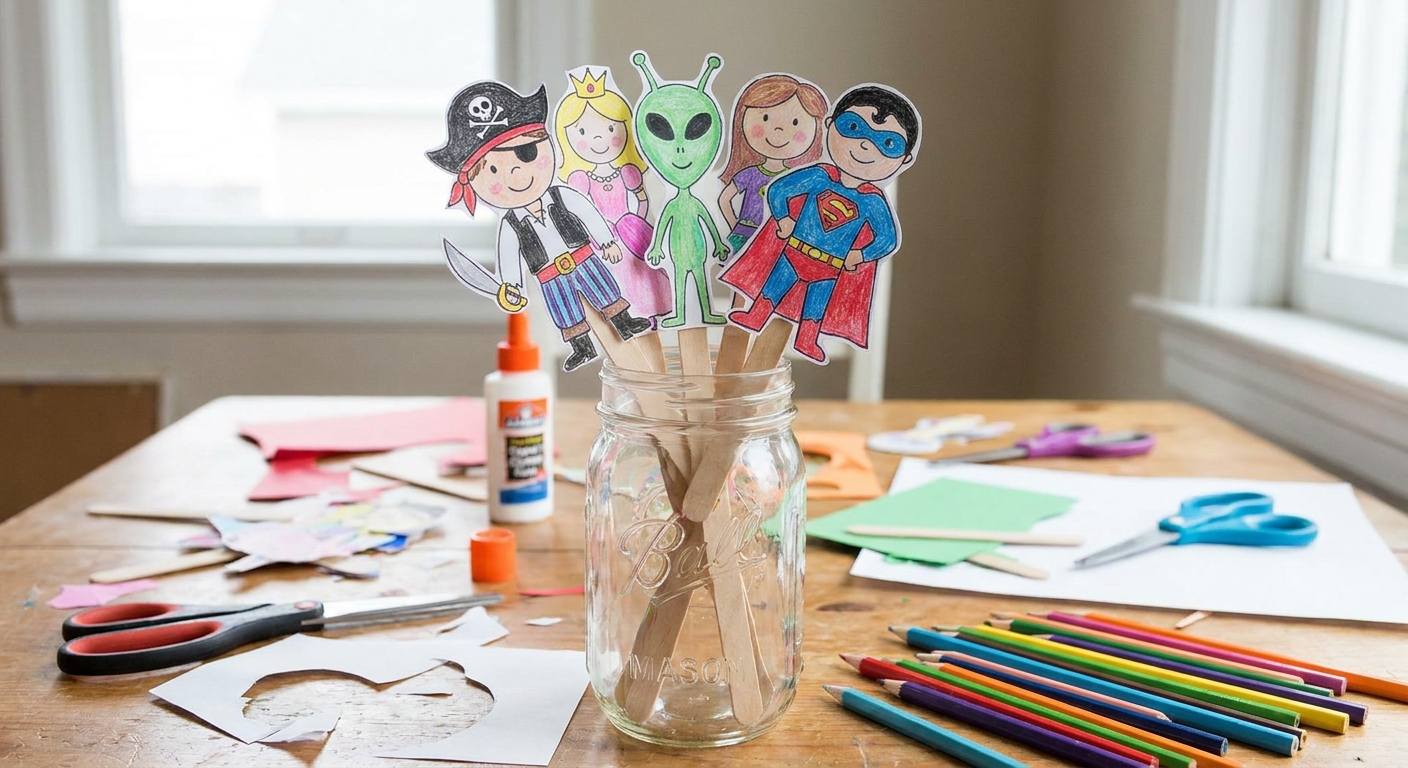
My childhood dining table was basically a permanent craft zone. There were always crayons rolling under the salt shaker, and at least one paper person waiting to be cut out and turned into something else. These popsicle stick puppets are exactly that kind of kitchen-table magic: color a character, cut them out, make them sturdy, and suddenly you have a whole cast ready for a living room puppet show.
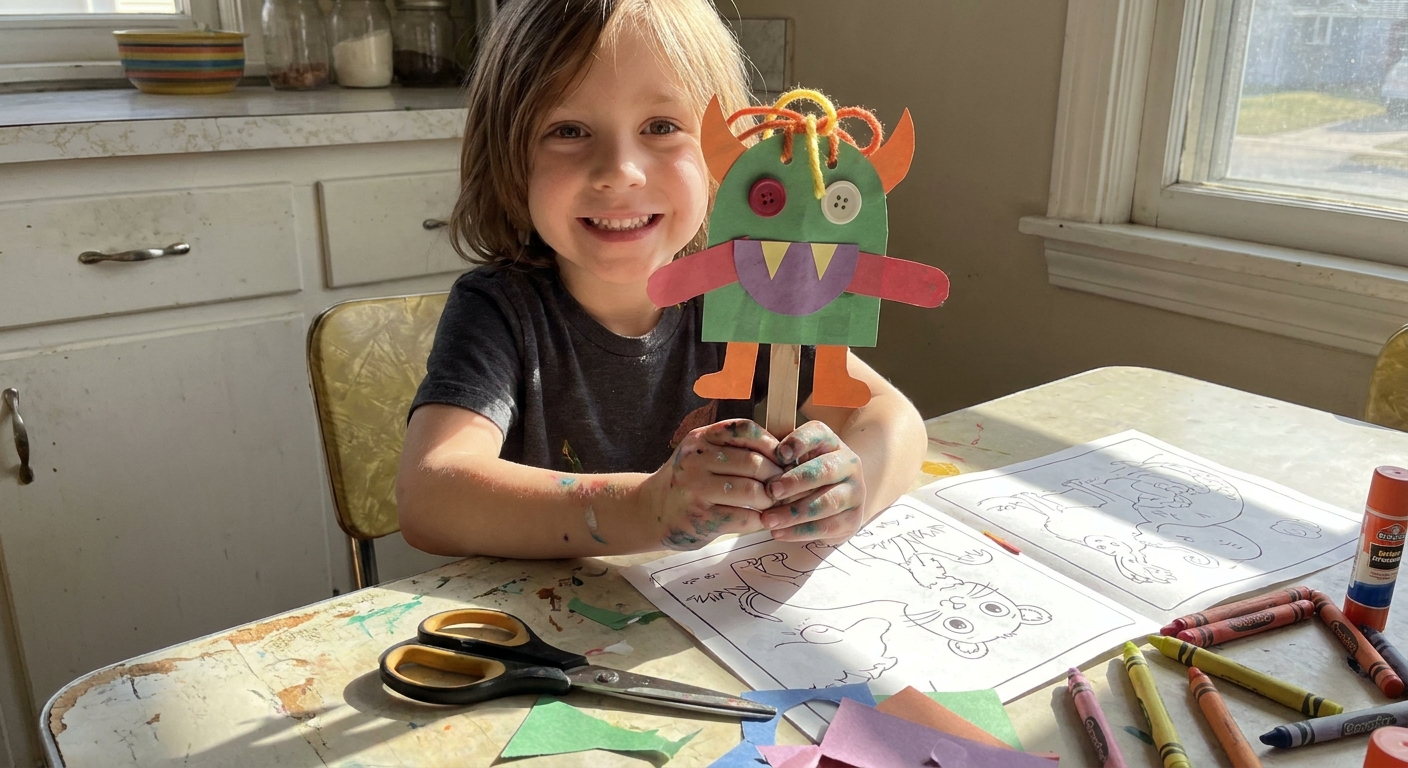
What you need
- Coloring pages with characters (people, animals, robots, fairies, anything with a face is fun)
- Crayons, colored pencils, or markers
- Scissors (kid-safe scissors for little hands)
- Cardstock or thin cardboard (cereal box cardboard works great)
- Glue stick (best for paper-to-paper)
- White school glue or tacky glue (best for wood-to-paper)
- Popsicle sticks (standard craft sticks)
- Tape (optional, but helpful for extra strength)
- Clear packing tape or contact paper (optional for durability, results vary by brand)
- Hole punch + yarn or brads (optional, if you want movable arms)
Printing note: Regular printer paper is totally fine, since you will mount it to cardstock. If your printer can handle it, you can also print directly on cardstock and skip the backing step.
If you are unsure which coloring tools will hold up best for little hands, I have a simple comparison in Markers vs. Colored Pencils.
Step-by-step: Turn coloring characters into puppets
1) Pick characters that are easy to cut
For the smoothest experience, choose figures with thicker outlines and simple shapes. Tiny fingers and tiny details do not always get along, and that is totally fine.
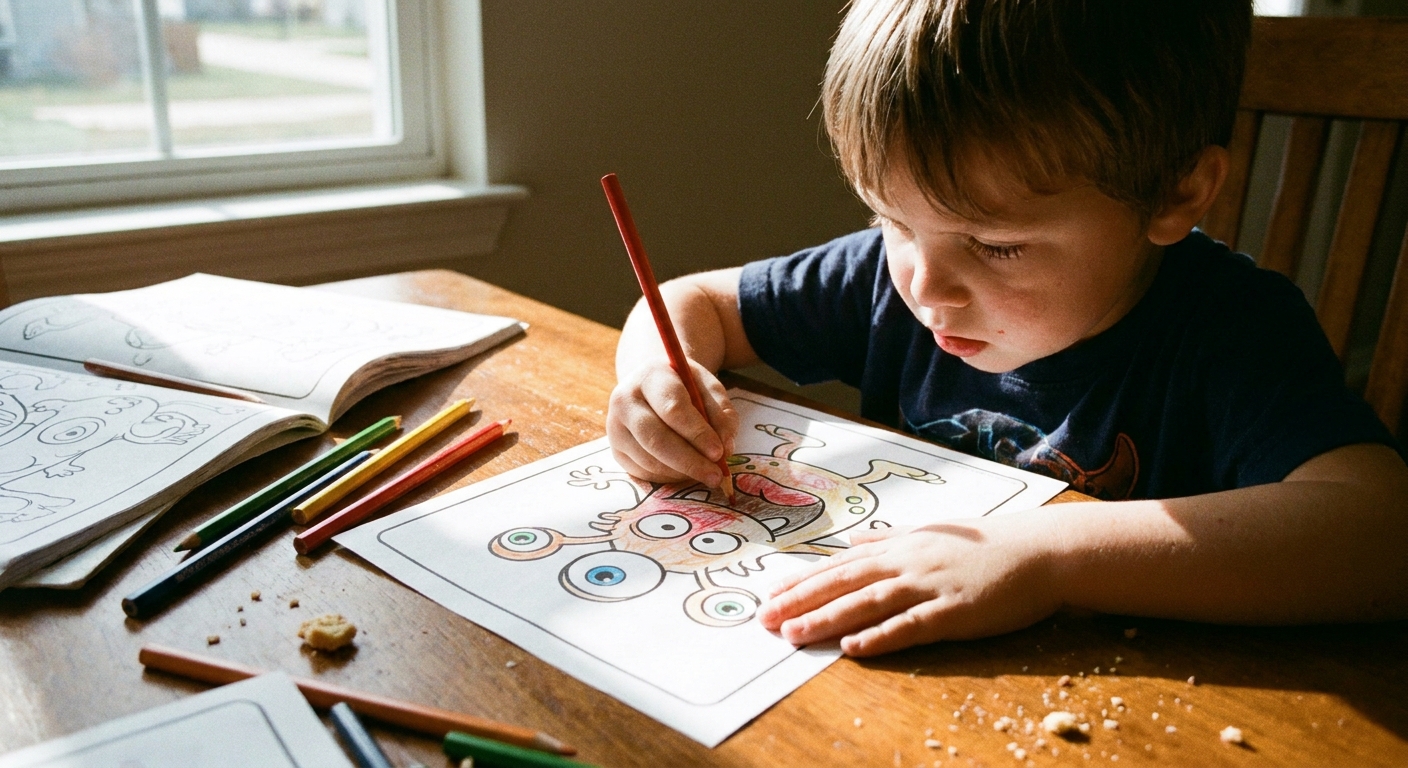
2) Color first, cut second
Coloring is easier when the paper is still a full sheet. If you plan to glue later, gentle layers can help. Super heavy, waxy crayon areas can sometimes make adhesion weaker, so if something will not stick, a quick burnish with your fingertip (or a light scuff on the back of the cut-out) usually helps.
3) Cut out your character
Cut right along the outline, or leave a small white border if that feels easier. That little border can actually make the puppet pop on stage.
Tip for younger kids: You can do the detailed cutting, and they can do the bigger simple cuts, like around a cape or a big round head.
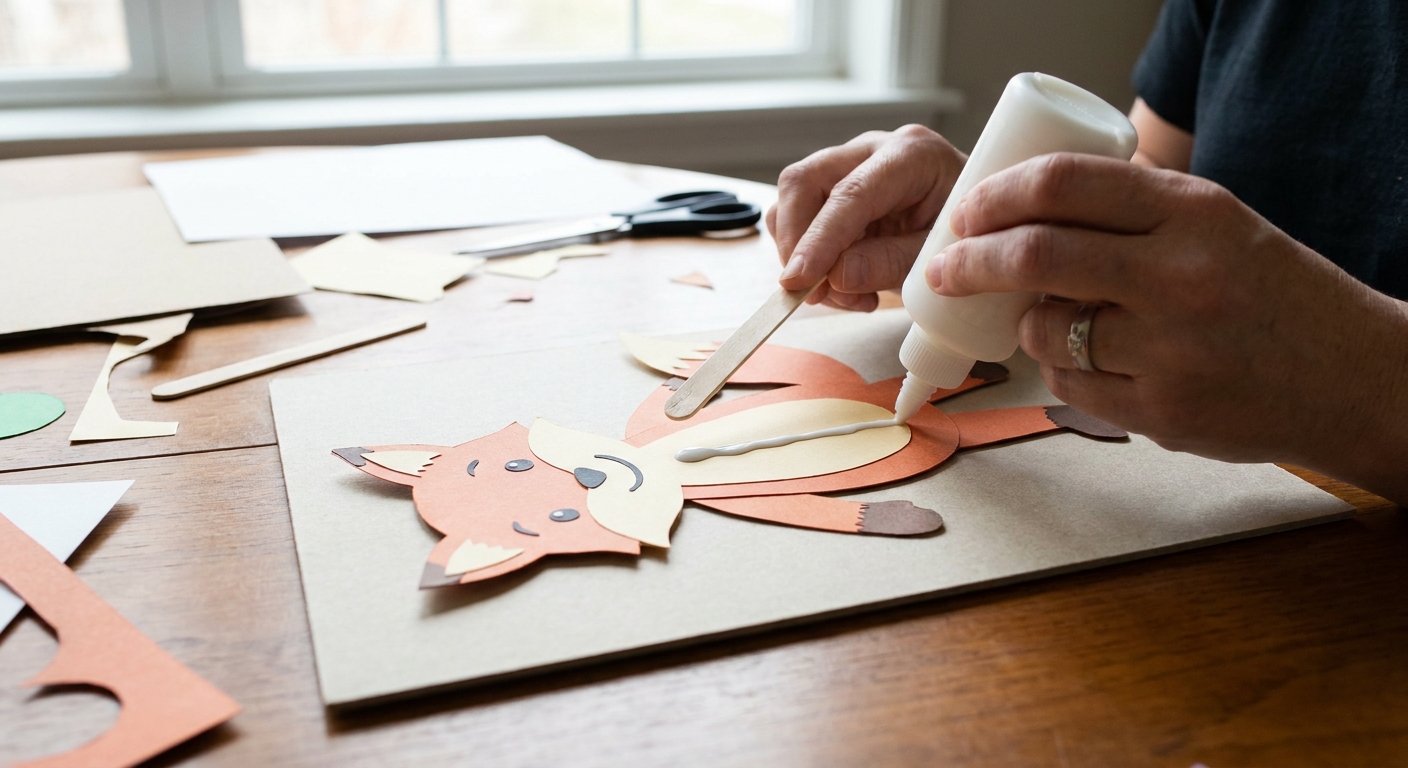
4) Reinforce with cardstock
Flip your cut-out over and coat the back with a glue stick. Press onto cardstock and smooth well with your hand.
If you are using white glue, use a thin layer and spread it out evenly so the paper does not wrinkle.
Dry time: Let it set at least 5 to 10 minutes before trimming. With white glue, longer is better. If you have time, press it under a book (with scrap paper on top) while it dries to help it stay flat.
5) Trim again for a clean edge
Once it is dry enough that the layers do not slide, cut around the character again, this time through the cardstock. This is what turns a floppy cut-out into a puppet that can survive multiple shows.
6) Attach the popsicle stick handle
Place the stick behind the character so it reaches up into the body (not just the head). For the best hold on wood, use white school glue or tacky glue here. Press firmly, then give it real drying time.
- Extra-strong option: Add a second stick behind the first like a sandwich, with the paper and cardstock in between. This makes a super sturdy handle.
- Clamp trick: A clothespin or binder clip can hold the stick in place while it dries.
- Quick reinforcement: Add a strip of tape over the stick where it meets the puppet.
7) Optional: Make them more durable
If your puppets are going to be played with a lot, you can cover the front and back with clear packing tape, then trim the edges. This makes them more wipe-friendly for sticky fingers and much more tear-resistant, though marker stains can still happen.
Contact paper can work too, but some brands wrinkle or peel more easily, so test a small piece first if you are not sure.
Comfort tip: After taping, round the corners so nothing pokes during a performance.
Make them interactive
Add movable arms
Cut out arms separately, reinforce them with cardstock, then attach them with a brad fastener (paper fastener) at the shoulder. If you do not have brads, use a hole punch and tie with short pieces of yarn, leaving it loose enough to wiggle.
Small safety detail: If you use brads, fold the prongs down flat on the back. For extra comfort, a small piece of tape over the prongs keeps little fingers from getting scratched.
Give them props
- Mini speech bubbles (glue to a toothpick and tape it to the stick)
- A tiny paper wand, sword, flower, or microphone
- A paper hat that can slide on and off
Create a quick puppet stage
A shoebox on its side is the easiest stage. Cut a big opening, drape a dish towel over the top as a curtain, and let the show begin.
Puppet show ideas
- The 3-scene story: Beginning, middle, end. Keep it short and silly.
- Lost and found: One puppet loses something, everyone helps, happy ending.
- Opposites day: The dragon is scared, the knight loves hugs.
- Animal talent show: Each puppet performs one talent (jokes, singing, dancing).
If your goal is also a little storytelling practice in disguise, you will enjoy 7 Ways to Use Coloring Pages to Teach Storytelling.
Tips for clean results
- Use cardstock that is not too thick. Super thick cardboard can be hard for kids to cut.
- Let glue set before trimming. If you cut too soon, layers can slide.
- Keep a repair station. A little tape fixes almost anything during a performance.
- Choose the right coloring tools. Markers look bold but can bleed through thin paper. Colored pencils stay crisp and easy to layer.
And if you want characters that match each other, like a whole storybook cast, picking colors ahead of time helps. I talk about that in Choose a Cohesive Color Palette Before You Color.
Safety notes
- Age range: Most kids can enjoy this craft, but adult help is usually needed under age 6 for cutting and any small fasteners.
- Scissors: Supervise as needed, especially for detailed cutting.
- Small parts: Brads, beads, and tiny props can be choking hazards for toddlers.
- Tape edges: Packing tape can feel sharp if it folds into a ridge. Trim neatly, press edges down firmly, and round corners.
Quick troubleshooting
My puppet is curling
This usually happens from too much wet glue. Use a glue stick for the paper-to-cardstock step, apply a thinner layer, and press under a heavy book for 10 minutes (put scrap paper between so nothing sticks to the book). If you used white glue, it may need a bit more drying time.
The popsicle stick keeps falling off
Use white school glue or tacky glue (glue sticks are not great on wood), and give it time to fully dry. Tape helps, and the stick sandwich method with a second stick is even better. Also, make sure the stick reaches well into the puppet’s body so there is more surface area holding it.
The marker bled through
Try coloring with colored pencils next time, or print on slightly heavier paper if your printer allows it. I also share more about paper and tools in Digital vs. Traditional Coloring Pages.
Easy storage
Once you have a whole troupe, slide them into a gallon zip bag, or stand them upright in a mug like a bouquet. If you want to get extra fancy, label the mug “The Puppet Theater” and let your kid be the director.