

My dining table has always been a little bit chaotic in the best way. A stack of coloring pages here, a mug of markers there, and at least one pair of scissors that likes to wander off. And every time I finish coloring a page I really love, I get that familiar feeling: I do not want to file this away and forget it.
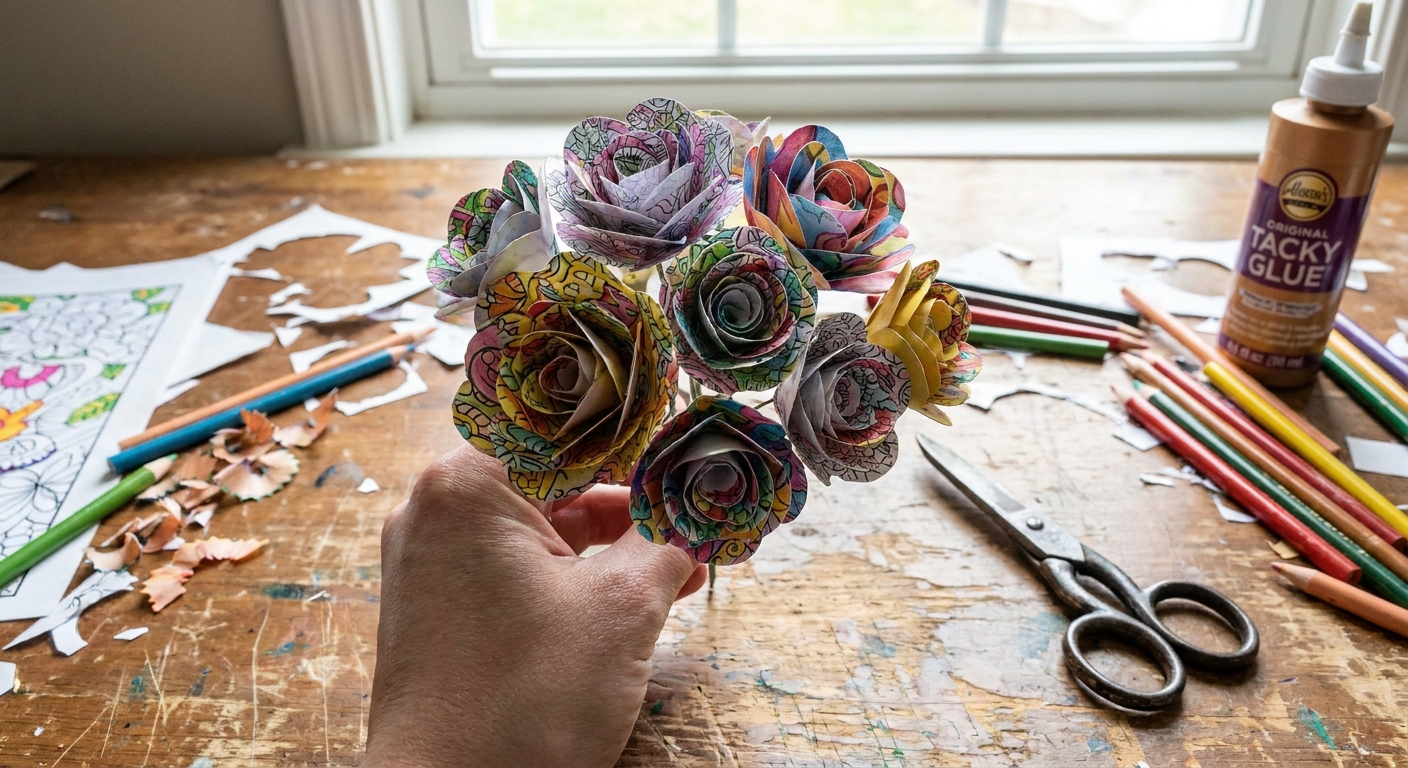
So let’s turn those flat pages into something you can hold, arrange, and admire: a full-on 3D paper flower bouquet. These are all beginner-friendly techniques that work beautifully with fully colored pages, especially ones with big areas of color or patterns you want to show off.
Before you start: supplies and setup
You can make every flower below with the basics, then add extras if you want sturdier stems or a more polished bouquet.
Quick safety note: If kids are crafting with you, plan on adult help for scissors, craft knives, skewers, wire, and anything pointy. (Paper flowers are sweet. Skewers are sneaky.)
Grab these basics
- Finished coloring pages (regular printer paper works, cardstock is even sturdier)
- Scissors (small sharp ones help with curves)
- Glue stick or white glue
- Tape (optional but handy)
- Pencil and something round to trace (cups, lids, coins)
Optional but very helpful
- Wooden skewers, floral wire, or pipe cleaners for stems
- Drinking straws for chunky stems
- Green paper (or a green-colored page) for leaves
- Ruler and craft knife (adults only) for super clean cuts
Picking the right pages: Bold patterns and bigger shapes read beautifully once you curl petals. Super tiny, intricate designs can get lost when the paper folds. Also, if the back of your page is plain white and you plan to curl a lot, consider lightly coloring the back edges where white might peek through.
Adhesive mini-guide: Glue sticks are fast and tidy for layers. White glue gives a stronger hold for rolled flowers, but it needs a little drying time. If you use white glue, go light and press for a few extra seconds.
If you are printing new pages specifically for flowers, I like using slightly heavier paper and adjusting settings for crafts. This guide can help: Paper weight and printer settings for holiday crafts.
1) Spiral rose
This is my go-to when I want a bouquet fast, because it looks fancy but it is just one long spiral.
How to make it
- Trace and cut a circle (3 to 6 inches across).
- Starting at the edge, cut a spiral toward the center, keeping the strip about 3/8 to 1/2 inch wide.
- Stop with a small circle left in the middle. That little center circle becomes your “tab” for gluing at the end.
- Gently curl the strip with your fingers to soften it.
- Roll from the outside edge inward until you reach the center tab.
- Glue the center tab to the bottom of the rose to lock it in.
Make it look like a real rose
- Use darker colors on the outer edge of the circle and lighter colors near the center so the rose naturally brightens as it opens.
- Loosen the roll slightly before gluing for a fuller bloom.
2) Layered daisy
Daisies are cheerful and forgiving, and the layers give you instant dimension.
How to make it
- Cut 2 to 4 flower shapes in the same size, or slightly smaller as you stack.
- Snip between petals to deepen the gaps, if needed.
- With scissors, lightly curl each petal by pulling it across the blade (slow and gentle). Kids should have adult help for this part.
- Glue layers together, rotating each layer so petals sit between the petals below.
- Add a center: a tight paper coil, a small pom-pom, or a crumpled paper ball.
If you are crafting with kids, this pairs nicely with simple paper projects too. I keep this one bookmarked: Kids crafts guide.
3) Fringed mum
If you want that wow texture, mums are your best friend. The secret is fringe.
How to make it
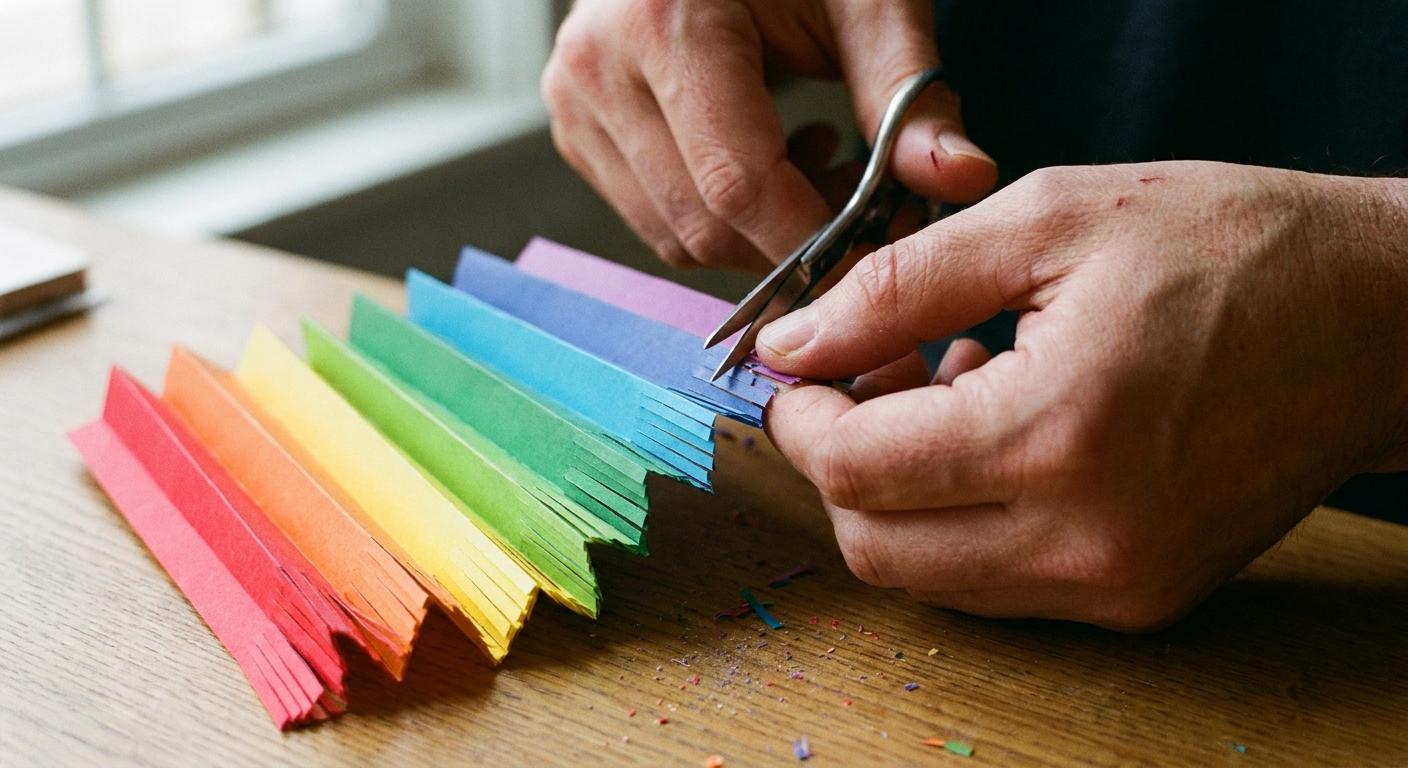
- Cut a long strip of paper (about 1 by 8 inches). If you want a bigger mum, cut two strips.
- Fold the strip in half lengthwise.
- Make tiny snips along the folded edge, close together, stopping about 1/4 inch from the open edge.
- Keep it folded, and roll from the uncut edge so the fringe flares outward as you go.
- Glue as you roll, then fluff the fringe outward.
Center idea
Make the first inch of your strip a darker color for a deep center, then switch to a brighter strip for outer petals.
4) Tulip cup
Tulips look great in bunches, and they are wonderfully tidy, which makes them perfect for vases.
How to make it
- Cut 4 identical tulip-petal shapes (like a rounded teardrop).
- Fold each petal in half lengthwise to create a center crease.
- Glue two petals edge-to-edge with the creases aligned, then add the third and fourth the same way to form a cup.
- Pinch the base together and glue securely.
- Insert a stem inside (skewer, wire, or pipe cleaner) and glue the base around it.
Little upgrade
Add a tiny paper pollen piece inside: a thin strip snipped at the end and curled.
5) Cone bellflower
This shape makes sweet drooping flowers. It is more of a simple bell bloom than a true botanical bluebell replica, but it gives the same gentle, hanging vibe. It also looks gorgeous when your coloring page has gradients or blended pencil shading.
How to make it
- Cut a circle (3 to 5 inches across).
- Cut one straight line from the edge to the center.
- Overlap the cut edges to form a cone and glue.
- Snip small petal cuts around the wide opening, then curl them outward.
- Glue a stem inside the pointy end.
If you love smooth shading for petals, this tutorial is a cozy read: How to blend colored pencils for smooth shading.
6) Accordion carnation
This is one of those crafts that feels like magic when you open it up.
How to make it
- Cut 2 to 4 circles the same size.
- Stack them and fold the stack into an accordion (about 1/2 inch folds).
- Secure the middle with floral wire or a pipe cleaner. No wire? Wrap tightly with a thin paper strip and glue it down, or use a small piece of tape on the back to keep the pinch from popping open.
- Gently separate layers and fluff, pulling the petals upward.
- Trim the petal edges into a rounded or scalloped shape for extra softness.
Tip
Before you fluff, lightly roughen the circle edges with tiny snips to mimic carnation texture.
7) Curled-petal lily
Lilies are fantastic for showing off big blocks of color. They look especially striking if your page has strong outlines or patterned fills.
How to make it
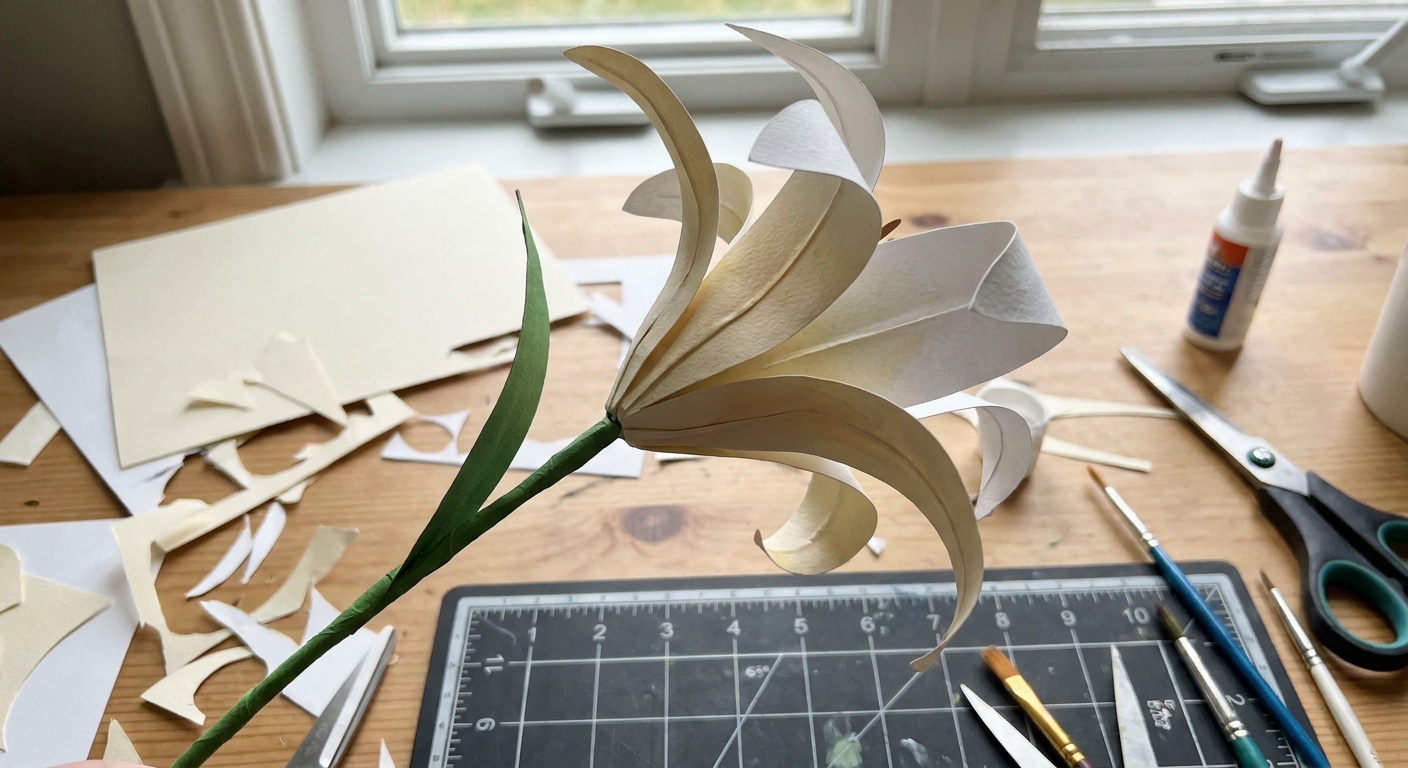
- Cut 6 long petals (pointed ovals).
- Score a light center line with a blunt edge (like the back of scissors) and fold slightly for shape.
- Curl the top third of each petal outward.
- Glue three petals together at the base, then glue the other three between them.
- Add stamens: thin paper strips with little dots of rolled paper on the ends.
8) Hydrangea cluster
Hydrangeas are basically a bouquet inside a bouquet. The trick is making lots of small blooms and clustering them tight.
How to make it
- Cut many tiny four-petal flowers (start with 12 to 30 depending on how full you want it).
- Use the tip of a pencil to gently cup each flower by pressing in the center.
- Make a base ball from crumpled paper (about the size of a ping pong ball) and tape it tight.
- Glue flowers all over the ball, overlapping.
- Attach the ball to a sturdy stem with glue and tape, then cover the connection with a paper leaf collar.
9) Sunflower center
Sunflowers are pure happiness. I love using a busy patterned area of a coloring page for the center so it looks seed-speckled without extra work.
How to make it
- Cut a large circle for the center (2 to 3.5 inches).
- Cut 15 to 25 long petals (oval with a point).
- Curl petals slightly upward.
- Glue petals around the back of the center circle in one layer, then add a second layer offset if you want it fuller.
- For extra texture, glue a tight paper coil or fringed strip on the front center.
Color trick
If your page has browns, golds, and little dots, use that area for the center and it will instantly look more realistic.
10) Mixed wildflowers
When I want a bouquet that looks picked, I make a handful of quick wildflowers and let the variety do the heavy lifting.
Three fast wildflower formulas
- Five-petal blossom: Cut a simple five-petal shape, cup it with a pencil, add a tiny center dot or coil.
- Lavender spike: Cut a thin strip, snip tiny fringe along one long edge, roll it around a stem and glue as you go.
- Button flower: Make a small accordion circle (like the carnation but mini), pinch the center, and secure it with glue or a tiny wrap of paper. Then fluff.
Make it bouquet-ready
Wrap 5 to 9 stems together with tape, then cover the taped area with a strip of colored paper as a bouquet wrap.
Stems, leaves, and assembly
Easy stems
- Skewers: Wrap with a thin strip of green paper at an angle and glue the end down.
- Pipe cleaners: Great for kid projects and for posing flowers at fun angles.
- Paper straws: Best for chunky flowers like big mums.
Quick leaves
- Cut a simple leaf shape.
- Fold it in half lengthwise to create a vein.
- Curl the edges slightly with your fingers.
- Glue to the stem, or sandwich the stem between two leaf halves.
Arrange like a real bouquet
- Start with one hero flower, then build around it.
- Mix heights. Trim or bend stems so nothing lines up too perfectly.
- Add small filler blooms last to hide gaps.
Finishing touches
If you want the bouquet to feel gift-ready, wrap the stems with a wide scrap of a colored page (patterns look amazing here) and tie it with string or ribbon. For a vase, a jar with a little tissue paper or scrap paper tucked around the stems helps everything stand up nicely.
Coloring tips for better flowers
- Choose a cohesive palette: If you want your bouquet to look intentional, pick 3 to 5 main colors across all pages. This helps: Choose a cohesive color palette before you color.
- Color a center zone darker: Real petals often deepen near the middle. A little extra shading there makes your folds look more natural.
- Keep an eye on white backs: If a petal is going to curl hard, color the edge on the back side too, even if it is just a quick swipe.
- Seal messy marker bleed: If the paper is thin and a little wavy, keep your glue light and let pieces dry under a book for 5 to 10 minutes.
Quick troubleshooting
My petals keep tearing
Make wider petals and fewer tight curves, or switch to a simpler shape like the cone bellflower. Dull scissors are often the real culprit.
My flower will not stay glued
Hold pressure longer than you think you need, especially on rolled flowers. For stubborn pieces, a tiny piece of tape on the back can be your secret helper.
My bouquet looks flat
Add curl. Even a gentle curl on the petal tips changes everything. Layering also helps, like the daisy and sunflower methods.
Use up extra colored pages
If you end up with scraps, save them. Little leftover pieces are perfect for centers, tiny buds, or wrapping stems. And if you are in the mood for another finished-page craft after your bouquet, these projects are favorites on my table: Frame your coloring pages as DIY wall art and Upcycle coloring pages into gift wrap.
Your bouquet does not need to be perfect to be beautiful. Paper flowers are happiest when they are a little quirky, a little crinkly, and completely yours.