I love projects that start at the kitchen table with a finished coloring page and end with something you actually use every day. These ceramic tile coasters are exactly that kind of craft. You get the relaxing part (coloring), the satisfying part (cutting a design that fits like it was meant to be there), and the practical part (a sealed surface that stands up well to condensation and everyday drink heat).
This tutorial walks you through choosing the right paper and topcoat, cutting designs to fit standard tiles, and sealing everything so your coasters hold up to normal spills, sweaty iced drinks, and warm mugs.
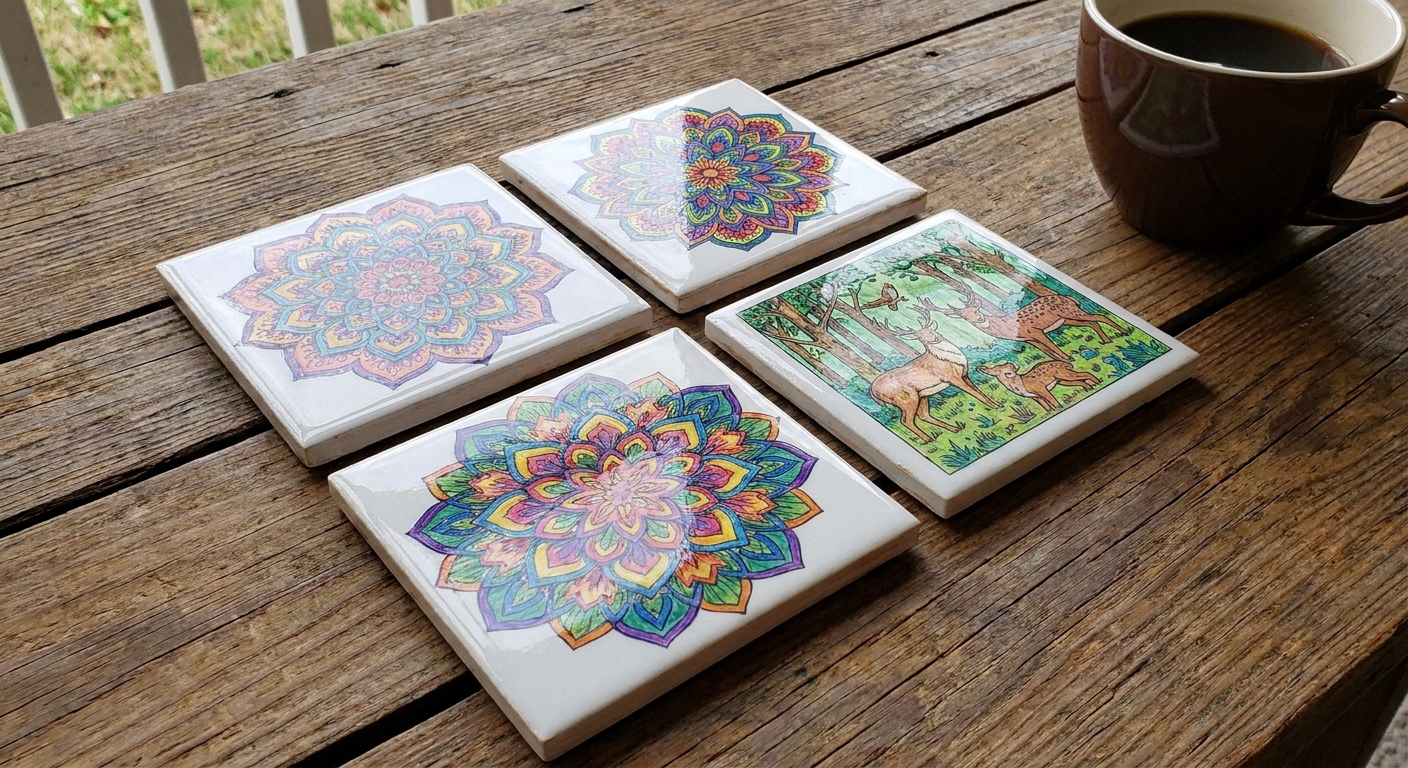
What you need
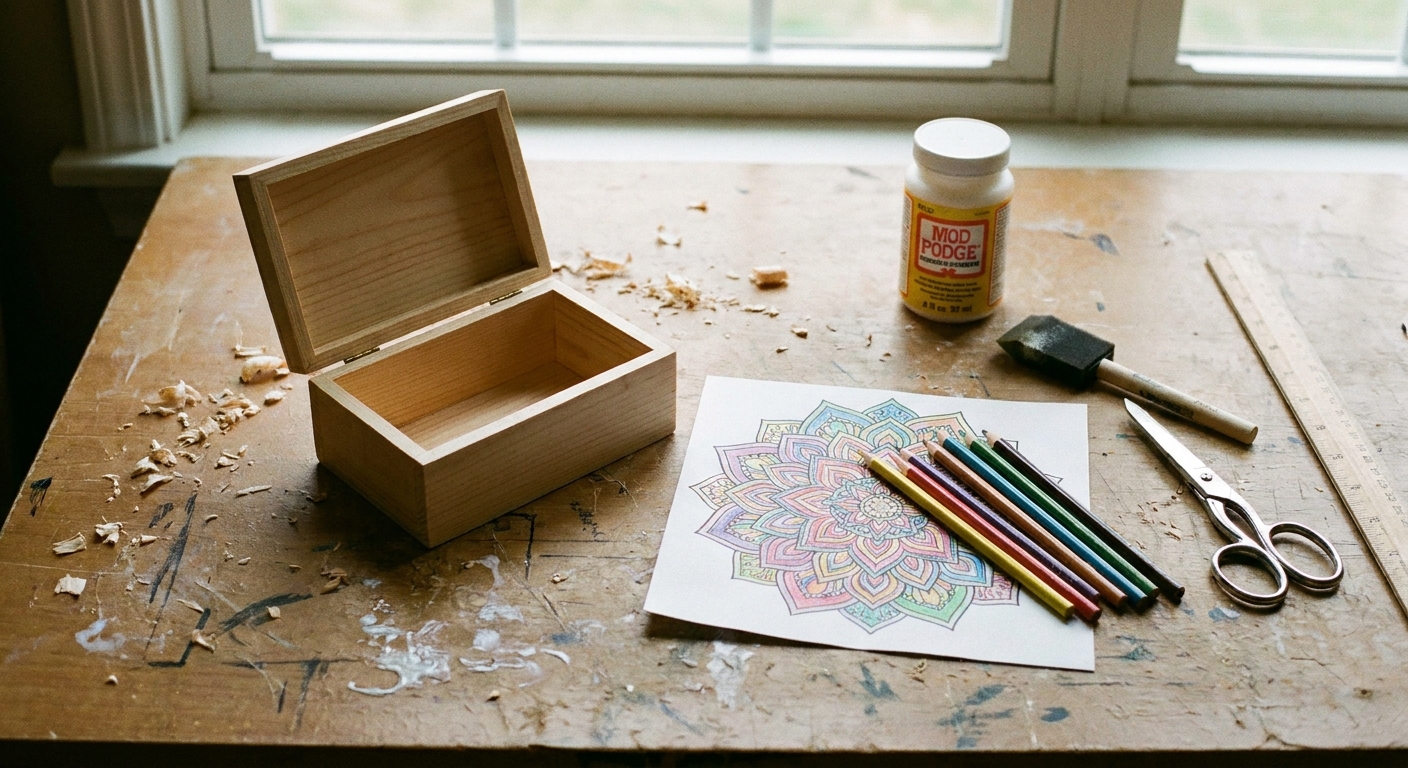
- Ceramic tiles: standard 4 x 4 inch ceramic tiles are the classic coaster size. White or light tiles make colors look the most vibrant.
- Adult coloring page: your finished colored design, printed or hand-colored
- Paper trimmer or sharp scissors
- Craft knife (optional but helpful) for tiny corners and intricate edges
- Ruler and pencil
- Adhesive: decoupage medium (like Mod Podge) or clear-drying PVA craft glue
- Foam brush or soft paintbrush
- Brayer, old gift card, or clean cloth to smooth bubbles
- Topcoat: a water-based polyurethane (brush-on) or a clear acrylic spray sealer labeled water-resistant
- Cork sheet or self-adhesive cork circles/squares for the bottom
- Felt pads (optional)
- Sandpaper (220 grit and 320 to 400 grit, optional) for smoothing between coats and lightly scuffing very glossy tiles
Tile type note: Glazed ceramic is the easiest. Natural stone tiles (like tumbled marble or unglazed stone) are porous and can darken when sealed. They often need a stone sealer first, and the look can change a bit once you start topcoating.
Helpful reads on supplies: If you are deciding what to color with before you start, my medium comparison posts can help: Markers vs. Colored Pencils and Watercolors on Printed Coloring Pages. For super smooth pencil shading, I also love this: How to Blend Colored Pencils for Smooth Shading.
Pick the right page and finish
Designs that work on a 4 x 4 tile
- Bold center motifs (mandalas, florals, geometric patterns) are easiest to crop neatly.
- All-over patterns hide seams and tiny cutting imperfections wonderfully.
- Very fine linework is beautiful, but it shows bubbles more, so you will want to be extra careful when smoothing.
Paper matters more than you think
- Regular printer paper works, but it can wrinkle if you use too much glue.
- Slightly heavier paper (like good-quality printable paper) tends to lay flatter and feels a little more forgiving.
- Very thick cardstock can be harder to wrap smoothly at the edges, especially on tiles with rounded corners.
Choose coloring tools that will not smear
Because we are brushing adhesive and a clear topcoat over the top, pick a finish that can handle a little moisture and friction.
- Colored pencils are the most forgiving. They rarely smear under gentle brushwork.
- Alcohol markers are not water-reactivated, but the ink can still smear or lift when you brush wet glue or topcoat over it (especially if you press hard or go back and forth a lot).
- Water-based markers can bleed if they are not fully dry or if you overwork the glue layer.
- Watercolor can lift if you brush repeatedly. If you watercolor, let it dry overnight and use minimal brushing.
My best advice is simple: color it, then let it rest. Give your page several hours, or overnight, before you start gluing. It is like letting cookies cool on the tray. The wait makes everything sturdier.
Step 1: Prep your tile
Tiles can have dust, factory residue, or little bits of grit that mess with adhesion.
- Wash the tile with mild soap and warm water.
- Rinse and dry completely.
- Wipe the top surface with rubbing alcohol (optional but great for a squeaky-clean surface).
Optional (but helpful on extra glossy tiles): Lightly scuff the top surface with 320 to 400 grit sandpaper, then wipe away the dust. You are not trying to scratch it up, just giving the glue a little more tooth.
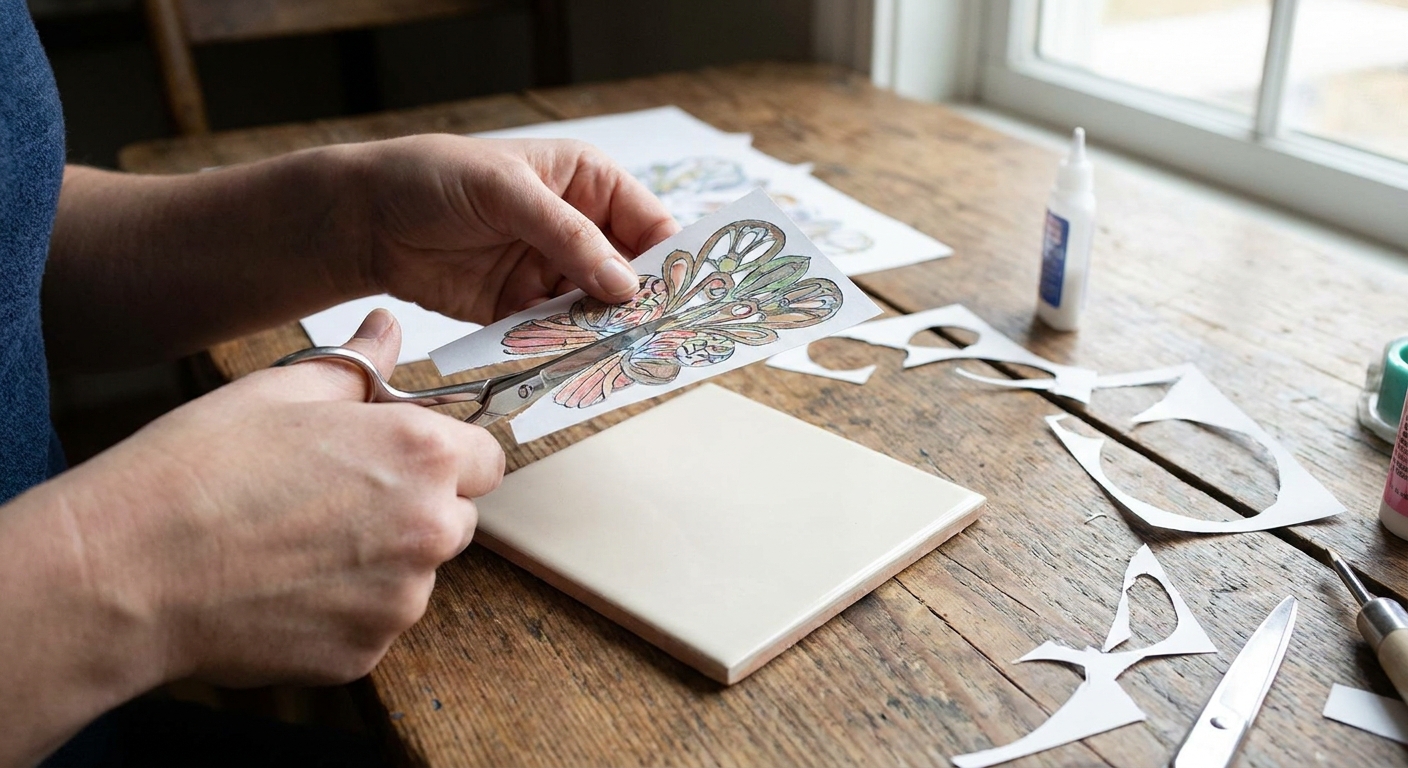
Step 2: Measure and cut the design
This is the part that feels fussy, but it is also the secret to coasters that look polished.
Quick sizing for a standard 4 x 4 tile
Most 4 x 4 tiles are exactly 4 inches, but some have slightly rounded edges. Decide whether you want:
- Full coverage (paper goes close to the edges), or
- A small border (paper sits inset about 1/16 to 1/8 inch).
I prefer a tiny border. It hides imperfect cuts and helps keep the paper edges protected under the topcoat.
How to get a crisp cut
- Place the tile on top of your colored page and move it around until the crop looks right.
- Lightly trace around the tile with a pencil.
- Cut just inside the pencil line if you want that small border.
- Dry fit the paper on the tile and adjust any corners with scissors or a craft knife.
Step 3: Glue it down without bubbles
Slow and gentle wins here. Think of it like laying down wallpaper for a tiny dollhouse room.
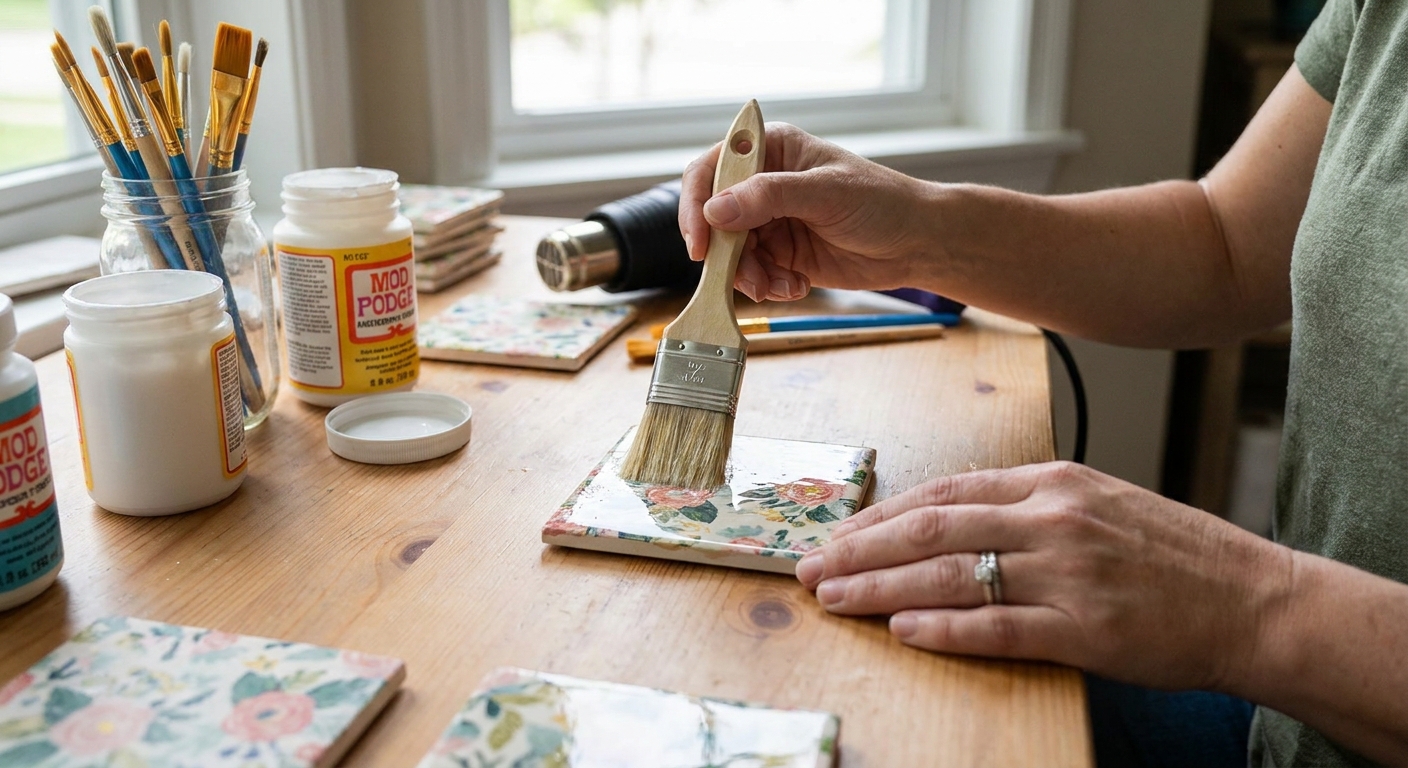
- Brush a thin, even layer of decoupage medium onto the tile surface.
- Carefully place the paper onto the tile, starting at one edge and lowering it down.
- Smooth from the center outward using a brayer, gift card, or clean cloth.
- Wipe away any glue that squeezes out along the edges.
- Let it dry flat at least 1 hour, and longer if your room is humid, before moving on. It should feel dry to the touch, not cool or damp.
If you get wrinkles or bubbles
- Tiny bubbles often settle down as the glue dries. Give it time before you try to fix it.
- Stubborn bubbles: prick with a pin and gently press the air out, then add a whisper-thin layer of glue over that spot.
Step 4: Topcoat for real protection
This is where coaster projects either become cute for a week or still going strong next year. Decoupage medium alone is usually not enough for daily condensation, so I always add a tougher clear topcoat.
Good topcoats for coasters
- Water-based polyurethane (brush-on): durable, clear, and easy to control indoors. Great for everyday water resistance.
- Clear acrylic spray sealer: fast and smooth, but needs good ventilation and multiple light coats.
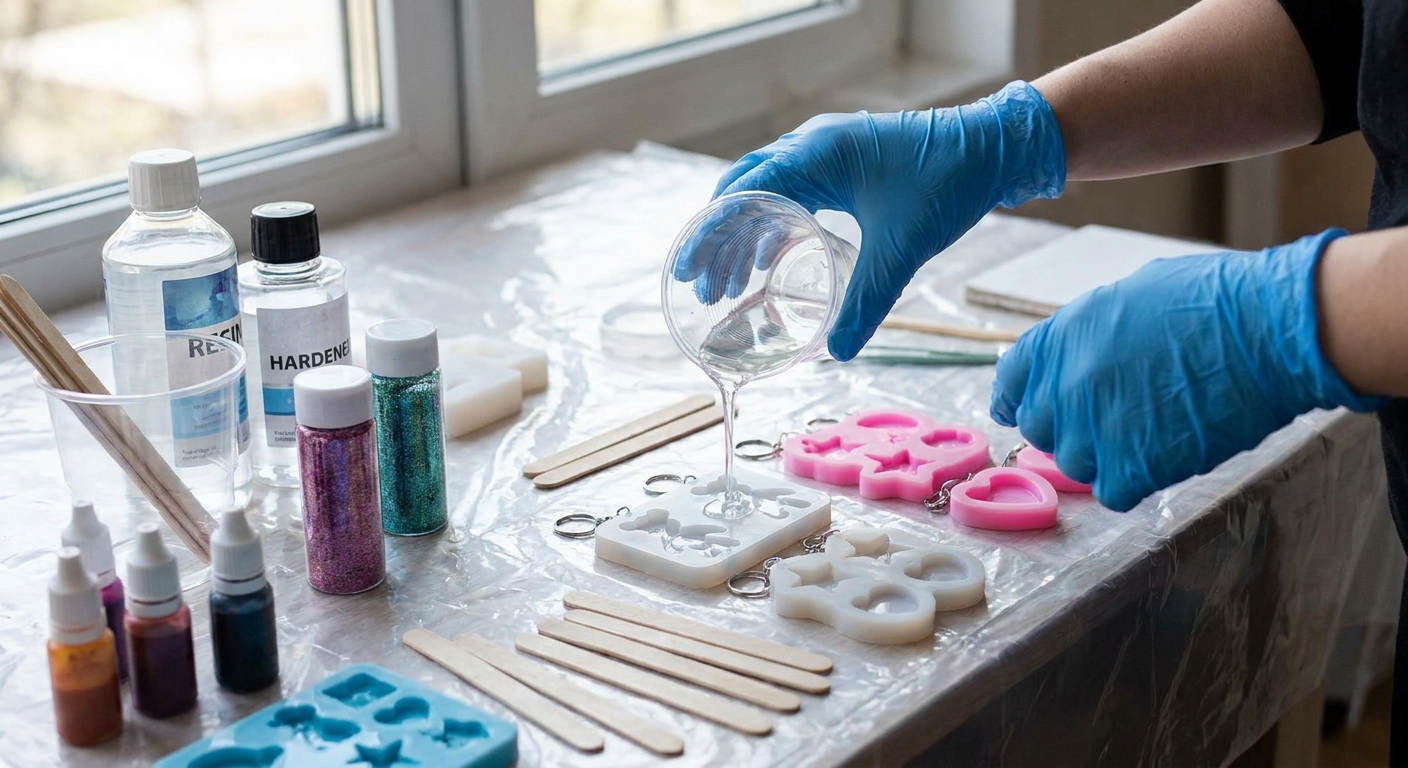
- Two-part epoxy resin: very glossy and very water-resistant, but more advanced and messier. It can yellow over time (especially in sun), and it needs careful measuring, thorough mixing, and good ventilation. If you are new to sealing, start with polyurethane.
Brush-on polyurethane method (my go-to)
- Make sure the glued paper is fully dry.
- Brush on a thin coat of water-based polyurethane across the top, going in one direction.
- Let dry according to the product label (often 2 to 4 hours).
- Lightly sand with 220 grit sandpaper if it feels bumpy (optional), then wipe dust away.
- Apply 2 to 4 total coats, alternating brush direction each coat (horizontal, then vertical).
- Let the final coat fully harden. Dry is not the same as cured. I like to wait 24 to 72 hours before heavy use.
Spray sealer method
- Take the tiles outside or to a well-ventilated area.
- Spray very light coats from the recommended distance.
- Let each coat dry, then repeat for 4 to 6 coats to build real protection.
- Let it fully harden before use.
Safety note: For spray sealers and epoxy, protect your work surface, follow the label, and use good ventilation. Gloves are a smart idea for epoxy and for anyone with sensitive skin.
Important: No matter what topcoat you choose, keep coats thin. Thick coats are what cause tackiness, drips, and cloudy spots.
Step 5: Seal the edges
The edges are where moisture tries to sneak in, especially if a cold drink sits long enough to make a little puddle.
- After your top is protected, use your brush to paint topcoat along the paper edge where it meets the tile.
- If your design goes close to the edge, do one extra coat just around the perimeter like a protective ring.
If you chose an inset border, this step is even easier and cleaner.
Step 6: Add cork backing
Ceramic tiles can scratch tables, and a cork backing makes your coasters feel finished.
- Cut cork to fit the bottom of the tile (or use pre-cut adhesive cork).
- Adhere cork with strong craft glue if it is not self-adhesive.
- Press and let dry under a heavy book for 30 to 60 minutes.
For extra table kindness, add small felt pads to the corners.
Optional upgrades
Make a warm stone border
If your tile is bright white and you want a warmer look, lightly sponge a little acrylic paint around the outer edge of the tile before you glue the paper down. Let it dry fully first.
Create a set with a cohesive palette
Coasters look especially lovely when they feel like a matching family. If you want help choosing colors that play well together, I wrote a whole post on it: Choose a Cohesive Color Palette Before You Color.
Turn extra pages into table decor
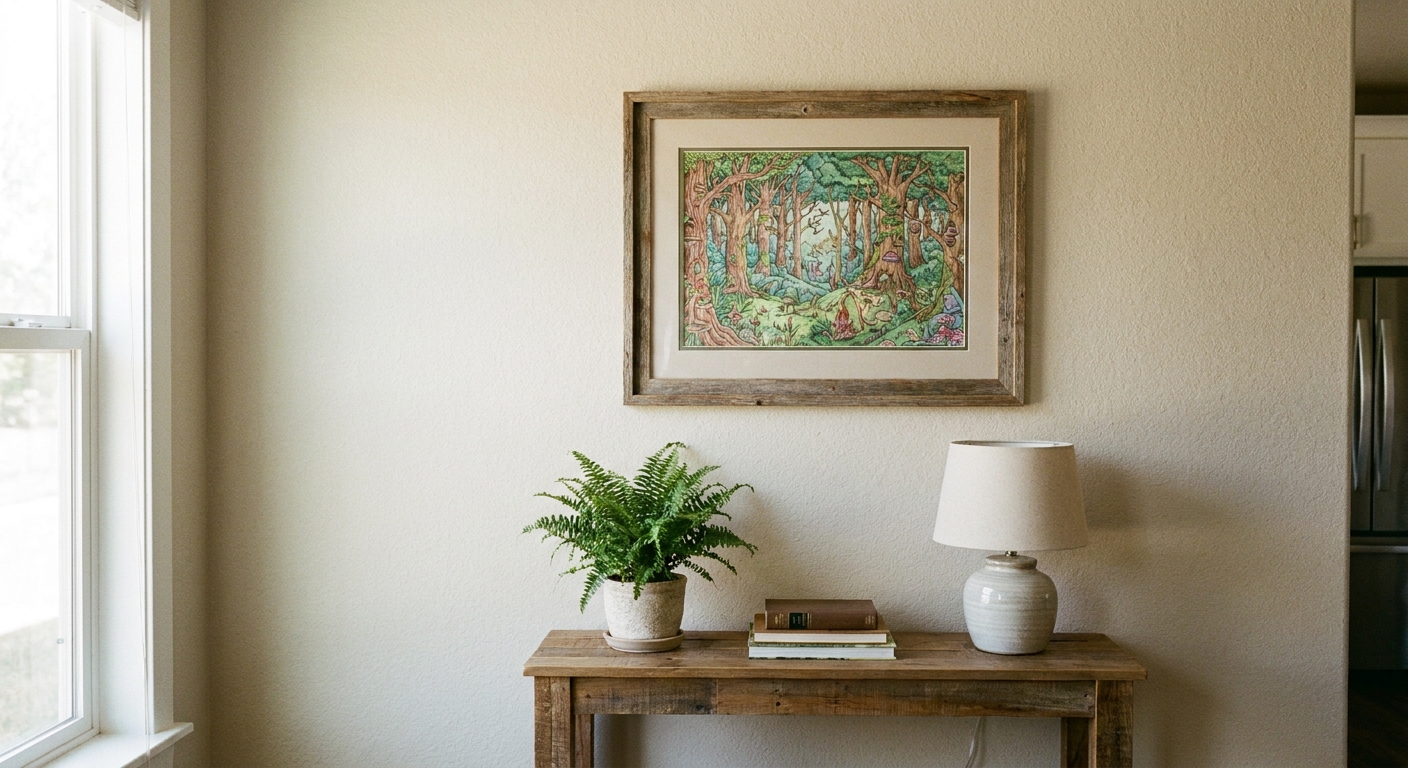
If you get hooked on useful coloring, you might also enjoy Upcycle Coloring Pages Into Gift Wrap or Frame Your Coloring Pages as DIY Wall Art.
Care and use tips
- Let them fully harden: give your sealed coasters at least 24 hours, and ideally 72, before daily use.
- Wipe, do not soak: wipe clean with a damp cloth. Do not leave them submerged in water.
- Skip the dishwasher: even very water-resistant handmade coasters do not love high heat cycles and harsh detergents.
- Heat reality check: most sealed coasters handle warm mugs just fine, but extremely hot cookware (like a skillet) is a different job. Use a trivet for that.
Troubleshooting
My topcoat stayed tacky
- You likely applied coats too thick, or your space is humid.
- Move the coasters to a warmer, drier room and give them extra time to harden.
- If they are still tacky after several days, lightly sand the surface and apply a very thin final coat.
The colors smeared when I glued or topcoated
- That can happen with some markers and water-based media, and also with alcohol markers if the brush friction lifts pigment.
- Next time, lightly spray the finished coloring page with a clear spray sealer first, let it dry, then glue it to the tile.
- Use gentle brush strokes and avoid going back and forth repeatedly.
I can see brush strokes
- Thin coats help, but you can also switch to a foam brush for a smoother finish.
- Light sanding between coats can make the final surface look more glassy.
The paper edges lifted
- Press the lifted area down with a tiny bit of glue, let dry, then re-topcoat the edge thoroughly.
Easy way to make a whole set
If you want four coasters that look intentional (without being matchy-matchy), here is my favorite approach:
- Choose one coloring page style (mandalas, florals, or geometric).
- Pick a limited palette of 4 to 6 colors.
- Color four different sections or four different pages using the same palette.
- Topcoat them all in the same session so the sheen matches.
It is relaxing, repetitive in the best way, and it makes your table feel like it got a tiny makeover.
More craft projects from Free Coloring
If you are in a make something useful mood, you might also like:
- DIY Jigsaw Puzzle From a Finished Coloring Page
- Laminated Bookmarks From Kids Coloring Pages
- Turn a Coloring Page Into a Folded Card
- Craft Projects Guide
And if your brain needs a gentle reset before you start your next project, I wrote about that too: Coloring Your Way Out of Creative Block.